
Introduction
This manual provides comprehensive instructions for the installation, operation, and maintenance of your Kidde Smart Hardwired Smoke Detector. This device is designed to provide real-time smoke detection and notifications through the Ring App, ensuring enhanced home safety. Please read all instructions carefully before installation and use.
Product Features
- Real-Time Ring App Notifications: Receive smoke or low battery warnings directly on your Ring App, whether at home or away (no subscription required for basic notifications).
- Enhanced Smoke Detection: Features over 25% faster smoke detection compared to leading competitors (based on internal testing).
- Optional 24/7 Monitoring: An optional Ring subscription (sold separately) provides 24/7 smoke monitoring for an additional fee.
- Whole Home Smart Connectivity: Integrate with existing hardwired alarms in your home to receive mobile alerts for all connected devices by adding just one Kidde smart detector.
- Reduced Nuisance Alarms: Advanced sensing technology minimizes false alarms often triggered by cooking, compared to previous Kidde models.
- Alexa Integration: Receive notifications from Alexa-enabled devices.
- Certified Safety: Comprehensively tested and certified to meet UL 217 and FCC standards.
What's in the Box
Upon opening the package, you should find the following items:
- Kidde Smart Hardwired Smoke Detector
- Mounting Bracket
- Dust Cover (red)
- User Guide
- Mounting Screws and Wire Nuts
- AA Backup Batteries (pre-installed with pull tab)

Image: Contents of the Kidde Smart Smoke Detector package, showing the detector, user guide, mounting bracket, and red dust cover.
Video: Unboxing the Kidde Smart Smoke Detector, showing the contents and initial setup steps.
Setup and Installation
Follow these steps to properly install and set up your Kidde Smart Hardwired Smoke Detector.
1. Prepare for Installation
- Mark Installation Date: Before beginning, write the current date on the alarm. This helps you track when the device needs replacement (typically after 10 years).
- Download Ring App: Download the Ring App from your device's app store. Create an account or sign in if you already have one.
- Turn Off Power: WARNING: Before handling any wiring, safely turn off the main power to the circuit you are working on at your home's breaker box. If unsure, consult a qualified electrician.
- Remove Existing Alarm: Gently twist your existing smoke alarm counter-clockwise and pull it down. Disconnect any wire nuts or connectors and remove the old mounting bracket.

Image: Marking the installation date on the back of the smoke detector.

Image: Downloading and setting up the Ring App on a smartphone.
2. Install the Mounting Bracket
- Pull the wire harness from your ceiling through the center hole of the new mounting bracket.
- Secure the mounting bracket to the electrical box using the provided screws and a screwdriver. Ensure the "A" alignment marks on the bracket are parallel with your wall for aesthetic alignment. Do not overtighten to prevent bending or warping.

Image: Installing the mounting bracket to the ceiling.
3. Activate Backup Batteries
The device comes with pre-installed AA backup batteries. Activate them by pulling out the yellow tab on the back of the alarm. You should hear a beep confirming activation. If no beep, check that the batteries are correctly installed and the battery door is securely closed.
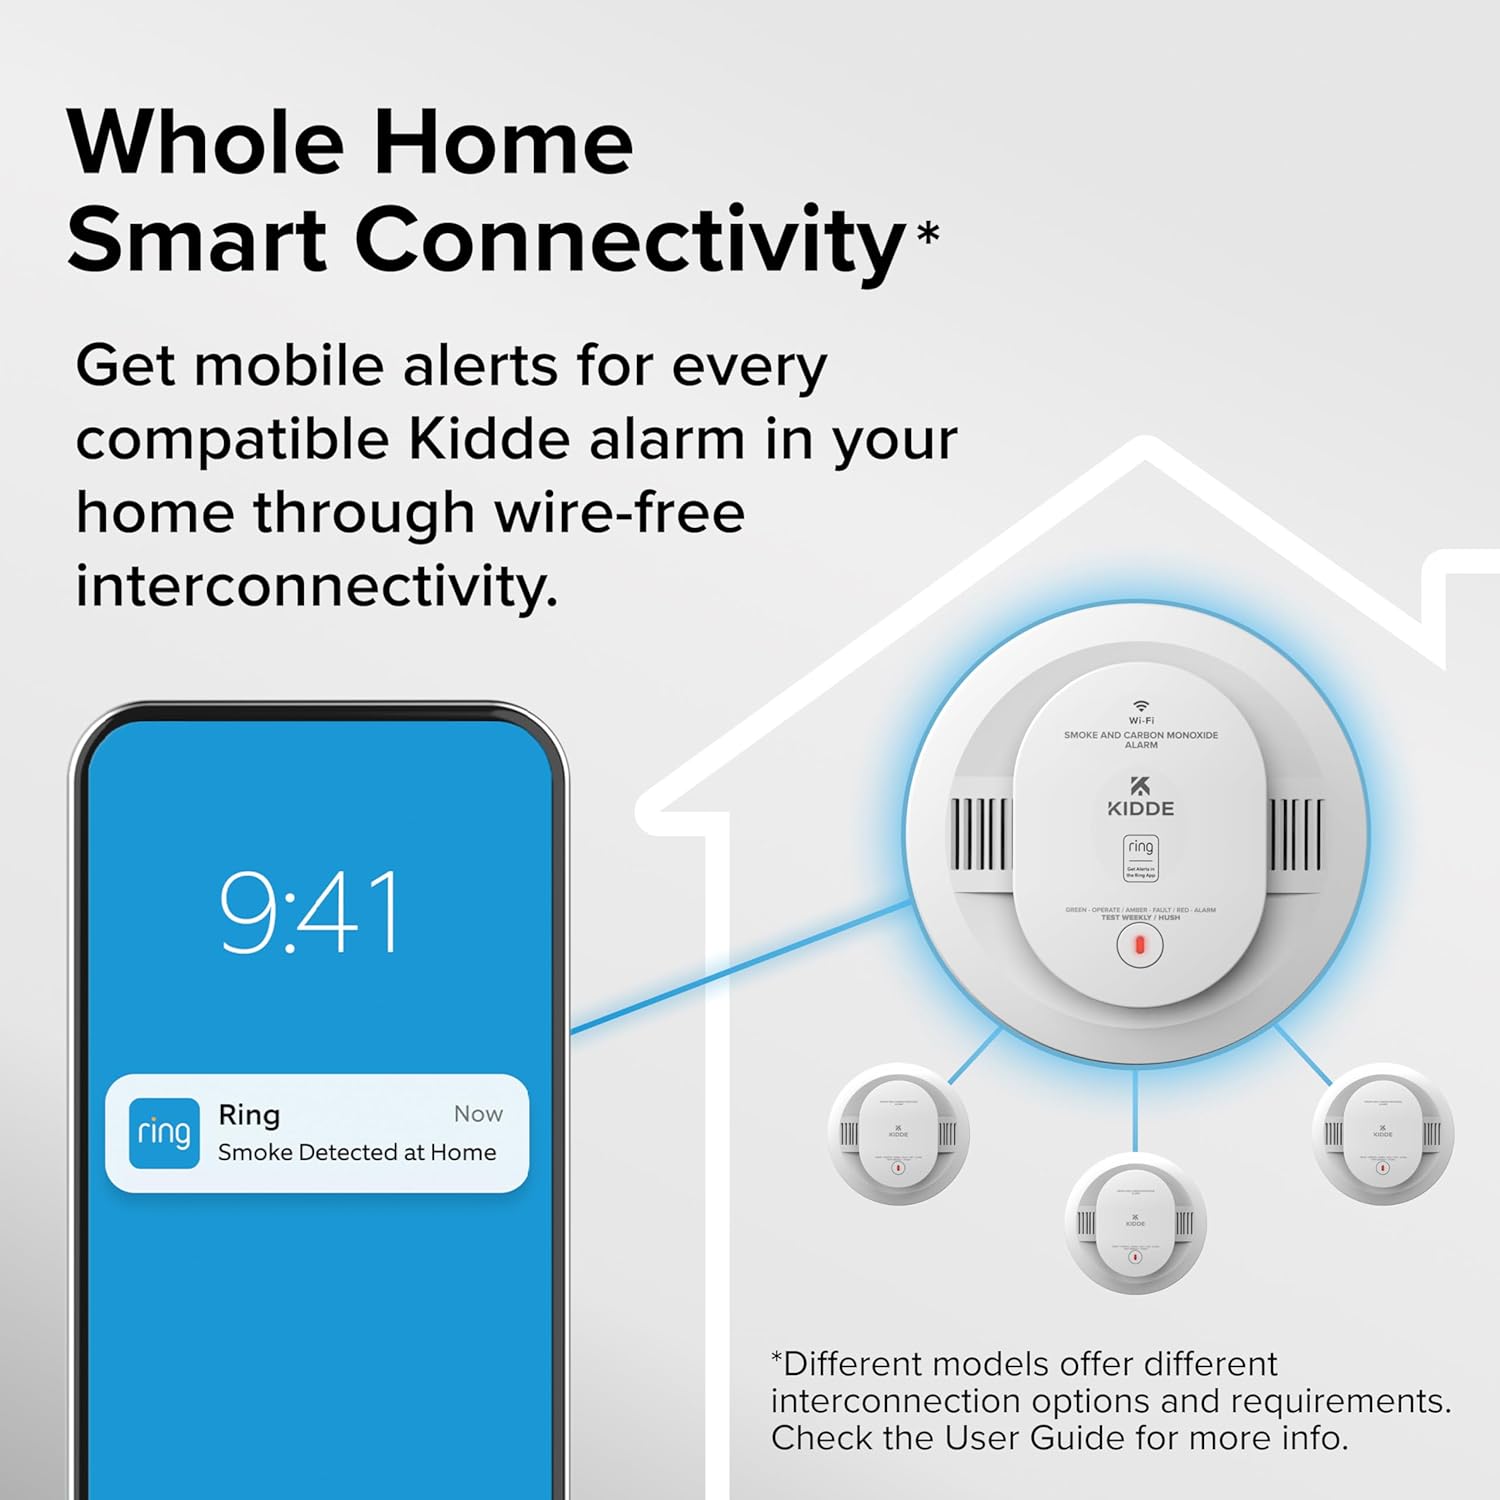
Image: Activating the backup batteries by pulling a tab.
4. Connect the Wires and Mount the Alarm
- Connect the wire harness from the ceiling to the alarm's connector, ensuring it clicks into place.
- Carefully push any excess wire back into the electrical box.
- Attach the alarm to its mounting bracket by twisting it clockwise until it locks securely.

Image: Connecting the wire harness to the smoke detector.

Image: Mounting the smoke detector to the ceiling.
5. Restore Power and Connect to Ring App
- Once the physical installation is complete, turn the power back on at your circuit breaker.
- Ensure Bluetooth is enabled on your mobile device.
- Open the Ring App, tap "Set Up a Device," and select your Kidde device.
- Scan the QR code located on the device or in the user guide.
- Follow the in-app instructions to connect the alarm to your 2.4 GHz Wi-Fi network and assign it a name (e.g., "Kitchen Smoke Detector").
- Confirm that the blue light is blinking on the front of the alarm, indicating normal operation.

Image: Scanning the QR code for Ring App setup.
Video: Step-by-step guide on installing the Kidde Smart Hardwired Alarm and connecting it to the Ring App.
Operating Instructions
Real-Time Notifications
Your Kidde Smart Smoke Detector sends instant alerts to your Ring App for smoke detection or low battery warnings. This ensures you are always informed, whether you are at home or away.

Image: Ring App notification for smoke detection.
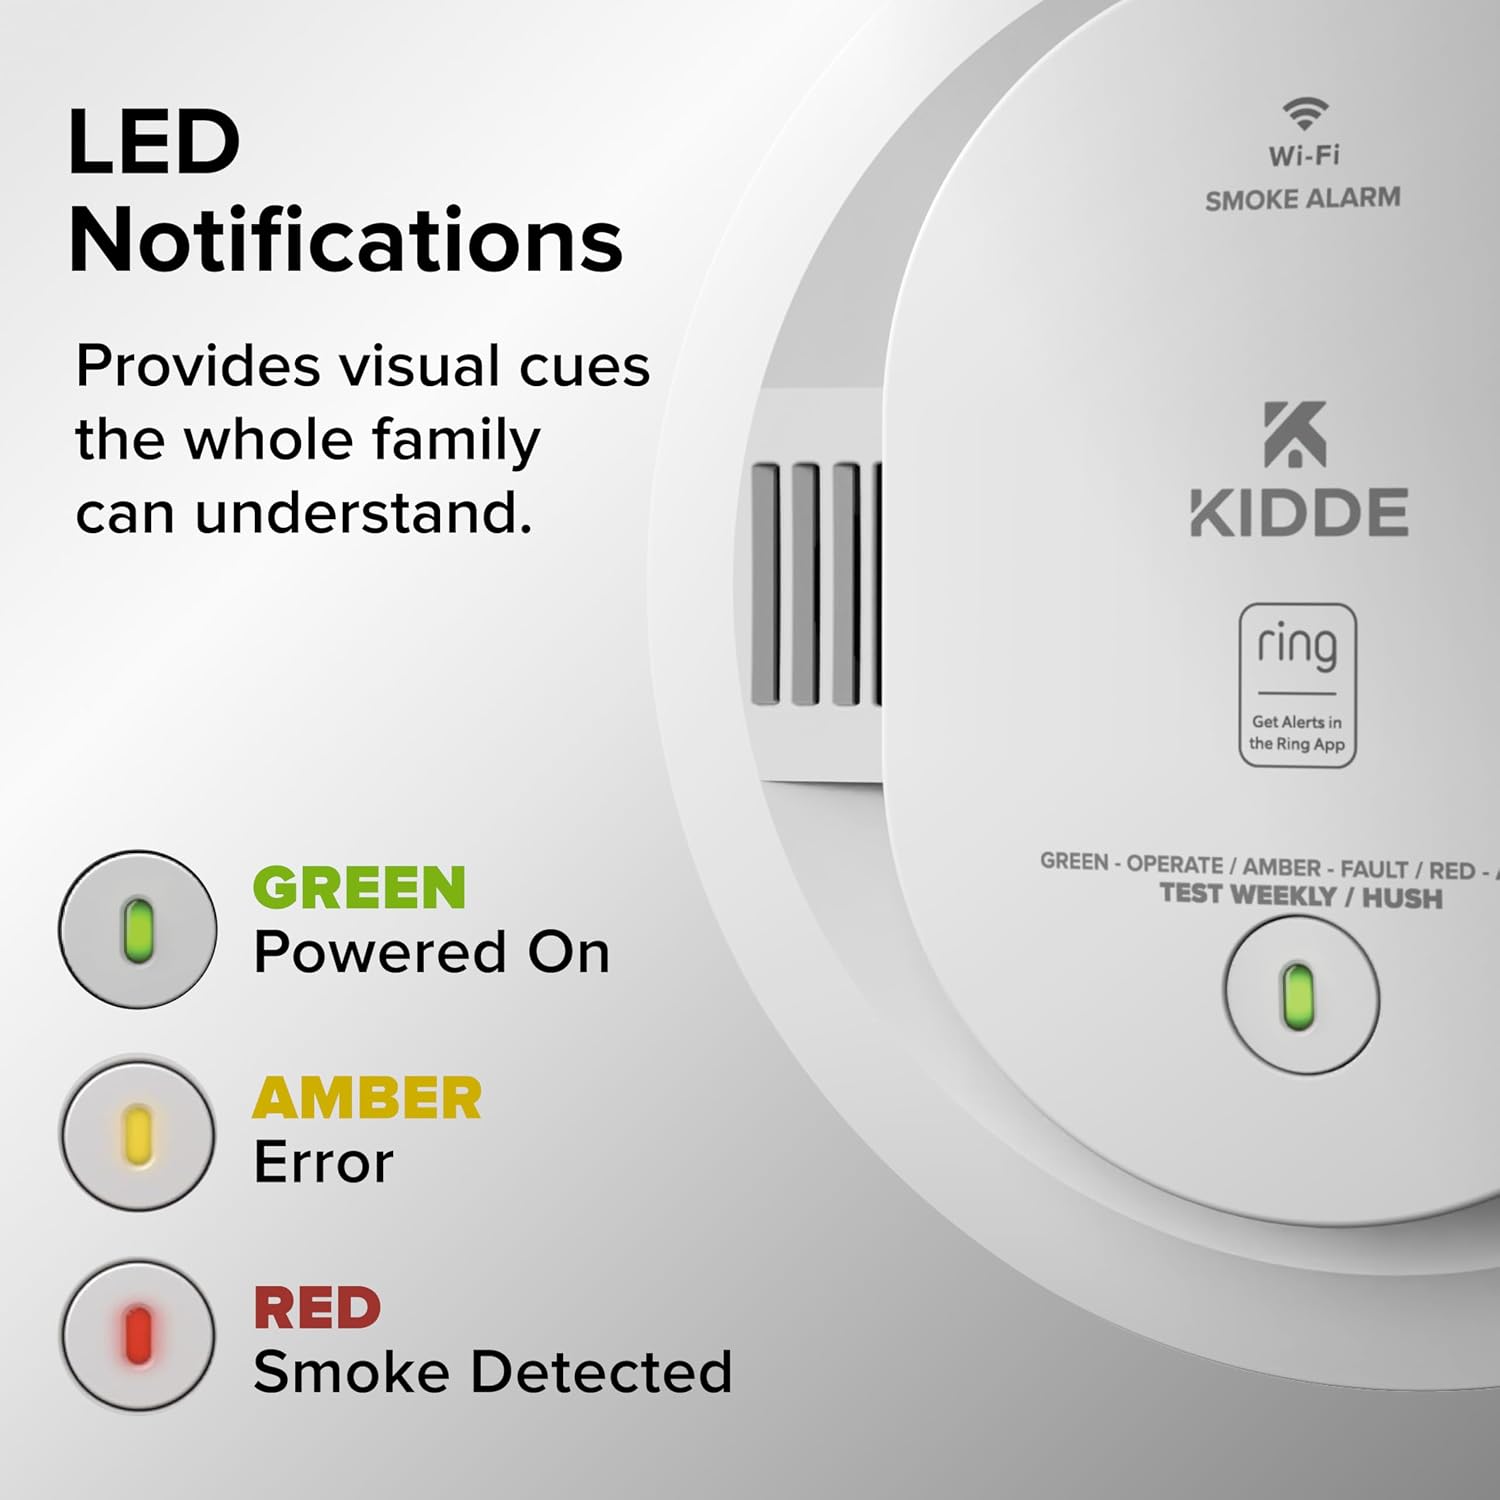
Image: Ring App notification for low battery.
Voice Alerts
In addition to audible alarms, the detector provides clear voice alerts that specify the nature of the emergency (e.g., "Fire!").

Image: Smoke detector issuing a voice alert for "Fire!".
LED Notifications
The device features an LED indicator that provides visual cues:
- Green: Powered On / Normal Operation
- Amber: Error / Fault
- Red: Smoke Detected / Alarm

Image: LED indicators on the smoke detector.
Maintenance
Regular Testing
Test your smoke detector weekly by pressing and holding the test button until the alarm sounds. This confirms the device is functioning correctly.
Battery Replacement
The device uses AA backup batteries. Replace them at least once a year, or immediately when a low battery warning is received. To replace, twist the alarm counter-clockwise to remove it from the mounting bracket, open the battery compartment, replace the batteries, and re-mount the alarm.
Cleaning
Clean your smoke detector regularly to prevent dust buildup from affecting its performance. Use a soft, damp cloth to wipe the exterior. Do not use cleaning sprays or solvents.
Troubleshooting
If your Kidde Smart Hardwired Smoke Detector is not functioning as expected, consider the following common issues:
- No Power/No Lights: Ensure the circuit breaker is on and the device is correctly wired and mounted. Check the backup batteries.
- False Alarms: This device features technology to reduce nuisance alarms. If false alarms occur frequently, ensure the detector is not installed too close to cooking areas, bathrooms with showers, or sources of steam/humidity. Clean the detector to remove any dust.
- No Ring App Notifications: Verify your Wi-Fi connection is stable (2.4 GHz only). Ensure Bluetooth is enabled on your phone during setup. Check Ring App settings for notifications.
- Low Battery Chirp: Replace the AA backup batteries immediately.
For more detailed troubleshooting, refer to the complete user guide included with your product or visit the Kidde support website.
Specifications
| Attribute | Value |
|---|---|
| Brand | Kidde |
| Style | Smoke Detector |
| Power Source | Hardwired |
| Color | White |
| Product Dimensions | 2"D x 5"W x 5"H |
| Item Weight | 6.4 ounces |
| Alarm | Audible |
| Operating Humidity | Up to 95% relative humidity (RH), non-condensing |
| Upper Temperature Rating | 100 Degrees Fahrenheit |
| Sensor Type | Photoelectric |
Warranty and Support
For warranty information, technical support, or further assistance, please refer to the full user guide provided with your product or visit the official Kidde website. Keep your purchase receipt for warranty claims.


