
Important Safety Information
Please read all instructions carefully before installation and use. Retain this manual for future reference.
- Ensure the power supply is disconnected at the circuit breaker before installation or maintenance.
- All electrical connections must be performed by a qualified electrician and comply with local codes and ordinances.
- Mounting structure must be capable of supporting the fan's weight.
- Do not bend fan blade holders during installation or cleaning.
- Keep children away from the fan during operation.
- Use only E26 base bulbs, maximum 60W.
Package Contents
Verify that all components are present and undamaged before proceeding with installation.
- Caged Ceiling Fan Unit (pre-assembled)
- Light Kit
- ABS Lampshade
- Remote Control
- Mounting Hardware
- User Manual
Note: Batteries for the remote control and E26 bulbs are not included.
Product Specifications
| Feature | Specification |
|---|---|
| Brand | VOLISUN |
| Model Number | KJ8810-BK |
| Color | Black |
| Size | 19.7 inch (Diameter) |
| Product Dimensions | 19.7"D x 19.7"W x 5.3"H |
| Power Source | Corded Electric |
| Voltage | 110 Volts |
| Wattage | 40 watts |
| Number of Speeds | 6 |
| Noise Level | 30 Decibels |
| Control Method | Remote, App |
| Installation Type | Flush Mount |
| Material | Acrylonitrile Butadiene Styrene, Metal |
| Bulb Base | E26 (Bulbs not included) |
| Indoor/Outdoor Usage | Indoor |
Setup and Installation
Pre-Installation Checklist
- Ensure you have all necessary tools (screwdriver, wire strippers, ladder, etc.).
- Confirm the electrical box is securely mounted and capable of supporting the fan.
- Turn off power at the main circuit breaker before beginning.
Installation Steps
The VOLISUN Caged Ceiling Fan is designed for simplified installation with most components pre-assembled.
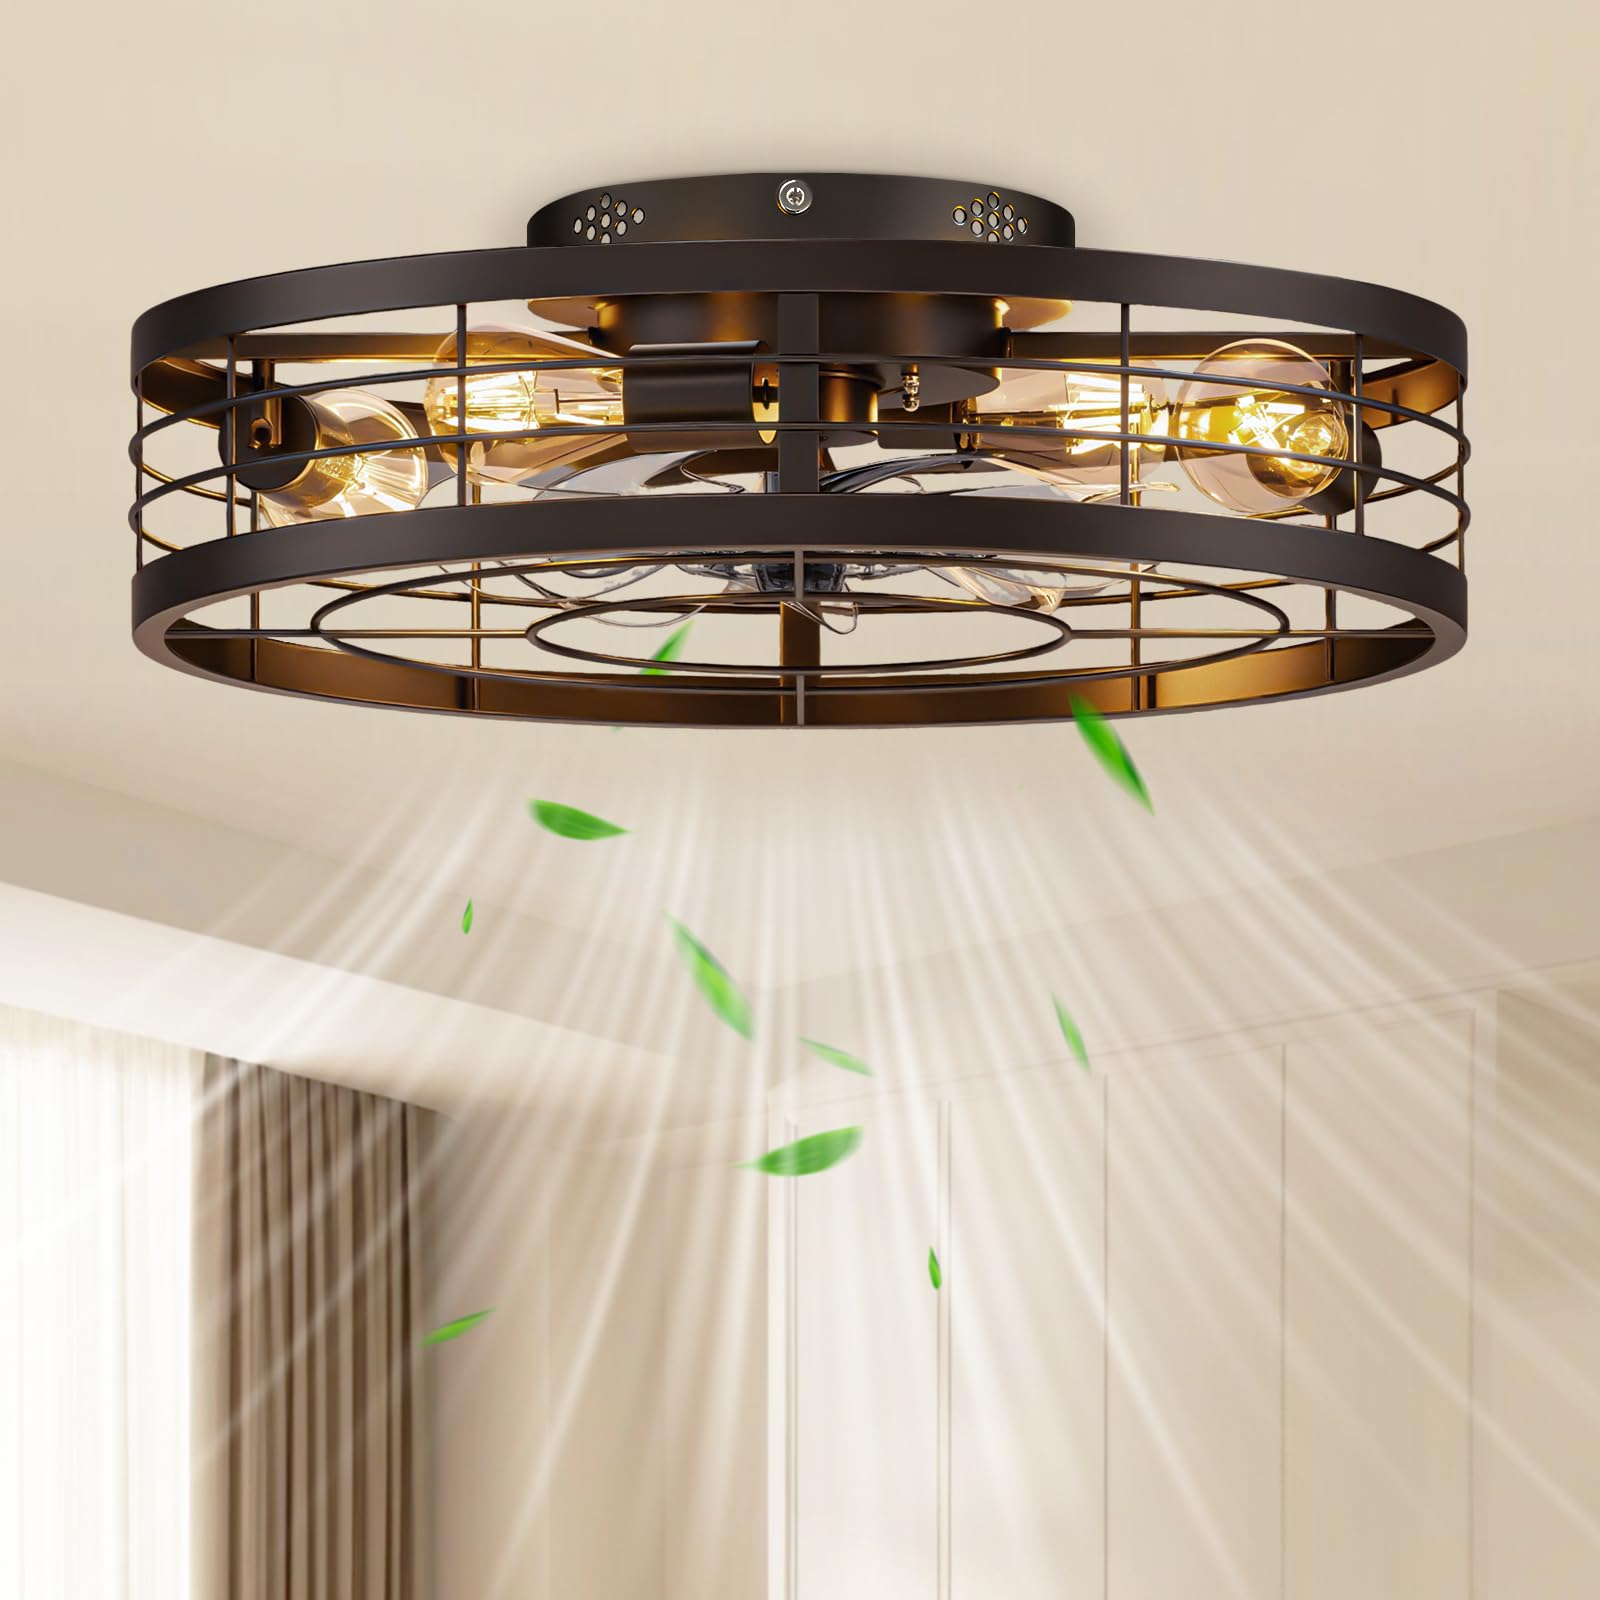
Image: The VOLISUN 19.7 inch Caged Ceiling Fan in black, showcasing its industrial farmhouse design.
- Remove from Packaging: Carefully remove the pre-assembled fan light from its packaging.
- Install Mounting Plate: Securely attach the mounting plate to the ceiling electrical box. Ensure it is firmly fixed to support the fan's weight.
- Connect Wiring: Connect the electrical wires from the ceiling to the fan unit according to the wiring diagram provided in the full manual. Use appropriate wire connectors.
- Mount Fan Unit: Carefully lift and secure the fan unit to the mounting plate. Ensure all screws are tightened.

Image: The fan unit shown inside its box, highlighting its pre-assembled state for quick setup.

Image: A three-step diagram illustrating the installation process: 1. Remove from package, 2. Install mounting plate, 3. Connect wires and secure fan.
Video: Official VOLISUN installation guide demonstrating how to install the caged ceiling fan.
Operating Instructions
Remote Control Operation
The included remote control provides convenient access to all fan and light functions.

Image: The remote control for the VOLISUN ceiling fan, showing buttons for speed, timer, and light.
- Power ON/OFF: Press the power button to turn the fan and light on or off.
- Light ON/OFF: Control the light independently using the light button.
- Fan Speed: Select from 6 wind speed levels (1-6) to adjust airflow intensity.
- Forward/Reverse: Change the fan's rotation direction for seasonal use.
- Timer: Set the fan to automatically turn off after 1, 2, or 4 hours.

Image: Visual representation of the remote control and its functions, including forward/reverse, light control, 6 fan speeds, and timer settings.
App Control
The fan can also be controlled via a smartphone application. Follow the instructions below to pair your device.

Image: A smartphone displaying the app interface for controlling the VOLISUN ceiling fan, with a QR code for app download.
Video: Official VOLISUN guide on how to pair the fan light with the mobile application for smart control.
Fan Speed Settings
The fan offers six distinct speed options to suit your comfort needs.

Image: Illustration of the 6 wind speed settings, suggesting appropriate use for different activities (sleep, work, exercise).
- Speeds 1-2 (Low Wind): Ideal for a gentle breeze, perfect for sleeping or quiet environments.
- Speeds 3-4 (Medium Wind): Suitable for general air circulation during daily activities.
- Speeds 5-6 (High Wind): Provides robust airflow for quick cooling or larger spaces.
Forward and Reverse Modes
Adjust the fan's rotation direction to optimize comfort throughout the year.

Image: Diagram showing forward mode for cooling in summer and reverse mode for warming in winter.
- Forward Mode (Counter-clockwise): Creates a downward airflow, producing a cooling effect for summer.
- Reverse Mode (Clockwise): Creates an upward airflow, circulating warm air near the ceiling for winter.
Video: Official VOLISUN video demonstrating the features of the caged ceiling fan, including its forward and reverse modes.
Timer Function
The fan includes a convenient timer function for automatic shut-off.

Image: A visual representation of the timer settings available on the VOLISUN ceiling fan: 1 hour, 2 hours, and 4 hours.
- Press the timer button on the remote or app to select 1-hour, 2-hour, or 4-hour automatic shut-off.
- The fan will operate for the selected duration and then turn off automatically.
Light Operation
The integrated light kit uses E26 base bulbs (not included) and can be controlled independently.

Image: The VOLISUN ceiling fan illuminating a room with soft, warm light, highlighting its remote control, timer, 6 wind speeds, and easy installation features.
- Press the light button on the remote control or use the app to turn the light on or off.
- Ensure bulbs are securely installed before operating the light.
Maintenance
Regular maintenance ensures optimal performance and longevity of your ceiling fan.
- Cleaning: Use a soft, damp cloth to clean the fan's exterior. Do not use abrasive cleaners or solvents. Ensure power is off before cleaning.
- Bulb Replacement: Turn off power before replacing bulbs. Allow bulbs to cool completely. Replace with E26 base bulbs, maximum 60W.
- Tighten Fasteners: Periodically check and tighten all screws and fasteners on the fan and mounting hardware.
Troubleshooting
Refer to this section for common issues and their solutions.
| Problem | Possible Cause | Solution |
|---|---|---|
| Fan does not start | No power supply; Loose wire connections; Remote control battery dead. | Check circuit breaker; Verify all wire connections are secure; Replace remote control batteries. |
| Light does not work | Bulb faulty or loose; Loose wire connections; No power to light kit. | Replace or tighten bulb; Check light kit wiring; Ensure power is supplied to the light. |
| Fan wobbles | Loose mounting screws; Unevenly tightened blades (if applicable); Improper installation. | Tighten all mounting screws; Ensure fan is securely attached to the ceiling. |
| Remote control not working | Batteries dead or incorrectly inserted; Remote not paired with fan. | Replace batteries, ensuring correct polarity; Refer to pairing instructions in the full manual. |
| App control not working | App not paired; Wi-Fi connectivity issues. | Ensure the fan is correctly paired with the app; Check your Wi-Fi connection. |
Warranty and Support
VOLISUN stands by the quality of its products.
- Warranty: This product is covered by a 3-year warranty against malfunctions or defects.
- Customer Service: For any inquiries, technical support, or warranty claims, please contact VOLISUN customer service.

Image: VOLISUN's commitment to professional after-sales support and 24/7 customer service, highlighting the 3-year warranty.