
Important Safeguards
When using electrical appliances, basic safety precautions should always be followed to reduce the risk of fire, electrical shock, and/or injury to persons, including the following:
- Read all instructions before operating this appliance.
- Do not touch hot surfaces. Use handles or knobs.
- To protect against electrical shock, do not immerse cord, plug, or any part of the unit in water or other liquids.
- Close supervision is necessary when any appliance is used by or near children.
- Unplug from outlet when not in use and before cleaning. Allow to cool before putting on or taking off parts, and before cleaning the appliance.
- Do not operate any appliance with a damaged cord or plug, or after the appliance malfunctions or has been damaged in any manner. Return the appliance to the nearest authorized service facility for examination, repair, or adjustment.
- The use of accessory attachments not provided by the appliance manufacturer may cause injuries.
- Do not use outdoors.
- Do not let the cord hang over the edge of a table or counter, or touch hot surfaces.
- Do not place on or near a hot gas or electric burner, or in a heated oven.
- Extreme caution must be used when moving an appliance containing hot oil or other hot liquids.
- Do not use the appliance for other than intended use.
- A short power-supply cord is provided to reduce the risk resulting from becoming entangled in or tripping over a long cord.
- Longer extension cords are available and may be used if care is exercised in their use.
- If a long extension cord is used: The marked electrical rating of the extension cord should be at least as great as the electrical rating of the appliance. The longer cord should be arranged so that it will not drape over a countertop or tabletop where it can be pulled on by children or tripped over unintentionally.
Parts and Features
Familiarize yourself with the components of your Igloo Portable Ice Maker.
- Ice Maker Unit: The main body of the appliance.
- LED Control Panel: Displays power status, ice full indicator, and add water indicator.
- Water Tank: Internal reservoir for water, approximately 1 quart capacity.
- Ice Basket: Removable basket to collect produced ice.
- Ice Scoop: For convenient removal of ice from the basket.
- Ice Production Rods: Internal components responsible for freezing water into ice.
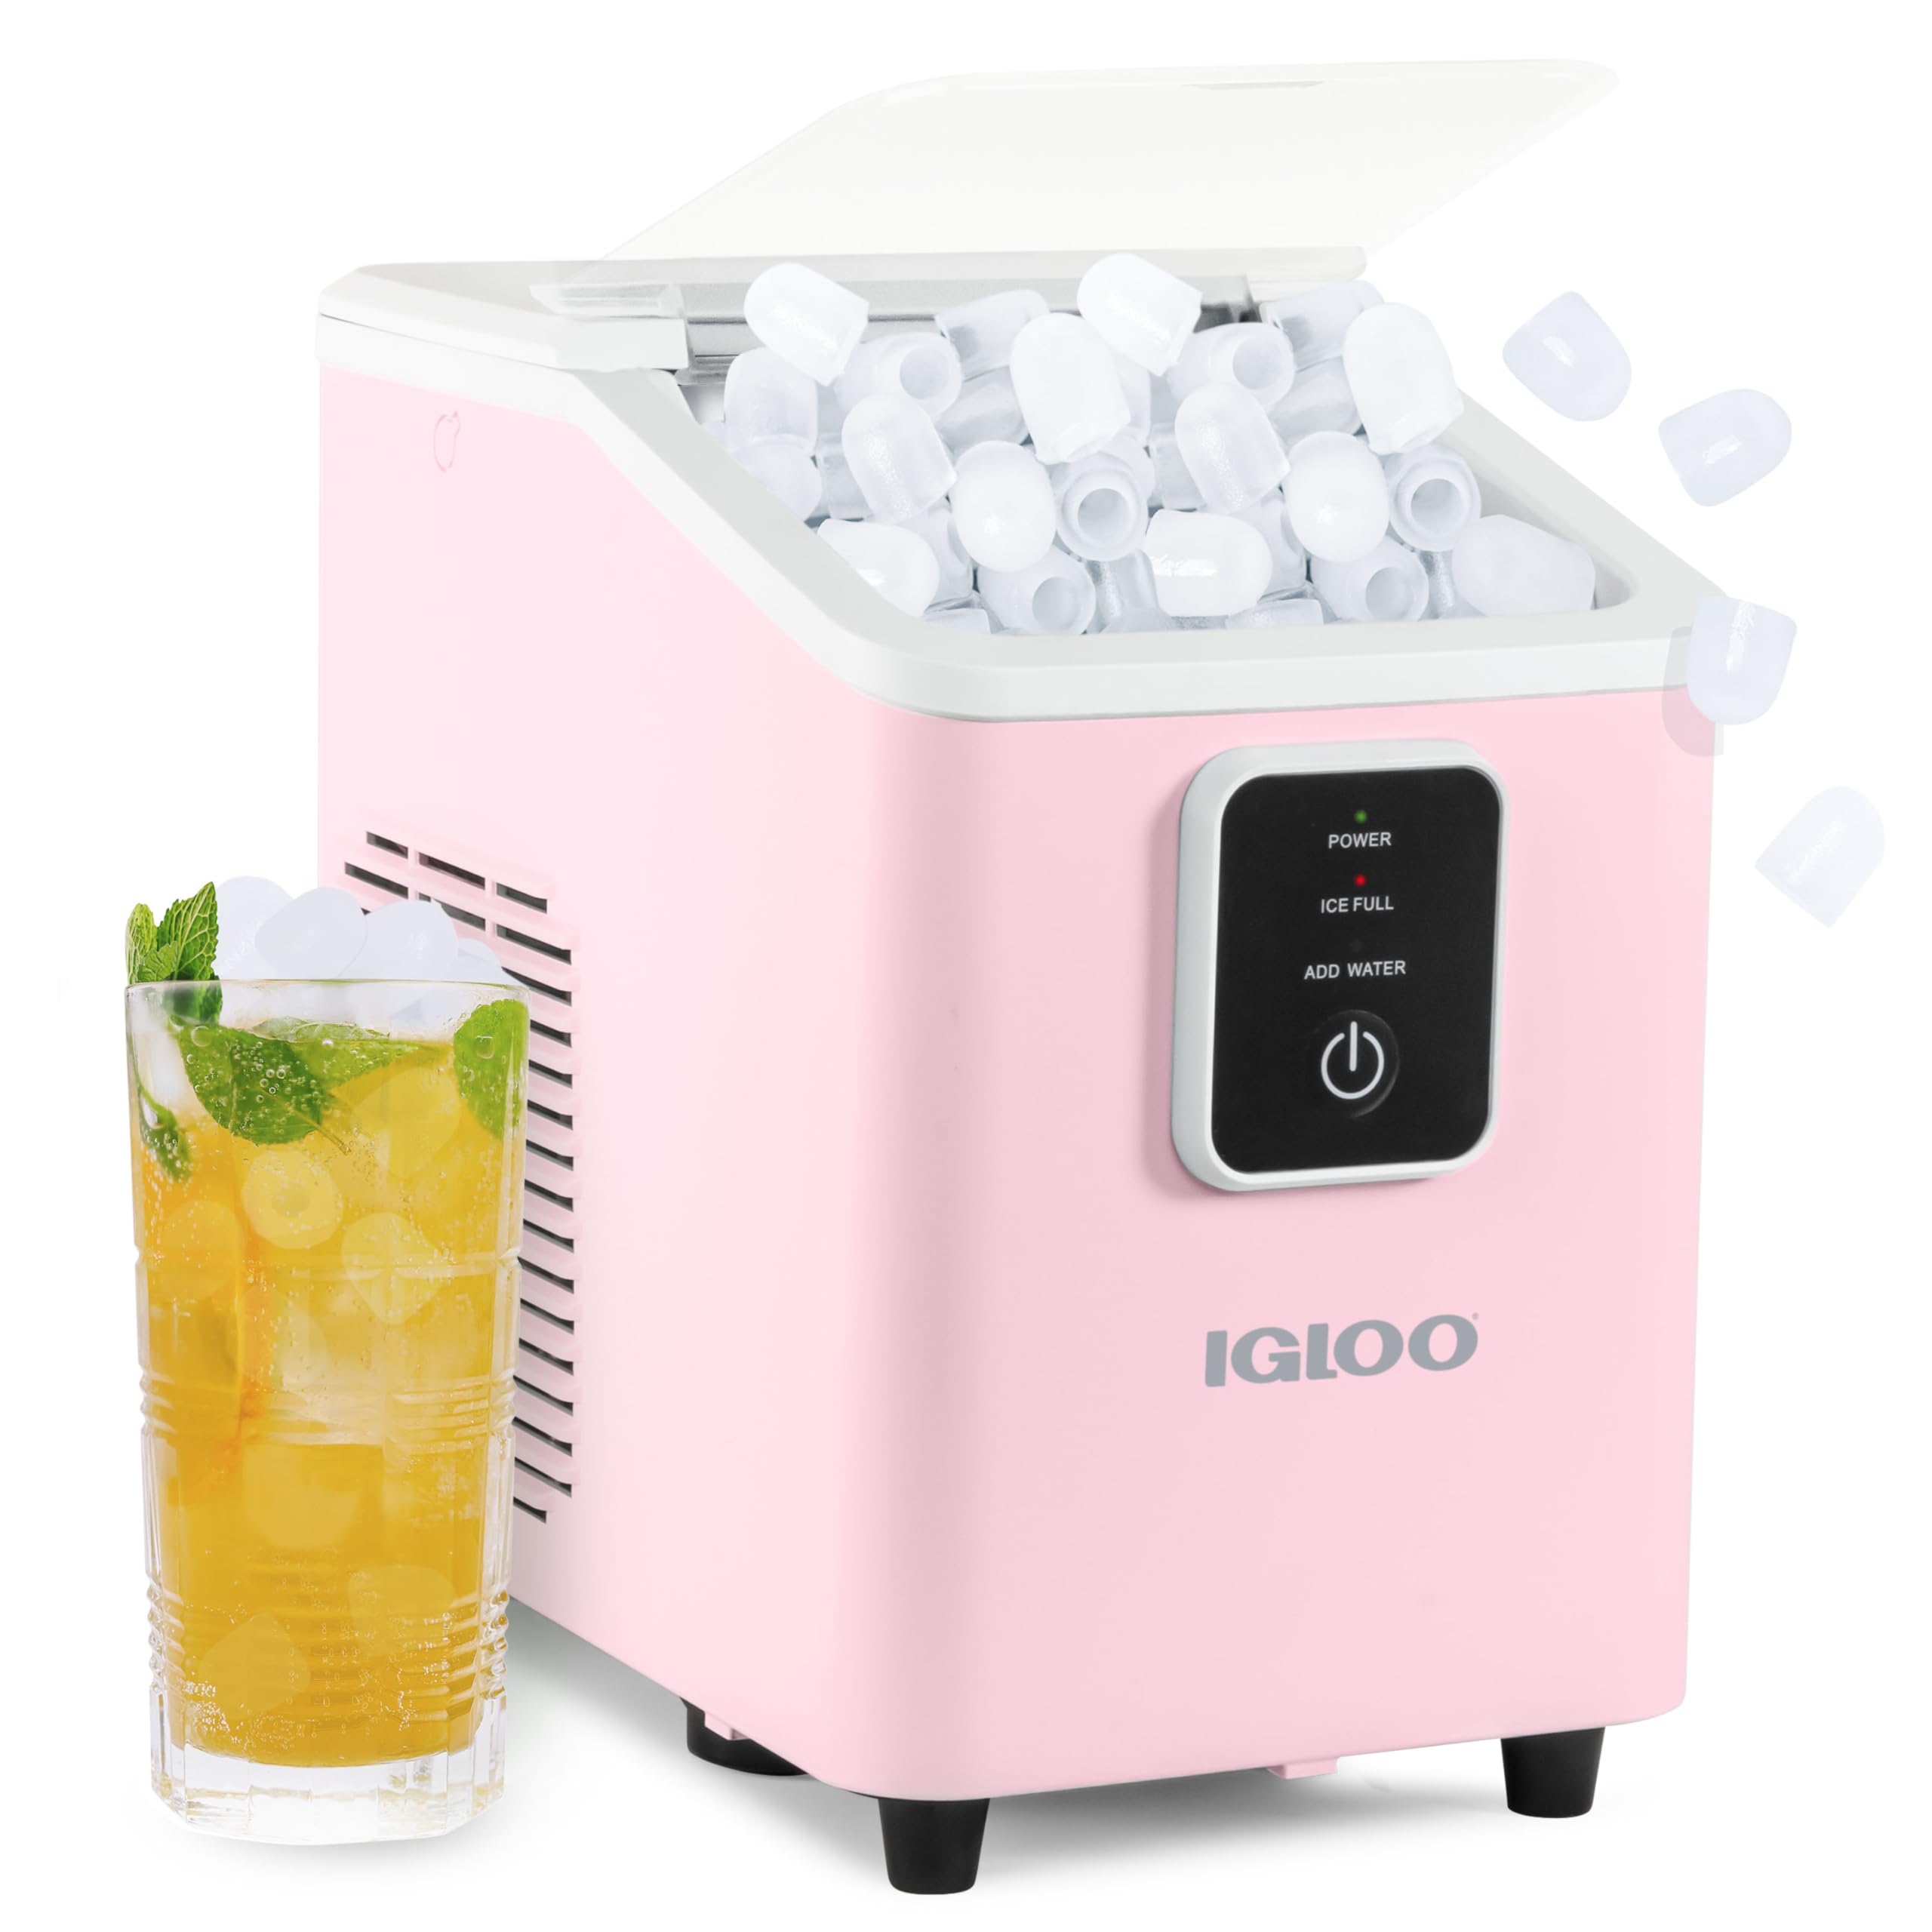
Front view of the Igloo Portable Ice Maker, showing the LED control panel and overall design.
Before First Use
- Unpack: Carefully remove all packaging materials and inspect the ice maker for any damage.
- Clean: Wash the ice basket and ice scoop with warm, soapy water. Rinse thoroughly and dry.
- Initial Cleaning Cycle: It is recommended to run a self-cleaning cycle before first use. Refer to the 'Self-Cleaning Function' section for instructions.
- Placement: Place the ice maker on a flat, stable surface away from direct sunlight and heat sources. Ensure adequate ventilation around the unit.
Setup
- Connect Power: Plug the ice maker into a grounded electrical outlet.
- Add Water: Open the lid and remove the ice basket. Fill the water tank with potable water up to the MAX fill line. Do not overfill.
- Replace Basket: Place the ice basket back into the unit and close the lid.

The ice maker with its included scoop and removable ice basket.
Operating Instructions
- Power On: Press the POWER button on the LED control panel. The POWER indicator light will illuminate.
- Select Ice Size: The ice maker typically defaults to a small ice cube size. To change the size, press the POWER button again briefly. The indicator for the selected size (small or large) will light up.
- Ice Production: The ice maker will begin the ice-making process. The first batch of ice will be ready in approximately 7-8 minutes.
- Ice Full Indicator: When the ice basket is full, the ICE FULL indicator light will illuminate, and the ice maker will automatically stop producing ice. Remove ice from the basket to resume production.
- Add Water Indicator: If the water level in the tank is too low, the ADD WATER indicator light will illuminate, and the ice maker will stop. Add more water as per the 'Setup' instructions to resume operation.
- Power Off: To turn off the ice maker, press and hold the POWER button for a few seconds until the POWER indicator light turns off.

Close-up of the LED control panel with Power, Ice Full, and Add Water indicators.

View inside the ice maker showing the ice production rods and newly formed bullet ice cubes.
Self-Cleaning Function
The ice maker features an automatic self-cleaning cycle to help maintain hygiene and prevent limescale buildup.
- Empty Unit: Ensure the ice maker is empty of ice and water.
- Add Water: Fill the water tank with clean, potable water up to the MAX fill line.
- Activate Cleaning: With the unit plugged in and powered off, press and hold the POWER button for 5 seconds. The cleaning cycle will begin, indicated by specific lights on the control panel (refer to your model's specific light sequence if available).
- Cycle Completion: The cleaning cycle typically lasts for a few minutes. Once complete, the unit will return to standby mode.
- Drain Water: Unplug the unit and drain the water from the tank. Rinse the interior thoroughly with clean water.
- Dry: Wipe the interior dry with a soft cloth.

Illustration of the self-cleaning function, showing water circulation within the unit.
Maintenance
- Regular Cleaning: Clean the interior of the ice maker, including the water tank and ice basket, weekly or as needed, especially if not in continuous use.
- Exterior Cleaning: Wipe the exterior with a soft, damp cloth. Do not use abrasive cleaners or solvents.
- Descaling: If hard water is used, limescale buildup may occur. Run the self-cleaning cycle with a solution of water and white vinegar (1:1 ratio) periodically. Follow with several plain water cycles to rinse thoroughly.
- Storage: If storing the ice maker for an extended period, ensure it is completely dry and clean. Store in a cool, dry place.
Troubleshooting
| Problem | Possible Cause | Solution |
|---|---|---|
| Ice maker not producing ice. | No water in tank; power issue; ambient temperature too high. | Add water; check power connection; ensure unit is in a cool environment. |
| ADD WATER light is on. | Water level is low. | Fill water tank to MAX line. |
| ICE FULL light is on. | Ice basket is full. | Remove ice from the basket. |
| Ice cubes are too small or clumpy. | Water temperature too high; unit needs cleaning. | Use colder water; run self-cleaning cycle. |
| Unusual noise during operation. | Normal operation sounds (compressor, water pump); unit not level. | Ensure unit is on a flat, stable surface. If noise is excessive or unusual, contact support. |
Specifications
- Model Name: Igloo Portable Ice Maker with Scoop & Basket
- Model Number: 26 Lb
- Product Dimensions: 10.79"D x 7.3"W x 11.89"H
- Ice Production Capacity: Up to 26 lbs per 24 hours
- Ice Cube Production Time: 7-8 minutes per batch (8 cubes)
- Water Tank Capacity: 1 Quart (approx. 1.5 Liters)
- Voltage: 120V
- Refrigerant: R600a
- Material Type: Plastic
- Included Components: Ice Maker, Ice Basket, Ice Scoop

Diagram showing the dimensions of the Igloo Portable Ice Maker.
Warranty and Support
This Igloo Portable Ice Maker comes with a limited manufacturer's warranty. Please refer to the warranty card included in your product packaging for specific terms and conditions.
For technical support, troubleshooting assistance, or to inquire about warranty claims, please contact Igloo Customer Service. Contact information can typically be found on the manufacturer's website or on the product packaging.
When contacting support, please have your model number (26 Lb) and proof of purchase readily available.


