
Igloo 26 Lb
Igloo Self-Cleaning Countertop Ice Maker (Model 26 Lb Aqua) User Manual
Comprehensive instructions for setup, operation, and maintenance of your Igloo ice maker.
1. Introduction
Thank you for choosing the Igloo Self-Cleaning Countertop Ice Maker. This appliance is designed to provide a convenient and efficient way to produce ice for your beverages and various needs. Please read this manual thoroughly before operating your new ice maker to ensure safe and optimal performance. Keep this manual for future reference.
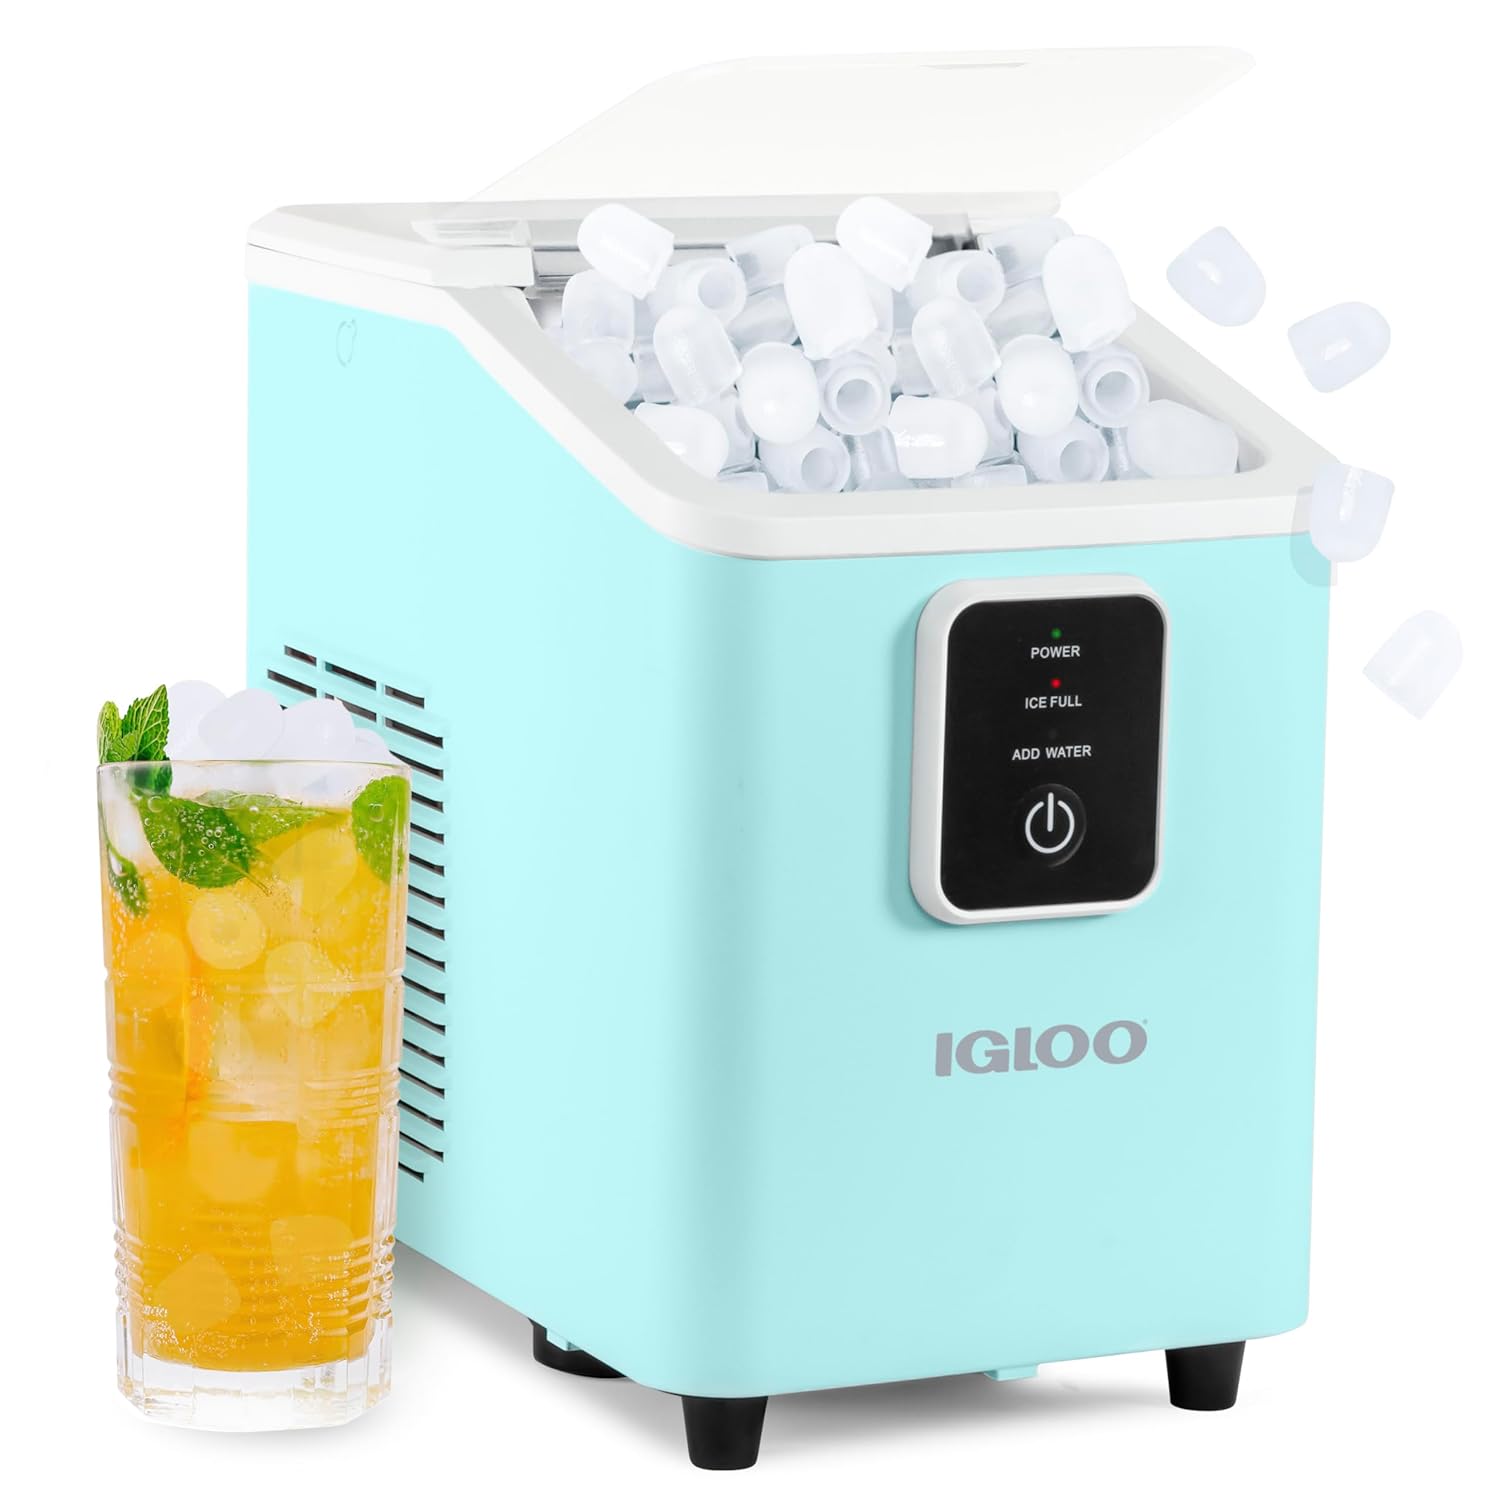
Image 1.1: The Igloo Self-Cleaning Countertop Ice Maker in Aqua, shown with a refreshing drink.
2. Important Safety Information
To reduce the risk of fire, electric shock, or injury, follow these basic safety precautions:
- Read all instructions before using the appliance.
- Do not touch hot surfaces. Use handles or knobs.
- To protect against electrical shock, do not immerse cord, plugs, or any part of the main unit in water or other liquids.
- Close supervision is necessary when any appliance is used by or near children.
- Unplug from outlet when not in use and before cleaning. Allow to cool before putting on or taking off parts.
- Do not operate any appliance with a damaged cord or plug, or after the appliance malfunctions or has been damaged in any manner.
- The use of accessory attachments not recommended by the appliance manufacturer may cause injuries.
- Do not use outdoors.
- Do not let cord hang over edge of table or counter, or touch hot surfaces.
- Do not place on or near a hot gas or electric burner, or in a heated oven.
- Always attach plug to appliance first, then plug cord into the wall outlet. To disconnect, turn any control to "off," then remove plug from wall outlet.
- Do not use appliance for other than intended use.
3. Product Components
Familiarize yourself with the parts of your Igloo ice maker:
- Ice Maker Unit: The main appliance housing the ice-making mechanism.
- Water Reservoir: Located inside, where water is stored for ice production.
- Ice Basket: Removable basket to collect produced ice.
- Ice Scoop: For convenient serving of ice.
- Control Panel: Features a power button and LED indicators for "POWER", "ICE FULL", and "ADD WATER".
- Transparent Lid: Allows viewing of the ice-making process.
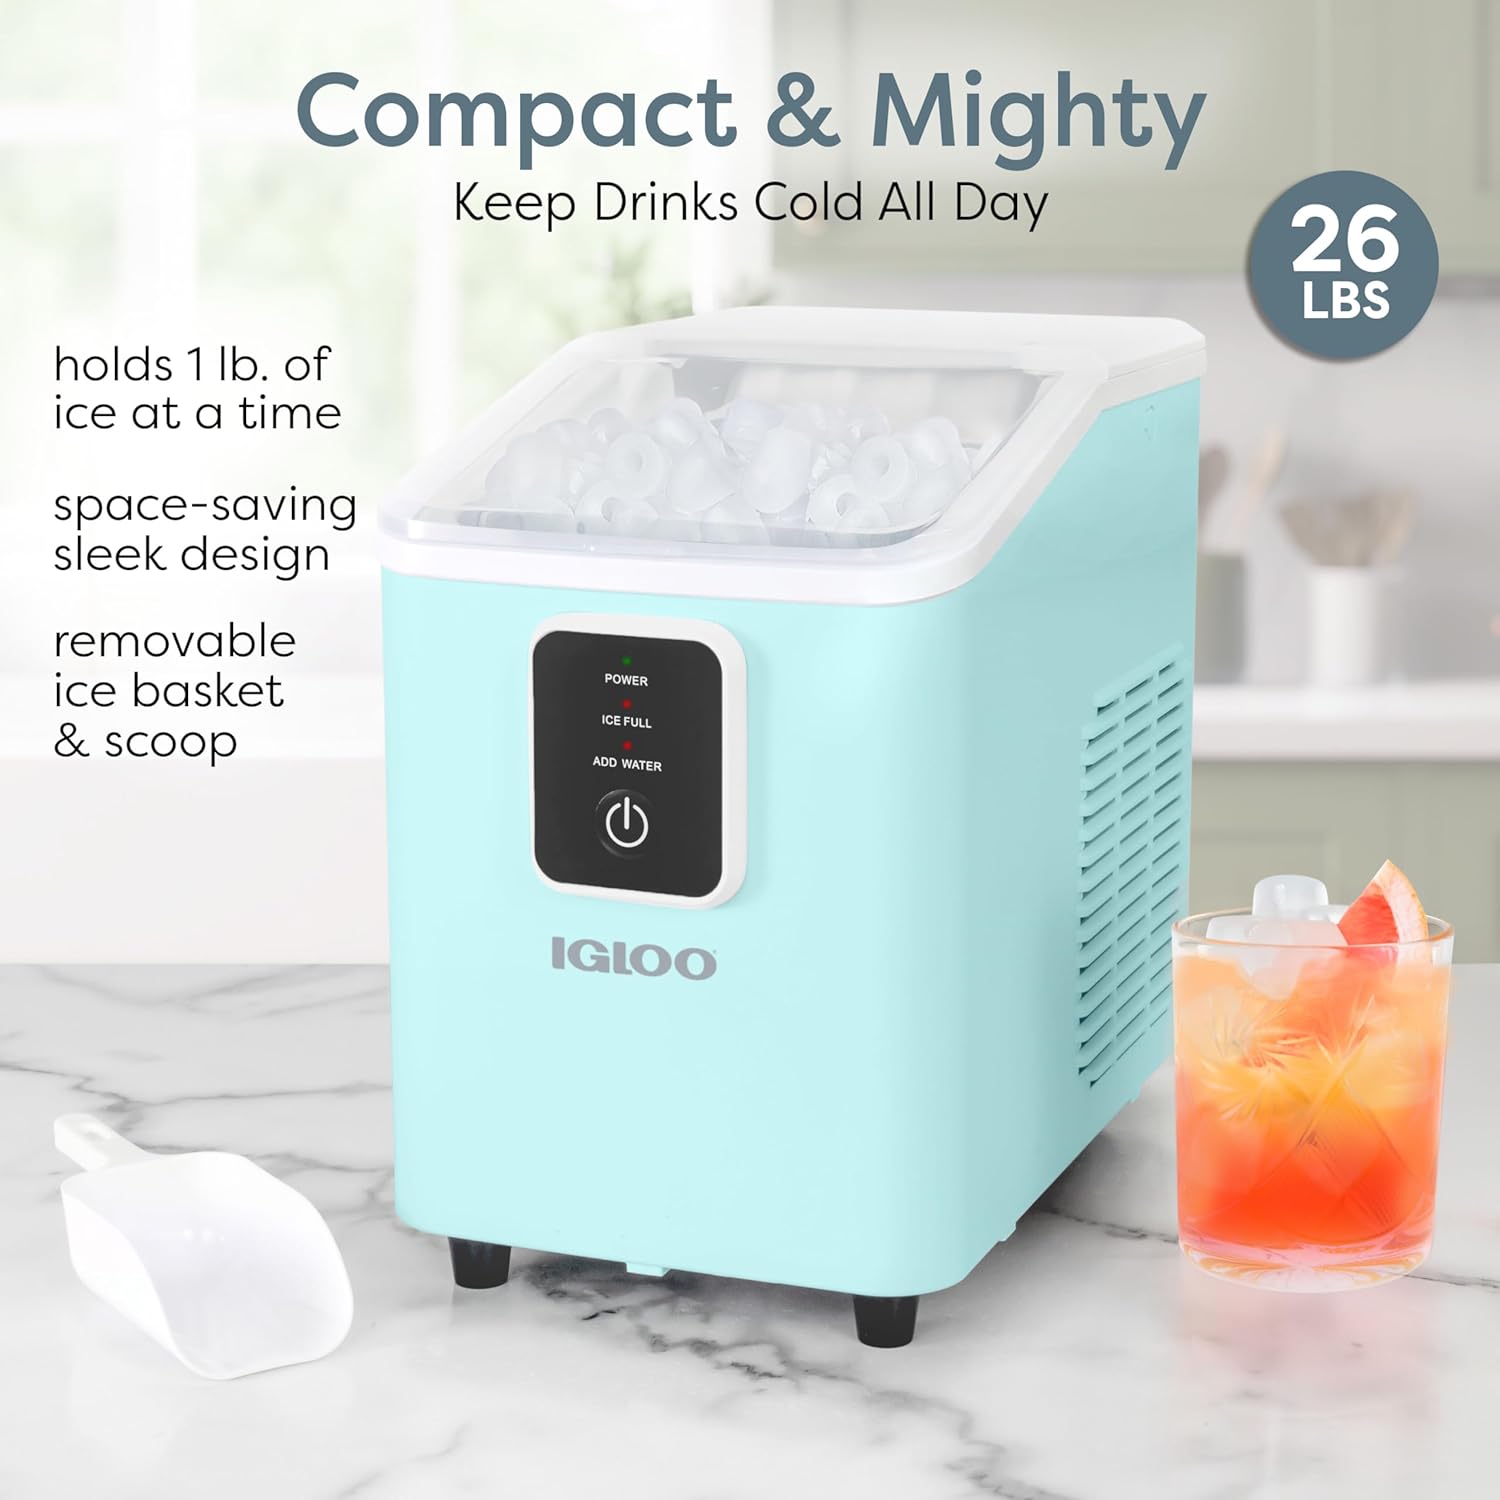
Image 3.1: The compact design of the ice maker, highlighting the ice basket and scoop.
4. Setup Instructions
4.1 Unpacking
- Carefully remove the ice maker from its packaging.
- Remove all packaging materials, including any tape or labels.
- Inspect the appliance for any damage. If damaged, do not operate and contact customer support.
4.2 Placement
- Place the ice maker on a flat, stable surface away from direct sunlight and heat sources.
- Ensure there is adequate ventilation around the unit (at least 4 inches of space on all sides).
- Do not place the unit near appliances that produce heat, such as ovens or dishwashers.
4.3 Initial Cleaning
Before first use, it is recommended to clean the ice maker:
- Wash the ice basket and ice scoop with warm, soapy water. Rinse thoroughly and dry.
- Clean the interior of the water reservoir and ice collection area with a soft cloth dampened with a mild detergent solution. Rinse with clean water.
- Run the self-cleaning cycle (refer to Section 6.1) before making ice for consumption.
5. Operating Instructions
5.1 Adding Water
- Open the lid of the ice maker.
- Fill the water reservoir with potable water up to the MAX fill line. Do not overfill.
- Close the lid.
5.2 Starting Ice Production
- Plug the ice maker into a grounded electrical outlet. The "POWER" indicator light will illuminate.
- Press the "POWER" button on the control panel to start the ice-making cycle.
- The ice maker will begin producing ice. The first batch of ice cubes will be ready in approximately 7-8 minutes.

Image 5.1: One-touch operation for starting the ice maker.
5.3 LED Indicators
- POWER: Indicates the unit is powered on and operating.
- ICE FULL: Illuminates when the ice basket is full. The ice maker will pause production until ice is removed.
- ADD WATER: Illuminates when the water reservoir is low. The ice maker will pause production until water is added.
5.4 Ice Collection
- When the "ICE FULL" indicator lights up, use the provided ice scoop to remove ice from the basket.
- For best results, transfer ice to a freezer for storage as the ice maker is not a freezer and will not keep ice frozen for extended periods.

Image 5.2: Scooping ice from the ice maker.
5.5 Ice Production Details
- Produces up to 26 pounds of ice in a 24-hour period under optimal conditions.
- Each cycle produces 8 cylinder-shaped ice cubes.

Image 5.3: The internal mechanism for fast ice production.
5.6 Benefits of Bullet Ice
The Igloo ice maker produces bullet-shaped ice, which offers several advantages:
- Quick to Chill: Efficiently cools beverages.
- Retains Drink Flavor: Melts slower than crushed ice, preserving drink concentration.
- Fits Easily: Designed to fit into various bottles and glasses.
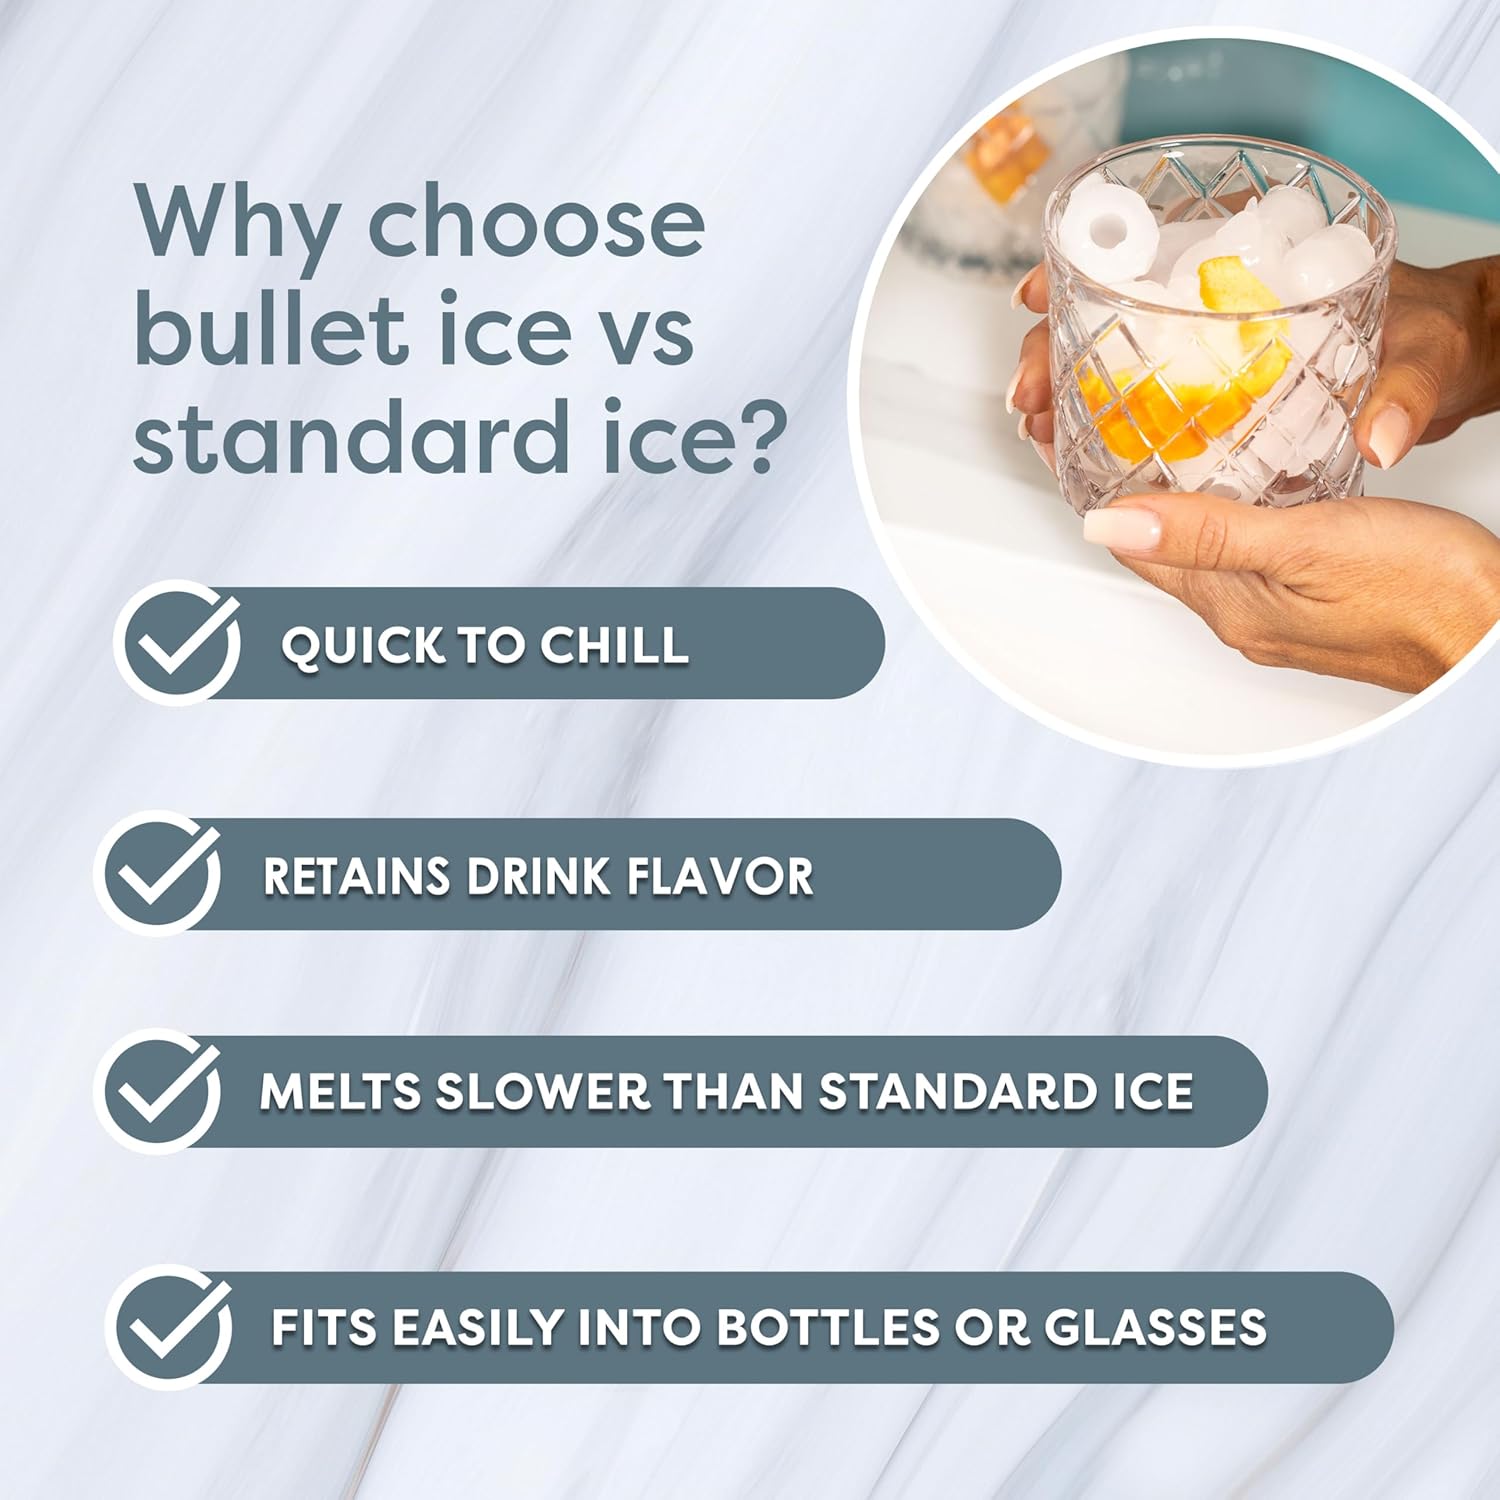
Image 5.4: Advantages of bullet ice.
6. Maintenance
6.1 Self-Cleaning Function
The ice maker features an automatic self-cleaning cycle to help maintain hygiene and prevent limescale buildup:
- Ensure the water reservoir is filled with clean water.
- Press and hold the "POWER" button for 5 seconds to activate the self-cleaning program.
- The unit will cycle water through its internal components. This process typically takes several minutes.
- Once the cycle is complete, drain any remaining water from the reservoir and wipe the interior dry.
- It is recommended to perform this cleaning weekly or as needed.

Image 6.1: Activating the efficient self-cleaning function.
6.2 Regular Cleaning and Storage
- Exterior: Wipe the exterior with a soft, damp cloth. Do not use abrasive cleaners.
- Interior: Periodically remove the ice basket and clean the interior with a mild detergent and water. Rinse thoroughly.
- Draining: When not in use for an extended period, drain all water from the reservoir and dry the interior completely to prevent mold or mildew growth.
- Storage: Store the ice maker in a cool, dry place, upright, and with the lid slightly ajar to allow air circulation.
7. Troubleshooting
If your ice maker is not functioning correctly, please consult the following table before contacting customer support:
| Problem | Possible Cause | Solution |
|---|---|---|
| Ice maker not turning on. | Not plugged in; power outlet malfunction. | Ensure the unit is securely plugged into a working outlet. Check circuit breaker. |
| "ADD WATER" indicator is on. | Water reservoir is empty or low. | Add potable water to the reservoir up to the MAX fill line. |
| "ICE FULL" indicator is on. | Ice basket is full. | Remove ice from the basket. The unit will resume ice production. |
| Ice production is slow or ice cubes are small. | Room temperature too high; water temperature too warm; poor ventilation. | Ensure the unit is in a cool environment. Use cold water. Check for adequate ventilation around the unit. |
| Unusual noise during operation. | Normal operational sounds (compressor, water pump); unit not level. | Ensure the unit is on a flat, stable surface. If noise is excessive or unusual, contact support. |
8. Specifications
| Feature | Detail |
|---|---|
| Model Name | Igloo Self-Cleaning Countertop Ice Maker |
| Product Dimensions (D x W x H) | 10.79" x 7.3" x 11.89" |
| Weight | Approximately 13.78 Pounds |
| Ice Production Capacity | Up to 26 lbs per 24 hours |
| Ice Basket Capacity | 1 Pound |
| Ice Cube Shape | Cylinder (Bullet) |
| Ice Making Time (per batch) | 7-8 minutes for 8 cubes |
| Voltage | 120V |
| Self-Cleaning Function | Automatic, 5-cycle |

Image 8.1: Product dimensions.
9. Customer Support and Warranty
9.1 Warranty Information
This product is covered by a limited warranty. Please refer to the warranty card included with your purchase for specific terms and conditions, including coverage duration and limitations. Keep your proof of purchase for warranty claims.
9.2 Contacting Support
For technical assistance, troubleshooting beyond this manual, or warranty inquiries, please contact Igloo customer support. Contact information can typically be found on the manufacturer's website or on the product packaging.
You can also visit the official Igloo store on Amazon for more product information and support resources: Igloo Store
Related documents26 Lb


Ask a question about this manual
Ask about setup, troubleshooting, compatibility, parts, safety, or missing instructions. Manuals+ will review the question and use this page’s manual context to help answer it.