
1. Introduction
This manual provides detailed instructions for the assembly, operation, and maintenance of your iPormis Floating King Size Metal Bed Frame. Please read all instructions carefully before beginning assembly and retain this manual for future reference.
Safety Information
- Ensure all parts are present and undamaged before assembly.
- Assemble the bed frame on a soft, clean surface to prevent scratches.
- Do not overtighten screws during initial assembly; tighten fully only after all components are loosely fitted.
- Keep small parts away from children.
- Maximum weight recommendation: 453.59 kg (1000 lbs). Do not exceed this limit.
- Always unplug the charging station before cleaning or maintenance.
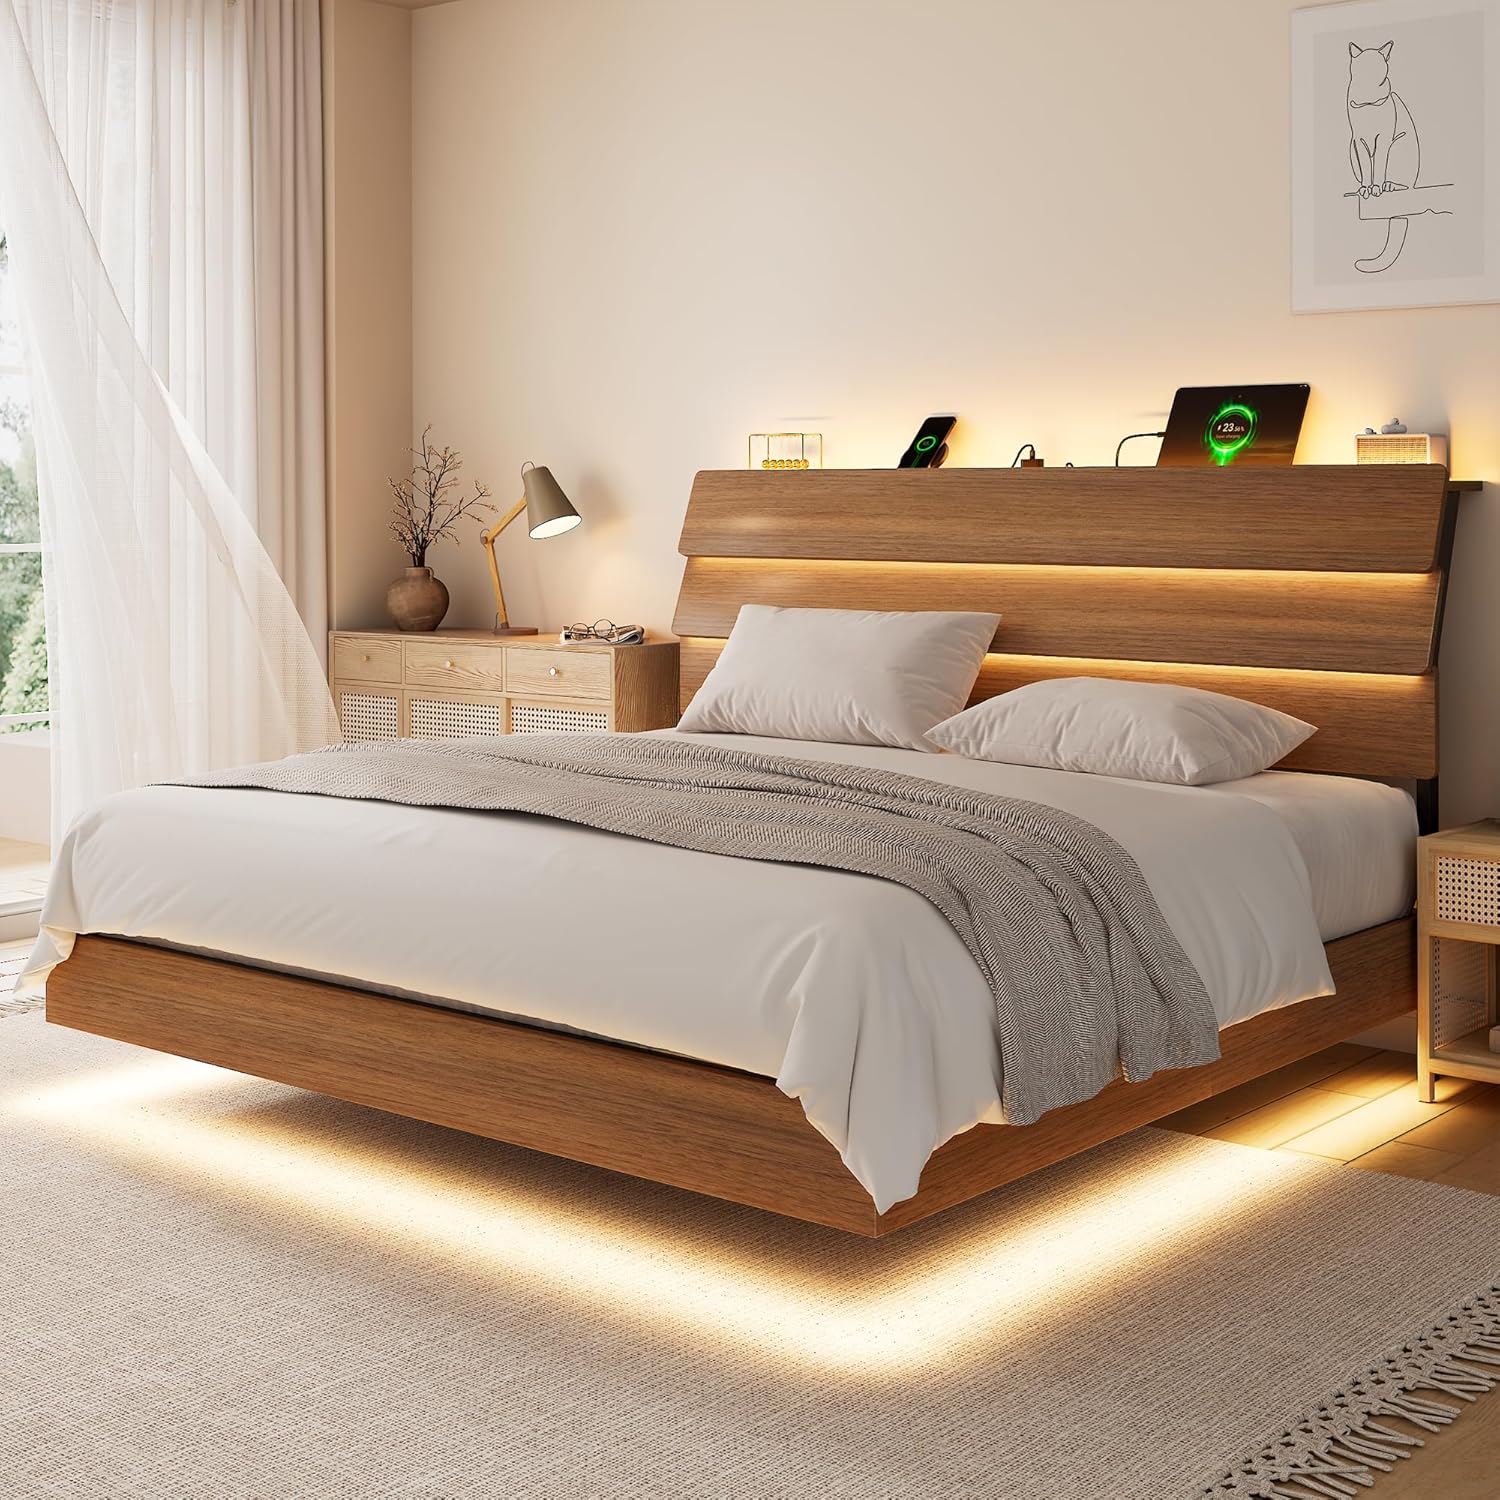
Image 1: The iPormis Floating King Size Bed Frame, featuring a wooden headboard, integrated LED lighting, and a sleek, modern design.
2. Package Contents
Verify that all components listed below are included in your package. If any parts are missing or damaged, please contact customer support.

Image 2: A detailed diagram illustrating the dimensions of the King size bed frame (86"L x 80.5"W x 38"H) and key components including the 21.6-foot underbed LED strip, 6-foot headboard LED strip, and 6.6-foot charging station cable.
Included Components:
- Bed Frame Components (Metal and Wood)
- Wooden Ergonomic Headboard
- RGB LED Lights (21ft for underbed, 6ft for headboard)
- Charging Station (2 AC outlets, 1 Type-A USB port)
- Installation Manual
- Installation Tools (Allen wrench, screwdriver)
- EVA Foam for noise reduction
3. Setup and Assembly Instructions
Follow these steps carefully for proper assembly. It is recommended to have two people for assembly.
Video 1: Detailed installation guide for a Salamir storage bed, demonstrating the step-by-step assembly process for the bed frame and headboard components.
- Unpack and Identify Parts: Carefully unpack all components and lay them out on a clean, soft surface. Refer to the parts list to identify each piece.
- Assemble Headboard Frame (Steps 1-4 in Video): Begin by attaching the side supports to the main headboard sections. Do not fully tighten screws until all parts are aligned.
- Install Charging Station (Step 5 in Video): Route the charging station cable through the designated opening in the headboard and secure the charging station unit into place with screws.
- Attach Headboard LED Strip (Step 6 in Video): Secure the 6-foot LED light strip behind the headboard using the provided adhesive or clips.
- Install Headboard Cushion (Step 7 in Video): Attach the upholstered headboard cushion to the frame, ensuring it is securely fastened.
- Assemble Side Rails (Steps 8-9 in Video): Connect the side rails to the headboard and footboard sections. Ensure proper alignment before tightening screws.
- Install Center Support Legs (Steps 10-12 in Video): Attach the center support legs to the bed frame. These provide crucial stability.
- Place Slats (Step 13 in Video): Lay the steel slats across the bed frame. The EVA foam on the slats helps prevent noise. Ensure all slats are evenly spaced and secured.
- Attach Underbed LED Strip: Secure the 21.6-foot LED light strip to the underside of the bed frame using the integrated Velcro system for a secure, sag-free installation.

Image 3: Key assembly features include a sturdy metal structure, buckle design for easy setup, EVA foam for noise reduction, and a reinforced diagonal structure for robust stability.

Image 4: The bed frame utilizes a bolt-free Velcro system for LED strip attachment, preventing sagging and noise, unlike traditional zip ties.
4. Operating Instructions
LED Lights Operation
Your iPormis bed frame features integrated RGB LED lights for customizable ambiance. The lights can be controlled via a dedicated mobile application or the included remote control.
- APP Control: Download the recommended app (refer to the quick start guide or packaging for app name). Connect your device via Bluetooth to access over 60,000 colors, music mode, mic mode, and timer functions.
- Remote Control: Use the provided remote to switch colors, adjust brightness, and select various lighting modes.

Image 5: The LED lights offer extensive customization via APP control (over 60,000 colors, music mode, mic mode, timing function, custom styles) and a remote control.
Charging Station Usage
The integrated charging station in the headboard provides convenient power access for your devices.
- AC Outlets: Two 120V/12A AC outlets are available for standard electrical devices.
- USB Ports: One 5V/2A USB-A port and one Type-C USB port are provided for charging smartphones, tablets, and other USB-powered devices.
- Ensure the bed frame is plugged into a grounded wall outlet for the charging station to function.

Image 6: The headboard features a convenient charging station, allowing devices like tablets to be charged directly from the bed.

Image 7: The 2-in-1 storage and charging station includes two AC outlets, one USB-A port, and one Type-C port, certified for safety.
Video 2: A short preview showcasing the features of a floating bed frame, including under-bed storage, RGB LED lighting with app control, and a built-in charging station.
5. Maintenance
Regular maintenance will help prolong the life and appearance of your bed frame.
- Cleaning: Wipe metal and wooden surfaces with a soft, damp cloth. Avoid harsh chemicals or abrasive cleaners. For upholstered parts, spot clean with a mild fabric cleaner.
- Tighten Fasteners: Periodically check and retighten all screws and bolts to ensure the frame remains stable and noise-free.
- LED Lights: If LED lights malfunction, check connections. Do not attempt to repair electrical components yourself.
6. Troubleshooting
If you encounter any issues with your bed frame, refer to the following common problems and solutions:
- Noise/Squeaking: Ensure all bolts are securely tightened. Check that the EVA foam is properly positioned on the slats.
- LED Lights Not Working: Verify that the power adapter is securely plugged into a working outlet and the bed frame. Check app/remote battery if applicable.
- Charging Station Not Functioning: Confirm the bed frame's power cord is plugged into a live wall outlet. Test with different devices and cables.
- Instability: Recheck all assembly steps, ensuring all connections are firm and the center support legs are properly installed and adjusted.
If problems persist, please contact iPormis customer support for assistance.
7. Specifications
- Brand: iPormis
- Model: Floating King Size Bed Frame (B0F7LBP4GW)
- Color: Walnut
- Product Dimensions: 218.44 x 194.31 x 96.52 cm (86"L x 76.5"W x 38"H)
- Material: Metal, Wood
- Special Features: Charging Station, Ergonomic Headboard, No Box Spring Needed, RGB LED Lights
- Maximum Weight Recommendation: 453.59 kg (1000 lbs)
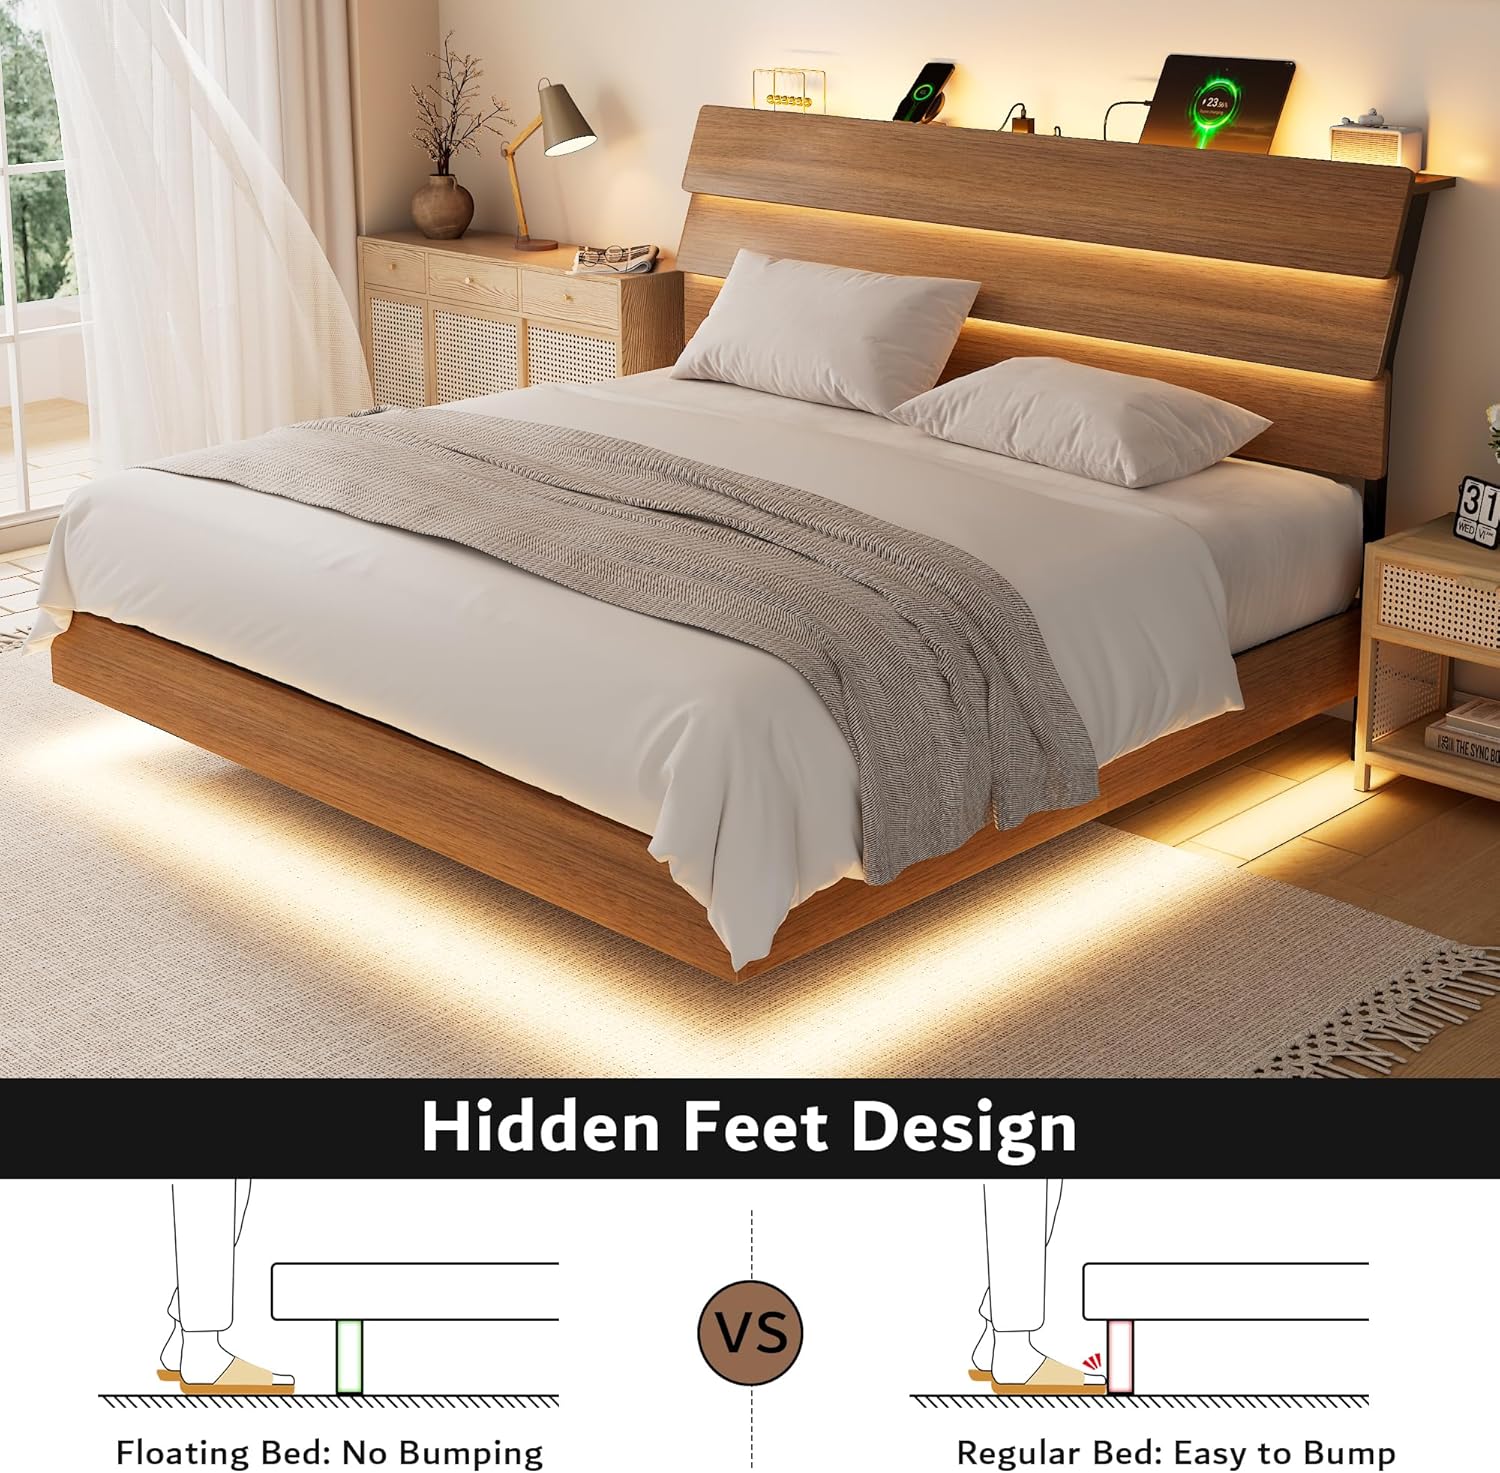
Image 8: The hidden feet design of the floating bed frame minimizes accidental bumping compared to regular bed frames.
8. Warranty and Support
For warranty information or customer support, please refer to the documentation included with your purchase or contact iPormis directly through their official website or the retailer where the product was purchased. Please have your model number (B0F7LBP4GW) and purchase date available when contacting support.