Introduction
This manual provides detailed instructions for the installation, operation, and maintenance of your ELIKIDSTO Y12 Pro Motorcycle Helmet Bluetooth Headset. Please read this manual thoroughly before using the product to ensure proper function and safety.
The Y12 Pro headset offers 2-way intercom communication, HIFI stereo sound, advanced noise cancellation, music sharing capabilities, and voice assistant integration, all within a waterproof design.
What's in the Box
Verify that all components are present in your package:
- Y12 Pro Motorcycle Helmet Bluetooth Headset (Main Unit)
- Boom Microphone
- Wired Microphone
- Clamp-on Base
- Adhesive Base
- Speaker Velcro Pads
- Microphone Velcro Pads
- Type-C Charging Cable
- User Manual

Image: The ELIKIDSTO Y12 Pro Bluetooth Headset main unit, showing its control buttons and design.

Image: A visual representation of all items included in the Y12 Pro package, such as the main unit, microphones, mounting bases, and cables.
Setup
1. Helmet Installation
Before installation, check your helmet for reserved speaker spaces. If available, use these spaces. If not, minor adjustments to the helmet lining may be necessary.
- Choose Mounting Base: Select either the clamp-on base or the adhesive base depending on your helmet type and preference.
- Attach Speakers: Use the provided Velcro pads to secure the speakers inside the helmet, ensuring they are positioned close to your ears for optimal sound. Run the speaker wires behind the helmet padding.
- Attach Microphone: Choose between the boom microphone (suitable for open-face or modular helmets) or the wired microphone (suitable for full-face helmets). Secure it with Velcro, ensuring it is positioned near your mouth.
- Mount Main Unit: Attach the main Y12 Pro unit to the chosen base on the side of your helmet.
- Connect Cables: Carefully plug the speaker/microphone cable into the Type-C port on the main unit. Ensure the plug is fully inserted until you hear a "PA" sound to prevent sound issues.
Image: A diagram illustrating the six steps for installing the Y12 Pro headset components within a motorcycle helmet.
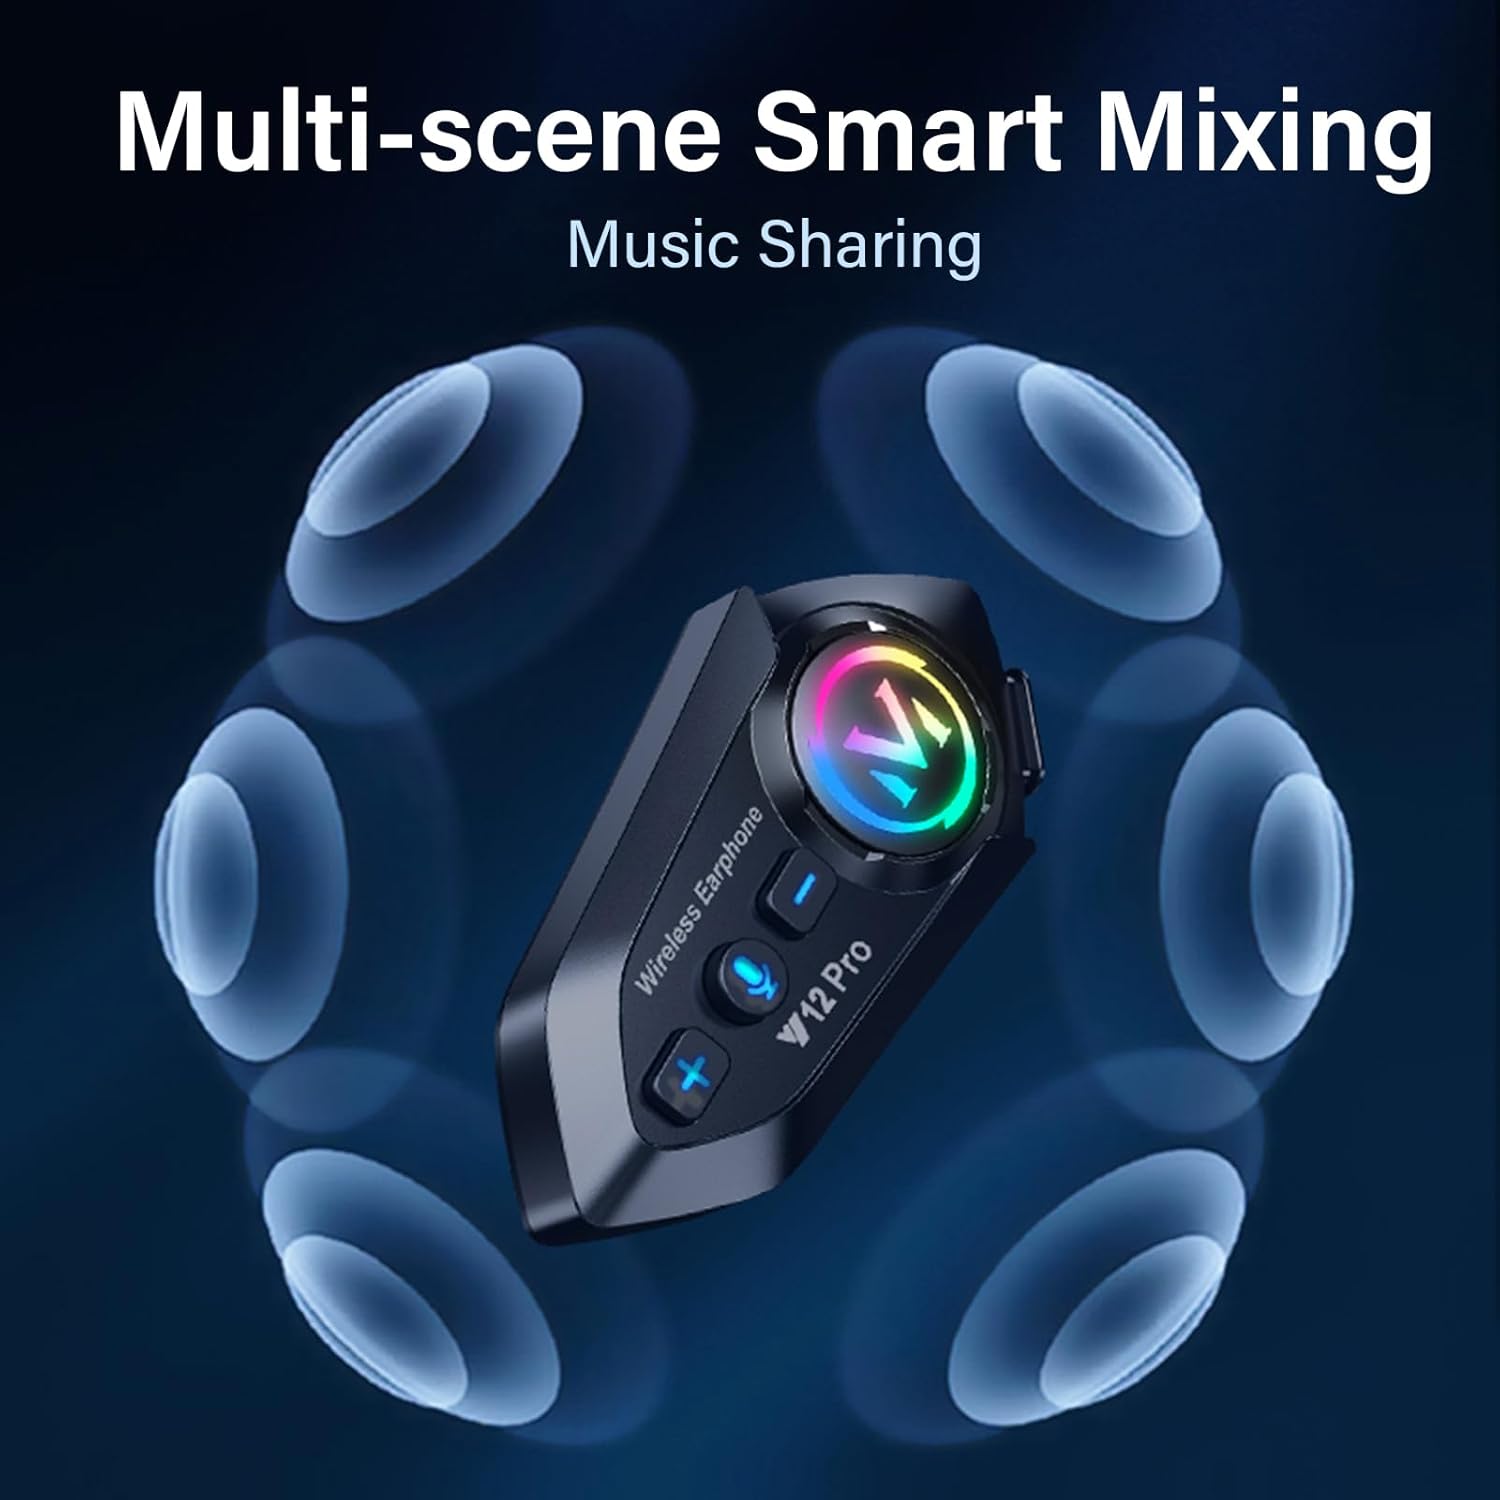
Image: The Y12 Pro headset securely mounted on the side of a black full-face motorcycle helmet, showing its integration.
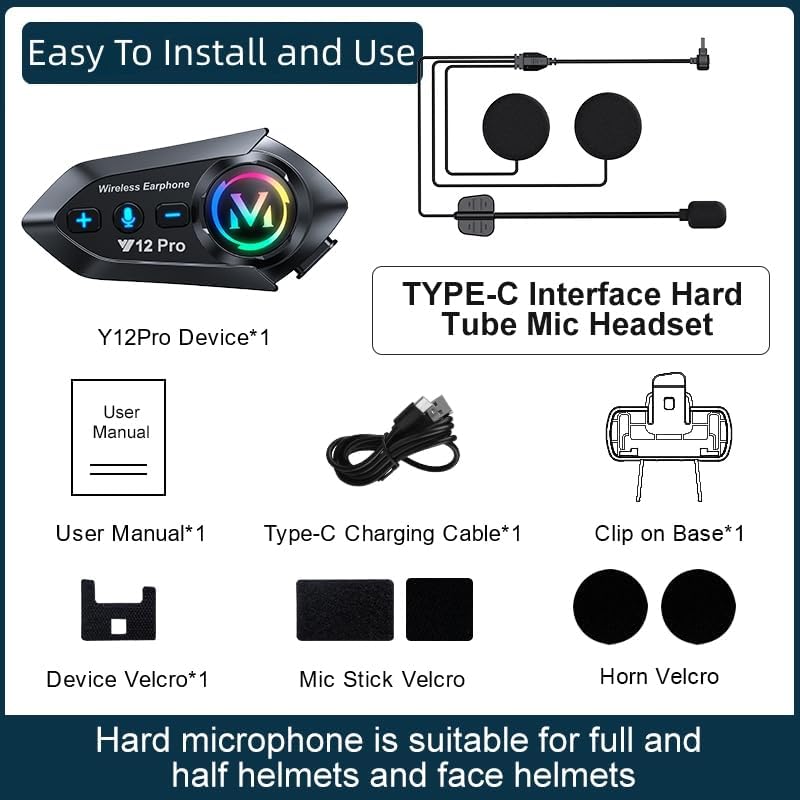
Image: A comparison showing the correct, fully inserted Type-C headphone plug versus an incorrectly, partially inserted plug, highlighting the importance of a secure connection.
2. Charging the Device
Connect the provided Type-C charging cable to the headset's charging port and a USB power source. The charging indicator will show the charging status. A full charge takes approximately 2 hours.

Image: The Y12 Pro headset with an overlay indicating its 1000mAh battery capacity, 20 hours endurance time, 100 hours standby time, and 2 hours charging time.
Operating Instructions
1. Power On/Off
- Power On: Press and hold the power button until the indicator light turns on.
- Power Off: Press and hold the power button until the indicator light turns off.
2. Bluetooth Pairing (Phone)
- With the headset off, press and hold the function key until the red and blue lights flash alternately, indicating pairing mode.
- On your mobile phone, enable Bluetooth and search for available devices.
- Select "Y12 Pro" from the list of devices to connect. Once connected, the indicator light will change.
- The headset can connect to two phones simultaneously.
3. 2-Way Intercom Communication
The Y12 Pro supports communication between two headsets up to 550 yards apart.
- Ensure both Y12 Pro headsets are powered on.
- On each headset, press the dedicated intercom button.
- The headsets will automatically enter pairing mode and connect. A successful connection will be indicated by a specific light pattern or voice prompt.

Image: Two motorcyclists riding on a road, with a dotted line and signal icon illustrating the 2-way intercom communication over 550 yards between their ELIKIDSTO Y12 Pro headsets.
4. Music Playback & Sharing
- Play/Pause: Press the multi-function button once.
- Next Track: Press the volume up button twice.
- Previous Track: Press the volume down button twice.
- Music Sharing: While listening to music, press the music sharing button to share your audio with another paired Y12 Pro headset. The headset supports multi-scene mixing, allowing music and intercom simultaneously.

Image: The Y12 Pro headset surrounded by circular patterns, symbolizing its multi-scene smart mixing and music sharing capabilities.

Image: A motorcyclist wearing a helmet equipped with the Y12 Pro headset, with sound waves emanating, depicting the experience of enjoying music while riding.
5. Call Management
- Answer Call: The headset will automatically answer incoming calls after 10 seconds.
- End Call: Press the multi-function button once.
- Reject Call: Press and hold the multi-function button for 2 seconds.

Image: A motorcyclist on a bike, with an icon indicating an incoming call being automatically answered by the Y12 Pro headset, enhancing safety by eliminating manual phone interaction.
6. Voice Assistant
Activate your phone's voice assistant (Siri or Google Assistant) for hands-free control.
- Activate: Press the dedicated voice control button on the headset.

Image: A motorcyclist wearing a helmet, with icons representing a voice assistant (Siri) being activated by a single button press on the Y12 Pro headset, promoting safer riding.
7. Volume Adjustment
- Increase Volume: Press and hold the volume '+' button.
- Decrease Volume: Press and hold the volume '-' button.
- For optimal volume, adjust via your mobile phone before riding and ensure speakers are positioned correctly within the helmet.
8. FM Radio
The Y12 Pro includes an FM radio function.
- Turn On/Off FM: Press the FM button (if available, or refer to specific button on device).
- Scan Stations: Press and hold the FM button to automatically scan and save stations.
- Change Station: Press the volume '+' or '-' buttons to cycle through saved stations.
Maintenance
1. Cleaning
Wipe the main unit and speakers with a soft, damp cloth. Do not use harsh chemicals or abrasive cleaners.
2. Waterproofing
The Y12 Pro headset is IP56 waterproof, designed to withstand various weather conditions including rain. Ensure all ports are securely closed when not in use to maintain water resistance.

Image: The Y12 Pro headset being splashed with water, demonstrating its IP56 waterproof rating and ability to function in wet conditions.
3. Storage
Store the headset in a cool, dry place away from direct sunlight and extreme temperatures when not in use for extended periods.
Troubleshooting
- No Sound or Low Volume:
- Ensure the Type-C headphone port is fully plugged into the host unit until a "PA" sound is heard.
- Check the volume settings on both the headset and your connected mobile device.
- Verify that the speakers are correctly positioned close to your ears within the helmet and not obstructed.
- Cannot Pair with Phone:
- Ensure the headset is in pairing mode (red and blue lights flashing alternately).
- Turn off and on your phone's Bluetooth, then try searching again.
- Ensure the headset is sufficiently charged.
- Intercom Not Connecting:
- Ensure both headsets are powered on and within the specified intercom range (550 yards).
- Press the intercom button on both units to initiate pairing.
- Short Battery Life:
- Ensure the device is fully charged before use.
- Operating at maximum volume or in extreme temperatures can reduce battery life.
Specifications
| Feature | Specification |
|---|---|
| Model Name | Y12 Pro |
| Connectivity Technology | Bluetooth |
| Noise Control | Active Noise Cancellation |
| Battery Capacity | 1000mAh |
| Music/Talk Time | Up to 25 hours |
| Charging Time | 1-2 Hours |
| Water Resistance Level | IP56 Waterproof |
| Intercom Range | Up to 550 yards (2-way) |
| Speaker Diameter | 40mm |
| Special Features | Built-In Voice Assistant, Fast Charging, Microphone Included, Noise Cancellation, Rechargeable Battery, Music Sharing, FM Radio |
Warranty and Support
For warranty information and customer support, please refer to the documentation included with your purchase or contact ELIKIDSTO directly through their official channels. Keep your proof of purchase for any warranty claims.
Typically, products come with a limited warranty covering manufacturing defects. Damage caused by misuse, accidents, or unauthorized modifications is generally not covered.


