
TILSWALL Shark 800
TILSWALL Shark 800 HVLP Paint Sprayer User Manual
Model: Shark 800
1. Introduction
Thank you for choosing the TILSWALL Shark 800 HVLP Paint Sprayer. This electric paint sprayer is designed for efficient and precise application of various paints, making your painting projects easier and more professional. Please read this manual thoroughly before operation to ensure safe and optimal performance.
The Shark 800 features an innovative side-feed design for easy refills, multiple nozzle and spray pattern options for versatility, and a split-body design with a long hose for comfortable, extended use.
2. Important Safety Instructions
Always follow basic safety precautions when using electrical appliances to reduce the risk of fire, electric shock, and personal injury.
- Read All Instructions: Familiarize yourself with the controls and proper use of the sprayer.
- Wear Personal Protective Equipment (PPE): Always wear eye protection (safety glasses or goggles), a respirator or mask, and gloves. Protect exposed skin.
- Ventilation: Use the sprayer in a well-ventilated area. Do not spray in confined spaces.
- Flammable Materials: Do not spray flammable or combustible materials near open flames, pilot lights, or other ignition sources.
- Electrical Safety: Ensure the power cord is undamaged. Do not operate the sprayer in wet conditions. Always disconnect from power before cleaning or maintenance.
- Children and Pets: Keep children and pets away from the work area and the sprayer.
- Proper Paint Thinning: Always follow paint manufacturer's recommendations for thinning. Improper thinning can lead to poor spray performance or clogging.
- Cleaning: Clean the sprayer thoroughly after each use to prevent clogging and ensure longevity.
3. Package Contents
Verify that all items are present and in good condition upon opening the package:
- TILSWALL Shark 800 HVLP Paint Sprayer Unit (main body and spray gun)
- 1300ml Paint Container
- Spray Can Cover
- 2.5 Meter (98 inch) Air Hose
- 4 Brass Nozzles (1mm, 1.5mm, 2mm, 3mm)
- Viscosity Cup
- Cleaning Needle
- Cleaning Brush
- 3 Large Seals
- 3 Small Seals
- User Manual (this document)

This image displays the main paint sprayer unit, including the spray gun and the separate motor unit, along with the air hose and various nozzles. The paint container is attached to the spray gun.
4. Technical Specifications
| Feature | Specification |
|---|---|
| Model Name | Shark 800 |
| Power | 800W |
| Power Source | AC |
| Tank Volume | 1300 ml (43.96 fl oz) |
| Max Spray Speed | 1200 ml/min |
| Nozzle Sizes | 1mm, 1.5mm, 2mm, 3mm (Brass) |
| Spray Patterns | Horizontal Oval, Vertical Oval, Round |
| Hose Length | 2.5 meters (98 inches) |
| Power Cord Length | 3 meters (118 inches) |
| Max Viscosity | 120 din-S |
| Item Weight | 7.43 pounds |
| Product Dimensions | 8.38"W x 9.44"H |
5. Setup Guide
Follow these steps to assemble your paint sprayer:
- Assemble the Spray Gun: Attach the paint container to the spray gun by twisting it securely.
- Connect Air Hose: Connect one end of the 2.5-meter air hose to the main motor unit and the other end to the spray gun. Ensure both connections are firm.
- Select Nozzle: Choose the appropriate brass nozzle (1mm, 1.5mm, 2mm, or 3mm) based on the paint viscosity and desired spray pattern. Larger nozzles are for thicker paints and broader coverage, smaller for finer detail.
- Adjust Spray Pattern: The spray gun offers three patterns: horizontal oval, vertical oval, and round. Rotate the air cap to select your desired pattern.
- Prepare Paint: Use the included viscosity cup to test your paint's thickness. Thin the paint as recommended by the paint manufacturer to ensure it passes the viscosity test (max 120 din-S). Stir thoroughly.
- Fill Paint Container: The innovative side-feed design allows you to easily pour paint into the container without detaching it. Ensure the container is securely closed after filling.

This diagram illustrates the various parts of the paint sprayer, including the cap nut, brass nozzle, air cap, side cover, washer, suction tube, container, trigger, gun body release button, flow rate adjustment knob, backstrap buckle, switch, filter foam, bellows connector, and power cord. It helps in understanding how the different parts fit together.

This image visually explains the three spray methods: Round Pattern, Vertical Pattern, and Horizontal Pattern, along with the four brass nozzle sizes (1mm, 1.5mm, 2mm, 3mm) that can be used to achieve different spray consistencies and coverage.
6. Operating Instructions
- Power On: Plug the power cord into a suitable AC outlet. Turn on the main motor unit using the power switch.
- Practice Spraying: Before applying paint to your project, practice on a piece of scrap material to get a feel for the spray pattern and flow. Adjust the flow rate control knob on the spray gun to regulate the volume of paint.
- Maintain Distance: Hold the spray gun at a consistent distance (typically 6-12 inches) from the surface to ensure even coverage.
- Even Strokes: Use smooth, even strokes, moving your arm rather than just your wrist, to apply paint. Overlap each pass slightly to avoid streaks.
- Shoulder Strap: Utilize the auxiliary strap to minimize the weight of the handpiece during extended use, enhancing comfort and flexibility.
This image shows a user wearing safety glasses and gloves, spraying a fence with the Tilswall paint sprayer. The separate motor unit is on the ground, connected by the long air hose, allowing for comfortable movement and reduced handpiece weight.

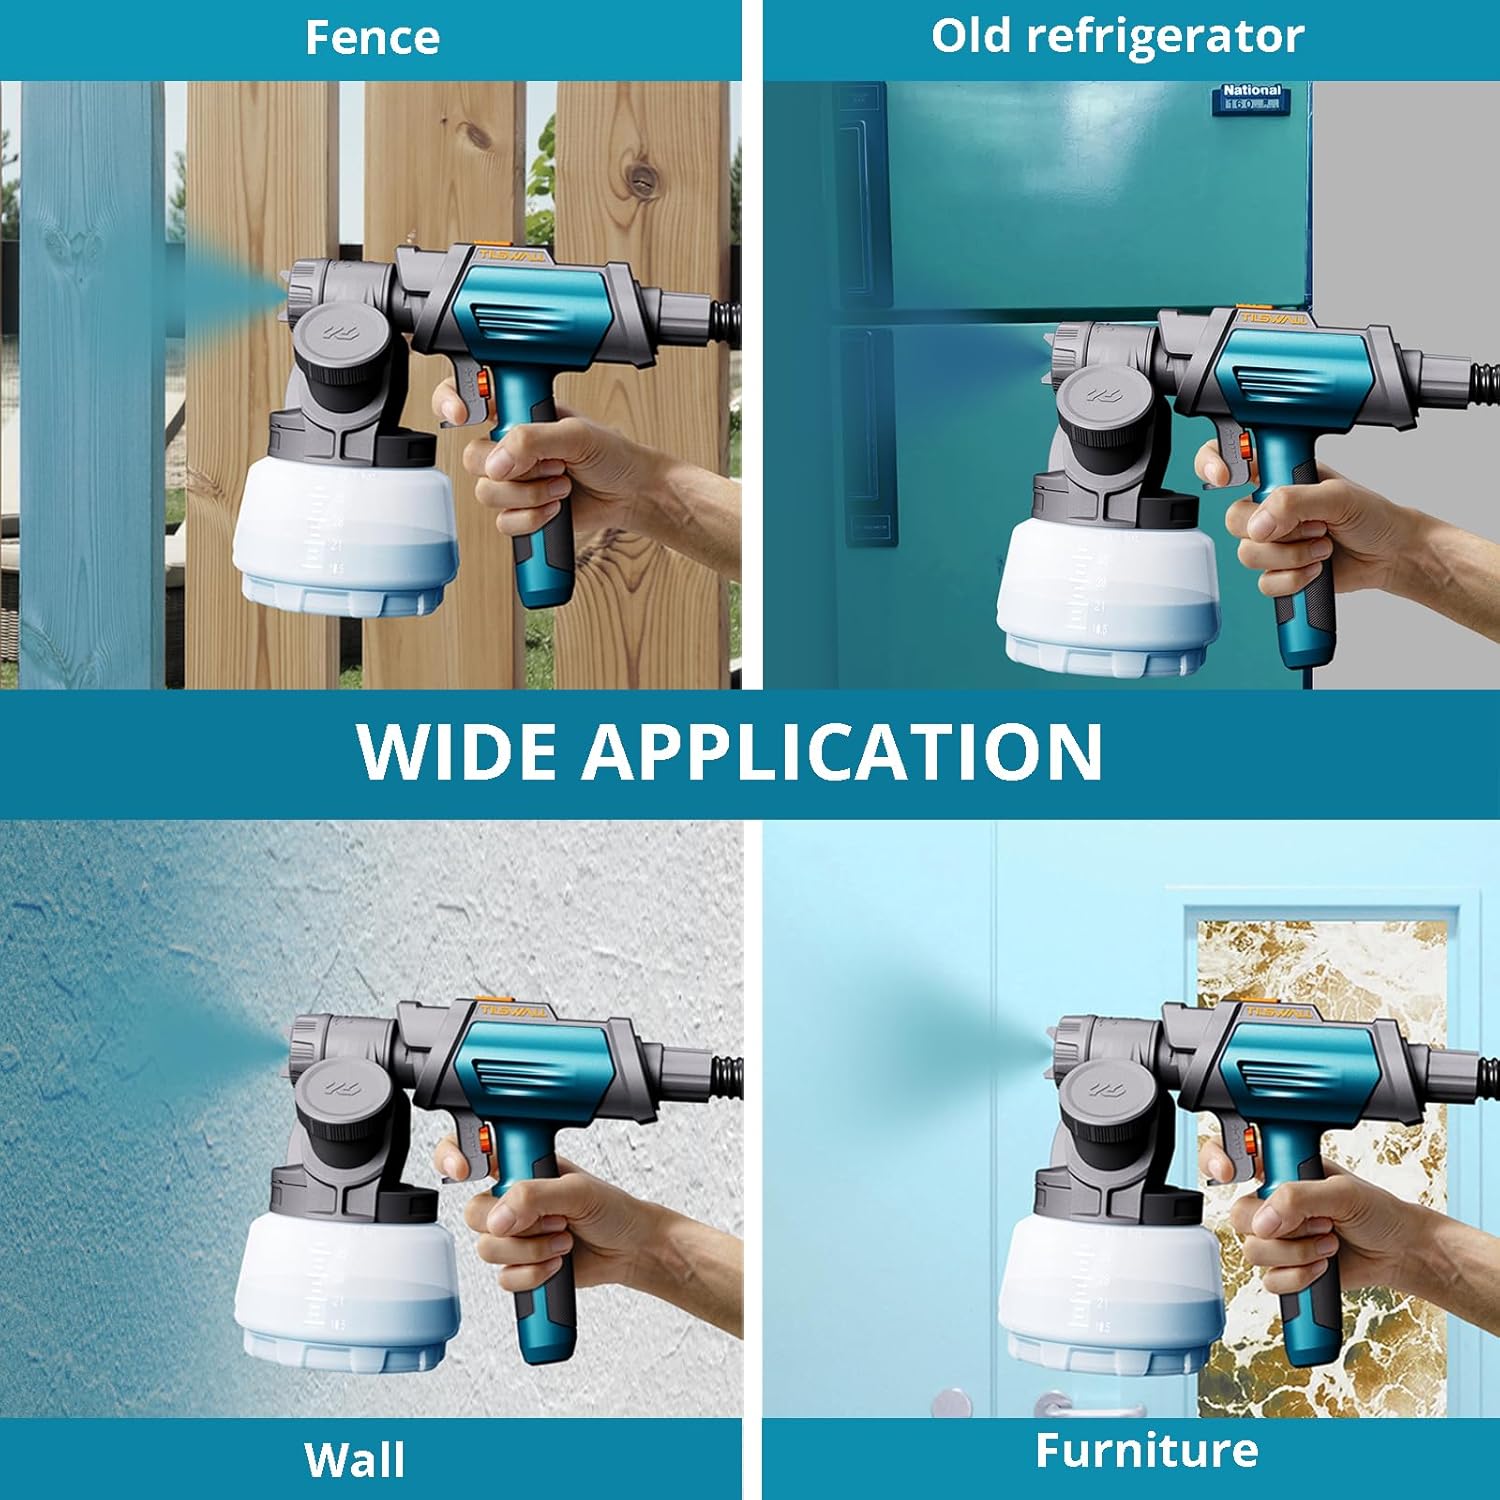
This image collage demonstrates the versatility of the Tilswall paint sprayer, showing its effective use on a fence, an old refrigerator, furniture, and a wall, highlighting its suitability for various home painting projects.
This video provides a comprehensive demonstration of the Tilswall Paint Sprayer in action, showcasing its ease of use for various DIY projects such as painting houses, cabinets, and fences. It highlights the practical application and benefits of the sprayer.
7. Maintenance and Cleaning
Proper cleaning after each use is crucial for the longevity and performance of your paint sprayer.
- Disconnect Power: Always unplug the sprayer from the power outlet before cleaning.
- Empty Container: Empty any remaining paint from the container.
- Disassemble: Disassemble the spray gun components (nozzle, air cap, container). The entire unit is designed for easy disassembly.
- Clean Components: Wash all disassembled parts thoroughly with warm soapy water for water-based paints, or appropriate solvent for oil-based paints. Use the provided cleaning brush and needle to clear any paint residue from the nozzles and internal passages.
- Rinse and Dry: Rinse all parts with clean water and allow them to dry completely before reassembly or storage.
- Clean Filter Foam: Regularly check and clean the filter foam on the main motor unit to ensure proper airflow.

This image provides a step-by-step visual guide on how to disassemble the Tilswall paint sprayer for thorough cleaning. It shows the process from easy assembly to adding paint, replacing nozzles, switching spray modes, adjusting the suction tube, diluting paint, and finally disassembling and cleaning the unit, emphasizing its user-friendly maintenance.
8. Troubleshooting
| Problem | Possible Cause | Solution |
|---|---|---|
| No spray or weak spray | Nozzle clogged, paint too thick, air hose loose, filter clogged. | Clean nozzle, thin paint, check hose connections, clean filter foam. |
| Uneven spray pattern | Incorrect nozzle selection, improper spray distance, inconsistent movement. | Select appropriate nozzle, maintain consistent distance, use smooth, even strokes. |
| Paint dripping | Paint too thin, too much paint flow, holding sprayer too close. | Adjust paint viscosity, reduce flow rate, increase spray distance. |
| Motor not turning on | Not plugged in, power switch off, circuit breaker tripped. | Check power connection, ensure switch is ON, reset circuit breaker. |
9. Warranty and Support
TILSWALL offers a 1-year warranty on the Shark 800 paint sprayer for quality-related issues. If you encounter any problems with the quality of the paint sprayer within 1 year of purchase, please contact us for assistance. We are committed to finding a satisfactory solution for you.
For customer support, please refer to the contact information provided in your product packaging or visit the official TILSWALL website.
Related documentsShark 800


Ask a question about this manual
Ask about setup, troubleshooting, compatibility, parts, safety, or missing instructions. Manuals+ will review the question and use this page’s manual context to help answer it.