
Portta CHR101U3
Portta VHS to Digital Converter User Manual
Model: CHR101U3
Introduction
The Portta VHS to Digital Converter (Model CHR101U3) is designed to effortlessly convert and store analog video and audio signals into digital formats. This standalone device allows you to digitize content from various sources such as VHS, VCR, DVR, DVD, Hi8, Mini DV players, and camcorders without the need for a PC or additional software. It features a 3.0" preview LCD, built-in speaker, and supports direct recording to USB drives or TF cards.

Image: The Portta VHS to Digital Converter unit, displaying its screen, control buttons, and various ports. Included accessories such as RCA cables, power adapter, remote control, and a USB flash drive are also visible.
Package Contents
Please verify that all items are present in your package:
- Video Recorder (Portta VHS to Digital Converter) x1
- USB 3.0 Flash Drive (128GB) x1
- Power Adapter with USB Type-A to C Cable x1
- Remote Control x1 (2*AAA Batteries Not Included)
- AV Cable x1
- 3.5mm Audio Cable x1
- User Manual x1

Image: A comprehensive view of the Portta converter unit alongside all its included accessories, such as the remote, various cables, power adapter, and USB flash drive, with dimensions indicated.
Setup Guide
Follow these steps to set up your Portta VHS to Digital Converter:
- Power Connection: Connect the included power adapter to the recorder using the USB-A to USB-C cable. Plug the adapter into a power outlet. The recorder's built-in screen will turn on.
- Storage Device Insertion: Insert the 128GB USB flash drive (or your own TF card) into the corresponding USB or TF card slot on the recorder. The USB LED indicator will illuminate, confirming a proper connection. For optimal performance with high-capacity USB storage devices, ensure they have their own power supply.
- Connect Analog Source:
- AV Input (RCA): Connect the yellow (video), white (left audio), and red (right audio) RCA cables from your source device (e.g., VCR, DVD player) to the corresponding AV/CVBS input ports on the converter.
- S-Video Input: Connect an S-Video cable from your source device to the S-Video input port on the converter. Ensure audio is connected via the R/L RCA ports or AUX-IN.
- AUX Input (3.5mm): For audio-only recording or when using S-Video, connect a 3.5mm audio cable from your source device's audio output to the AUX input port.
Ensure either CVBS R/L (AV input) or AUX-IN (3.5mm) is properly connected for audio. In the device settings (HOME -> Settings), verify that Video-IN-Volume and AUX-IN-Volume are unmuted for the selected input.
- Optional HDMI Output: If you wish to view the input signal on a larger screen while recording, connect an HDMI cable from the converter's HDMI output to an HDMI input on your TV or monitor.

Image: A diagram illustrating the quick setup process for the Portta converter, showing connections from a VCR to the converter, power, and a USB flash drive, with an optional laptop for playback.

Image: A detailed diagram labeling all ports and buttons on the Portta converter, including USB-C Power, AV/CVBS Input, S-Video Input, AUX 3.5mm Input & Output, HDTV Output, 3" LCD Screen, control buttons, and storage slots.
Operating Instructions
Recording Video/Audio
- Select Input Source: Use the navigation buttons on the device or remote to select the correct input source (AV, S-Video, or AUX) corresponding to your connected device. The 3.0" LCD screen will display the live video feed.

Image: Illustrates the three primary input options: AV (RCA), S-Video (with separate audio input), and AUX (audio only), and their respective output formats (MP4 or MP3).
- Start Recording: Press the REC/STOP button (red button) to begin recording. The recording time will appear on the screen, and the USB LED indicator will flash.

Image: A user is shown watching a video on a large screen while the Portta converter simultaneously previews and records the content, indicated by a "REC" timer on the screen.
- Stop Recording: Once recording is complete, press the REC/STOP button again to stop the recording. A "Saving..." message will appear on the built-in screen. If you need to use the Auto-Stop Timer function, please refer to the detailed User Manual.
- Snapshot Function: During recording or preview, press the Snapshot button (blue button) to capture a still image from the video feed.
Playback
To play back recorded files directly on the device:
- Press the HOME button to access the main menu.
- Navigate to the Playback section using the up/down arrow buttons and press OK.
- Select the desired video or audio file from the list and press OK to play.
- You can also unplug the USB flash drive from the recorder and connect it to a PC or laptop for permanent storage and playback. For best playback experience, VLC Media Player is recommended.
Settings and Information Display
The device's screen provides useful information during operation:
- Recording Status: Indicates "REC" when recording, "Saving..." when saving, and "Not recording" otherwise.
- Storage Status: Shows "USB Storage (Priority)" or "TF Card Storage". When both are connected, USB storage takes priority.
- Available Space: Displays "Available Space" or "Low Storage".
- Input Format: Automatically detects and displays the input source format (NTSC or PAL).
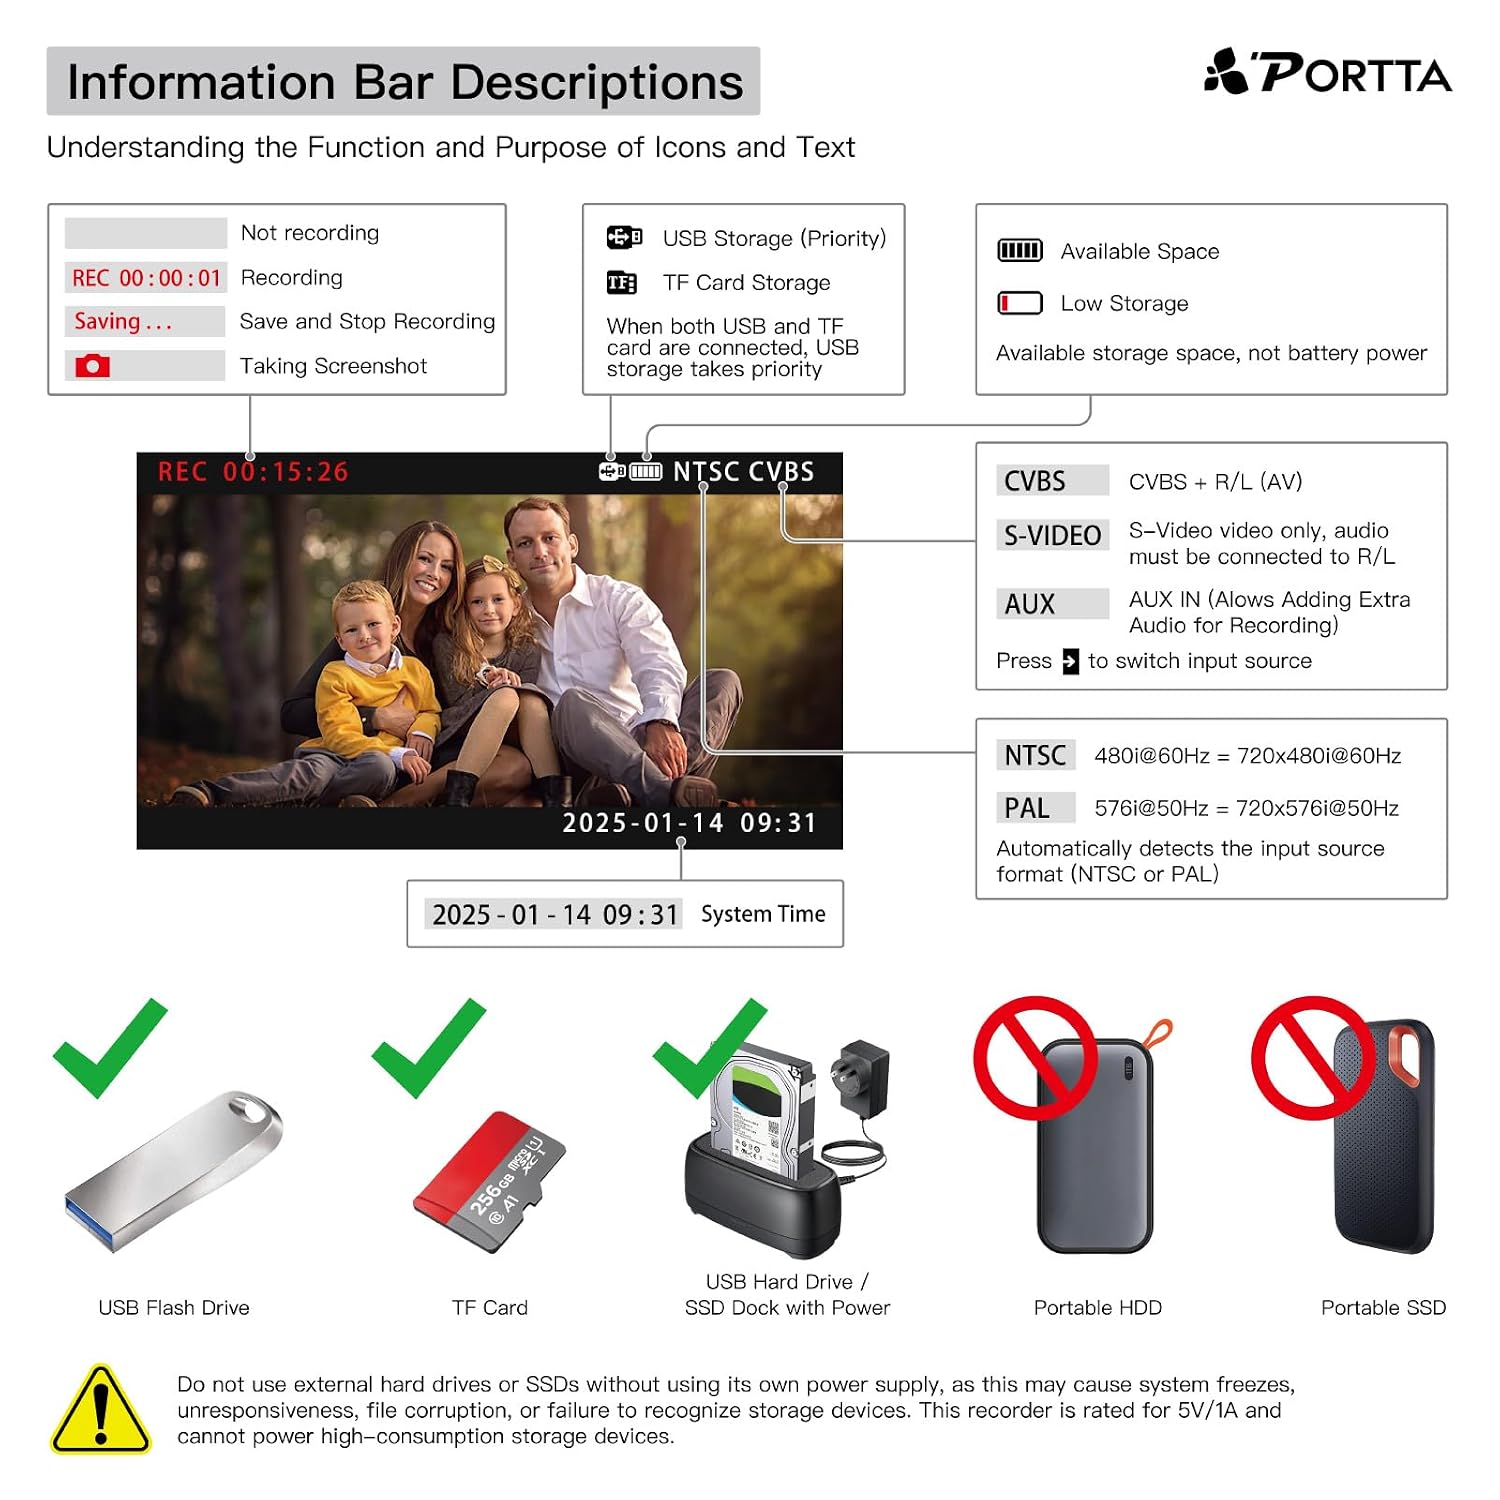
Image: A detailed guide to the on-screen information bar, explaining icons and text for recording status, storage priority, available space, input source selection (CVBS, S-Video, AUX), and NTSC/PAL format detection.
Compatibility
The Portta VHS to Digital Converter is broadly compatible with a variety of analog video and audio sources, allowing you to digitize content from:
- VHS Players
- VCR Players
- DVR Players
- DVD Players
- Hi8 Camcorders
- Mini DV Players
- Cassette Tape Players (for audio)
- Retro Gaming Consoles
- Film Projectors (with appropriate output)
- Portable Players
Note: This device is a converter/recorder/capture box only and cannot play tapes or DVDs independently. It requires an external player for the source material.

Image: A visual representation of various analog devices compatible with the Portta converter, including VHS players, VCRs, DVRs, Hi8 camcorders, Mini DV players, film projectors, and portable players.
Maintenance
To ensure the longevity and optimal performance of your Portta VHS to Digital Converter, follow these maintenance guidelines:
- Cleaning: Use a soft, dry cloth to clean the exterior of the device. Do not use liquid cleaners or aerosols, as they may damage the unit.
- Storage: Store the device in a cool, dry place away from direct sunlight, extreme temperatures, and high humidity.
- Handling: Handle the device with care to avoid dropping or physical impact, which could damage internal components.
- Power Supply: Always use the original power adapter provided with the unit. For high-capacity USB storage devices, ensure they have their own power supply to prevent system freezes or file corruption. This recorder is rated for 5V/1A and cannot power high-consumption storage devices.
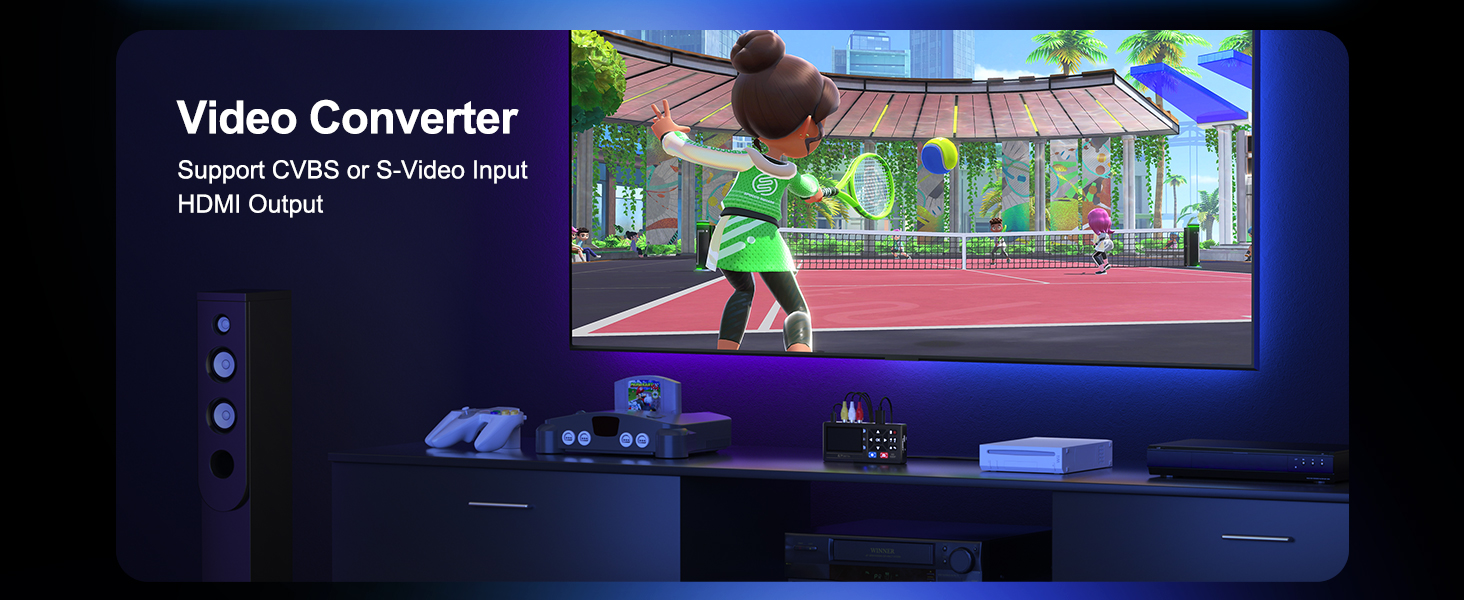
Image: Depicts the flexible storage options (USB flash drive, TF card, USB Hard Drive/SSD Dock with Power) and includes a warning about using external hard drives/SSDs without their own power supply.
Troubleshooting
If you encounter issues with your Portta VHS to Digital Converter, please refer to the following common problems and solutions:
| Problem | Possible Cause | Solution |
|---|---|---|
| No video signal on screen. |
|
|
| No audio during recording or playback. |
|
|
| Recorded video has incorrect aspect ratio (e.g., stretched). |
|
|
| Device does not recognize USB drive/TF card. |
|
|
Specifications
| Feature | Detail |
|---|---|
| Product Dimensions | 6.22 x 2.97 x 1.07 inches |
| Weight | 0.67 ounces |
| Model Number | CHR101U3 |
| Manufacturer | Portta |
| Country of Origin | China |
| Recording Resolution | Up to 1080P 30Hz |
| Video Format | MP4 |
| Audio Format | MP3 |
| Input Video Standards | NTSC-M/J 3.58, NTSC 4.43, PAL B/G/H/I/D (PAL/N) |
| Audio Sampling Rate | Up to 48KHz (uncompressed 2-channel LPCM digital audio) |
| Display Screen | 3.0" Preview LCD |
| Storage Options | USB Drive, TF Card (no capacity limitation) |
| Input Ports | AV/RCA (CVBS+R/L), S-Video, AUX (3.5mm) |
| Output Ports | HDMI (for preview) |
Warranty and Support
The Portta VHS to Digital Converter comes with a hassle-free 2-year warranty and lifetime technical support.
For any questions, technical assistance, or warranty claims, please reach out to our friendly customer service team. Contact information can typically be found on the product packaging or the official Portta website.
Related documentsCHR101U3

Ask a question about this manual
Ask about setup, troubleshooting, compatibility, parts, safety, or missing instructions. Manuals+ will review the question and use this page’s manual context to help answer it.