
Introduction
This manual provides detailed instructions for the assembly, operation, and maintenance of your Bellemave Queen Loft Bed. This loft bed is designed to maximize space, featuring a sturdy metal frame, an integrated desk, a convenient charging station with USB ports and outlets, and RGB LED lighting. Please read this manual thoroughly before beginning assembly or use to ensure safe and correct operation.
Safety Information
WARNING: Failure to follow these safety instructions could result in serious injury.
- Do not exceed the weight capacity of 350 lbs for the bed frame.
- Always use guardrails to prevent falls from the upper bunk.
- Assemble the loft bed strictly according to the provided instructions to ensure structural stability and safety.
- Exercise caution around sharp edges during assembly and use.
- Use the charging station with care to avoid electrical hazards. Ensure all connections are secure and do not overload the outlets.
- Only use a mattress that meets the recommended dimensions for a Queen size bed and is of appropriate thickness to ensure guardrail effectiveness.
Package Contents
Before assembly, verify that all components are present and undamaged. If any parts are missing or damaged, please contact customer support.
- Metal Bed Frame Components
- Integrated Desk Surface and Supports
- Guardrails
- Bed Slats
- Charging Station (USB Port & Outlets)
- RGB LED Light Strip
- Assembly Hardware (screws, bolts, washers, Allen wrench)
- Instruction Manual
Setup and Assembly Instructions
Assembly of the Bellemave Queen Loft Bed requires two adults and approximately 2-3 hours. Please follow the step-by-step instructions provided in the separate assembly guide included with your package. Ensure all parts are correctly oriented before tightening screws.
Key Assembly Steps:
- Unpack all components and lay them out on a clean, soft surface to prevent scratches.
- Assemble the main bed frame structure, ensuring all connections are secure but not fully tightened until the frame is complete.
- Attach the desk components to the frame.
- Install the guardrails on all open sides of the upper bunk.
- Place the bed slats evenly across the bed frame and secure them.
- Install the charging station and RGB LED light strip according to their specific instructions.
- Once the entire structure is assembled, fully tighten all screws and bolts.
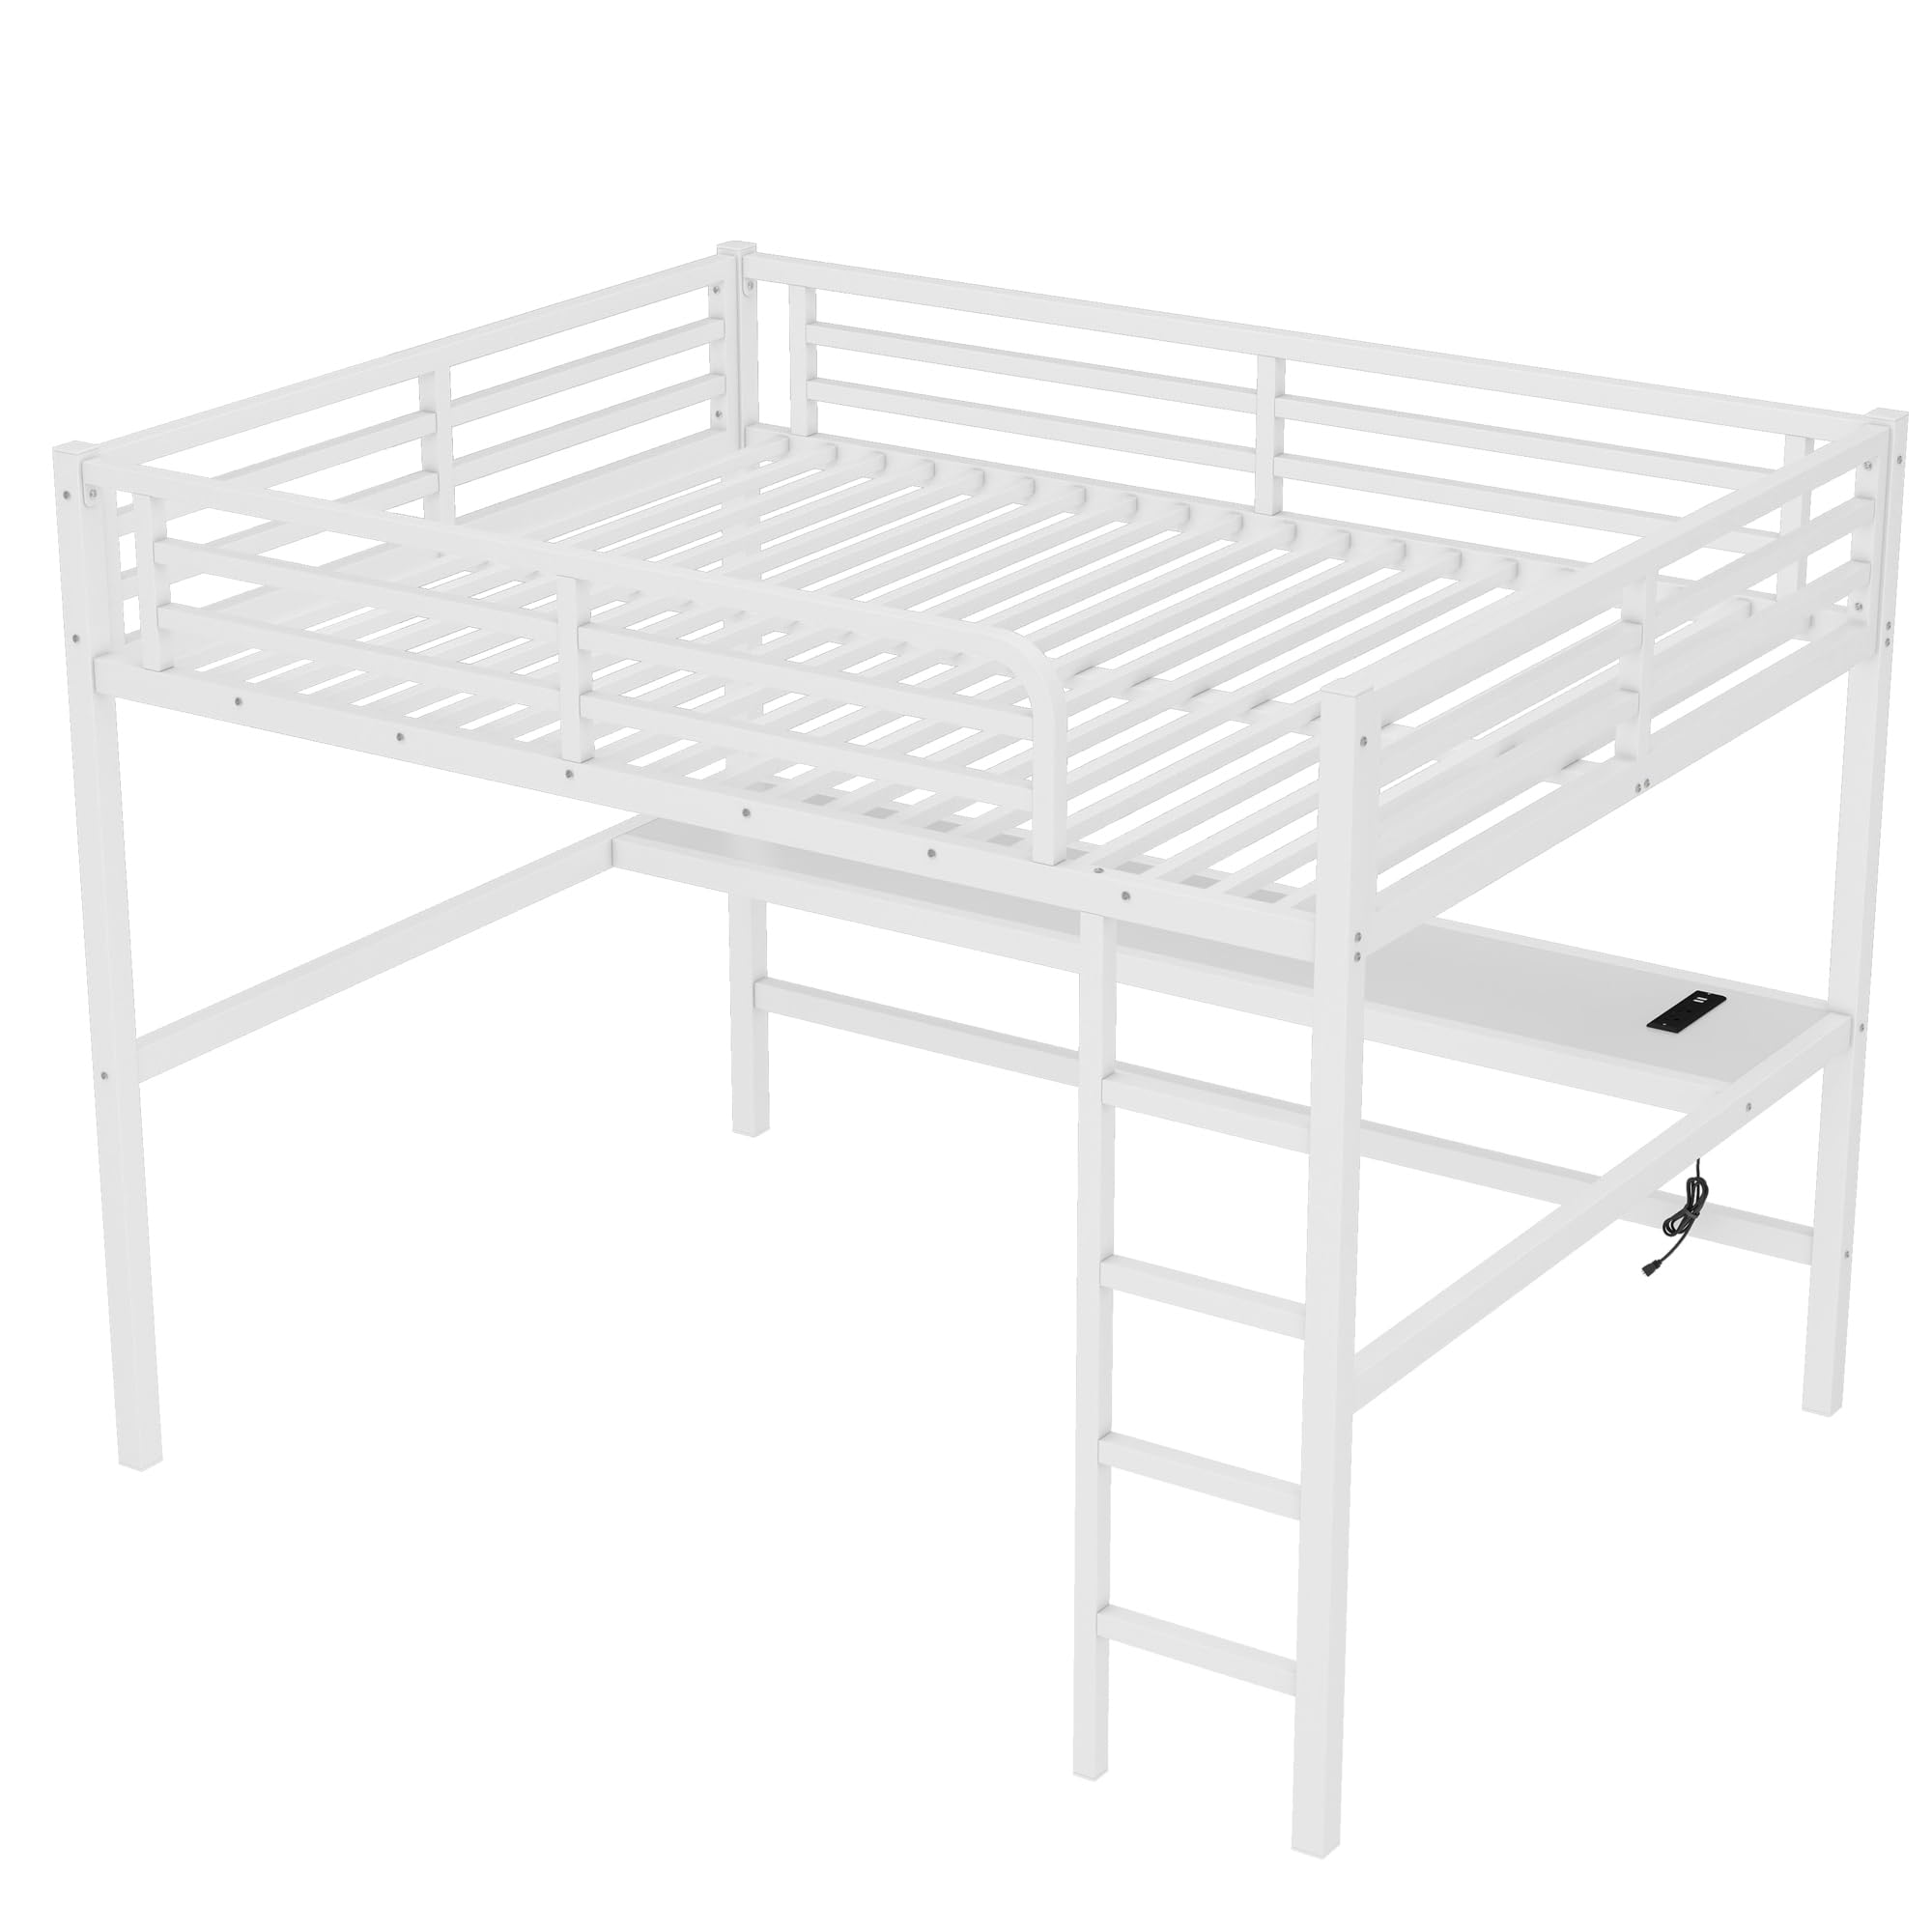
Image 1: Bellemave Queen Loft Bed with Desk and Charging Station. This image shows the overall structure of the white metal loft bed, including the elevated bed platform, integrated desk underneath, and the ladder for access.

Image 2: Side view of the Bellemave Queen Loft Bed. This perspective highlights the spacious desk area beneath the bed and the sturdy metal construction.

Image 3: Front view of the Bellemave Queen Loft Bed. This image provides a clear view of the desk, charging station, and the ladder placement.
Image 4: Dimension diagram of the Bellemave Queen Loft Bed. This diagram illustrates the precise measurements of the bed frame, desk, and ladder in inches, crucial for planning placement and ensuring proper fit.
Operating Instructions
Charging Station
The integrated charging station includes USB ports and standard electrical outlets. To use, plug the charging station's power cord into a wall outlet. You can then connect your devices to the USB ports or electrical outlets for charging. Ensure the total power draw of connected devices does not exceed the station's rated capacity.
RGB LED Light
The RGB LED light strip can be controlled to change colors and lighting modes. Refer to the separate instruction sheet provided with the LED light kit for specific details on using the remote control or integrated buttons to adjust settings. Ensure the LED light strip is securely attached and its power adapter is plugged into a functional outlet, possibly the integrated charging station.
Video 1: Overview of the Bellemave Queen Loft Bed with Desk (White). This video demonstrates the features and design of the loft bed, including the desk area and overall space-saving capabilities. The video is 17 seconds long and provided by Belle-Direct.
Maintenance
- Cleaning: Wipe down the metal frame and desk surfaces with a soft, damp cloth. Avoid abrasive cleaners or harsh chemicals that could damage the finish.
- Hardware Check: Periodically check all bolts and screws to ensure they remain tight. Re-tighten as necessary to maintain stability and safety.
- LED Lights: If the LED lights stop working or change colors incorrectly, check the power connection and consult the LED light kit's specific troubleshooting guide.
Troubleshooting
| Problem | Possible Cause | Solution |
|---|---|---|
| Bed feels wobbly or unstable | Loose hardware; incorrect assembly. | Ensure all bolts and screws are fully tightened. Review assembly instructions to confirm correct installation of all parts. |
| Noise (creaking/squeaking) | Loose connections; metal-on-metal friction. | Tighten all hardware. Apply a small amount of lubricant (e.g., silicone spray) to metal-on-metal contact points if noise persists. |
| Charging station not working | Not plugged in; power outage; faulty unit. | Check if the charging station's power cord is securely plugged into a live wall outlet. Test the outlet with another device. If still not working, contact customer support. |
| LED lights not functioning or changing colors | Loose connection; remote battery dead; faulty strip. | Check the power adapter connection for the LED strip. Replace remote control batteries if applicable. Refer to the LED light kit's specific manual for further troubleshooting. |
Specifications
- Brand: Bellemave
- Model: Queen Loft Bed
- Size: Queen
- Product Dimensions (L x W x H): 81.9" x 63" x 68.9"
- Material: Metal
- Color: White
- Weight Capacity: 350 lbs (approximate)
- Special Features: Integrated Desk, Charging Station (USB & Outlets), RGB LED Light, No Box Spring Needed
- Assembly Required: Yes
Warranty and Support
For warranty information or technical support, please refer to the documentation included with your purchase or contact Bellemave customer service directly. Keep your purchase receipt for warranty claims.
Contact Information:
- Refer to your purchase platform or Bellemave's official website for the most current contact details.


