
1. Introduction
This manual provides essential information for the installation, operation, and maintenance of your Avidsen Wired Programmable Thermostat, Model 103956. Please read these instructions carefully before using the device to ensure proper function and to maximize its benefits.
2. Product Overview
The Avidsen Wired Programmable Thermostat 103956 is designed to provide precise temperature control for your home's heating or cooling system. With a digital display and advanced programming capabilities, it helps maintain optimal comfort and energy efficiency.
Key Features:
- High precision of 0.5°C for accurate temperature regulation.
- Weekly programming options to suit your schedule.
- Up to 6 daily operating periods for flexible climate management.
- Digital display for clear temperature and time readings.
Components Included:
- 1 x Wired programmable thermostat
- 1 x Mounting kit
- 1 x Quick installation guide

Figure 2.1: Front view of the Avidsen Wired Programmable Thermostat 103956, showing the digital display and control buttons.
3. Setup and Installation
The Avidsen 103956 thermostat is designed for wall mounting and requires a wired electrical connection. For detailed installation steps, please refer to the included Quick Installation Guide.
General Installation Guidelines:
- Location Selection: Choose an interior wall, away from direct sunlight, drafts, or heat sources that could affect temperature readings.
- Power Disconnection: Before beginning any wiring, ensure the power to your heating/cooling system is turned off at the main circuit breaker.
- Mounting: Use the provided mounting kit to securely attach the thermostat to the wall.
- Wiring: Connect the thermostat to your heating or cooling system according to the wiring diagrams in the Quick Installation Guide. This device uses a wired connection type.
- Power Restoration: Once installation is complete and all connections are secure, restore power to your system.
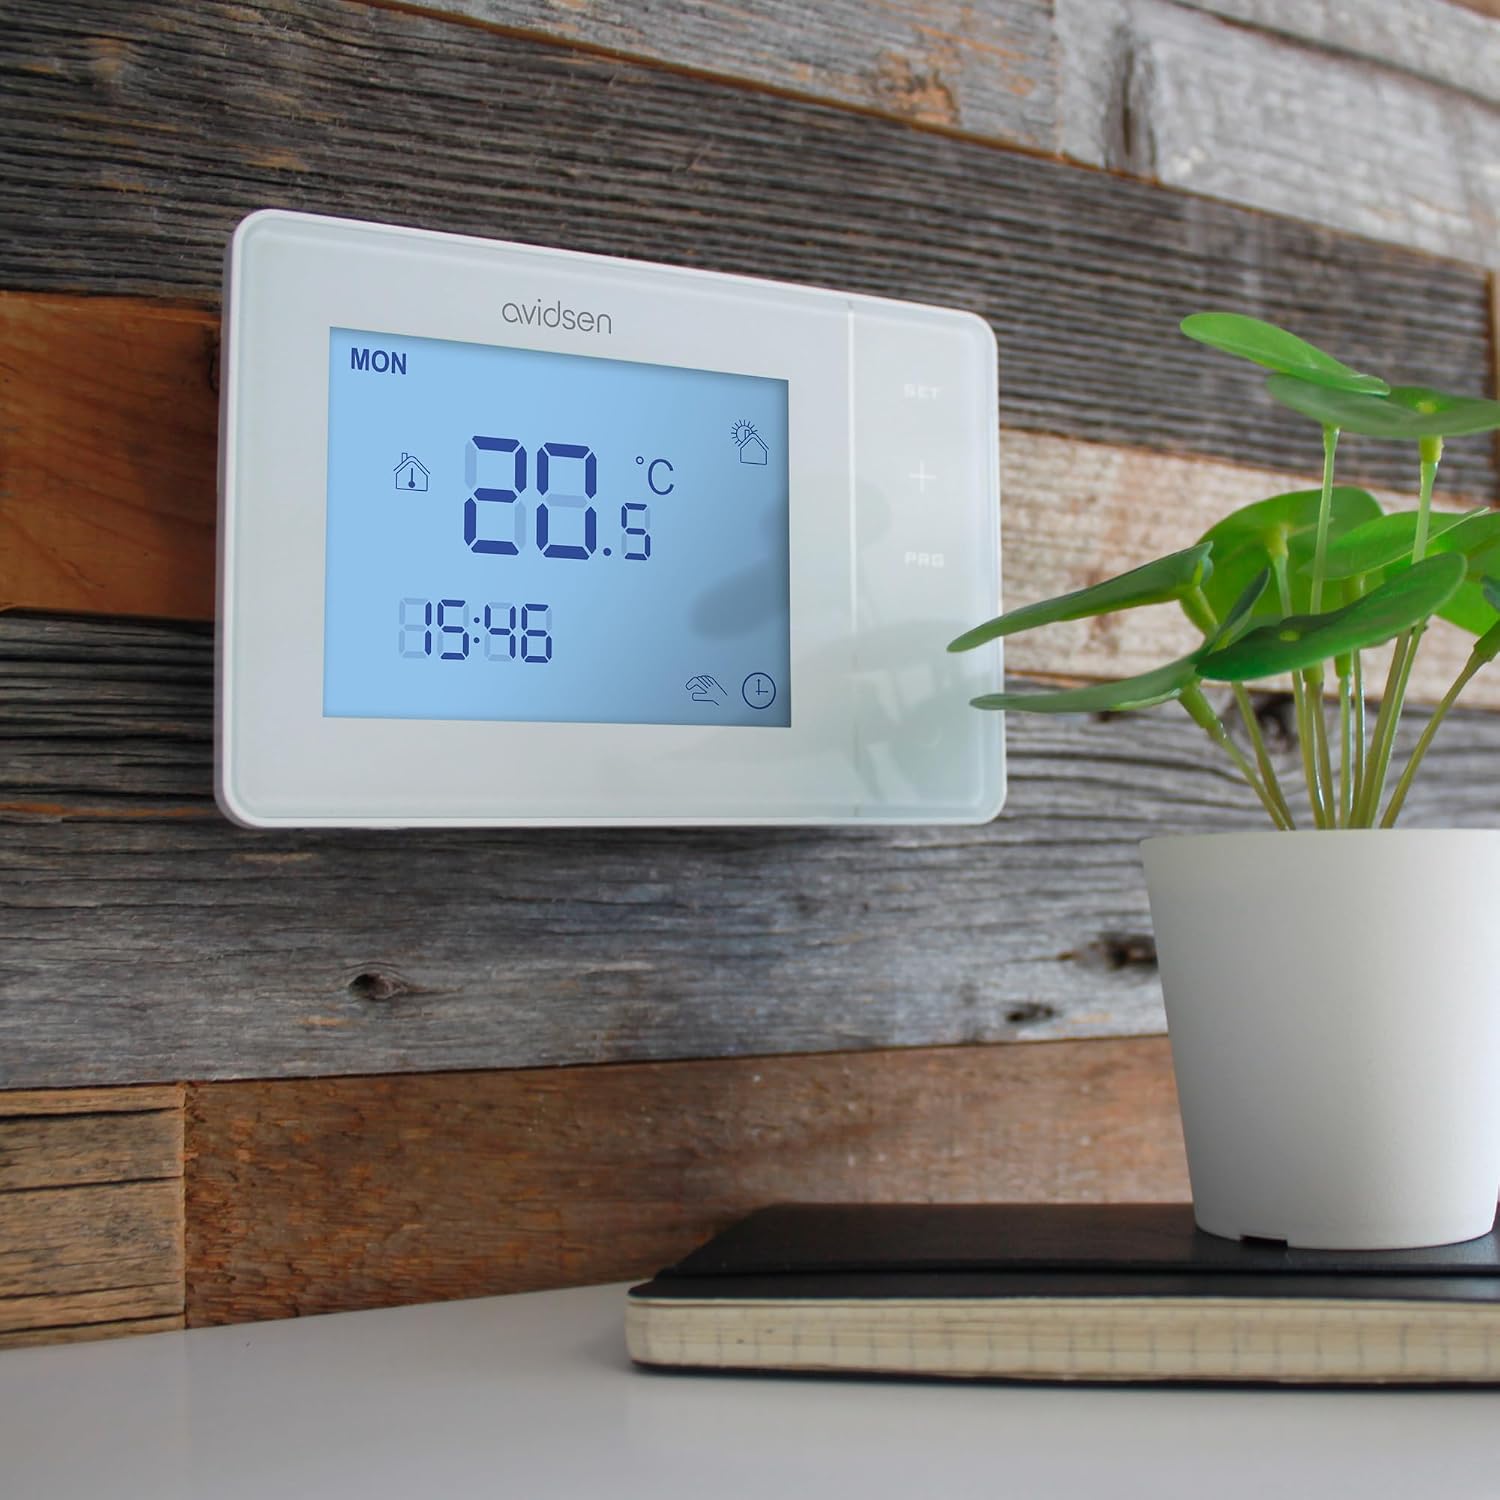
Figure 3.1: The Avidsen thermostat mounted on a wooden wall, illustrating a typical installation scenario.
4. Operating Instructions
The Avidsen 103956 thermostat features a digital display and manual controls for easy temperature management and programming.
Basic Operation:
- Power Button: Use the power button (usually indicated by a circle with a vertical line) to turn the thermostat on or off.
- Temperature Adjustment: Use the '+' and '-' buttons to manually increase or decrease the desired temperature.
- SET Button: Press the 'SET' button to confirm selections or enter settings menus.
- PRG Button: The 'PRG' button is used to access and configure the programmable settings.
Programming the Thermostat:
The thermostat supports weekly programming with up to 6 distinct operating periods per day. This allows you to set different temperatures for various times of the day and days of the week to optimize comfort and energy usage.
- Press the 'PRG' button to enter programming mode.
- Use the '+' and '-' buttons to navigate through days of the week and programming periods.
- Adjust the desired temperature and time for each period using the '+' and '-' buttons.
- Press 'SET' to confirm each setting and move to the next.
- Exit programming mode by pressing 'PRG' again or waiting for the thermostat to automatically return to normal operation.
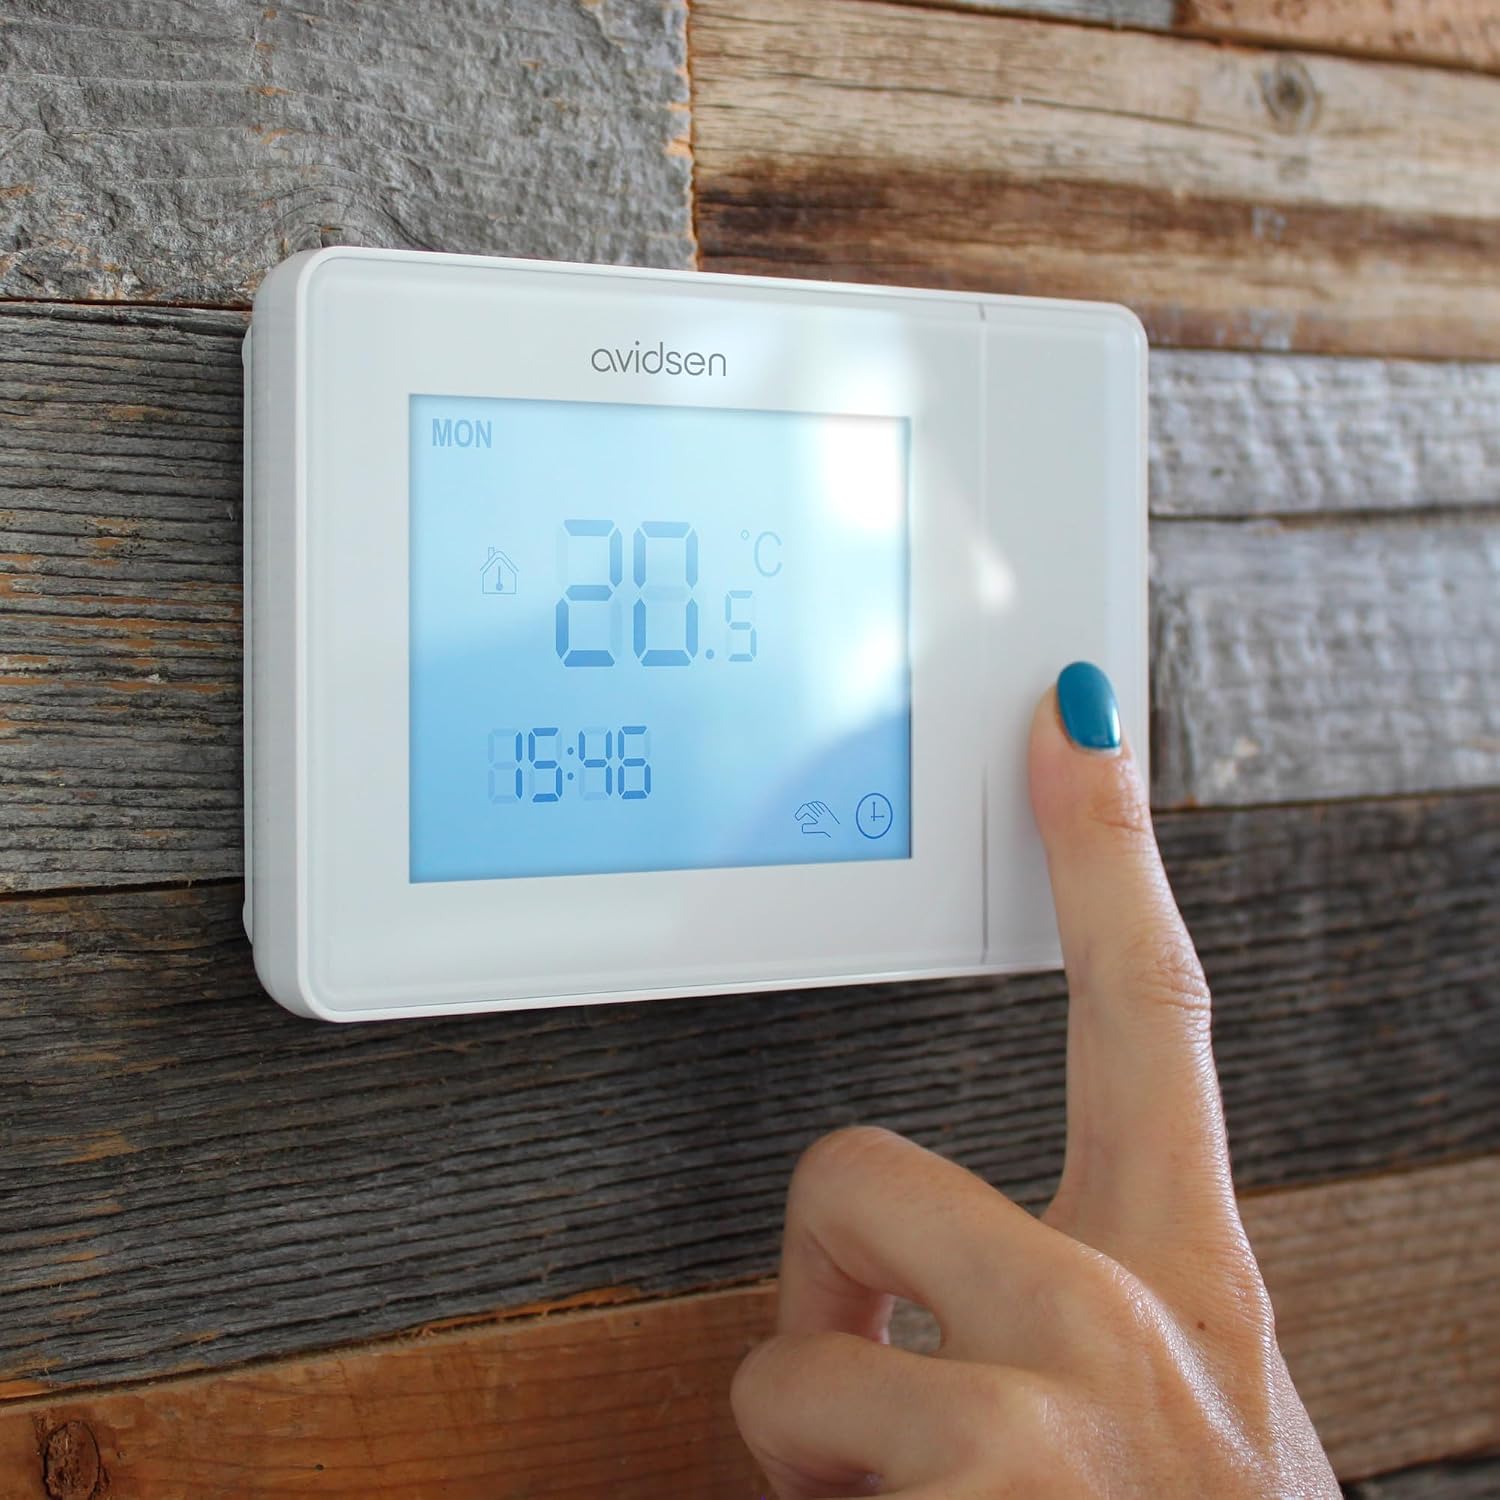
Figure 4.1: A hand interacting with the thermostat's digital display and control buttons.
5. Maintenance
To ensure the longevity and accurate performance of your Avidsen thermostat, follow these simple maintenance guidelines:
- Cleaning: Gently wipe the thermostat's surface with a soft, dry cloth. Avoid using abrasive cleaners, solvents, or chemical sprays, as these can damage the display or casing.
- Location: Ensure the thermostat remains free from obstructions that could block airflow or affect its temperature sensor.
- No User Serviceable Parts: The thermostat contains no user-serviceable parts. Do not attempt to open or repair the device yourself.
6. Troubleshooting
If you encounter issues with your Avidsen Wired Programmable Thermostat, consider the following general troubleshooting steps:
- No Display/Power: Check the main circuit breaker to ensure power is supplied to your heating/cooling system and the thermostat. Verify all wired connections are secure.
- Incorrect Temperature Reading: Ensure the thermostat is not exposed to direct sunlight, drafts, or heat sources.
- System Not Responding: Confirm that the thermostat is set to the correct mode (heating/cooling) and that the desired temperature is appropriately set. Check your heating/cooling system for any error codes or issues.
If problems persist after attempting these steps, please contact Avidsen customer support for further assistance.
7. Specifications
| Feature | Specification |
|---|---|
| Brand | Avidsen |
| Manufacturer | Avidsen |
| Model | 103956 |
| Item Model Number | 103956 |
| Additional Features | Advanced programming |
| Components Included | Wired programmable thermostat, Mounting kit, Quick installation guide |
| Display | Digital |
| Power Type | Wired electric |
| Batteries Required | No |
| Connector Type | Wired |
| Installation Type | Wall Mount |
| Item Weight | 230 g |
| Controller Type | Manual control |
| Temperature Control Type | Programmable |
| Connectivity Technology | Wired |
8. Warranty and Support
For warranty information and technical support, please refer to the documentation provided with your product or visit the official Avidsen website. Keep your purchase receipt as proof of purchase for any warranty claims.