1. Introduction
This manual provides instructions for the installation, operation, maintenance, and troubleshooting of your McAuley Labels GoDEX G500 Thermal Label Printer. Please read this manual thoroughly before using the printer to ensure proper function and longevity.
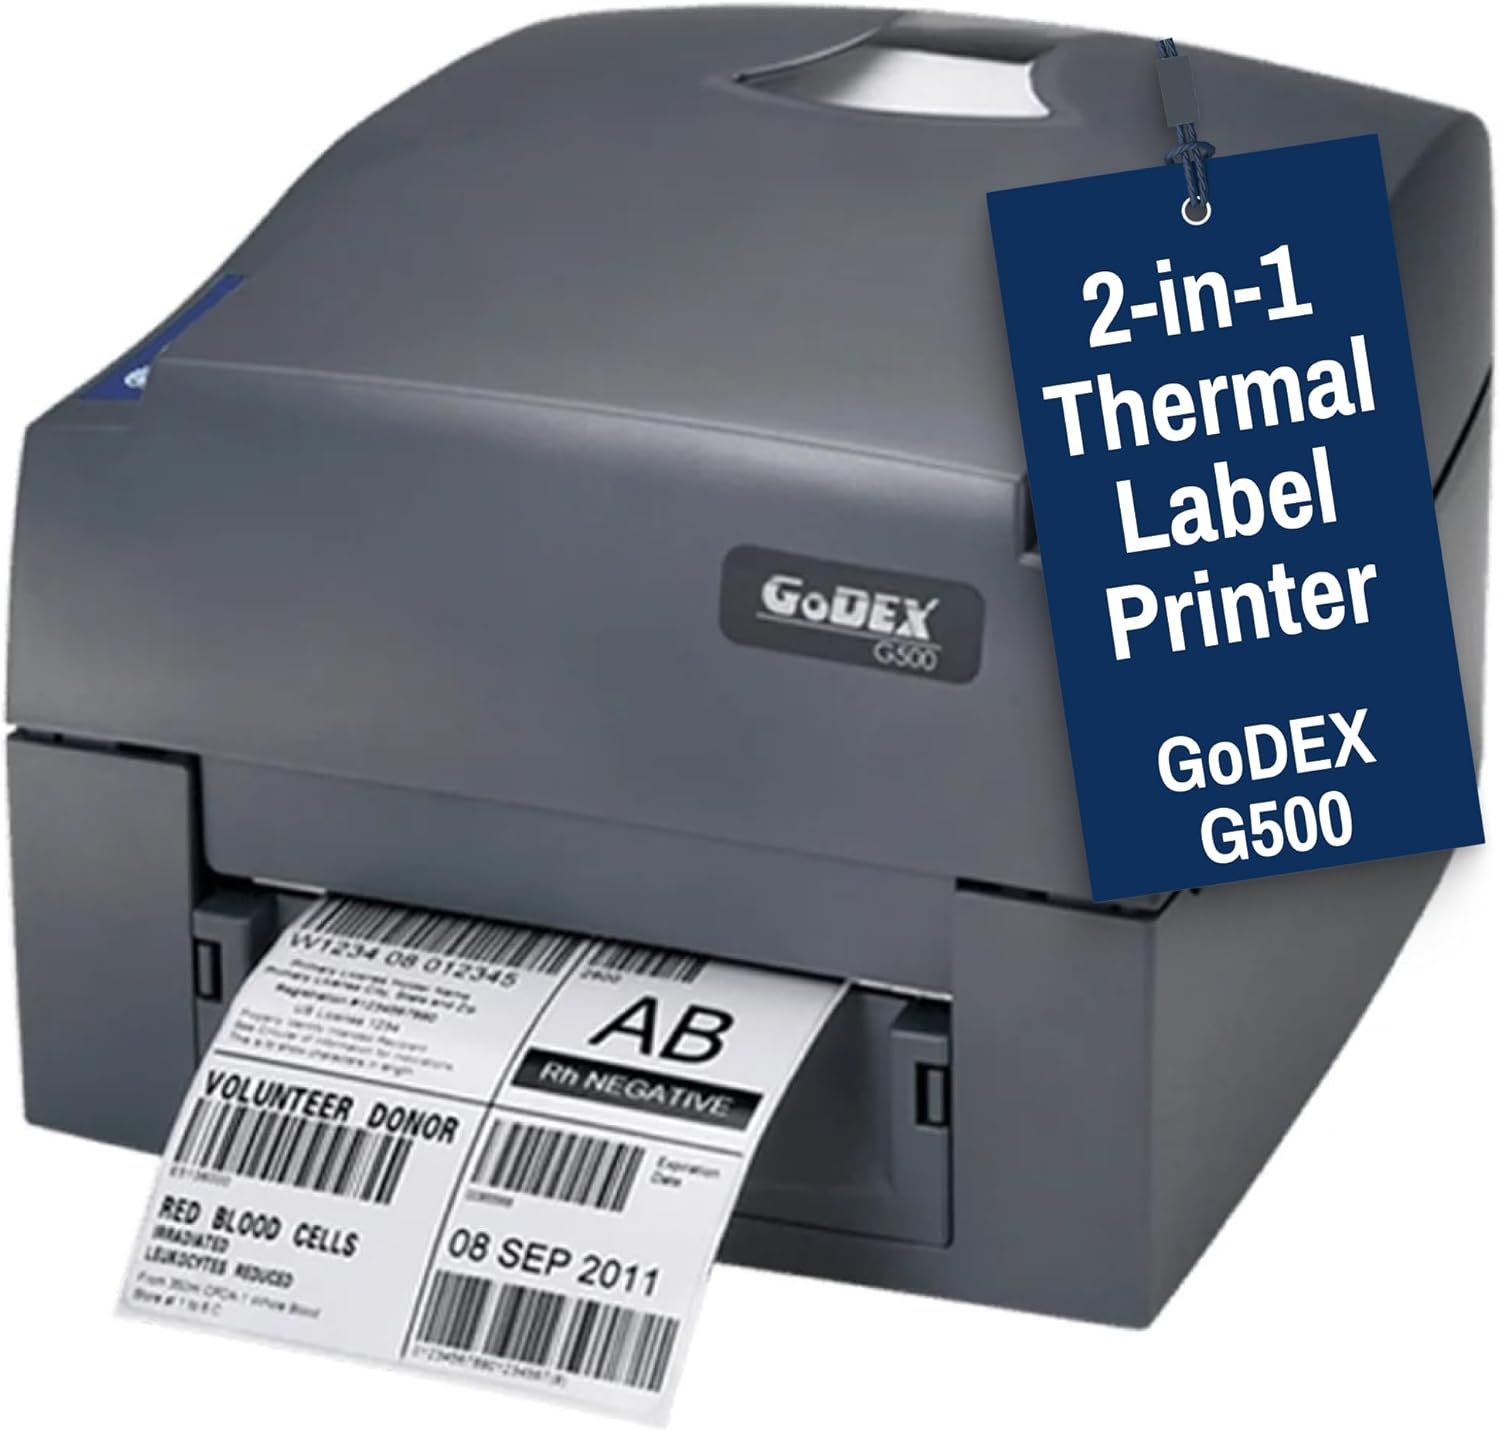
Image 1.1: The McAuley Labels GoDEX G500 Thermal Label Printer, a dual-mode device capable of both direct thermal and thermal transfer printing.
2. Product Overview and Features
The GoDEX G500 is a versatile 4-inch thermal label printer designed for various labeling tasks, including shipping, barcodes, and inventory. It supports both direct thermal and thermal transfer printing methods.
- Dual Mode Printing: Supports both thermal transfer and direct thermal printing, offering flexibility for different label types and applications.
- High-Speed Performance: Achieves print speeds of up to 7 inches per second (IPS), enhancing workflow efficiency.
- Print Resolution: Provides a standard resolution of 203 DPI (dots per inch) for clear and scannable output.
- Wide Compatibility: Suitable for printing product labels, shipping barcodes, shelf tags, and patient IDs.
- Multiple Interfaces: Equipped with USB 2.0, RS-232 (DB-9), and Ethernet (RJ45) ports for broad connectivity.
- Durable Construction: Built with robust materials for reliable daily operation in various environments.
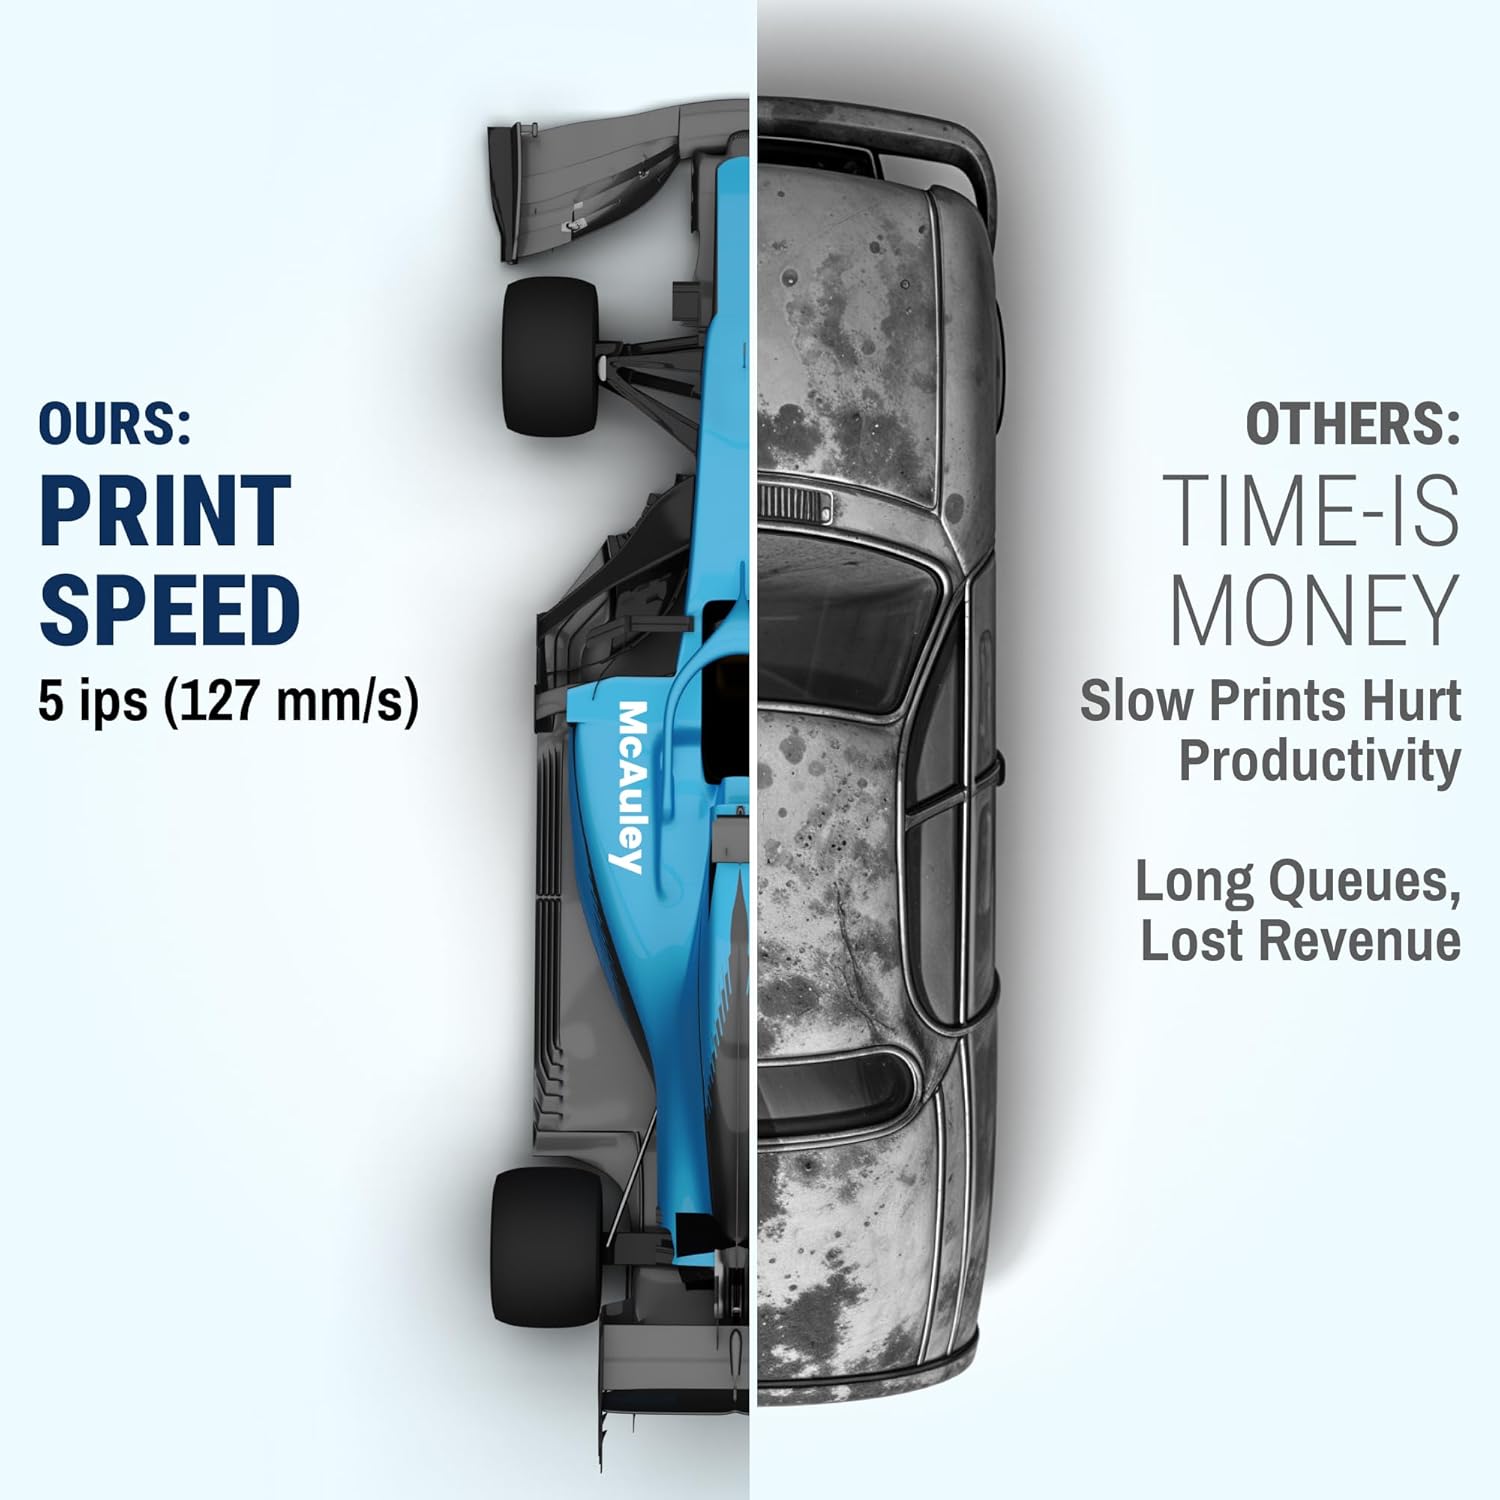
Image 2.1: Illustration highlighting the printer's efficient print speed, capable of up to 5 inches per second (127 mm/s).
3. Setup
Follow these steps to set up your GoDEX G500 printer for initial use.
3.1 Unpacking and Placement
- Carefully remove the printer and all accessories from the packaging.
- Place the printer on a stable, flat surface near a power outlet and your computer or network connection point. Ensure adequate ventilation around the printer.
3.2 Connecting Cables
The GoDEX G500 offers multiple connectivity options:
- USB: Connect the USB cable from the printer to an available USB port on your computer.
- Ethernet: For network printing, connect an Ethernet cable from the printer's RJ45 port to your network router or switch.
- Serial (RS-232): Use an RS-232 cable for serial communication, if required by your system.

Image 3.1: Rear view of the printer showing available interfaces: USB 2.0, RS-232 (DB-9), and Ethernet (RJ45).
After connecting the data cable, connect the power adapter to the printer and then plug it into a power outlet.
3.3 Driver Installation
Install the appropriate printer drivers on your computer. Drivers are typically provided on a CD included with the printer or can be downloaded from the McAuley Labels or GoDEX official website. Follow the on-screen instructions for installation.
4. Operating Instructions
This section details how to load media and ribbons, and how to perform basic printing operations.
4.1 Loading Labels (Direct Thermal or Thermal Transfer)
- Open the printer's top cover.
- Adjust the media guides to match the width of your labels.
- Insert the roll of labels onto the media spindle, ensuring the labels feed smoothly into the print mechanism. The print side of the label should face upwards.
- Pull the leading edge of the labels past the print head and pressure roller.
- Close the top cover.
4.2 Loading Thermal Transfer Ribbon (for Thermal Transfer Printing)
If you are performing thermal transfer printing, a ribbon is required in addition to labels.
- Open the printer's top cover.
- Place the ribbon roll onto the ribbon supply spindle.
- Thread the ribbon through the print mechanism, ensuring the coated side of the ribbon faces the labels.
- Attach the leading edge of the ribbon to the empty ribbon take-up core.
- Rotate the take-up core manually to remove any slack from the ribbon.
- Close the top cover.
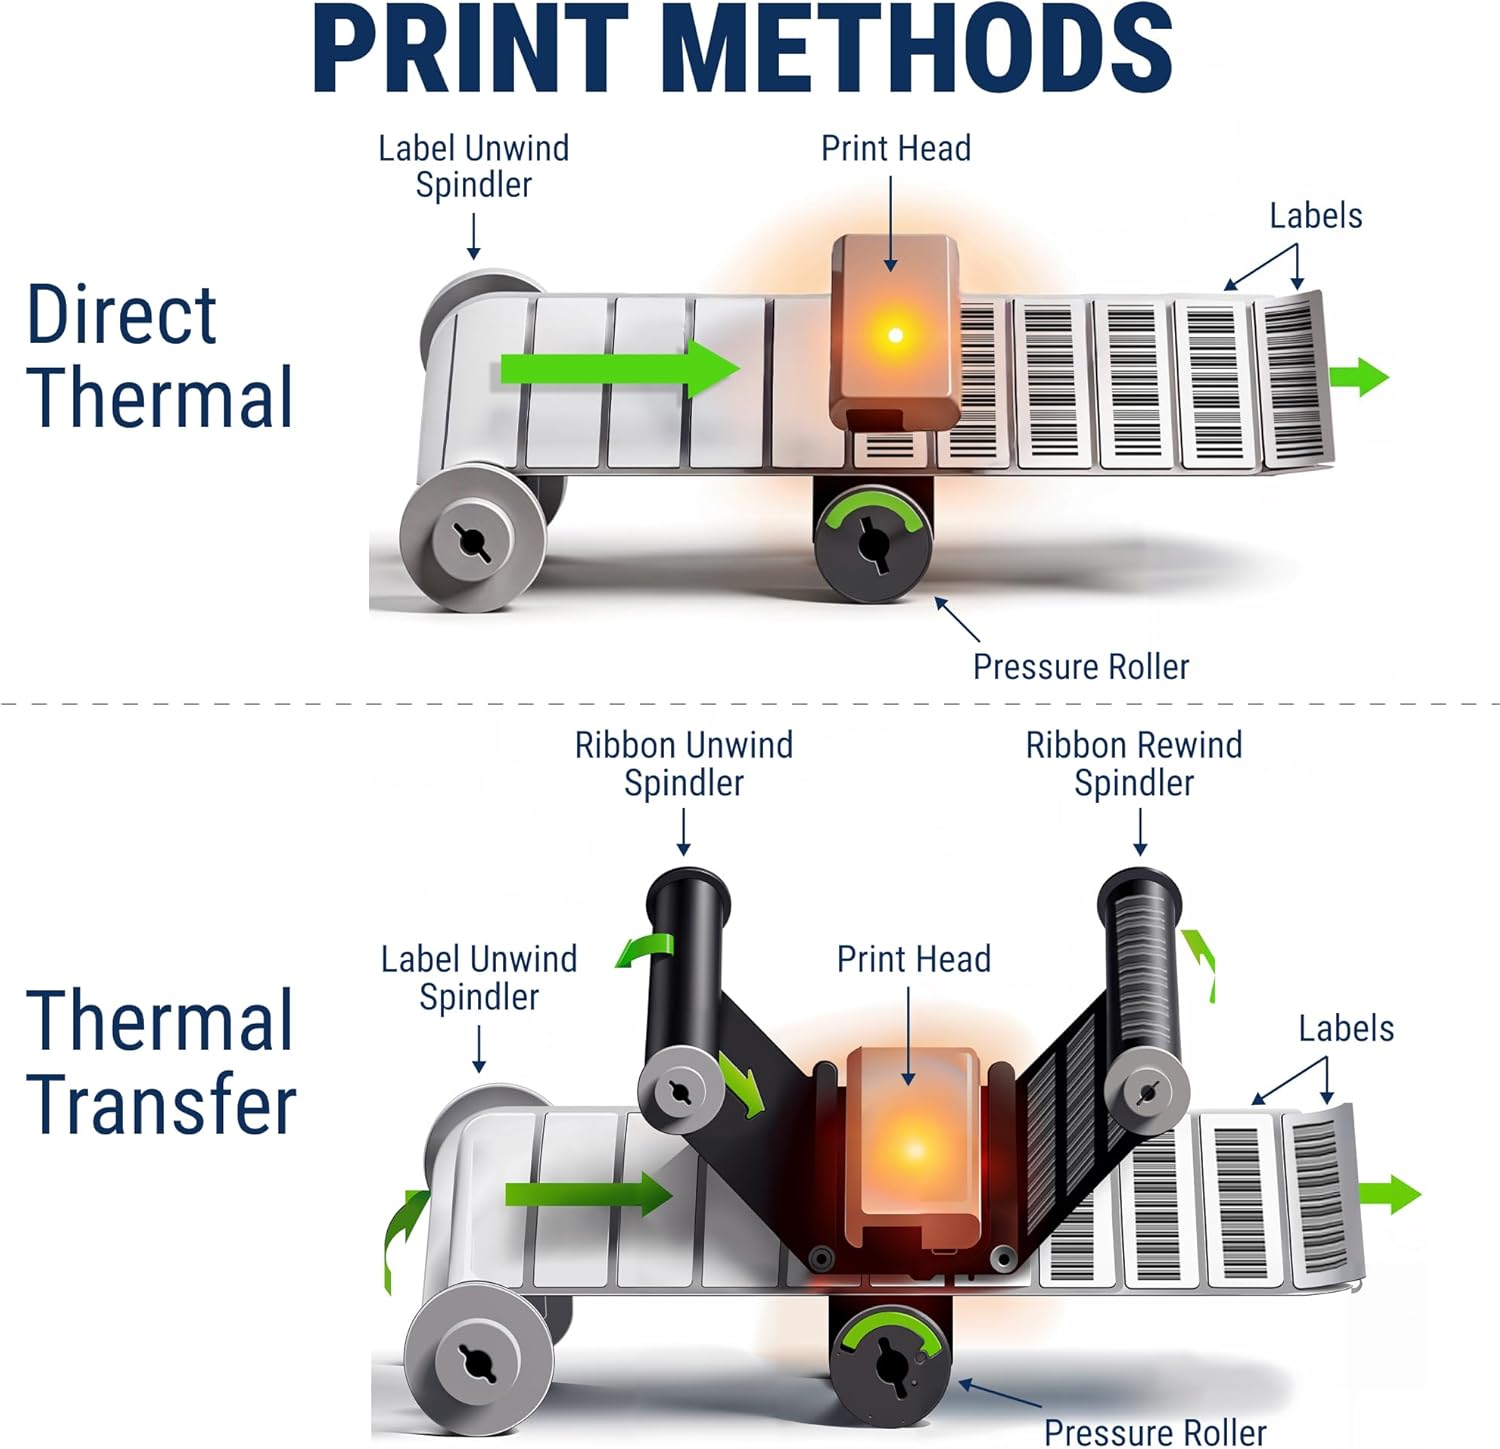
Image 4.1: Diagrams illustrating the label and ribbon paths for both Direct Thermal and Thermal Transfer printing methods.

Image 4.2: The internal mechanism of the printer, showing the ribbon path and indicating a print resolution of 203 dpi.
4.3 Calibrating Labels
After loading new labels or changing label types, it is recommended to calibrate the printer to ensure accurate label detection and printing. Refer to your printer's software utility or press the FEED button on the control panel to initiate a label feed and calibration sequence.
4.4 Printing
Once labels and, if applicable, the ribbon are loaded, and drivers are installed, you can print from your application. Select the GoDEX G500 as your printer and configure print settings as needed (e.g., label size, print density).
5. Maintenance
Regular maintenance ensures optimal performance and extends the lifespan of your printer.
5.1 Cleaning the Print Head
The print head is a critical component and should be cleaned regularly, especially if print quality degrades. Use a lint-free cloth or a print head cleaning pen moistened with isopropyl alcohol (99% pure). Gently wipe the print head surface from center to edge. Allow it to dry completely before use.

Image 5.1: A close-up view of the printer's internal print head and roller mechanism, highlighting areas that may require cleaning.
5.2 Cleaning the Platen Roller
The platen roller helps feed labels smoothly. Clean it with a lint-free cloth moistened with isopropyl alcohol. Rotate the roller manually to clean its entire surface.
5.3 General Cleaning
Wipe the exterior of the printer with a soft, damp cloth. Do not use abrasive cleaners or solvents.
6. Troubleshooting
This section addresses common issues you might encounter with your GoDEX G500 printer.
6.1 Printer Not Responding
- Ensure the power cable is securely connected and the printer is turned on.
- Check the data cable (USB, Ethernet, or Serial) connection between the printer and your computer/network.
- Verify that the correct printer driver is installed and selected in your printing application.
- Check the printer's status LEDs. The control panel features two bi-color status LEDs indicating "Ready" and "Status". Refer to the printer's full manual for specific LED error codes.
6.2 Poor Print Quality
- Faded or Missing Lines: The print head may be dirty or damaged. Clean the print head as described in the Maintenance section.
- Smudged Prints: Ensure you are using the correct label and ribbon type for your printing method (direct thermal labels for direct thermal printing, thermal transfer labels and ribbon for thermal transfer printing). Adjust print density settings.
- Unclear or Jagged Text/Barcodes: The print head may be misaligned or dirty. Ensure labels are loaded correctly and perform print head cleaning.
6.3 Labels Not Feeding Correctly
- Ensure labels are loaded correctly and the media guides are adjusted to the label width.
- Calibrate the printer for the loaded labels.
- Check for any obstructions in the label path.
7. Specifications
Key technical specifications for the McAuley Labels GoDEX G500 Thermal Label Printer:
| Feature | Specification |
|---|---|
| Print Method | Thermal Transfer / Direct Thermal |
| Resolution | 203 dpi (8 dots/mm) |
| Print Speed | 5 ips (127 mm/s) |
| Print Width | Max. 4.25" (108 mm) / 4.16" (105.7 mm) |
| Print Length | Min. 0.16" (4 mm); Max. 157.44" (3999 mm) / Min. 0.16" (4 mm); Max. 73.19" (1859 mm) |
| Processor | 32-bit RISC CPU |
| Memory | Flash: 8 MB Flash (4 MB for user storage), SDRAM: 16 MB |
| Interfaces | USB 2.0 • RS-232 (DB-9) • Ethernet (RJ45) |
| Ribbon | Length: 981' (300 m) Width: 1.18" Min. – 4.33" (30 mm – 110 mm) Max. Core diameter: 1" (25.4 mm) |
| Control Panel | Two bi-color status-LEDs: Ready, Status Control key: FEED |
| Product Dimensions | 1 x 1 x 1 inches |
| Color | Black |
| Manufacturer | Godex |
Image 7.1: A detailed table summarizing the technical specifications of the Godex G500 printer.

8. Warranty and Support
The McAuley Labels GoDEX G500 printer is backed by McAuley Labels' expert service and support. For technical assistance, troubleshooting, or inquiries regarding supplies (ribbons, labels), please contact McAuley Labels customer support. Specific warranty details can be found on the product packaging or the official McAuley Labels website.
For further assistance, visit the McAuley Labels Store.


