
1. Introduction
Thank you for purchasing the Meiurlex RC ERA C032 UH-1 Huey RC Helicopter. This 1/48 scale, 6-channel remote-controlled helicopter is designed for enthusiasts and beginners alike, offering precise control and advanced flight capabilities, including 3D stunt flight. This manual provides essential information for safe operation, setup, maintenance, and troubleshooting to ensure an optimal experience with your model helicopter.
Please read this manual thoroughly before operating the helicopter and retain it for future reference.
2. Safety Information
Operating a remote-controlled helicopter requires caution. Failure to follow safety guidelines can result in injury or damage to property. Always prioritize safety.
- Age Recommendation: This product is recommended for users aged 15 years and older.
- Flight Environment: Operate the helicopter in open, clear areas, away from people, animals, buildings, power lines, and water. Avoid flying in strong winds (wind force less than 5).
- Pre-Flight Check: Always inspect the helicopter and remote control for any damage or loose parts before each flight. Ensure batteries are fully charged.
- Battery Safety: Use only the specified batteries and charger. Do not overcharge or short-circuit batteries. Dispose of batteries responsibly.
- Rotor Blades: Keep hands, face, and loose clothing away from rotating blades. Blades can cause serious injury.
- Supervision: Younger users should always be supervised by an experienced adult.
- Emergency Stop: Familiarize yourself with the emergency stop procedure on the remote control.
3. Package Contents
Verify that all items are present in your package:
- 1 x RC ERA C032 UH-1 Huey Helicopter
- 1 x 2.4 GHz Transmitter (Remote Control)
- 1 x User Manual
- 1 x USB Charger
- 2 x Main Rotor Blades (Spare)
- 1 x Tail Rotor Blade (Spare)
- 1 x Lithium-ion Battery (7.4V for helicopter)
- 1 x Screwdriver
- 1 x Allen Key
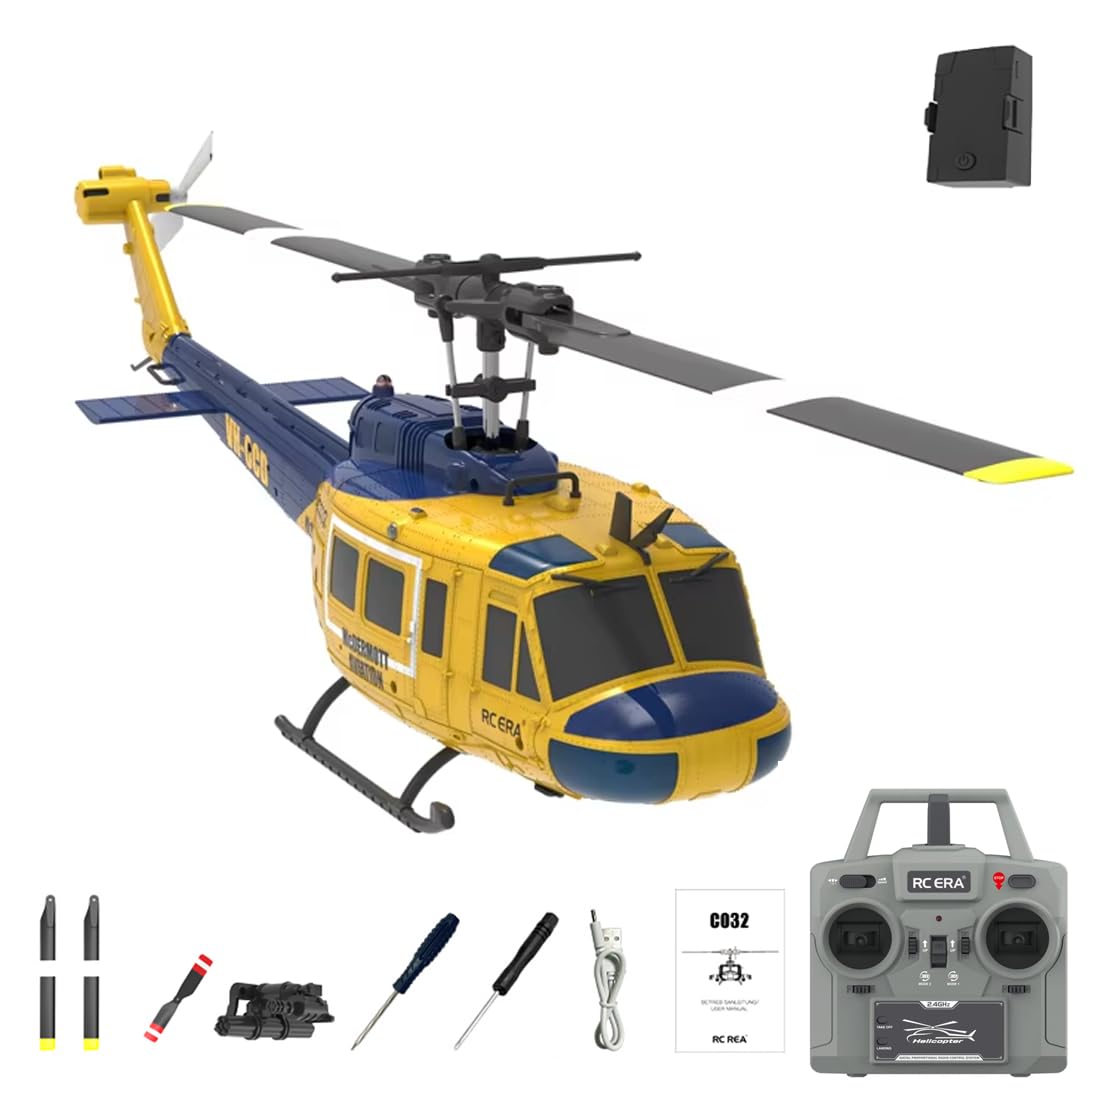
Image 1: Meiurlex RC ERA C032 UH-1 Huey RC Helicopter (Yellow and Blue variant).
4. Specifications
| Feature | Specification |
|---|---|
| Brand | Meiurlex |
| Model Name | RC ERA C032 UH-1 Huey |
| Rotor Diameter | 315 mm |
| Body Length | 297 mm |
| Height | 92 mm |
| Flying Weight | 115 g |
| Flight Time | Approximately 13 minutes |
| Charging Time | Approximately 50 minutes |
| Remote Control | 2.4 GHz Transmitter |
| Control Range | 120-150 meters |
| Material | ABS Plastic |
| Helicopter Battery | 7.4V Lithium-ion (included) |
| Transmitter Battery | 4 x 1.5V AA batteries (not included) |
| Recommended Age | 15 years and up |
| Special Features | 3D Stunt Flight, Intelligent Positioning System, Barometric Altitude Hold, Optical Flow Positioning, TOF Height Measurement, Anti-blocking Protection |
5. Setup
5.1. Charging the Helicopter Battery
- Connect the 7.4V Lithium-ion helicopter battery to the provided USB charger.
- Plug the USB charger into a suitable USB power source (e.g., computer USB port, USB wall adapter).
- The indicator light on the charger will show the charging status (refer to charger instructions for specific light patterns).
- Charging typically takes approximately 50 minutes. Do not leave batteries charging unattended.
5.2. Installing Transmitter Batteries
- Open the battery compartment on the back of the 2.4 GHz transmitter.
- Insert 4 x 1.5V AA batteries, ensuring correct polarity (+/-).
- Close the battery compartment securely.
5.3. Binding the Helicopter and Transmitter
Follow these steps to bind your helicopter to the transmitter:
- Ensure both the helicopter and transmitter are powered off.
- Place the helicopter on a flat, stable surface.
- Power on the helicopter. The indicator light on the helicopter will flash.
- Power on the transmitter. The transmitter's indicator light will also flash.
- Move the throttle stick (left stick) on the transmitter fully up, then fully down.
- Both indicator lights should become solid, indicating a successful binding. If not, repeat the steps.
5.4. Pre-Flight Check
- Confirm all batteries are fully charged.
- Check for any visible damage to the helicopter, especially rotor blades and landing gear.
- Ensure the binding process was successful.
- Select a safe, open flying area.
6. Operating Instructions
6.1. Transmitter Controls Overview
Familiarize yourself with the transmitter layout and functions:
- Left Stick (Throttle/Yaw): Controls altitude (up/down) and rotation (left/right).
- Right Stick (Pitch/Roll): Controls forward/backward movement (pitch) and left/right sideways movement (roll).
- Trim Buttons: Used to fine-tune helicopter stability if it drifts in any direction during hover.
- One-Key Take-off/Landing Button: Initiates automatic take-off or landing.
- 3D Stunt Button: Activates 3D stunt mode (e.g., one-button reverse flight).
- Speed Mode Button: Switches between different flight speeds (e.g., beginner, intermediate, advanced).
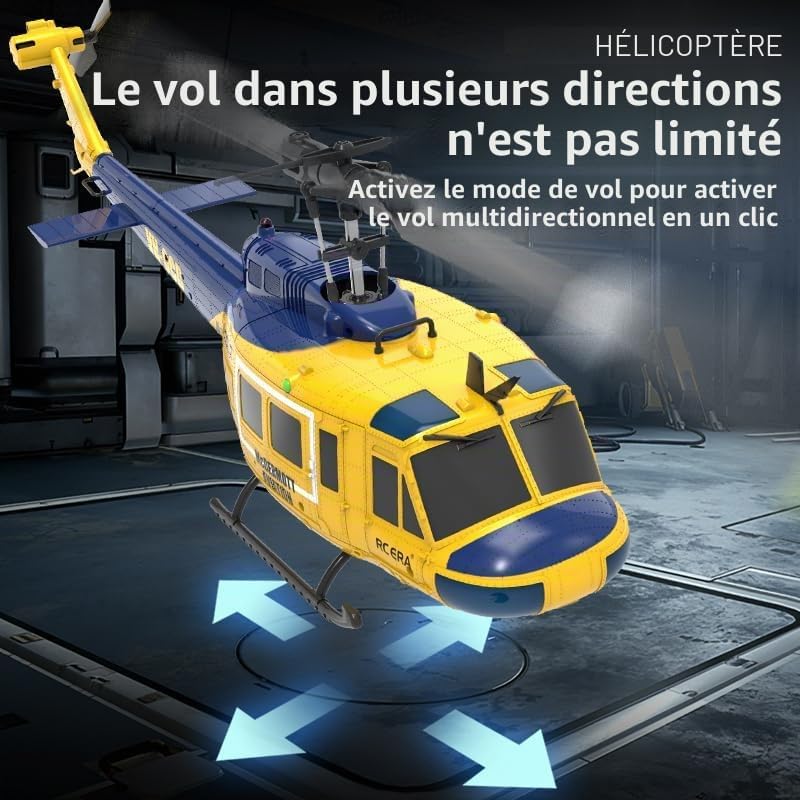
Image 2: The helicopter is capable of multi-directional flight, allowing for versatile maneuvers.
6.2. Take-off and Landing
- Take-off: Press the One-Key Take-off button, or slowly push the throttle stick up until the helicopter lifts off.
- Landing: Press the One-Key Landing button, or slowly pull the throttle stick down until the helicopter lands gently.
6.3. Flight Modes and Features
- Intelligent Positioning System: Provides enhanced stability and precise control.
- Barometric Altitude Hold: Automatically maintains a set altitude, making hovering easier.
- Optical Flow Positioning: Utilizes downward-facing sensors to maintain position, especially useful in indoor environments or at low altitudes.
- TOF Height Measurement: Time-of-Flight sensor for accurate height detection, contributing to stable flight.
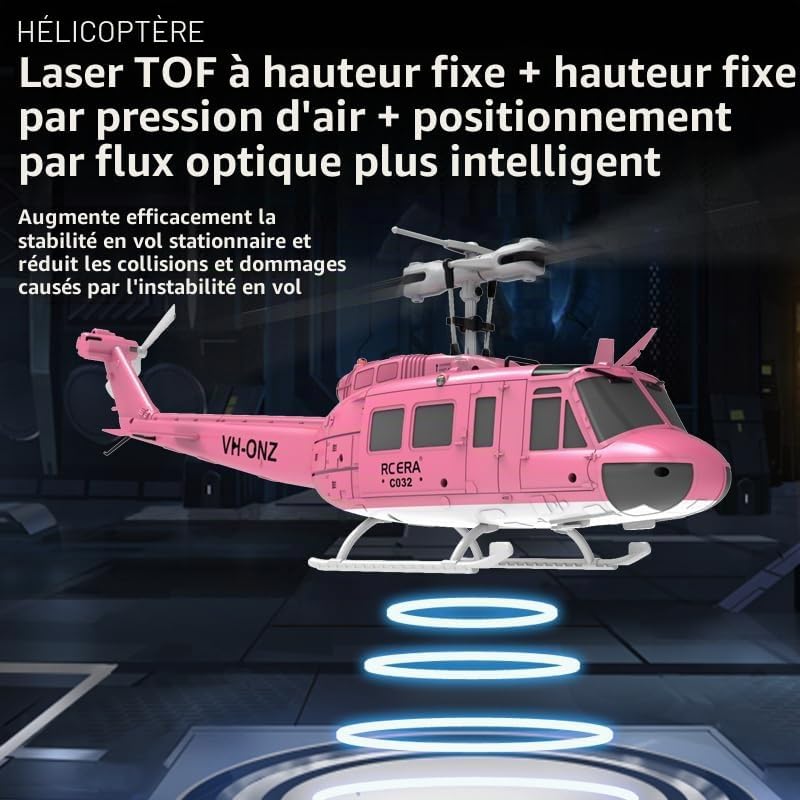
Image 3: Illustration of TOF laser, altitude hold, and optical flow positioning for stable flight. (Note: Helicopter color in image may vary from product.)
6.4. 3D Stunt Flight
The helicopter supports 3D stunt flight, including one-button reverse flight. To perform 3D stunts:
- Ensure you are in an open area with sufficient space.
- Press the 3D Stunt button on the transmitter.
- Follow the specific instructions in the transmitter's manual for executing various stunts.
- Practice at a safe altitude until you are comfortable with the controls.

Image 4: The helicopter is capable of one-key 3D reverse flight. (Note: Helicopter color in image may vary from product.)
7. Maintenance
- Cleaning: Use a soft, dry cloth to clean the helicopter after each use. Avoid water or harsh chemicals.
- Blade Inspection: Regularly check rotor blades for cracks, bends, or damage. Replace damaged blades immediately using the provided spares and screwdriver/Allen key.
- Battery Storage: Store batteries in a cool, dry place, away from direct sunlight and extreme temperatures. For long-term storage, charge batteries to approximately 50%.
- Anti-blocking Protection: The helicopter features intelligent anti-blocking protection. If the propeller is obstructed, it will automatically stop to prevent damage. Clear any obstructions before resuming flight.

Image 5: The helicopter's intelligent anti-blocking protection system prevents damage from propeller obstructions. (Note: Helicopter color in image may vary from product.)
8. Troubleshooting
| Problem | Possible Cause | Solution |
|---|---|---|
| Helicopter does not respond to transmitter. | Not bound, low battery, out of range. | Re-bind the helicopter and transmitter. Charge batteries. Ensure helicopter is within control range. |
| Helicopter drifts during hover. | Trim settings incorrect, wind interference. | Adjust trim buttons on the transmitter. Fly in calmer conditions. |
| Helicopter does not lift off. | Low battery, damaged blades, motor issue. | Charge helicopter battery. Inspect and replace damaged blades. Contact support if motor issue suspected. |
| Short flight time. | Battery not fully charged, aging battery. | Ensure battery is fully charged. Consider replacing the battery if it's old. |
| Propeller stops unexpectedly. | Anti-blocking protection activated. | Check for obstructions around the propellers. Clear them and restart. |
9. Warranty and Support
Meiurlex products are manufactured to high-quality standards. For warranty information, technical support, or replacement parts, please contact the retailer or manufacturer directly. Keep your purchase receipt as proof of purchase.
Manufacturer: Meiurlex
Model Number: 41P18W32NX3TW