1. Introduction
Thank you for choosing a Whirlpool appliance. This user manual provides essential information for the safe and efficient operation, installation, and maintenance of your new Whirlpool WPM 97W ADS IT washing machine. Please read these instructions carefully before using the appliance and keep them for future reference.
2. Safety Information
General Safety:
- Ensure the appliance is properly grounded.
- Do not allow children to operate or play with the washing machine.
- Keep packaging materials away from children.
- Do not touch the appliance with wet hands or feet.
- Unplug the appliance before any cleaning or maintenance.
Installation Safety:
- Remove all transport bolts before use. Failure to do so can cause severe damage.
- Ensure the appliance is level to prevent excessive vibration and noise.
- Connect to a cold water supply only.
- Do not use extension cords or multiple adapters.
3. Product Overview
Key Features
- 6th SENSE Technology: Intelligent sensors automatically adapt time, energy, and water based on the load, ensuring optimal results with maximum resource savings.
- HomeWhiz: Control the washing machine remotely with the HomeWhiz app. Start cycles, receive notifications, and customize settings from anywhere.
- AutoDose: Automatically dispenses detergent and fabric softener for each cycle. Provides up to 26 washes with a single refill, preventing waste.
- Sense Wash: Three intelligent sensors adapt the program and duration based on fabric type, soil level, and load quantity.
- Adaptive Wash: The washing machine learns from your habits and optimizes results based on your feedback, providing personalized care for each cycle.
Components

Figure 1: Front view of the Whirlpool WPM 97W ADS IT washing machine with the loading door open, showing the drum interior and control panel.

Figure 2: Close-up view of the detergent and fabric softener dispenser drawer, highlighting the AutoDose compartments.

Figure 3: Detailed view of the washing machine's stainless steel drum interior, showing the paddles and water jets.
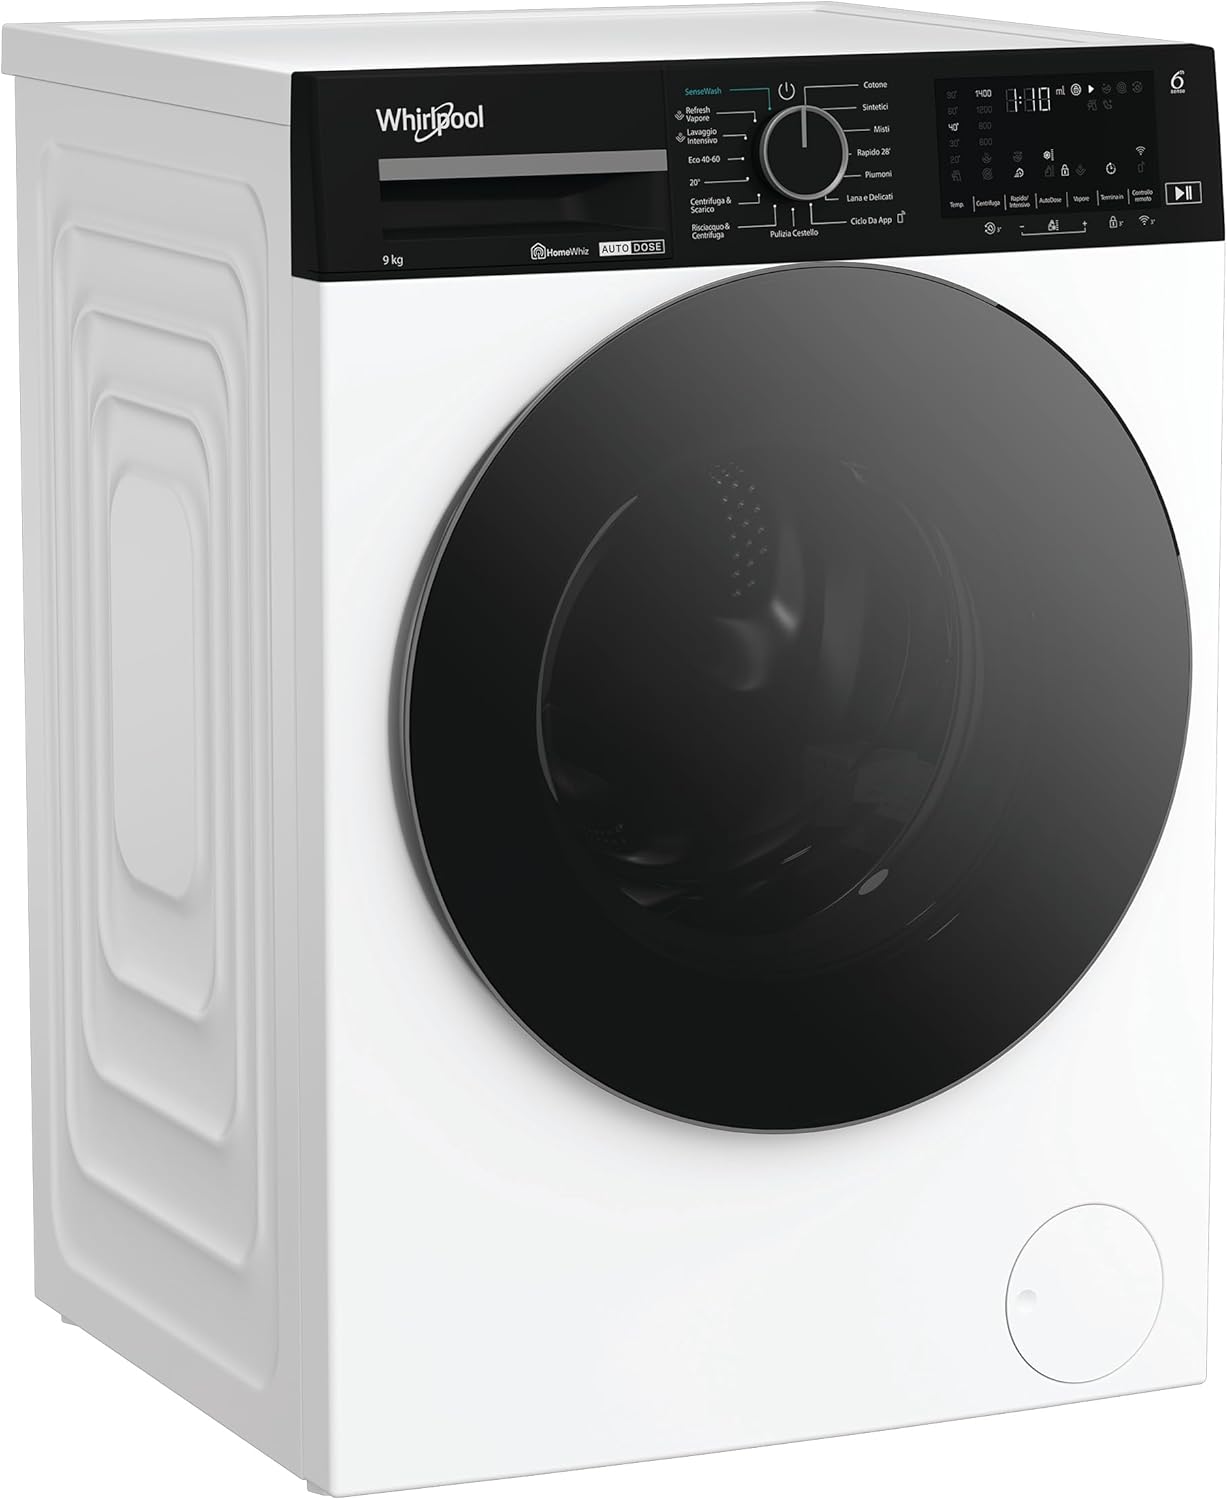
Figure 4: Front view of the Whirlpool WPM 97W ADS IT washing machine with the loading door closed, displaying its sleek design.
4. Setup and Installation
4.1 Unpacking
- Carefully remove all packaging materials.
- Remove the transport bolts located at the rear of the machine. These bolts secure the drum during transit and must be removed before operation. Keep them for future transport.
- Plug the holes with the plastic caps provided.
4.2 Positioning
- Place the washing machine on a flat, stable surface.
- Adjust the leveling feet to ensure the appliance is perfectly stable and level. Use a spirit level to verify.
- Ensure there is adequate space around the machine for ventilation and access.
4.3 Water and Electrical Connections
- Connect the water inlet hose to a cold water tap with a 3/4" thread. Ensure the connection is tight to prevent leaks.
- Position the drain hose into a standpipe or over the edge of a sink, ensuring it is securely fixed to prevent displacement during draining. The height of the drain should be between 65 cm and 100 cm.
- Plug the power cable into a grounded electrical outlet. Ensure the voltage and frequency match the specifications of your appliance.
4.4 Initial Use
- Before the first wash, run a short cycle (e.g., 'Rinse & Spin') without laundry and detergent to clean the drum and remove any manufacturing residues.
5. Operating Instructions
5.1 Loading Laundry
- Open the loading door.
- Load laundry into the drum, ensuring not to overload the machine. Leave enough space for the clothes to tumble freely.
- Close the door firmly until it clicks.
5.2 Adding Detergent and Softener (AutoDose)
- Pull out the detergent dispenser drawer (Figure 2).
- Fill the detergent compartment with liquid detergent and the softener compartment with fabric softener. The AutoDose system will automatically dispense the correct amount for each cycle.
- For manual dosing or specific additives, refer to the markings in the dispenser.
- Push the dispenser drawer back in completely.
5.3 Selecting a Program
- Turn the program selector knob to choose the desired washing program (e.g., Cotton, Synthetics, Delicates, Eco 40-60).
- The display will show the default temperature and spin speed for the selected program.
5.4 Special Functions and Options
- Temperature: Press the temperature button to adjust the wash temperature if desired.
- Spin Speed: Press the spin speed button to modify the spin cycle speed.
- 6th SENSE: This technology is active on most programs, automatically optimizing resources.
- HomeWhiz: Use the HomeWhiz app on your smartphone to select programs, monitor cycles, and receive notifications remotely. Refer to the HomeWhiz app instructions for pairing.
- Steam: Select programs may offer a steam option for enhanced hygiene or easier ironing.
- Delay Start: Set a delay for the program to start at a later time.
5.5 Starting, Pausing, and Canceling a Cycle
- Start: Press the 'Start/Pause' button to begin the selected program. The indicator light will illuminate.
- Pause: Press the 'Start/Pause' button during a cycle to pause it. Press again to resume.
- Cancel: To cancel a running program, turn the program selector knob to 'OFF' or press and hold the 'Start/Pause' button for a few seconds.
6. Maintenance and Cleaning
Regular maintenance ensures the longevity and optimal performance of your washing machine.
6.1 Cleaning the Detergent Dispenser
- Pull out the dispenser drawer completely.
- Remove any removable inserts and rinse all compartments under running water.
- Use a brush to clean any residue.
- Reassemble and reinsert the drawer.
6.2 Cleaning the Drum
- Run a 'Drum Clean' or high-temperature cycle (e.g., Cotton 90°C) with an empty drum and a descaling agent or washing machine cleaner once a month.
- Leave the door ajar after each wash to allow the drum to air dry and prevent odors.
6.3 Cleaning the Filter
- Locate the filter cover at the bottom front of the machine.
- Place a shallow container beneath the filter to catch any residual water.
- Carefully open the filter cover and unscrew the filter.
- Remove any lint, coins, or foreign objects.
- Rinse the filter under running water and screw it back in securely. Close the cover.
6.4 Exterior Cleaning
- Wipe the exterior surfaces with a soft, damp cloth.
- Do not use abrasive cleaners or solvents.
7. Troubleshooting
Before contacting customer service, please check the following common issues:
| Problem | Possible Cause | Solution |
|---|---|---|
| Machine does not start | Power cord unplugged; door not closed; program not selected; 'Start/Pause' not pressed. | Check power connection; ensure door is latched; select program and press 'Start/Pause'. |
| No water intake | Water tap closed; inlet hose kinked; water supply cut off. | Open water tap; straighten hose; check household water supply. |
| Water not draining | Drain hose kinked or blocked; pump filter clogged. | Straighten/clear drain hose; clean pump filter (Section 6.3). |
| Excessive vibration/noise | Transport bolts not removed; machine not level; uneven load. | Remove transport bolts; adjust leveling feet; redistribute laundry. |
| Detergent residue in dispenser | Low water pressure; clogged dispenser. | Check water pressure; clean dispenser (Section 6.1). |
8. Specifications
| Feature | Detail |
|---|---|
| Brand | Whirlpool |
| Model Number | WPM 97W ADS IT (869991700600) |
| Dimensions (D x W x H) | 58 x 60 x 84.5 cm |
| Weight | 76 kg |
| Capacity | 9 Kilograms |
| Loading Type | Front Load |
| Maximum Spin Speed | 1400 RPM |
| Energy Efficiency Class | A-10% (as per product title) |
| Color | White |
| Material | Steel |
| Control Type | Remote (via HomeWhiz) and Rotary Knob |
| Special Features | 6th SENSE, HomeWhiz, AutoDose, Sense Wash, Adaptive Wash, Steam |
9. What's in the Box
- Whirlpool WPM 97W ADS IT Washing Machine
- Power cable
- Water inlet hose
- Drain hose
- Transport bolt caps
- User Manual (this document)
10. Warranty and Support
Your Whirlpool appliance is covered by a manufacturer's warranty. Please refer to the separate warranty card included with your purchase for specific terms and conditions, including warranty duration and coverage details.
For technical assistance, spare parts, or to schedule a service appointment, please contact Whirlpool Customer Service. Contact details can typically be found on the Whirlpool website or in the warranty documentation.


