1. Introduction
This manual provides detailed instructions for the installation, operation, and maintenance of your VORGUT VRUS-BA02-Q6-2 Solar Security Camera System. This system is designed to provide reliable outdoor surveillance with its solar-powered, wireless cameras and a central Network Video Recorder (NVR) for continuous recording and remote access.

A banner image introducing the VORGUT 4MP Solar-Powered Security Camera System, highlighting key features such as 128GB local storage, 4MP resolution, and dual-band Wi-Fi support.
2. Package Contents
Please verify that all items listed below are included in your package:
- 1x 10-Channel WiFi NVR (Network Video Recorder)
- 2x Solar Cameras
- 2x Solar Panels
- 1x USB Mouse
- 1x User Manual (this document)

This image displays the complete VORGUT VRUS-BA02-Q6-2 system, including two wireless solar-powered cameras, two solar panels for continuous charging, the central NVR (Network Video Recorder) unit, and a 128GB SD card for local storage.
3. Product Features
3.1. Solar Powered & Wireless Installation
The cameras are powered by integrated solar panels and built-in batteries, ensuring continuous operation without the need for electrical wiring. This allows for flexible placement in various outdoor locations.
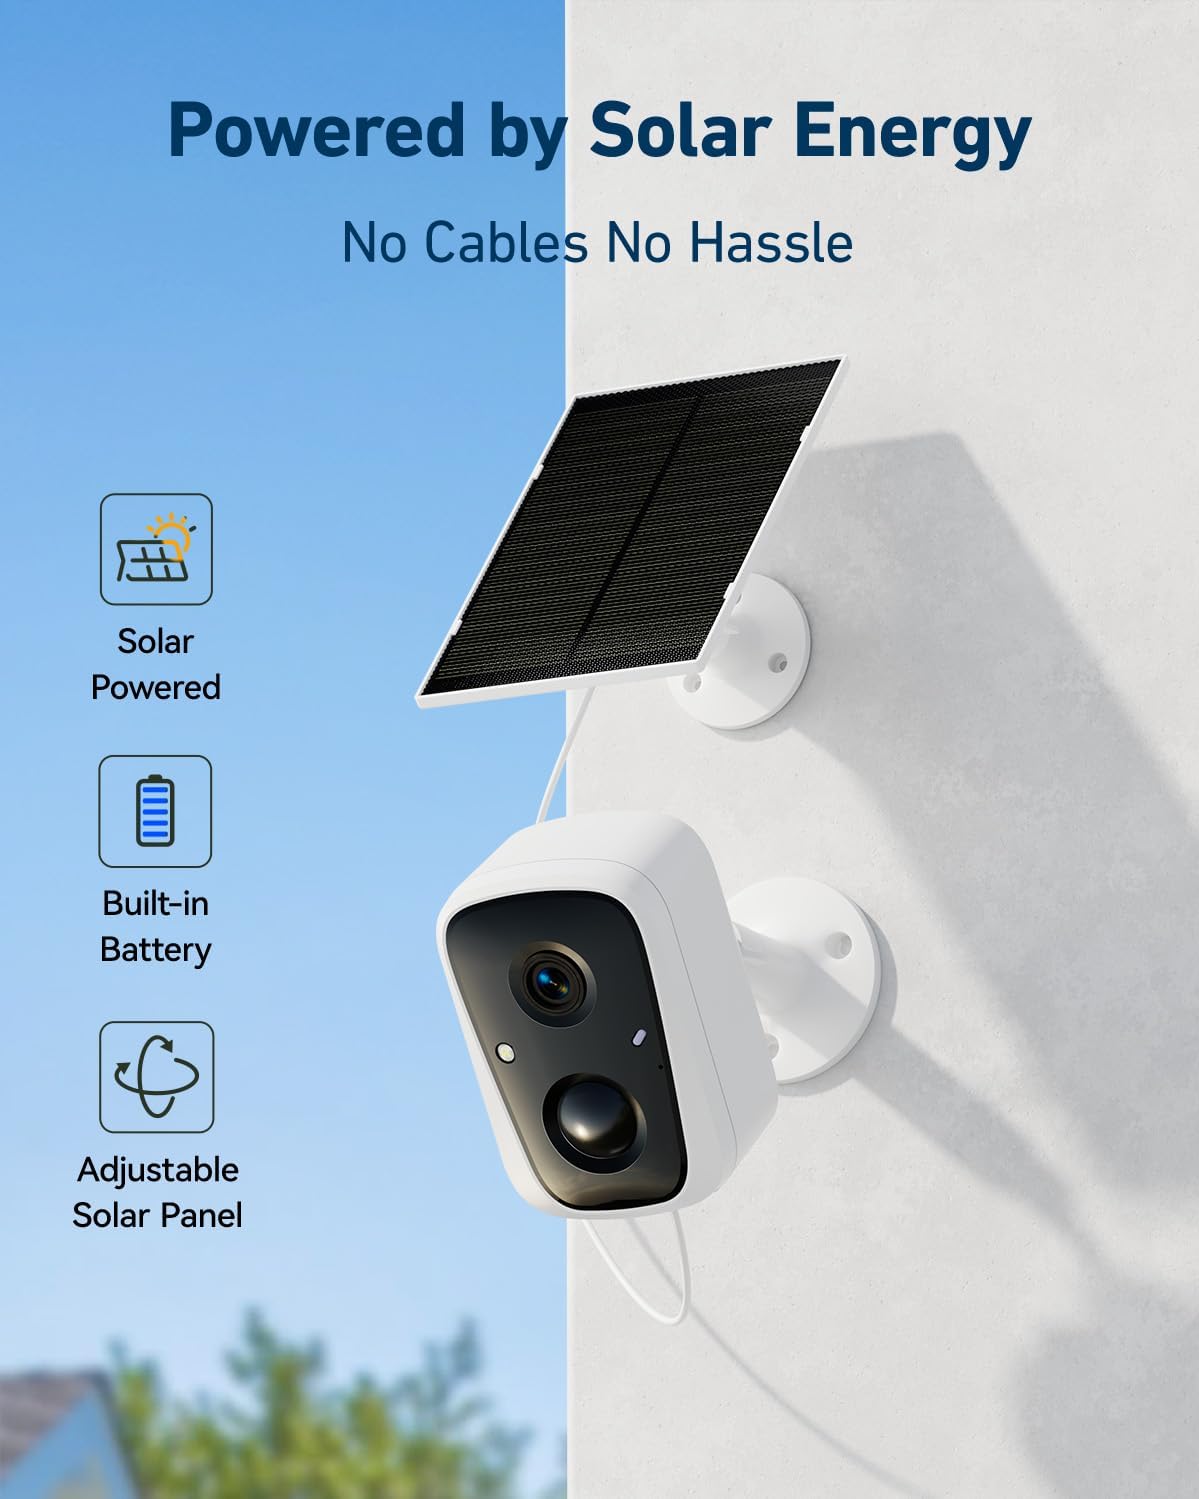
A VORGUT solar camera is mounted on an outdoor wall, connected to an adjustable solar panel. This setup demonstrates the wireless, solar-powered design, eliminating the need for power cables and featuring a built-in battery for continuous operation.

A VORGUT solar camera is shown mounted on a shed, highlighting features like the 1.8-meter solar panel cable, adjustable solar panel, and its dual solar and battery power source.
3.2. 24/7 Continuous Recording & Local Storage
Unlike many battery-powered cameras, this system supports non-stop 24-hour continuous recording. It includes a 128GB SD card, providing local storage for up to 120 days of footage without any monthly fees.

The NVR unit is shown alongside a smartphone displaying live feeds from multiple cameras. Text highlights the system's local storage capability with a 128GB SD card, providing up to 120 days of recording without monthly fees.

The NVR is connected to a monitor, displaying continuous video surveillance. This image emphasizes the 24/7 recording capability and the benefits of the included 128GB SD card, allowing up to 120 days of local storage.
3.3. Smart Motion Detection & Alerts
The system features advanced motion detection with instant alerts. Users can customize detection zones and sensitivity levels to minimize false alarms. Alerts can be received via app push notifications, email, and can trigger the built-in spotlight and siren.

This image depicts the system's multiple alert modes in action. A camera's spotlight illuminates an area, while a smartphone shows a motion detection alert from the EseeCloud app. Icons indicate LED light alarms, siren alarms, and push notifications for motion detection.

This image shows a scene with a child and a dog in a backyard, overlaid with a smartphone screen displaying the VORGUT app's motion detection sensitivity settings, allowing users to customize detection levels.

A smartphone screen displays the VORGUT app's push notification settings, offering options to receive alerts all day, during specific day or night hours, or to set a custom schedule.

This image illustrates the system's active deterrents, showing a camera's spotlight illuminating an intruder. Icons represent various alert mechanisms: spotlight, NVR buzzer, siren, email alerts, and app push notifications.
3.4. Two-Way Talk
Communicate directly with visitors or deter unwanted individuals using the built-in microphone and speaker on the cameras, accessible via the mobile application.

This image demonstrates the two-way talk functionality, showing a user communicating via smartphone with a delivery person at their door through the camera system.
3.5. Dual-Band Wi-Fi & Extended Coverage
The system supports both 2.4GHz and 5GHz Wi-Fi for faster and more stable transmission. The NVR acts as a signal booster, extending Wi-Fi coverage for cameras and ensuring reliable remote access.

This diagram illustrates how the VORGUT NVR extends Wi-Fi signal coverage, allowing cameras to sync for faster and more stable connections across a property. It shows cameras communicating with the NVR, which then connects to a router.

This image illustrates the NVR's dual networking capabilities, showing it connected to a router via an Ethernet cable while also utilizing Wi-Fi, ensuring stable and reliable connectivity.

An aerial view of a house highlights the system's dual-band Wi-Fi support (2.4G for long range, 5G for faster data). A diagram also reiterates the system's ability to expand up to 10 cameras.
3.6. Expandable System & Compatibility
The NVR supports up to 10 cameras, allowing you to expand your surveillance coverage as needed. It is fully compatible with various VORGUT solar-powered single-lens cameras.

The NVR unit is connected to a monitor via HDMI, displaying a live view from multiple cameras. This illustrates the plug-and-play HDMI output feature, allowing local viewing without an internet connection. The image also shows the system's expandability to support up to 10 cameras.
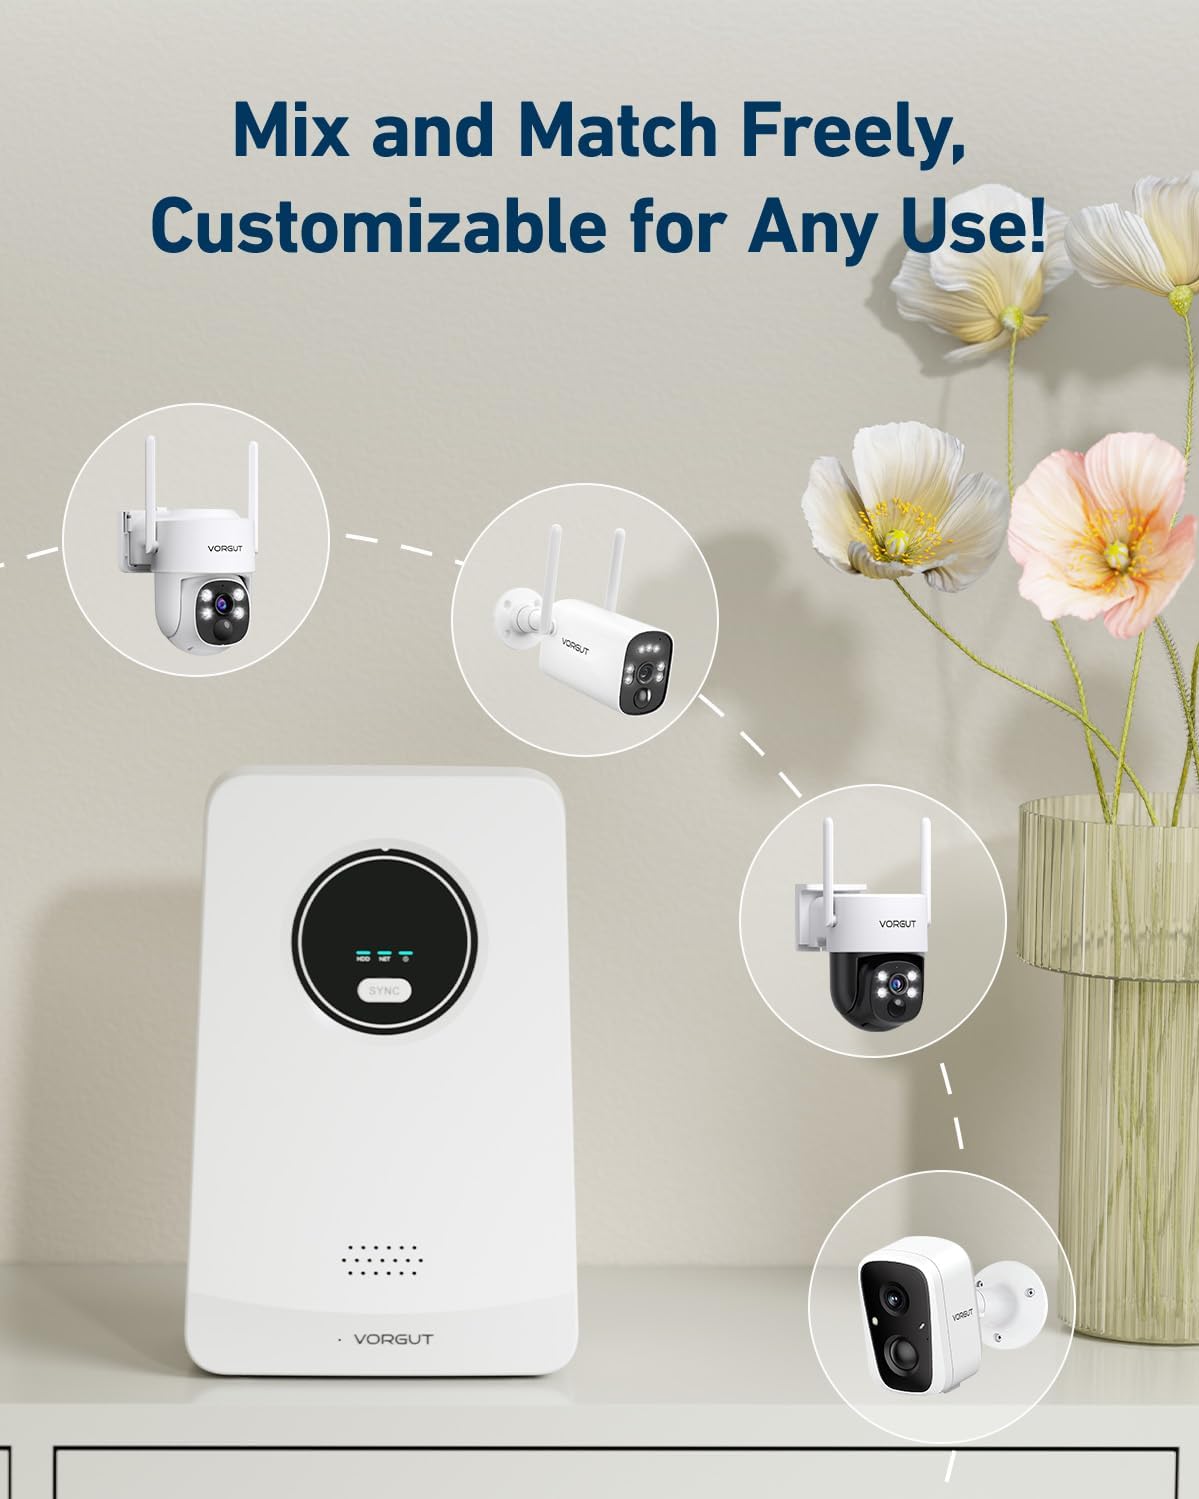
This image illustrates the system's flexibility, showing the NVR unit compatible with different VORGUT camera models, including standard bullet cameras and PTZ (Pan-Tilt-Zoom) cameras, allowing users to customize their security setup.

This image emphasizes the NVR's compatibility with a range of VORGUT solar-powered single-lens cameras, offering a comprehensive surveillance solution for an entire home.
3.7. Color Night Vision
Equipped with an LED spotlight, the cameras provide enhanced 4MP clarity with color night vision, offering brighter and clearer images in low-light conditions compared to traditional black and white infrared night vision.

This visual comparison highlights the system's color night vision capability, enabled by an LED spotlight, providing brighter and clearer images at night compared to traditional black and white infrared night vision.

A visual comparison demonstrating the clarity and detail provided by VORGUT's color night vision feature versus standard black and white infrared night vision.
4. Setup Guide
4.1. NVR Initial Setup
- Connect the NVR: Connect the NVR to a power outlet using the provided power adapter.
- Connect to a Monitor (Optional): For local viewing, connect the NVR to a monitor via an HDMI cable.
- Connect USB Mouse: Plug the USB mouse into the NVR's USB port for navigation.
- Network Connection: Connect the NVR to your router via an Ethernet cable for a stable connection, or configure Wi-Fi settings through the NVR interface.
4.2. Camera Installation
- Choose Mounting Location: Select an outdoor location for each camera that provides optimal surveillance coverage and receives direct sunlight for the solar panel. Ensure the location is within the NVR's Wi-Fi range.
- Mount the Camera: Use the provided mounting hardware to securely attach the camera to a wall or other stable surface.
- Position the Solar Panel: Mount the solar panel in a location that maximizes sun exposure throughout the day. Connect the solar panel cable to the camera.
- Adjust Camera Angle: Adjust the camera's angle to cover the desired area.
4.3. App Pairing and Configuration
- Download the App: Download the EseeCloud app from your smartphone's app store.
- Create Account: Register for a new account or log in if you already have one.
- Add Device: Follow the in-app instructions to add your NVR system. This typically involves scanning a QR code on the NVR or manually entering its ID.
- Camera Pairing: The cameras should automatically pair with the NVR. If not, refer to the NVR's local interface or app for manual pairing options.
- Configure Settings: Customize motion detection zones, alert schedules, recording preferences, and other settings through the app.

This sequence of smartphone screens illustrates the initial setup process using the VORGUT app, including adding a new device, scanning for nearby devices, and accessing the live camera view.
5. Operating Instructions
5.1. Live View
- Via Mobile App: Open the EseeCloud app on your smartphone or tablet. Select the NVR system to view live feeds from all connected cameras.
- Via HDMI Monitor: If connected, the NVR will display live feeds on the monitor. Use the USB mouse to navigate the interface.
5.2. Playback and Recording Access
- App Playback: In the EseeCloud app, select the desired camera and choose the 'Playback' option to review recorded footage. You can filter by date and time.
- NVR Playback: On the HDMI monitor, use the USB mouse to access the 'Playback' menu. Select the camera and time range to review recordings stored on the 128GB SD card.
5.3. Two-Way Audio Communication
- While viewing a live feed in the EseeCloud app, tap the microphone icon to speak through the camera's speaker. Tap the speaker icon to listen to audio from the camera's microphone.
5.4. Alarm Management
- View Alerts: Access the 'Messages' or 'Alerts' section in the EseeCloud app to review motion detection events and other notifications.
- Manual Alarm Activation: In the live view of the app, you can manually activate the camera's spotlight or siren to deter intruders.
6. Maintenance
- Camera Lens Cleaning: Periodically clean the camera lens with a soft, damp cloth to ensure clear image quality. Avoid abrasive cleaners.
- Solar Panel Cleaning: Ensure the solar panels are free from dust, dirt, and debris to maintain optimal charging efficiency. Clean gently with a soft cloth and water.
- Battery Health: While solar-powered, ensure cameras receive adequate sunlight. If a camera consistently runs low on battery, check the solar panel's position and cleanliness.
- Firmware Updates: Check the EseeCloud app regularly for available firmware updates for your NVR and cameras. Updates can improve performance and add new features.
- NVR Placement: Keep the NVR in a well-ventilated area, away from direct sunlight or heat sources, to prevent overheating.
7. Troubleshooting
7.1. No Image/Video from Camera
- Check Power: Ensure the solar panel is clean and receiving sufficient sunlight. The camera's battery might be depleted.
- Check Connection: Verify the camera is within range of the NVR's Wi-Fi signal. Try repositioning the camera or NVR.
- Re-pair Camera: If the connection is lost, try re-pairing the camera with the NVR through the app or NVR interface.
7.2. NVR Not Connecting to Network
- Ethernet Connection: Ensure the Ethernet cable is securely connected to both the NVR and your router. Check router status.
- Wi-Fi Configuration: If using Wi-Fi, double-check the Wi-Fi password and ensure the NVR is within range of your router.
- Reboot: Power cycle both the NVR and your router.
7.3. Motion Detection Not Working or Too Sensitive
- Check Settings: Verify motion detection is enabled in the EseeCloud app. Adjust sensitivity levels and detection zones to suit your environment.
- Environmental Factors: Strong winds, moving branches, or sudden changes in light can trigger false alarms. Adjust camera placement or sensitivity.
7.4. Poor Night Vision Quality
- Clean Lens: Ensure the camera lens is clean and free from smudges or dirt.
- Obstructions: Check for any obstructions blocking the camera's view or the LED spotlight.
- Lighting: Ensure the LED spotlight is enabled for color night vision.
8. Specifications
| Feature | Detail |
|---|---|
| Model Name | VRUS-BA02-Q6-2 |
| Indoor/Outdoor Usage | Outdoor |
| Video Capture Resolution | 2K (4MP) |
| Connectivity Technology | Wireless (2.4G/5G Wi-Fi) |
| Power Source | Solar Powered (Cameras), Corded Electric (NVR) |
| Number of Channels | 10 (Expandable) |
| Night Vision Range | 30 Meters |
| Low Light Technology | Starlight |
| Video Encoding | H.264 |
| Video Capture Format | MP4 |
| Control Method | App (EseeCloud) |
| Mounting Type | Wall Mount |
| Included Components | 1x 10CH WiFi NVR, 2x Solar Cameras, 2x Solar Panel, 1x USB Mouse, 1x User Manual |
| Product Dimensions | 10 x 9 x 8 inches |
| Item Weight | 8 pounds |
9. Warranty and Support
9.1. Warranty Information
The VORGUT VRUS-BA02-Q6-2 Solar Security Camera System is backed by a 5-year warranty. This warranty covers manufacturing defects and ensures reliable performance under normal use conditions. Please retain your proof of purchase for warranty claims.
9.2. Customer Support
For technical assistance, troubleshooting, or warranty inquiries, please refer to the contact information provided on the product packaging or visit the official VORGUT website for support resources.


