
Introduction
Thank you for choosing the MAMBASNAKE M3 Wireless Gaming Mouse. This manual provides detailed instructions for setting up, operating, and maintaining your mouse to ensure optimal performance and longevity. Please read this manual thoroughly before use.
Package Contents
- MAMBASNAKE M3 Wireless Gaming Mouse
- USB-C Charging/Data Cable
- 2.4GHz USB Receiver
- User Manual
Product Overview
Familiarize yourself with the components of your MAMBASNAKE M3 mouse.

Image: Top and side view of the MAMBASNAKE M3 Wireless Gaming Mouse, highlighting its ergonomic design.
Video: An overview of the MAMBASNAKE M3 Ultra-Lightweight Wireless Gaming Mouse, demonstrating its features and design.
Key Components:
- Left Click Button
- Right Click Button
- Scroll Wheel / Middle Click
- DPI Cycle Button (often integrated with scroll wheel or a dedicated button)
- Forward Side Button
- Back Side Button
- USB-C Port (Front)
- Power/Mode Switch (Bottom)
- 2.4GHz USB Receiver Storage (Bottom, if available)
Setup
1. Charging the Mouse
Before first use, it is recommended to fully charge the mouse. Connect the supplied USB-C cable to the mouse's front port and the other end to a USB power source (e.g., computer, USB wall adapter).

Image: The MAMBASNAKE M3 mouse connected via its USB-C cable for charging or wired mode.
The mouse features a 200-hour battery life and supports quick charging. An indicator light will show charging status.
2. Connecting the Mouse
The MAMBASNAKE M3 supports three connection modes: 2.4GHz Wireless, Bluetooth 5.3, and Wired USB-C.

Image: Visual representation of the MAMBASNAKE M3's tri-mode connectivity options: 2.4GHz, Bluetooth, and Wired USB-C.
2.1. 2.4GHz Wireless Mode
- Locate the 2.4GHz USB receiver (dongle) in the package.
- Plug the USB receiver into an available USB port on your computer.
- Turn on the mouse using the switch on the bottom and select the 2.4GHz mode (usually indicated by a specific position or LED color).
- The mouse should automatically connect. If not, press and hold the left click and scroll wheel button simultaneously for 3 seconds to initiate pairing.

Image: The MAMBASNAKE M3 mouse shown alongside its 2.4GHz USB receiver, ready for wireless connection.
2.2. Bluetooth 5.3 Mode
- Turn on the mouse using the switch on the bottom and select the Bluetooth mode.
- On your computer or device, go to Bluetooth settings and enable Bluetooth.
- Press and hold the left click and right click buttons simultaneously for 3 seconds until the LED indicator flashes, indicating pairing mode.
- Select "MAMBASNAKE M3" from the list of available Bluetooth devices on your computer to pair.
2.3. Wired USB-C Mode
- Connect the USB-C cable to the front port of the mouse.
- Connect the other end of the USB-C cable to a USB port on your computer.
- The mouse will automatically switch to wired mode and begin charging.
3. QMK AI Web-Based Driver
The MAMBASNAKE M3 utilizes a QMK AI web-based driver for customization, eliminating the need for software installation. To access the driver:
- Open your web browser and navigate to the designated webpage (refer to the quick start guide or product packaging for the URL).
- From this interface, you can customize macros, DPI settings, key mappings, and RGB effects.

Image: The web-based driver interface for the MAMBASNAKE M3, showing options for button assignment, DPI settings, and macro editing.
Operating Instructions
1. DPI Adjustment
The M3 features a PAW3395PRO optical sensor with up to 40,000 DPI. You can cycle through preset DPI levels or customize them using the web-based driver.
- On-the-fly Adjustment: Press the dedicated DPI button (if available) or a pre-assigned button combination to cycle through DPI settings. The RGB lighting will visually indicate the current DPI level.
- Customization: Use the QMK AI web-based driver to set specific DPI values and assign them to different levels.
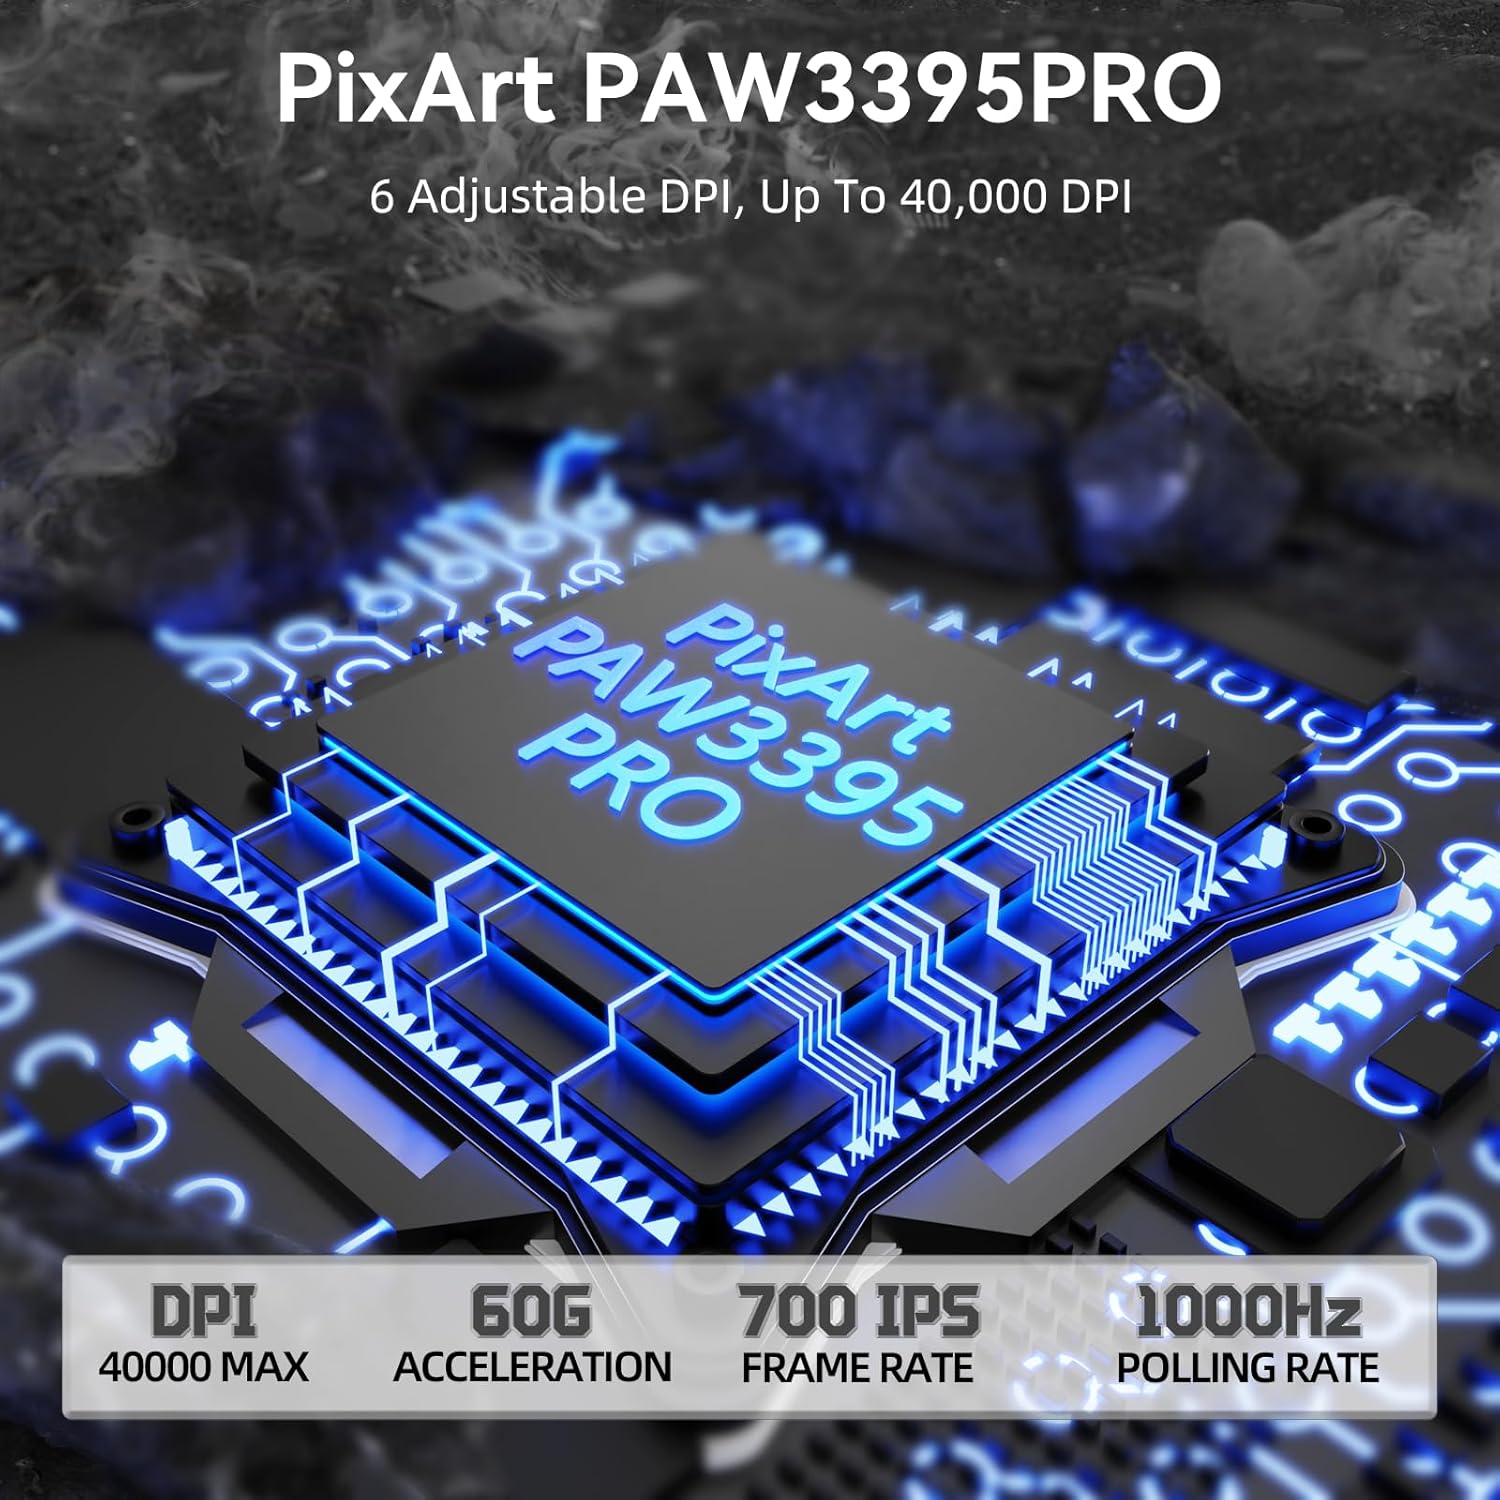
Image: The MAMBASNAKE M3 mouse highlighting its PixArt PAW3395PRO sensor, capable of up to 40,000 DPI, 60G acceleration, and 700 IPS tracking speed.
2. Button Customization and Macros
All buttons on the MAMBASNAKE M3 are programmable. Utilize the QMK AI web-based driver to:
- Remap buttons to different functions.
- Create and assign complex macros for gaming or productivity tasks.
- Adjust polling rate (up to 1000Hz).

Image: The MAMBASNAKE M3 mouse illustrating its programmable buttons and macro functionality for enhanced gaming control.
3. Power Management and Sleep Mode
To conserve battery, the M3 mouse features an intelligent sleep mode. After 30 seconds of inactivity, the mouse will automatically enter sleep mode. To wake it, simply move the mouse or press any button.

Image: The MAMBASNAKE M3 mouse highlighting its ultra-long battery life, capable of up to 200 hours of use.
Maintenance
- Cleaning: Use a soft, dry cloth to clean the mouse surface. For stubborn dirt, a slightly damp cloth can be used, ensuring no liquid enters the mouse. Avoid harsh chemicals.
- Storage: When not in use for extended periods, store the mouse in a dry, cool place.
- Battery Care: Avoid fully discharging the battery frequently. Charge the mouse when the low battery indicator appears.
Troubleshooting
| Problem | Solution |
|---|---|
| Mouse not responding in 2.4GHz mode. |
|
| Mouse not connecting via Bluetooth. |
|
| Lag or intermittent connection. |
|
| DPI settings not changing. |
|
Specifications
| Feature | Detail |
|---|---|
| Model | M3 |
| Connectivity | 2.4G Wireless, Bluetooth 5.3, USB-C Wired |
| Sensor | PAW3395PRO Optical Sensor |
| DPI Range | 1200-40000 DPI (Adjustable) |
| Polling Rate | 1000Hz (1ms latency) |
| Acceleration | 60G |
| Tracking Speed | 700 IPS |
| Weight | Approximately 39g |
| Battery Life | Up to 200 hours |
| Micro-switches | Osprey Tactile Switches (100 million clicks) |
| Compatibility | PC, Windows, Mac (via BT/2.4G/Wired) |
Warranty and Support
The MAMBASNAKE M3 Wireless Gaming Mouse comes with a standard manufacturer's warranty. For detailed warranty information, technical support, or service inquiries, please refer to the warranty card included in your package or visit the official MANBASNAKE website. Keep your proof of purchase for warranty claims.
Official Website: www.manbasnake.com (Note: This is a placeholder URL. Please refer to your product documentation for the actual support website.)