
1. Product Overview
The Reljofum 20x40FT Metal Carport is designed to provide robust and reliable shelter for vehicles, equipment, or as a versatile outdoor space. Constructed with a galvanized steel roof and a powder-coated steel frame, it offers enhanced durability and resistance to various weather conditions.
This carport features an upgraded and enhanced base with heavy-duty anchor rods and reinforcing support rods for stability. The galvanized steel roof is rust-resistant and designed with a sloping canopy to facilitate rapid water drainage. Waterproof sealing tape on roof seams prevents water seepage, and a soft-edged rubber strip enhances material longevity.
The upgraded frame structure has undergone rigorous testing to improve installation ease and stability.

Figure 1: General diagram of the Reljofum 20x40FT Metal Carport.
2. Safety Information
Please read and understand all safety instructions before assembly and use. Failure to follow these instructions may result in injury or damage to the product.
- It is strongly recommended that a team of at least three people carry out the installation of this product in a safe manner.
- During the installation process, it is essential to wear gloves to prevent scratches from parts and sharp edges.
- Make sure to keep children and pets at a safe distance from the assembly area.
- Ensure the carport is securely anchored to a stable foundation.
- Follow the assembly instructions carefully.
- Handle all components with care to avoid injury.
- Do not exceed the weight limits for snow load (35 PSF) or wind rating (100 MPH).
- Keep the area clear of debris during assembly.
- Regularly inspect the carport for any signs of wear, damage, or loose fasteners.
3. Package Contents
The Reljofum 20x40FT Metal Carport is typically shipped in multiple packages (e.g., 8 cartons). Please note that these packages might not arrive simultaneously. Kindly remain patient and wait for all packages before beginning assembly.
Refer to the detailed parts list provided in your physical instruction manual to verify all components are present before starting assembly. This includes various metal frame pieces, roof panels, screws, anchor rods, and support brackets.

Figure 2: Example of package contents, including gloves and multiple cartons.
4. Setup and Assembly Instructions
Assembly requires careful attention to detail and adherence to the steps outlined below. It is recommended to have at least three people for installation.
Pre-installation Preparation:
- Clear the assembly area of any obstructions.
- Ensure the ground is level and stable.
- Unpack all components and organize them according to the parts list.
- Wear appropriate safety gear, including gloves.
Assembly Steps:
- Assemble the Roof Frame Sections: Connect the curved and straight frame pieces to form the individual roof arches. Secure connections with the provided screws.
- Install the Base Sections: Assemble the horizontal base rails, ensuring all upright supports are correctly oriented and secured.
- Install the Whole Framework Section: Connect the assembled roof frame sections to the base sections, forming the complete structural framework of the carport. Ensure all connections are tight and secure.
- Install the Roof Panels: Carefully place and secure the galvanized steel roof panels onto the assembled framework. Overlap panels as instructed and use the designated screws to fasten them, ensuring a watertight seal.
- Install the Support Bracket Sections: Attach the unique detachable support brackets to the base of the carport. These brackets provide additional stability and can be anchored to various surfaces.

Figure 3: Installation of a detachable support bracket for enhanced stability.

Figure 4: Detail of the heavy-duty, corrosion-resistant steel frame.
Note on Assembly Video: An assembly video is available for a 12'x20' model. While it demonstrates general assembly principles, please be aware that the specific dimensions and number of components will differ for your 20'x40' model. Always refer to the written instructions and parts list specific to your 20x40FT carport for accurate assembly.
5. Operating Instructions
Once fully assembled and securely anchored, your Reljofum Metal Carport is ready for use. It provides reliable protection for your vehicles, such as cars, trucks, boats, or tractors, against sun, rain, snow, and wind.
- Vehicle Storage: Park your vehicles centrally within the carport to maximize protection from the elements.
- Outdoor Activities: The carport can also serve as a shaded or covered area for various outdoor events like parties, weddings, or trade shows.
- Weather Resistance: The carport is designed to withstand wind speeds up to 100 MPH and snow loads up to 35 PSF. However, in extreme weather conditions, it is advisable to take additional precautions, such as clearing heavy snow accumulation from the roof.

Figure 5: Carport demonstrating snow load resistance.

Figure 6: Sloped roof design with high-density weatherstrip tape for rain protection.
6. Maintenance
Regular maintenance will ensure the longevity and continued performance of your Reljofum Metal Carport.
- Cleaning: Periodically clean the roof and frame with mild soap and water to remove dirt, debris, and prevent buildup. Avoid abrasive cleaners or tools that could damage the galvanized coating.
- Inspection: Regularly inspect all bolts, screws, and anchor points to ensure they remain tight and secure. Tighten any loose fasteners immediately.
- Damage Check: Check for any signs of rust, dents, or structural damage. Address minor issues promptly to prevent further deterioration.
- Snow Removal: While designed for snow loads, it is recommended to clear excessive snow accumulation from the roof to prevent undue stress on the structure, especially during heavy snowfall.
7. Troubleshooting
Most issues with your carport can be resolved with simple checks and adjustments.
- Loose Structure: If the carport feels unstable, re-check all bolted connections and anchor points. Ensure the base is firmly secured to the ground.
- Water Leaks: Inspect roof panel overlaps and seams. Ensure the waterproof sealing tape is intact and properly applied. Tighten any loose roof panel screws.
- Missing Parts: If you discover missing parts during assembly, refer to the package contents section and contact customer support immediately.
- Difficulty Assembling: Ensure you are following the instructions step-by-step. Sometimes, parts may need to be oriented in a specific direction. Do not force components together.
8. Specifications
| Feature | Detail |
|---|---|
| Brand | Reljofum |
| Model | 20x40FT |
| Material | Metal (Galvanized Steel Roof, Powder-Coated Steel Frame) |
| Product Dimensions (Outer) | 20' Wide x 40' Deep x 8.5' High (approx. 240"L x 480"W x 102"H) |
| Product Dimensions (Inner) | 236.2'' Wide x 458.3'' Deep x 110.2'' High |
| Eave Height | 88.6'' |
| Maximum Entrance Height | 110.2'' |
| Item Weight | 820 Pounds |
| Water Resistance Level | Waterproof |
| Ultraviolet Light Protection | UV Protection |
| Wind Rating | 100 MPH |
| Snow Load Capacity | 35 PSF |
| Assembly Required | Yes |
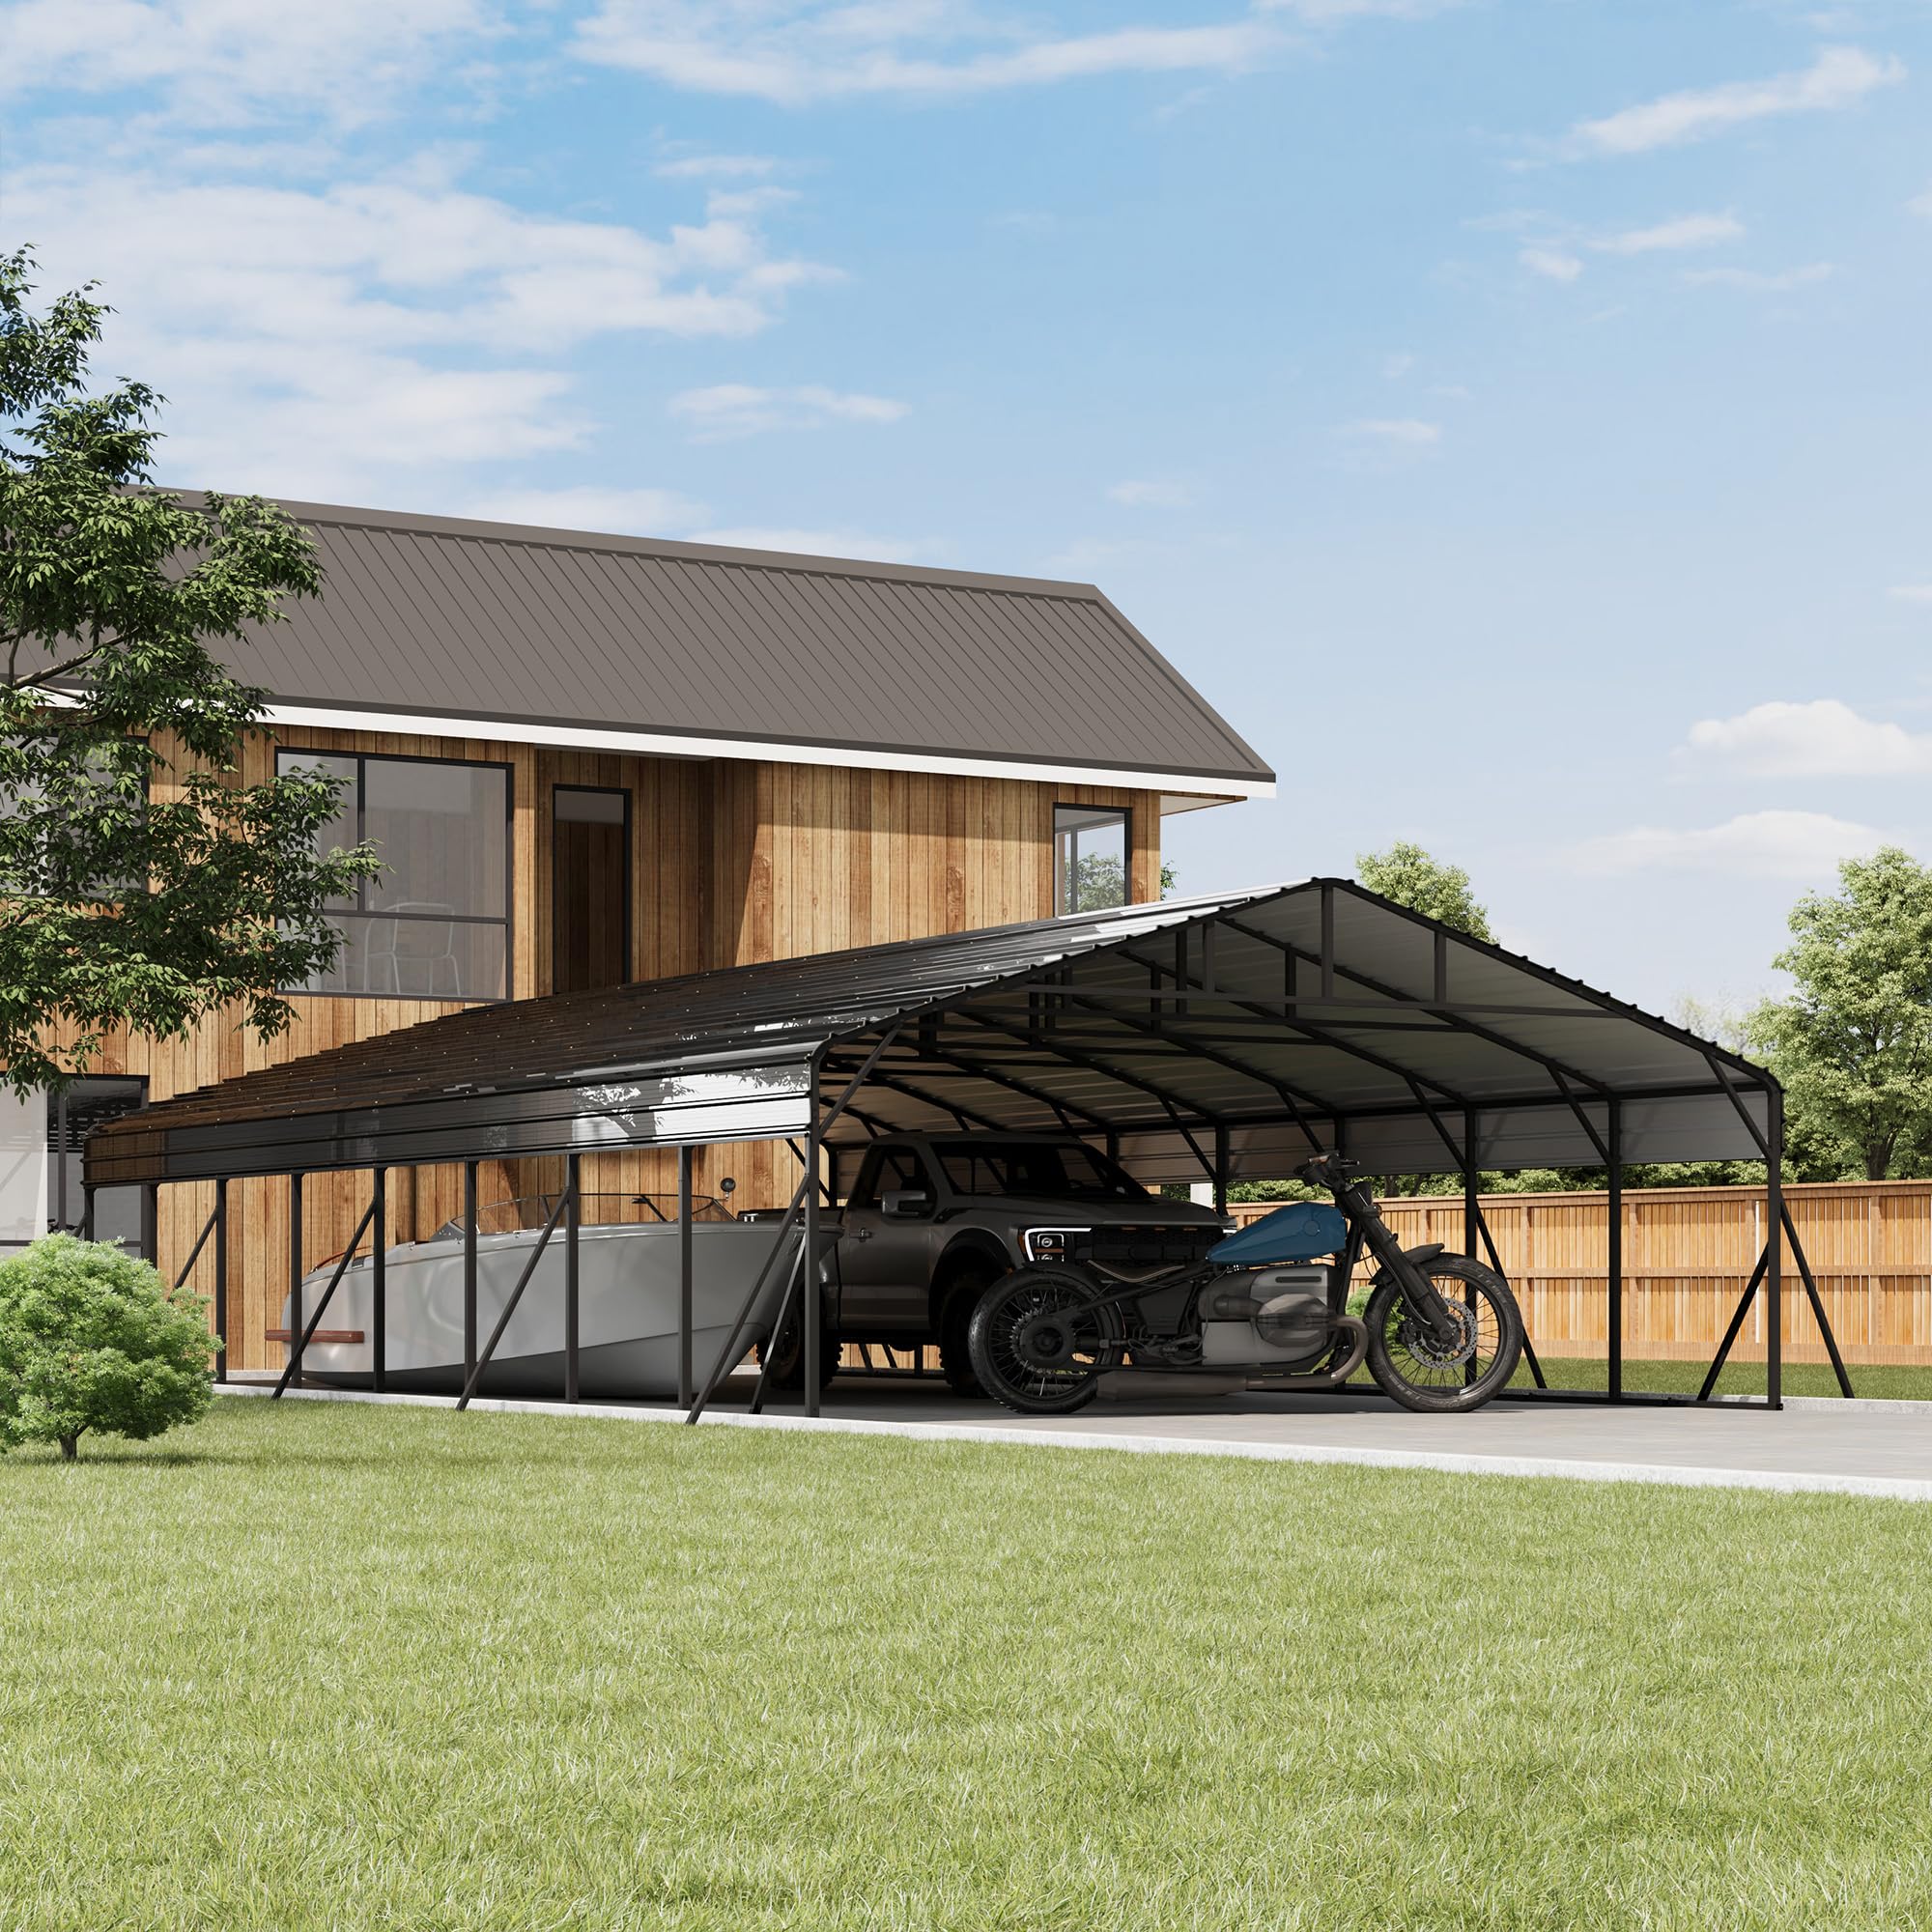
Figure 7: Reljofum 20x40FT Metal Carport.
9. Warranty and Support
For any product issues, missing parts, or warranty inquiries, please contact the manufacturer or seller directly. Keep your purchase receipt and model information handy for faster service.
The manufacturer, Reljofum, is committed to providing support for their products. Refer to your purchase documentation for specific warranty terms and contact details.