1. Introduction
Thank you for choosing the YESWELDER LYG-Q800D Auto Darkening Welding Helmet. This manual provides essential information for the safe and effective operation, maintenance, and troubleshooting of your welding helmet. Please read it thoroughly before use and retain it for future reference.
Safety Warnings
- Always wear appropriate personal protective equipment (PPE) when welding or performing related tasks.
- Never look directly at welding arc without proper eye protection.
- Ensure the helmet is functioning correctly before each use. Test the auto-darkening feature.
- Replace damaged lenses or components immediately.
- Do not modify the helmet or its components.
2. Product Components
Your YESWELDER LYG-Q800D welding helmet package includes the following:
- Welding Helmet (LYG-Q800D)
- Adjustable Headgear
- Blue Light Blocking Outer Lens (pre-installed)
- Replacement Lenses (quantity may vary)
- Replaceable CR2450 Lithium Battery (pre-installed or spare)

Figure 2.1: Internal view of the auto-darkening filter (ADF) unit, showing controls for sensitivity, delay, and mode selection, along with battery compartment and arc sensors.
3. Setup and Adjustment
Headgear Adjustment
The helmet features a pivot-style headgear designed for comfort and a secure fit. Proper adjustment is crucial for safety and comfort during extended use.
- Size Adjustment: Use the knob at the back of the headgear to adjust the circumference for a snug fit.
- Tightness Adjustment: Ensure the headgear is secure but not overly tight to prevent discomfort.
- Angle Adjustment: Adjust the helmet's angle to your desired position for optimal viewing.
- Distance Adjustment: Adjust the distance between your face and the welding lens for comfortable observation.

Figure 3.1: Headgear adjustment points for personalized fit.
4. Operating Instructions
Controls and Settings
The helmet's auto-darkening filter (ADF) unit features several adjustable controls to optimize performance for different welding applications.
- Mode Selection: Use the slide knob on the ADF unit to select between WELD, CUT, and GRIND modes.
- Shade Control: Adjust the external knob for the desired shade level. The helmet offers a versatile shade range of 3/5-9/9-13.
- Sensitivity Control: Adjust the internal knob to set the sensitivity of the arc sensors. This determines how easily the helmet darkens in response to the welding arc.
- Delay Control: Adjust the internal knob to set the time the lens remains darkened after the arc stops. This can be set between 0.1 and 0.8 seconds.

Figure 4.1: Internal controls for fine-tuning helmet performance.
Key Features
- Blue Light Blocking Technology: The outer lens is designed to filter harmful high-energy blue light rays, enhancing eye comfort and safety during welding.
- 180° Panoramic View: The helmet provides a large main viewing area (3.94" x 3.23") complemented by side view panels (DIN5, non-auto-darkening) for an expanded field of vision.
- 1/1/1/1 True Color Optical Clarity: Experience enhanced visibility and natural color perception of your workpiece, improving weld quality and reducing eye strain.
- Fast Auto-Darkening: Equipped with 4 premium arc sensors, the helmet offers an ultra-fast switching time of 1/30000 seconds for reliable eye protection.
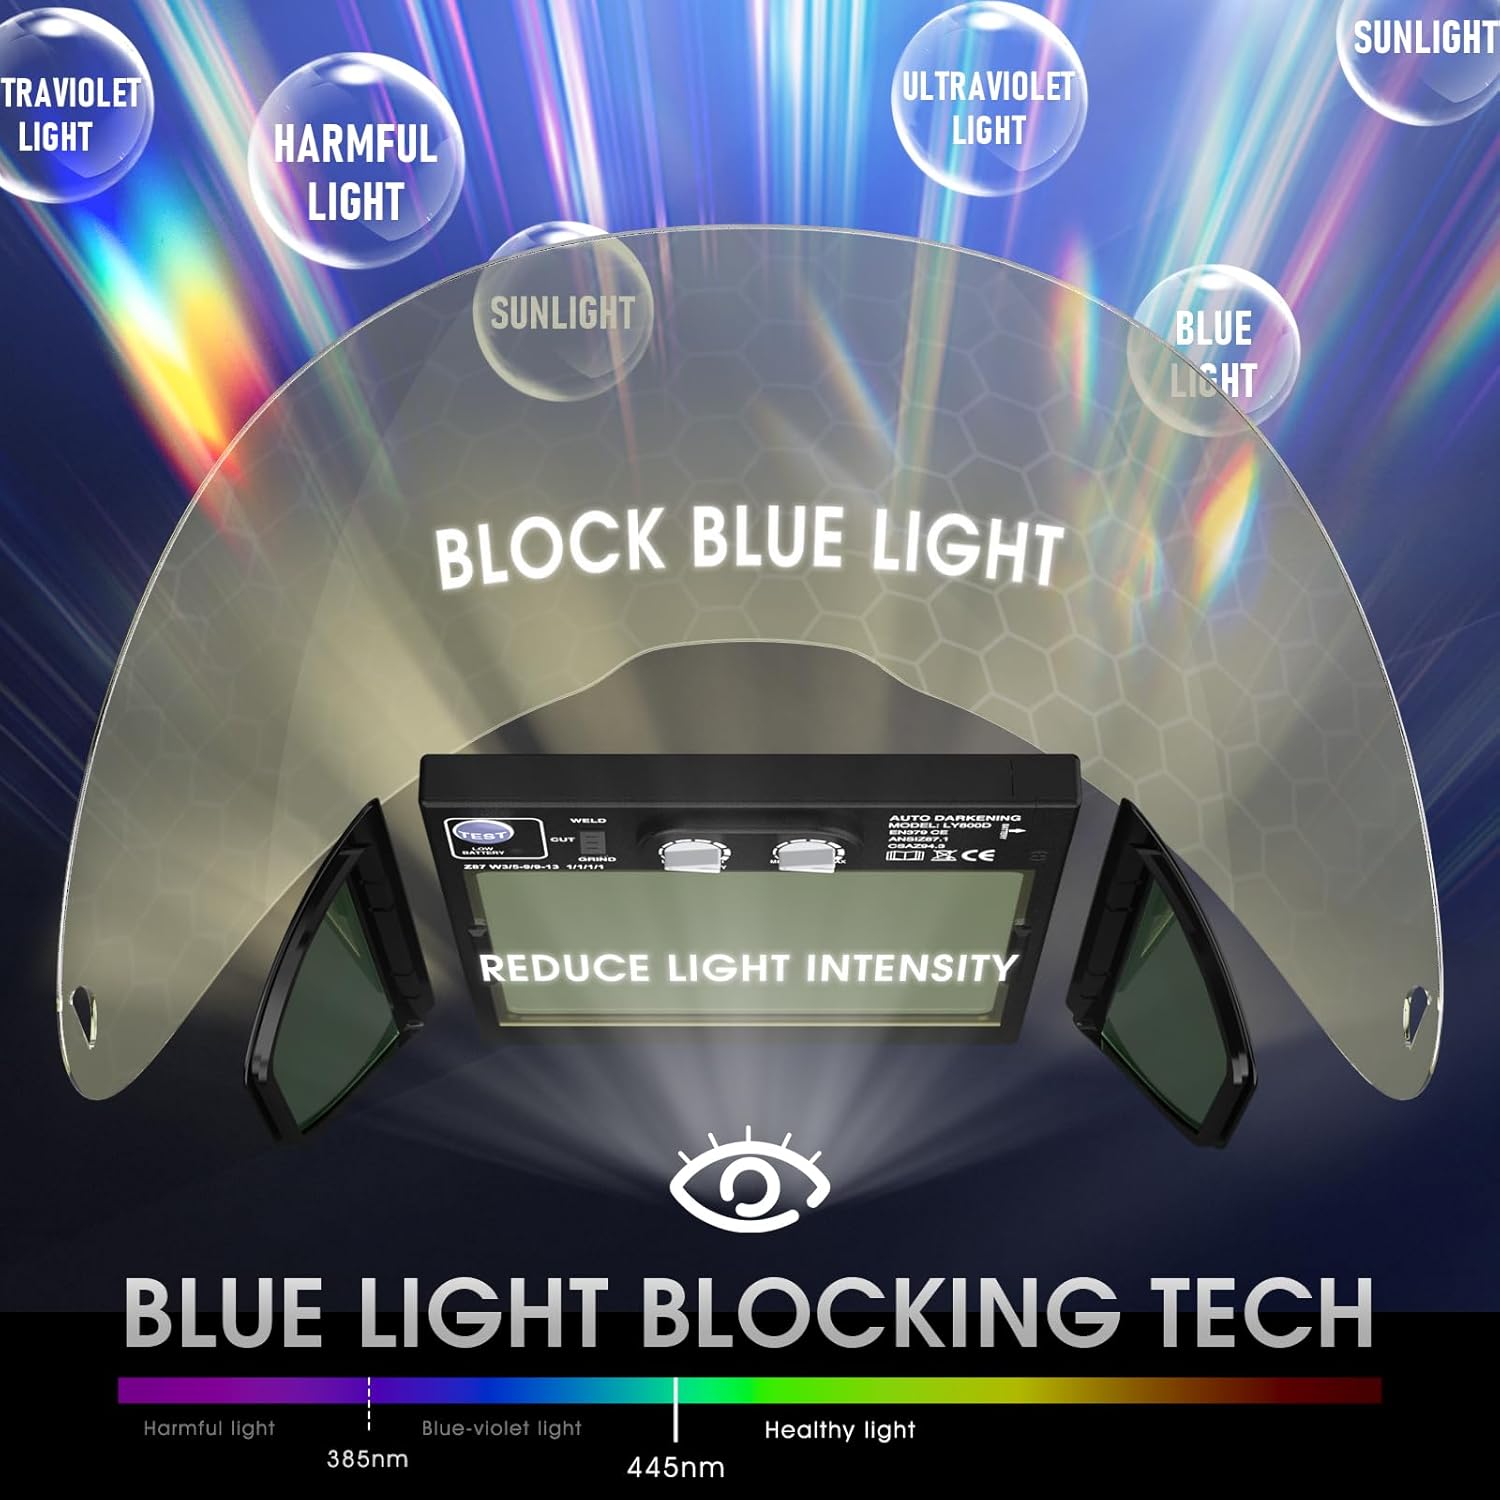
Figure 4.2: Explanation of Blue Light Blocking Technology.

Figure 4.3: True Color technology provides a clearer view of the weld puddle.
Testing the Auto-Darkening Function
Before each use, press the 'TEST' button on the ADF unit to ensure the lens darkens correctly. The 'Low Battery Indicator' will illuminate if the battery needs replacement.
Video 4.1: Demonstration of the auto-darkening function and true color view.
5. Maintenance
Cleaning the Helmet
- Clean the helmet shell with mild soap and water. Avoid harsh solvents.
- Wipe the inner and outer protective lenses with a soft, clean cloth. Do not use abrasive materials.
Replacing Lenses
The outer and inner protective lenses should be replaced if they become scratched, pitted, or damaged to maintain optimal visibility and protection.
Battery Replacement
The helmet is powered by a solar panel and a replaceable CR2450 lithium battery. Replace the battery when the 'Low Battery Indicator' illuminates or if the auto-darkening function becomes unreliable.
- Push up to open the battery compartment on the ADF unit.
- Remove the old CR2450 battery.
- Insert a new CR2450 battery with the positive terminal facing upward.
- Close the battery compartment securely.

Figure 5.1: Steps for replacing the CR2450 battery.
Video 5.1: Detailed guide on replacing the battery in a YESWELDER welding helmet.
6. Troubleshooting
| Problem | Possible Cause | Solution |
|---|---|---|
| Lens does not darken | Low battery; Arc sensors obstructed; Sensitivity too low; ADF unit malfunction. | Replace battery; Clean arc sensors; Increase sensitivity; Contact support. |
| Lens remains dark | Delay setting too high; ADF unit malfunction. | Decrease delay setting; Contact support. |
| Poor visibility | Protective lenses scratched/dirty; Shade setting too high. | Clean or replace lenses; Decrease shade setting. |
| Helmet uncomfortable | Headgear improperly adjusted. | Adjust headgear for size, tightness, angle, and distance. |
7. Technical Specifications
| Feature | Specification |
|---|---|
| Viewing Size | 3.94" x 3.23" |
| Optical Clarity | 1/1/1/1 True Color |
| Dark State | No. 5-No. 13 |
| Light State | No. 3 |
| UV and IR Protection | DIN 16 |
| Operating Temperature | 14°F ~ 131°F / -10°C ~ +55°C |
| Switching Time | 1/30000s |
| Power Supply | Solar Panel, Replaceable CR2450 Lithium Battery |
| Product Weight | 1.32 LB / 600g |
| Standard | ANSI Z87.1 / EN379 CE / CSA Z94.3 |
8. Warranty and Support
For warranty information, technical support, or to purchase replacement parts, please visit the official YESWELDER website or contact their customer service department.
- Warranty: 1-Year Warranty (as per product information)
- Customer Support: Available 24/7 (as per brand story)


