
1. Introduction
Thank you for choosing the MONSGA MR1 SE Robot Vacuum Cleaner. This manual provides essential information for the safe and efficient operation of your device. Please read it thoroughly before use and retain it for future reference.
The MONSGA MR1 SE is designed to simplify your cleaning routine with its powerful 4000Pa suction, ultra-slim profile, and intelligent navigation. It features multiple cleaning modes, smart app control, voice command compatibility, and automatic recharging, making it suitable for various floor types and household needs.
2. Safety Information
To reduce the risk of injury or damage, read and follow all safety precautions. This device is for indoor use only. Do not use it in wet environments or on wet surfaces. Keep hair, loose clothing, fingers, and all body parts away from openings and moving parts. Do not operate the robot in areas where there are lit candles or fragile objects. Supervise children and pets when the robot is operating.
- Ensure the charging dock is placed against a wall on a level surface.
- Do not use the robot to pick up large debris, liquids, or burning objects.
- Regularly clean the brushes and filters to maintain optimal performance.
- Only use the original power adapter and charging dock provided with the device.
3. Package Contents
Verify that all items are present in your package:
- MONSGA MR1 SE Robot Vacuum (x1)
- Self-Charging Station (x1)
- Remote Control (x1)
- AAA Batteries (x2, for remote)
- User Manual (x1)
- Dustbox (340ml, pre-installed)
- Mop Cloth (x1)
- HEPA Filter (x1, extra)
- Side Brush (x2, extra)
- Cleaning Tool (x1)

4. Setup
4.1 Initial Preparation
- Unpack the Robot: Carefully remove the robot vacuum and all accessories from the packaging.
- Remove Protective Strips: Locate and remove all protective films and bumper strips from the robot. Ensure the side brushes are securely attached.
- Install Remote Batteries: Open the battery compartment on the remote control and insert the two AAA batteries provided, observing polarity.
- Position the Charging Dock: Place the charging dock against a wall in an open, uncluttered area. Ensure there is at least 0.5 meters (1.6 feet) of clear space on either side and 1.5 meters (4.9 feet) in front of the dock. Plug the power adapter into the charging dock and then into a wall outlet.
- First Charge: Place the robot onto the charging dock. The indicator light on the robot will pulse during charging. For optimal battery life, fully charge the robot before its first use (approximately 5-6 hours).
4.2 App Connection
The MONSGA MR1 SE can be controlled via the SmartLife or TuyaSmart app for advanced features and scheduling.
- Download the SmartLife or TuyaSmart app from your phone's app store.
- Press and hold the 'On & Off' button on the robot for 5 seconds until the light flashes, indicating pairing mode.
- Turn on your phone's Bluetooth. Open the app, tap the '+' icon at the top right corner, and select 'Add Device'.
- Connect your phone to a 2.4GHz Wi-Fi network.
- Follow the in-app instructions to complete the connection. The app will show 'Added successfully' when the light stops flashing.

5. Operating Instructions
5.1 Control Methods
The MONSGA MR1 SE offers multiple ways to initiate and manage cleaning:
- Button Control: Press the power button on the robot's top panel to start or pause cleaning. Press and hold to send it back to the charging dock.
- Remote Control: Use the included remote for basic functions like starting/pausing, changing cleaning modes, and directing the robot.
- App Control: The SmartLife or TuyaSmart app provides full control, including scheduling, mode selection, real-time status monitoring, and cleaning path visualization.
- Voice Control: Integrate with Amazon Alexa or Google Assistant for hands-free operation. Simply use voice commands to start, stop, or send the robot to its dock.


5.2 Cleaning Modes
The robot offers diverse cleaning modes to suit different needs:
- Auto Mode: The robot intelligently navigates and cleans your entire floor area, adjusting suction for different surfaces.
- Spot Mode: Targets specific areas with concentrated dirt or spills for intensive cleaning.
- Edge Mode: Cleans along walls and furniture edges to ensure thorough coverage.
- Manual Mode: Allows you to direct the robot's movement using the app or remote control for precise cleaning.

5.3 Smart Features
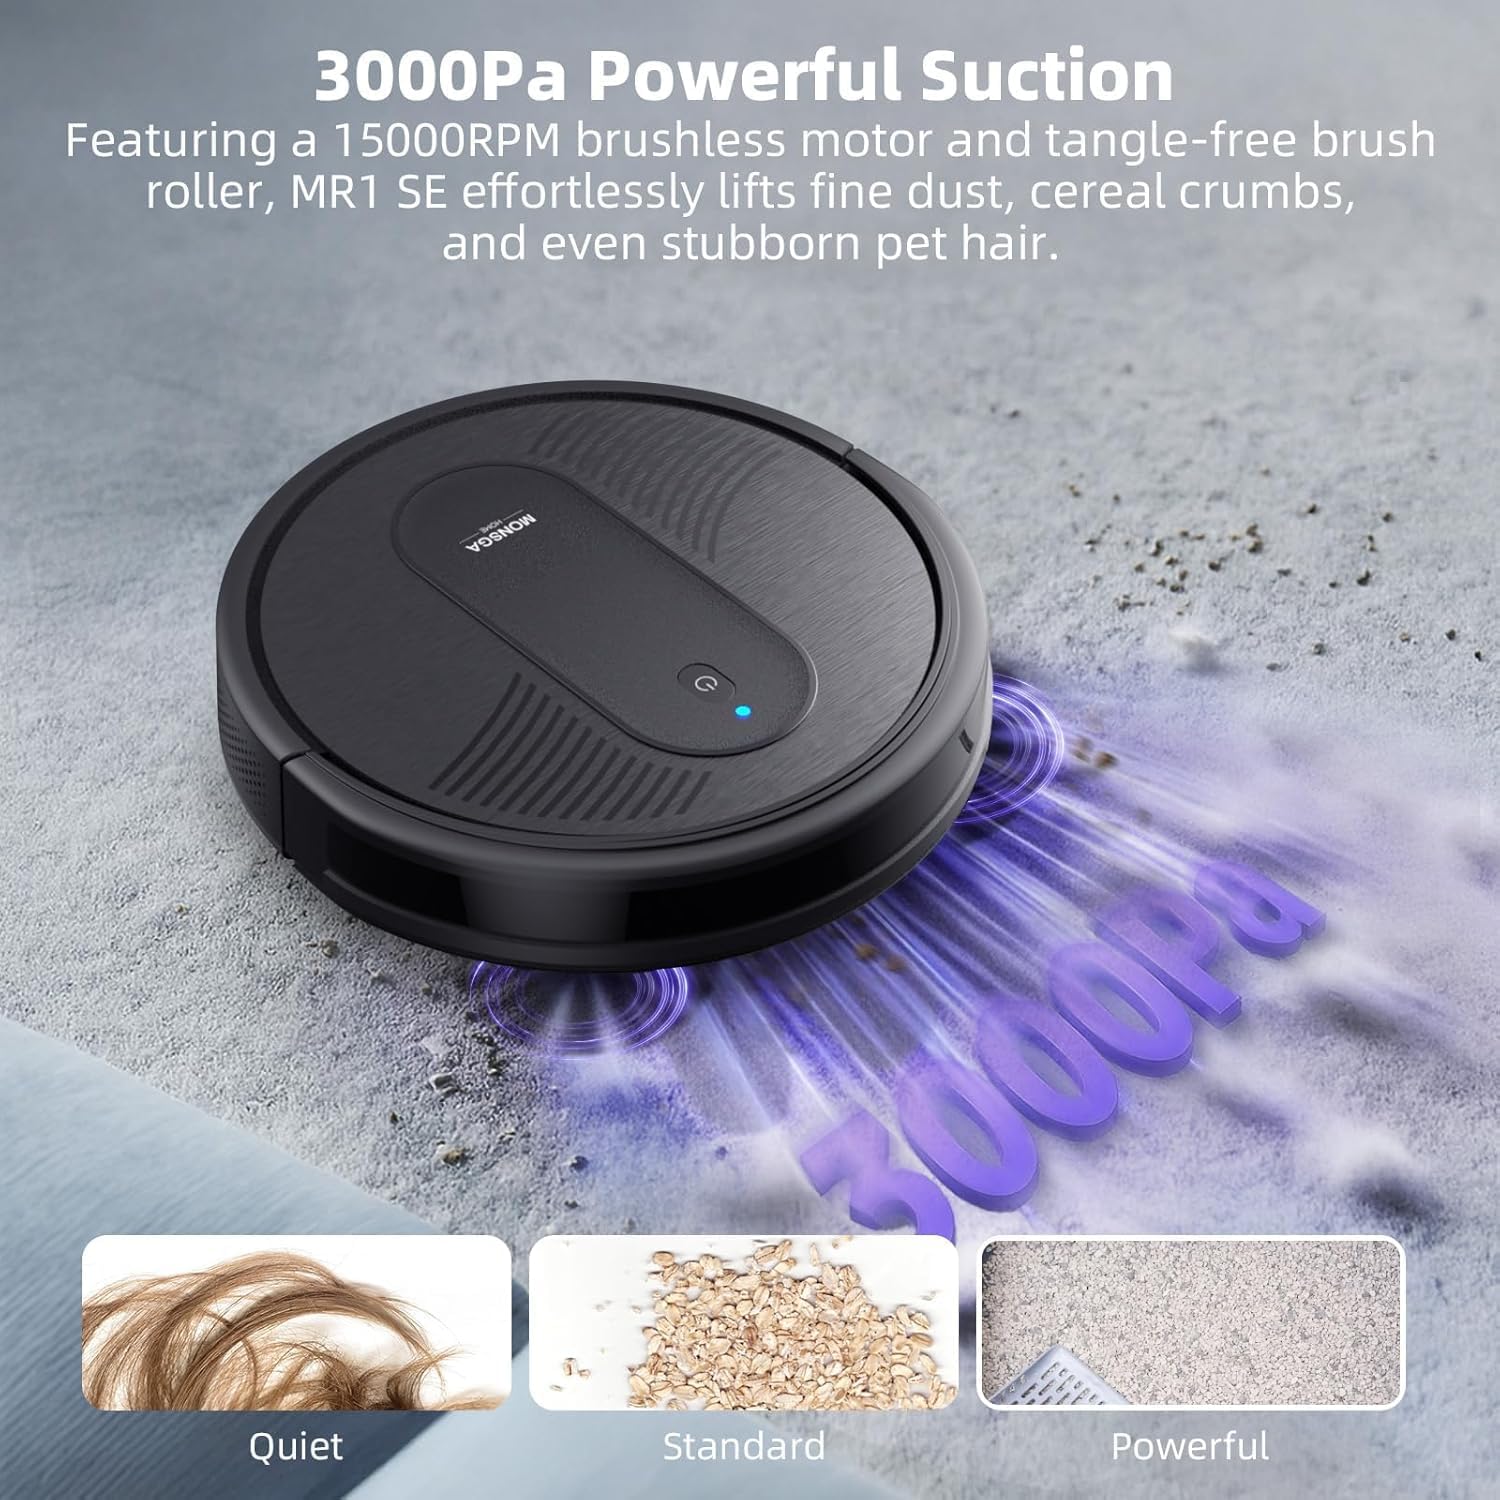
- Powerful Suction: Equipped with 4000Pa suction power, the robot effectively picks up dust, pet hair, and debris from hard floors and low-pile carpets.
- Ultra-Slim Design: At just 3.2 inches tall, the MR1 SE can easily clean under furniture like beds, sofas, and cabinets.
- Adaptive Carpet Boost: The robot automatically detects carpeted surfaces and increases suction power for deeper cleaning.
- Anti-Collision and Anti-Fall System: High-precision infrared obstacle detectors and cliff sensors enable the robot to navigate around obstacles and avoid stairs.
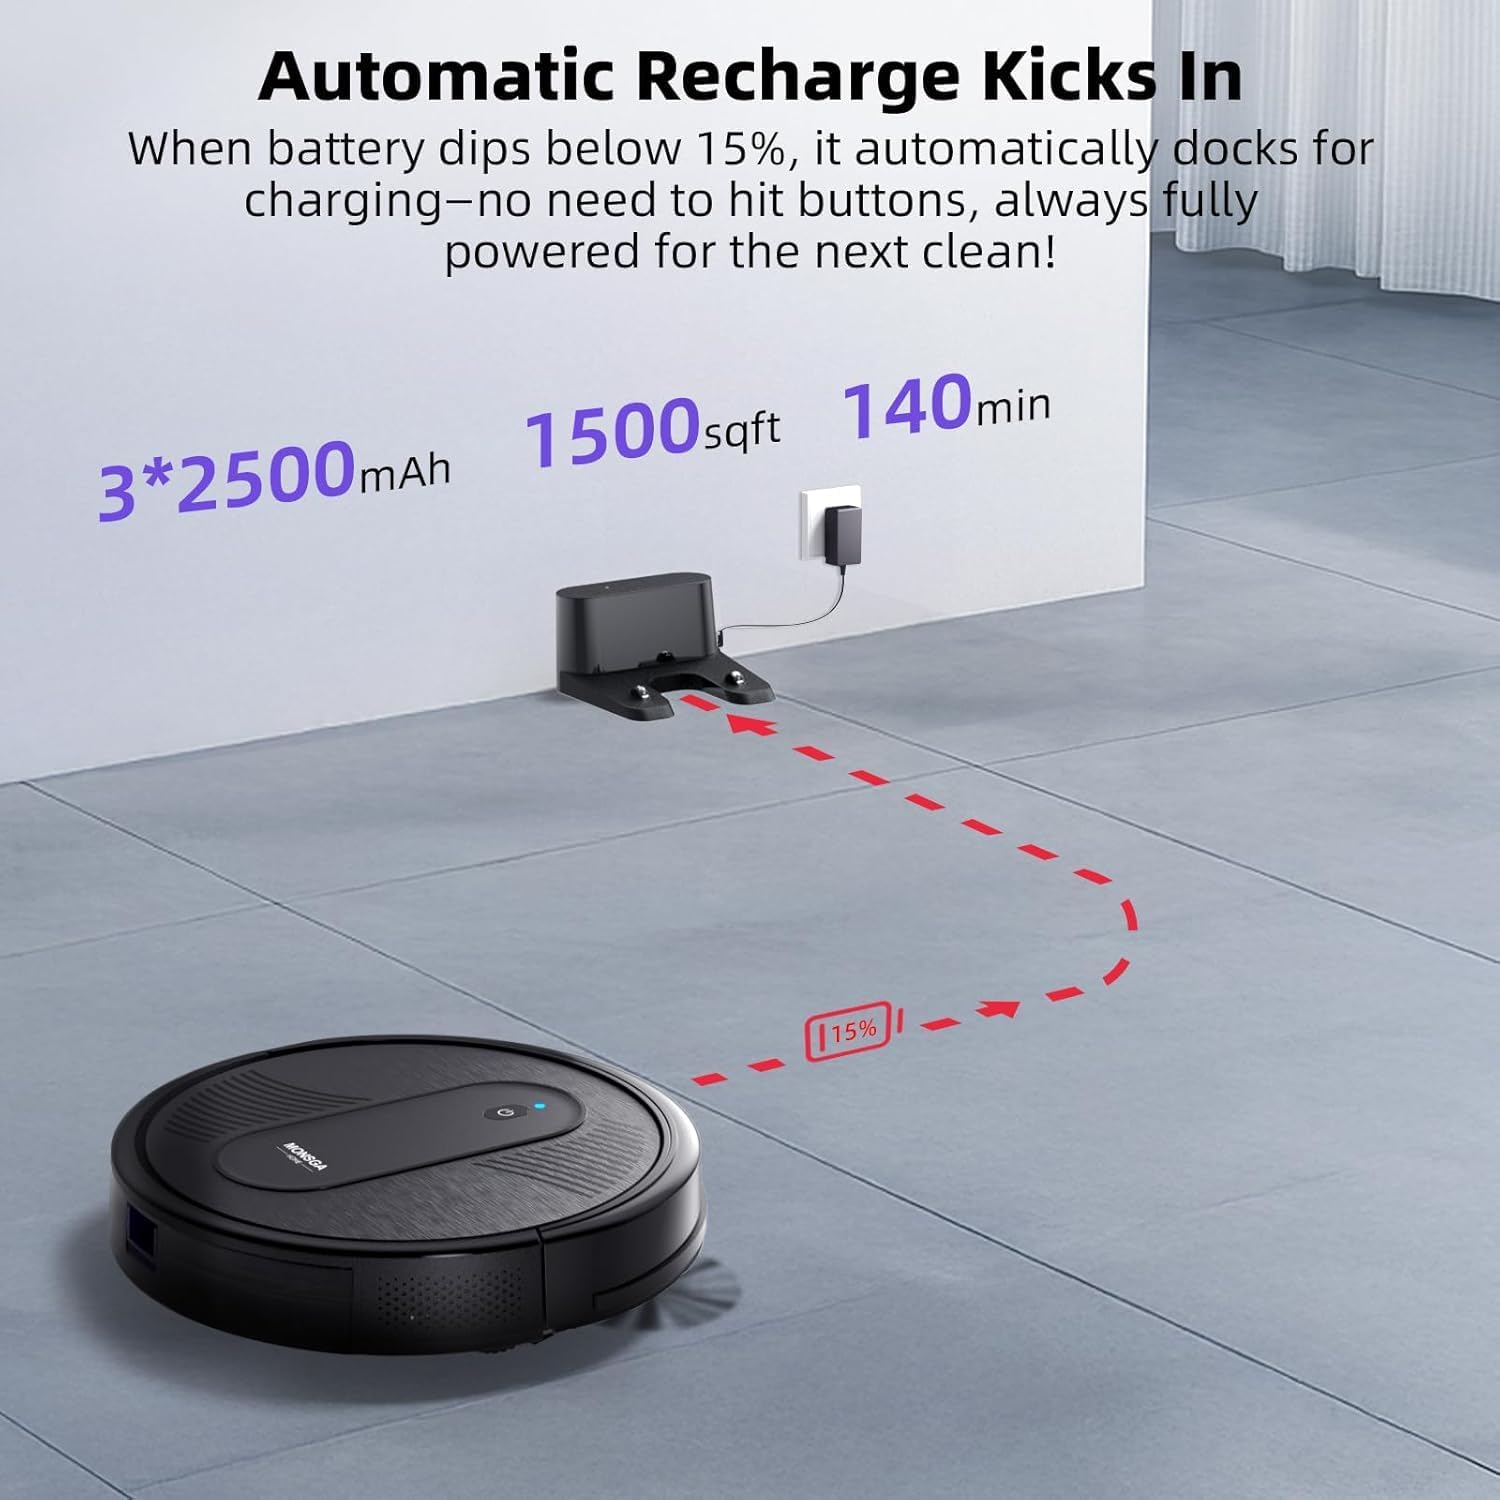
- Automatic Recharging: When the battery level drops below 15%, the robot automatically returns to its charging dock to recharge, ensuring it's always ready for the next cleaning cycle.
- Scheduled Cleaning: Use the app to set daily or weekly cleaning schedules, allowing the robot to clean automatically at your preferred times.


5.4 Official Product Video
6. Maintenance
Regular maintenance ensures optimal performance and extends the lifespan of your robot vacuum.
6.1 Dustbin and Filter
- Empty the Dustbin: Press the dustbin release button and pull out the dustbin. Open the dustbin cover and empty its contents into a trash bin.
- Clean the Filter: Remove the HEPA filter and foam filter from the dustbin. Tap them gently to remove dust. Rinse the foam filter and dustbin with water (do not rinse the HEPA filter). Allow all parts to air dry completely before reassembling.
- Replace Filter: Replace the HEPA filter every 3-6 months, or as needed, to maintain filtration efficiency.

6.2 Side Brushes and Main Brushroll
- Clean Side Brushes: Regularly check the side brushes for tangled hair or debris. Gently pull them off to remove any obstructions.
- Clean Main Brushroll: Turn the robot over and remove the main brush cover. Lift out the brushroll and use the provided cleaning tool to remove any tangled hair or debris.
- Replace Brushes: Replace side brushes every 3-6 months and the main brushroll every 6-12 months, or when visibly worn.
7. Troubleshooting
If you encounter issues with your MONSGA MR1 SE, refer to the following common solutions:
- Robot not turning on: Ensure the robot is fully charged. Check if the power button is pressed correctly.
- Robot not charging: Verify the charging dock is powered on and the robot is correctly aligned with the charging contacts. Clean the charging contacts on both the robot and the dock.
- Robot getting stuck frequently: Clear obstacles from the cleaning path. Ensure the robot's sensors are clean.
- Poor cleaning performance: Empty the dustbin and clean the filters. Check and clean the side brushes and main brushroll for tangled hair or debris.
- App connection issues: Ensure your Wi-Fi network is 2.4GHz. Restart your router, phone, and robot. Try re-pairing the device through the app.
For more detailed troubleshooting or persistent issues, please contact MONSGA customer support.
8. Specifications
| Feature | Detail |
|---|---|
| Brand | MONSGA |
| Model Name | MR1 SE |
| Suction Power | 4000Pa |
| Product Dimensions | 11.4"L x 11.4"W x 3.4"H |
| Battery Life | 140 minutes |
| Coverage Area | Up to 1,500 sqft |
| Dustbin Capacity | 340ml |
| Filter Type | HEPA Filter |
| Control Methods | App, Push Button, Remote, Voice (Alexa/Google Assistant) |
| Compatible Devices | Amazon Echo, Google Home, Smartphones, Tablets |
| Item Weight | 6.71 pounds |
| Power Source | Battery Powered |
| Surface Recommendation | Hard Floor, Low-Pile Carpet, Hardwood Floor, Laminate, Luxury Vinyl, Tile |
9. Warranty and Support
MONSGA is committed to product quality and customer satisfaction. The MONSGA MR1 SE Robot Vacuum Cleaner comes with a 2-year warranty service and lifetime technical support.
If you have any questions, suggestions, or require assistance, please do not hesitate to contact the MONSGA After-sales Team. We aim to provide a quick response within 24 hours.
Thank you for choosing MONSGA.


