
1. Introduction
Thank you for choosing the NCVI Wearable Breast Pump. This manual provides essential information for the safe and effective use of your breast pump. Please read it thoroughly before first use and retain it for future reference.

Image: Overview of the NCVI Wearable Breast Pump components.
The NCVI Wearable Breast Pump is designed for hands-free milk expression, offering portability and convenience for mothers on the go. It features multiple pumping modes and suction levels to adapt to individual needs.
2. Safety Information
Important Safety Precautions:
- Do not allow water to enter the pump motor. The motor unit is not waterproof.
- Always inspect all pump parts before each use for any damage or wear. Replace damaged parts immediately.
- Ensure all parts are clean and sterilized before first use and after each subsequent use.
- Keep the pump and its accessories out of reach of children.
- Use only original NCVI replacement parts and accessories.
- Consult a healthcare professional or lactation consultant if you experience pain or discomfort during pumping.
Statements regarding dietary supplements have not been evaluated by the FDA and are not intended to diagnose, treat, cure, or prevent any disease or health condition.
3. Package Contents
Verify that all items are present in your package:

Image: Detailed view of all components included in the NCVI Wearable Breast Pump package.
- Cover x 2
- Diaphragm x 2
- Duckbill Valve x 2
- Collection Cup x 2
- Breast Shield (28mm) x 2
- Flange Insert (21mm) x 2
- Flange Insert (24mm) x 2
- Air Tube x 2
- Motor x 1
- USB Charging Cable x 1
4. Setup and Assembly
Before first use, clean and sterilize all parts that come into contact with breast milk as described in the Maintenance section.
4.1 Flange Size Selection
Choosing the correct flange size is crucial for comfort and pumping efficiency. Measure your nipple diameter to select the appropriate flange insert.

Image: Guide for selecting the correct flange size based on nipple measurement.
- For nipple sizes up to 17-19mm, use the 21mm flange insert.
- For nipple sizes up to 20-22mm, use the 24mm flange insert.
- The pump includes a 28mm breast shield, and 21mm/24mm inserts are provided for a customized fit.
4.2 Assembly Steps
- Insert Diaphragm: Place the diaphragm securely into the upper cover.

Image: Step 1 - Inserting the diaphragm.
- Attach Upper Cover: Press the assembled upper cover firmly into the collection cup.

Image: Step 2 - Attaching the upper cover to the collection cup.
- Install Duckbill Valve and Breast Shield: Push the duckbill valve onto the breast shield. Then, buckle the breast shield and collection cup together on the top. Finally, push the collection cup into the breast shield.

Image: Step 3 - Assembling the valve, shield, and cup.
- Connect to Motor: Connect the air tube(s) from the assembled collection cup(s) to the motor unit. You can switch between single and double pumping by connecting one or two tubes.

Image: Connecting the collection cups to the motor for single or double use.
4.3 Charging the Pump
The pump is equipped with a 2200mAh rechargeable battery. Before first use, fully charge the pump. Connect the USB charging cable to the motor unit and a compatible power source (e.g., power bank, wall adapter, computer USB port).

Image: Charging the pump using a USB cable with various power sources.
- A full charge provides up to 90 minutes of usage (approximately 4-6 pumping sessions).
- The battery indicator on the LED screen will show charging status.
5. Operating Instructions
Familiarize yourself with the control panel before operating the pump.

Image: NCVI Breast Pump Control Panel layout and functions.
5.1 Control Panel Functions
- On/Off Button: Press and hold to power on/off.
- Mode Switch (M): Press to cycle through the 4 pumping modes.
- Level Up (+): Increase suction level.
- Level Down (-): Decrease suction level.
- Timer: Displays the duration of the current pumping session.
- Battery Indicator: Shows remaining battery life.
- Mode Indicator: Displays the currently selected pumping mode.
5.2 Pumping Modes and Levels
The pump offers 4 distinct modes and 9 adjustable suction levels to optimize your pumping experience.

Image: Explanation of the 4 pumping modes and 9 suction levels.
- Multitronic Mode: Features a variable frequency to help stimulate milk flow and maximize output.
- Suck Simulate Mode: Mimics a baby's natural sucking rhythm to initiate let-down.
- Massage Mode: Provides gentle stimulation to encourage milk flow and comfort.
- Express Mode: Designed for strong and slow suction to efficiently empty the breast.
Start with a comfortable suction level and gradually increase as needed. The pump has an auto shut-off feature after 30 minutes for safety.
5.3 Hands-Free Usage
The motor unit can be clipped to your waistband, allowing for hands-free operation. This design supports mobility during pumping sessions.
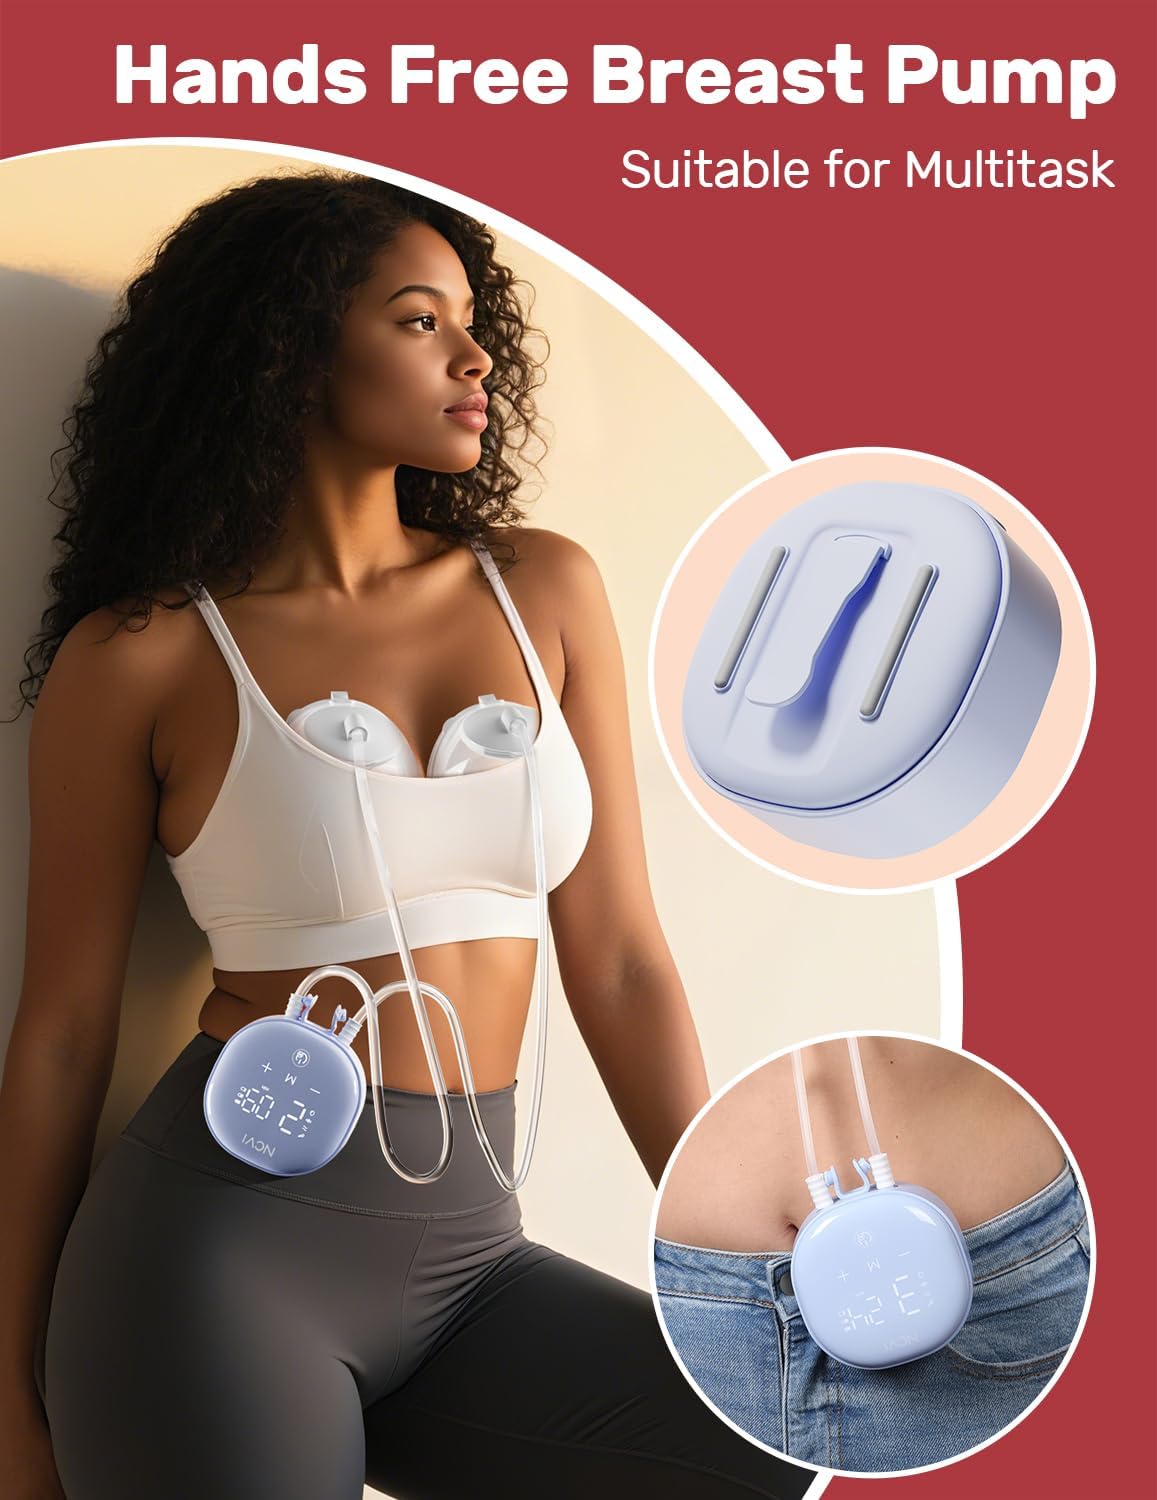
Image: Demonstrating hands-free pumping with the motor clipped to clothing.
6. Maintenance and Cleaning
Proper cleaning and maintenance are essential for hygiene and the longevity of your breast pump.
6.1 Disassembly and Cleaning
Disassemble all parts that come into contact with breast milk immediately after each use. The pump is designed for easy disassembly and cleaning.

Image: Breast pump parts being washed in a sink.
- Separate all components: covers, diaphragms, duckbill valves, collection cups, breast shields, and flange inserts.
- Wash all separated parts (except the motor unit and air tubes) in warm, soapy water. Use a soft brush to clean hard-to-reach areas.
- Rinse thoroughly with clean water.
- Air dry completely on a clean drying rack or use a clean cloth.
6.2 Sterilization
The milk-contacting parts can be sterilized using the following methods:
- Steam Sterilization: Use a steam sterilizer according to its instructions.
- Boiling: Place parts in boiling water for 3-5 minutes.
- UV Sterilization: Use a UV sterilizer according to its instructions.
Do not sterilize the motor unit or air tubes. The air tubes should be cleaned if milk or condensation is visible inside them, then air-dried.
7. Troubleshooting
If you encounter issues with your breast pump, refer to the following common problems and solutions:
| Problem | Possible Cause | Solution |
|---|---|---|
| No suction or weak suction |
|
|
| Pump not turning on |
|
|
| Milk leaking from collection cup |
|
|
| Pain or discomfort during pumping |
|
|
If the problem persists after trying these solutions, please contact NCVI customer support.
8. Specifications
- Model Number: AM8122-3
- Power Source: Battery Powered
- Battery Capacity: 2200mAh (rechargeable)
- Usage Time: Up to 90 minutes per charge
- Suction Strength: Up to 300mmHg
- Pumping Modes: 4 (Multitronic, Suck Simulate, Massage, Express)
- Suction Levels: 9 per mode
- Collection Cup Capacity: 5oz / 150ml
- Flange Sizes Included: 28mm (breast shield), 21mm and 24mm (inserts)
- Material: Polypropylene, Silicone (Food-grade, BPA-free)
- Special Features: Closed System, Hands-Free Usage, Lightweight, Portable, Wearable, Low Noise Operation (<45dB)
- Package Dimensions: 8.27 x 5.59 x 5.24 inches
- Weight: 1.92 Pounds
9. Warranty and Support
NCVI products are manufactured to high-quality standards. For warranty information or technical support, please refer to the warranty card included with your product or visit the official NCVI website. Keep your purchase receipt as proof of purchase.
For further assistance, you may contact NCVI customer service through their official channels.

