
JIAN BOLAND T500 Employee Time Clock User Manual
Model: T500
1. Introduction
The JIAN BOLAND T500 is an advanced employee time clock designed for small businesses, offering multiple attendance tracking methods including face recognition, RFID badge, and PIN entry. This device provides a reliable and efficient solution for managing employee attendance without monthly fees. This manual will guide you through the setup, operation, and maintenance of your T500 time clock.
The T500 features an intuitive interface with IN/OUT buttons, voice prompts, and supports 11 languages for ease of use. Attendance data can be easily transferred via USB for report generation.
2. Safety Information
- Do not expose the device to water or excessive humidity.
- Avoid direct sunlight or extreme temperatures.
- Use only the provided power adapter to prevent damage.
- Do not attempt to disassemble or repair the device yourself. Contact support if service is required.
- Keep the device away from strong magnetic fields.
3. Package Contents
Please check the package for the following items:
- JIAN BOLAND T500 Time Clock Unit
- Power Adapter
- Mounting Bracket
- Instruction Manual
- 8GB USB Flash Drive
- 5 x RFID ID Cards
- Mounting Screws
- Data Cable

Figure 3.1: Contents of the JIAN BOLAND T500 package.
4. Product Overview
The JIAN BOLAND T500 features a compact design with an LCD screen, keypad, and various ports for connectivity and mounting.

Figure 4.1: Front and back view of the T500 with labeled components.
Key Components:
- LCD Screen: Displays time, date, menu options, and recognition feedback.
- Face Recognition Sensor: Captures facial data for attendance.
- Keypad: For PIN entry and menu navigation.
- IN/OUT Buttons: Dedicated buttons for clocking in and out.
- Swipe Zone: Area for RFID card recognition.
- U Disk Interface (USB Port): For data transfer.
- Wall Hole Type Hanging Hole: For wall mounting.

Figure 4.2: Overview of T500 features and benefits.
5. Setup
5.1 Mounting the Device
The T500 can be mounted on a wall or placed on a desktop using the included bracket.
- Wall Mount: Use the provided screws and the wall hole type hanging hole on the back of the device to securely attach it to a wall at an appropriate height for face recognition.
- Desktop Placement: Attach the bracket to the back of the device and place it on a stable, flat surface.
5.2 Power Connection
Connect the provided power adapter to the DC 5V port on the device and plug it into a standard electrical outlet. The device will power on automatically.
5.3 Initial Configuration
Upon first power-on, you may need to set the language, date, and time. Follow the on-screen prompts using the keypad for navigation.
5.4 Registering Employees
To register employees, access the device's menu (usually by pressing the 'MENU' button). You can register employees using one or more of the following methods:
- Face Recognition: Select the face registration option. Instruct the employee to stand in front of the device, aligning their face with the on-screen guide. The device will capture and store their facial data.
- RFID Badge: Select the RFID registration option. Instruct the employee to hold their RFID card against the 'Swipe Zone' on the device. The device will register the card.
- PIN Entry: Select the PIN registration option. Assign a unique PIN to the employee, which they will use for clocking in/out.
Ensure each employee is registered with a unique ID. You can combine methods, for example, requiring an RFID card and a PIN for enhanced security.
6. Operating Instructions
Employees can clock in or out using their registered method. The T500 supports four check-in methods:
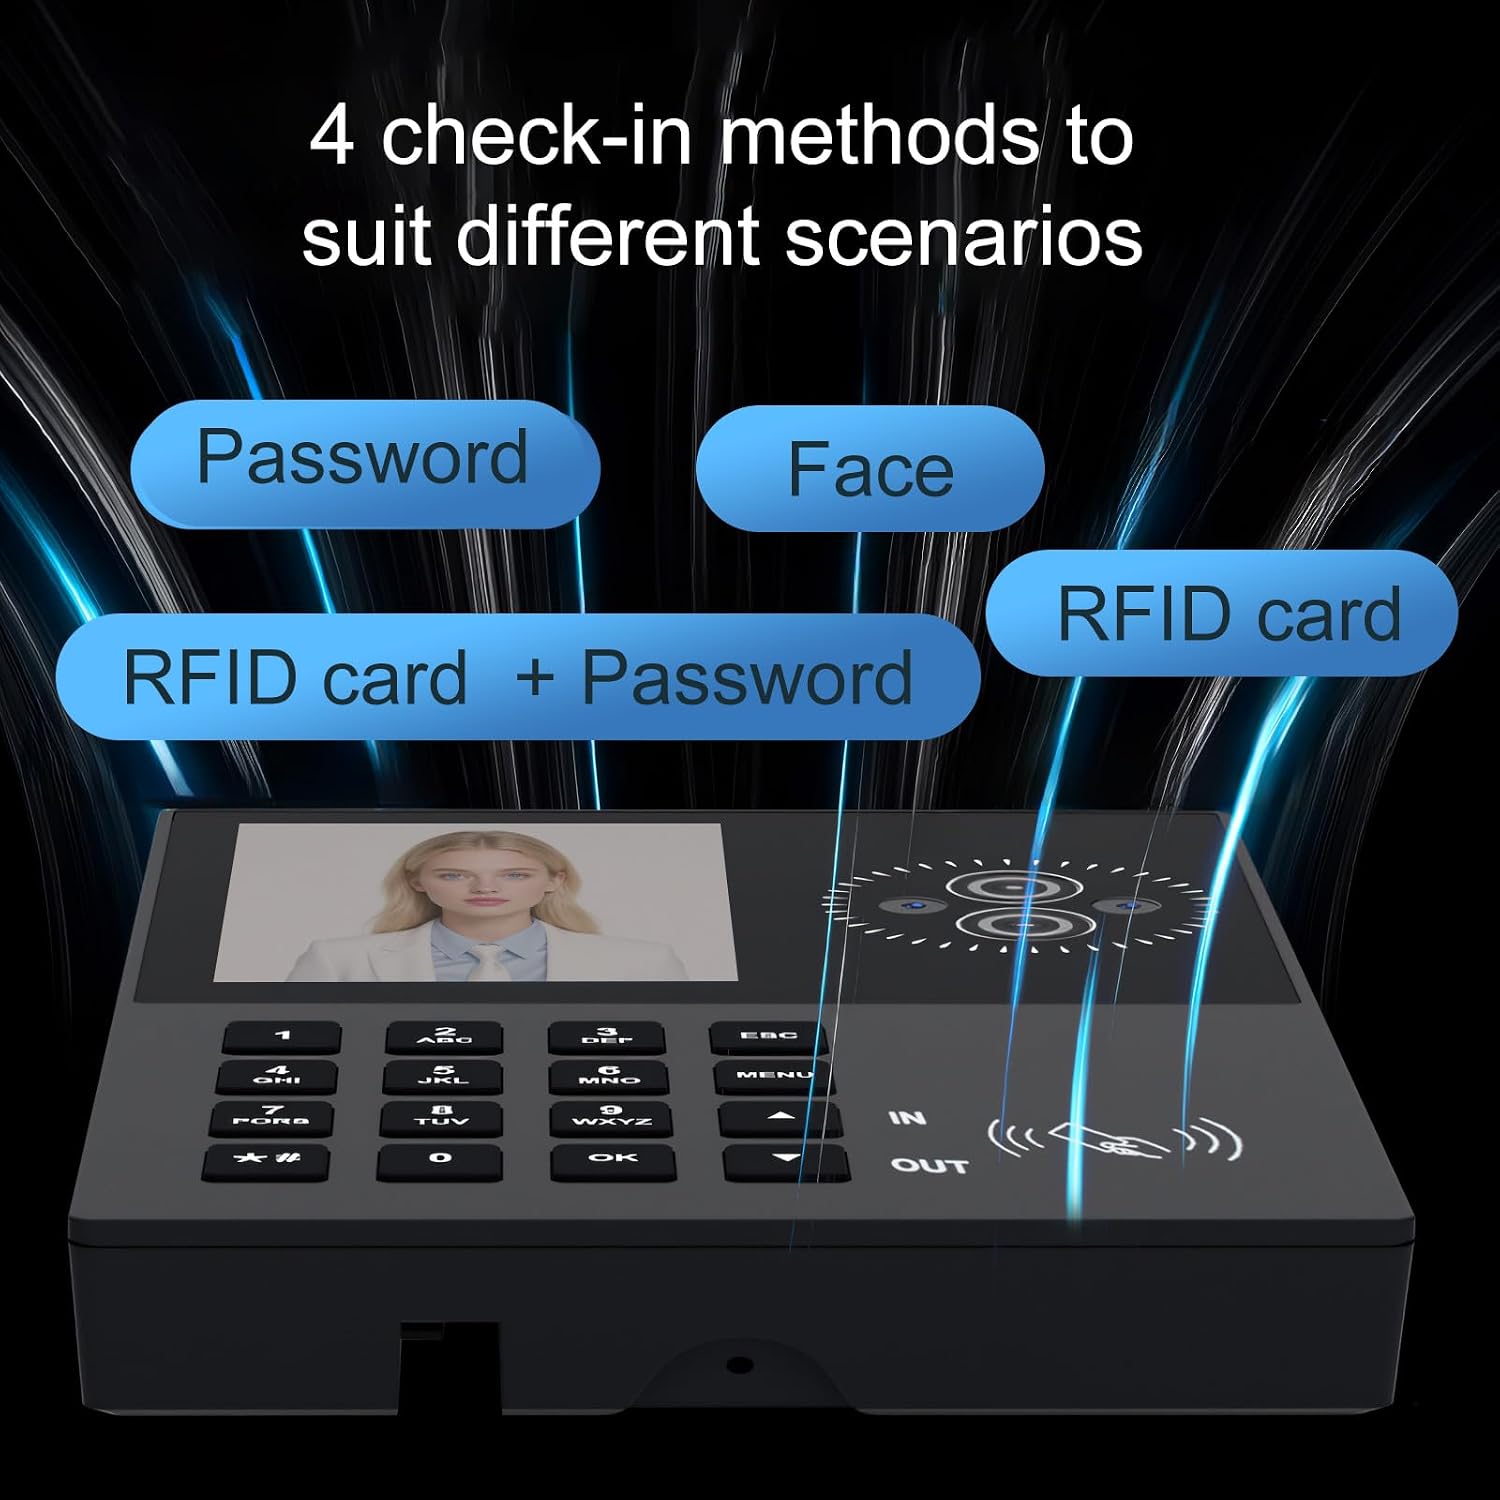
Figure 6.1: Available check-in methods.
6.1 Clocking IN/OUT
To record attendance, employees should:
- Press the IN button when arriving or the OUT button when leaving. This prevents duplicate punches.
- Present their registered method:
- Face Recognition: Stand in front of the device, aligning their face with the camera.
- RFID Badge: Hold their RFID card against the 'Swipe Zone'.
- PIN Entry: Enter their assigned PIN using the keypad and press 'OK'.
- The device will provide a voice prompt and an on-screen confirmation upon successful recognition.

Figure 6.2: Biometric and PIN entry methods.
7. Data Management
The JIAN BOLAND T500 stores attendance records internally. To access and manage this data, use the provided USB flash drive.
7.1 Downloading Attendance Data
- Insert the USB flash drive into the U Disk Interface (USB port) on the side of the time clock.
- Navigate to the 'Data Management' or 'Download' option in the device's menu.
- Select the desired date range or 'All Data' to download.
- Confirm the download. The device will transfer the attendance records to the USB drive, typically in an Excel-compatible format.
7.2 Generating Attendance Reports
Once the data is on the USB drive, you can transfer it to a computer. The T500 automatically generates Excel attendance reports, allowing you to track weekly, bi-weekly, bi-monthly, and monthly pay periods. The reports include working hours and other attendance details.

Figure 7.1: USB data transfer and attendance report generation.

Figure 7.2: Magnified view of an attendance report showing total hours.
8. Troubleshooting
- Device not powering on: Ensure the power adapter is securely connected to both the device and a working power outlet.
- Face recognition failure: Ensure the employee's face is well-lit and positioned correctly in front of the sensor. Avoid direct backlight. If an employee's appearance has changed significantly (e.g., new glasses, beard), re-register their face.
- RFID card not recognized: Ensure the card is held directly against the 'Swipe Zone'. Check if the card is damaged or if it has been properly registered.
- PIN entry issues: Verify the correct PIN is being entered. Ensure the keypad is clean and responsive.
- USB data transfer failure: Ensure the USB flash drive is inserted correctly and is formatted to a compatible file system (e.g., FAT32). Try a different USB drive if issues persist.
- Incorrect time/date: Access the device menu to manually adjust the time and date settings.
9. Specifications

Figure 9.1: T500 dimensions and capacities.
| Feature | Specification |
|---|---|
| Brand | JIAN BOLAND |
| Model | T500 |
| Display Type | LCD |
| Special Features | Face Recognition, RFID, PIN, 0 Monthly Fees, IN/OUT Buttons |
| Product Dimensions | 3.7"W x 5.3"H |
| Item Weight | 4.8 ounces |
| Power Source | Corded Electric |
| Rated Voltage | DC5V2A |
| Mounting Type | Wall Mount or Desktop |
| Material | Plastic, Metal Frame |
| Connectivity Technology | USB |
| Maximum User Capacity | 2000 |
| Face Capacity | 2000 |
| Card Capacity | 1000 |
| Record Capacity | 200,000 |
| Operating Temperature | 0°C ~ 45°C |
| Supported Languages | English, German, Arabic, Spanish, French, Portuguese, etc. (11 languages) |
10. Maintenance
- Cleaning: Use a soft, dry cloth to clean the device's screen and body. Do not use abrasive cleaners or solvents.
- Software Updates: Periodically check the manufacturer's website for any available firmware updates to ensure optimal performance and security.
- Data Backup: Regularly back up attendance data to your computer using the USB flash drive to prevent data loss.
11. Warranty and Support
For warranty information, please refer to the documentation included with your purchase or contact the retailer. For technical support or inquiries, please visit the JIAN BOLAND official website or contact their customer service department.
Online Resources: