
maXpeedingrods LA77IL
maXpeedingrods Primary Dry Clutch CVT Sheave Assembly User Manual
Model: LA77IL
1. Product Overview
This manual provides essential information for the installation, operation, and maintenance of your maXpeedingrods Primary Dry Clutch CVT Sheave Assembly. This high-quality component is designed to ensure smooth power transmission and reliable performance in compatible UTV and powersports vehicles. It is constructed from durable aluminum and iron materials, offering wear resistance and efficient heat dissipation.
2. Compatibility and Part Numbers
This Primary Dry Clutch CVT Sheave Assembly is compatible with a range of UTV and powersports models. Please verify your vehicle's make, model, and year against the list below to ensure proper fitment.
Applicable Models:
- For HiSUN HS800 HS1000 UTV MSU Engine
- For Bennche Cowboy 1000 (2015-2016)
- For Bennche Spire 800 (2010/2016)
- For Bennche Spire 1000 (2015-2016)
- For Bennche Spire 1000X (2015-2016)
- For Massimo MSA800 (2015)
- For Massimo MSU800 (2015-2016)
- For Massimo Militia 1000 (2016)
- For Massimo Militia 1000 S (2016)
- For Massimo Militia 1000 XS (2016)
- For QLINK FrontRunner 800 EFI (2012-2013)
Part Numbers:
This assembly replaces the following OEM part numbers: 21300-010-1000, 324800001, 21300-F68-0000. Always cross-reference these numbers with your vehicle's existing part before purchase.
3. Product Specifications
| Specification | Value |
|---|---|
| Manufacturer | maXpeedingrods |
| Model Number | LA77IL |
| Item Weight | 9.04 pounds |
| Product Dimensions | 9.09 x 8.98 x 7.36 inches |
| Height | 159mm |
| Disc Outer Diameter | 200mm |
| Disc Inner Diameter | 51.8mm |
| Tube Diameter | 35mm |
4. Key Features
- Durable Construction: Manufactured from high-quality aluminum and iron using high-pressure casting for wear resistance and excellent heat dissipation.
- Reliable Performance: Precision machining ensures smooth friction and efficient power transmission, leading to faster engine and gearbox rotation. Each unit undergoes rigorous quality testing.
- Easy Installation: Designed as a complete clutch assembly for direct bolt-on installation, requiring no modifications to your machine.
5. Installation Guide
This primary drive clutch assembly is designed for direct replacement. While it is a bolt-on component, professional installation is highly recommended due to the critical nature of clutch components in vehicle operation and safety.
Before Installation:
- Ensure the vehicle is turned off, cooled down, and secured on a stable, level surface.
- Disconnect the battery to prevent accidental starting.
- Gather all necessary tools, including wrenches, sockets, and a torque wrench.
- Refer to your vehicle's specific service manual for detailed instructions on removing the old clutch and accessing the primary drive system.
Installation Steps (General):
- Carefully remove the old primary clutch assembly according to your vehicle's service manual. Note the orientation and any shims or spacers.
- Inspect the crankshaft taper and keyway for any damage or debris. Clean thoroughly.
- Slide the new maXpeedingrods primary clutch assembly onto the crankshaft. Ensure it seats properly.
- Install the retaining bolt and washer. Torque the bolt to the specifications provided in your vehicle's service manual. Overtightening or undertightening can lead to damage or failure.
- Reassemble any covers or components removed during the process.
- Reconnect the battery.
- Test the vehicle's operation in a safe, controlled environment before full use.
Warning: Improper installation can lead to serious injury or damage to the vehicle. If you are not confident in performing this installation, seek assistance from a qualified technician.
6. Operation
The primary dry clutch is a critical component of your vehicle's Continuously Variable Transmission (CVT) system. It engages and disengages the engine from the drivetrain, allowing for smooth acceleration and power delivery. When the engine RPM increases, the primary clutch engages, transferring power to the secondary clutch and then to the wheels. This assembly is designed to provide consistent and reliable engagement for optimal vehicle performance.
7. Maintenance
Regular inspection and maintenance are crucial for the longevity and optimal performance of your primary clutch. While this is a durable component, certain checks can prevent premature wear.
- Regular Inspection: Periodically inspect the clutch for signs of wear, cracks, or damage to the sheaves, weights, and springs. Check for excessive dust or debris accumulation.
- Cleaning: Keep the clutch area clean. Dust and belt debris can accumulate and affect performance. Use compressed air to blow out debris, ensuring proper ventilation.
- Belt Condition: Always ensure your drive belt is in good condition. A worn or damaged belt can cause excessive wear on the clutch components.
- Lubrication: Refer to your vehicle's service manual for any specific lubrication requirements for the clutch components. Generally, dry clutches do not require external lubrication on the sheave faces.
- Professional Service: For detailed internal inspection or service, it is recommended to consult a qualified technician.
8. Troubleshooting
If you experience issues with your vehicle's power transmission, the primary clutch may be a contributing factor. Here are some common symptoms and potential causes:
- Slipping Clutch: Symptoms include high engine RPM without corresponding vehicle speed increase. Possible causes: Worn clutch components, glazed sheave faces, incorrect belt tension, or contaminated clutch surfaces.
- Rough Engagement/Jerking: The vehicle lurches or engages harshly. Possible causes: Worn clutch weights or rollers, damaged springs, or debris interfering with smooth operation.
- Excessive Noise/Vibration: Unusual sounds or vibrations coming from the clutch area. Possible causes: Loose components, worn bearings, or damaged clutch parts.
- Loss of Power: Vehicle feels sluggish or lacks acceleration. Possible causes: Clutch not fully engaging, worn belt, or other engine/drivetrain issues.
If you encounter any of these issues, it is recommended to inspect the clutch assembly and related components. For complex problems, consult a professional mechanic.
9. Product Images

This image displays the complete primary dry clutch assembly, showcasing its robust construction and ready-to-install design. The two main sheave halves are visible, along with the central shaft and retaining nut.

A detailed top-down perspective of one half of the clutch sheave, highlighting the internal structure and design elements that facilitate smooth operation and power transfer.

This image provides a closer look at the internal fins and mechanisms within the clutch, demonstrating the precision engineering for efficient performance and heat management.

A clear side view of the fully assembled primary clutch, showing its compact form factor and the relative positioning of the sheave halves.

This image captures an angled perspective of the clutch, prominently displaying a warning label that emphasizes the importance of professional installation for safety and proper function.
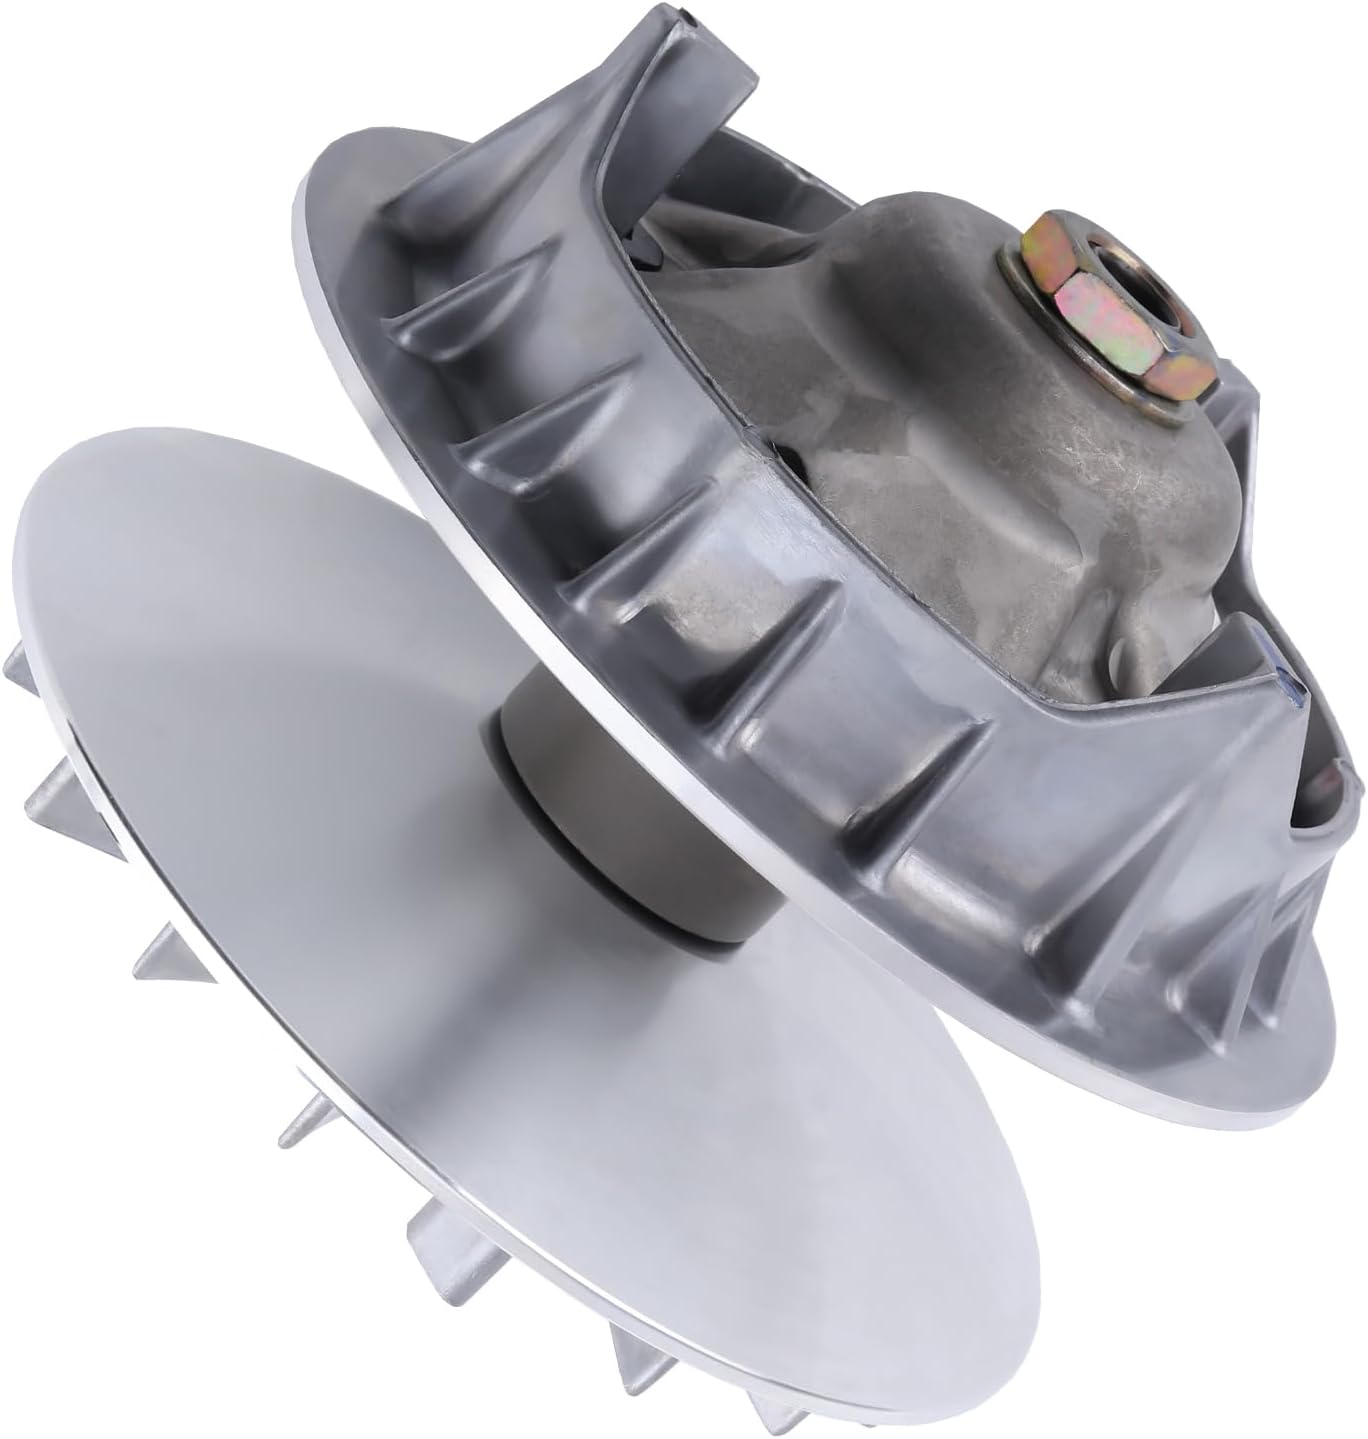
Another dynamic angled shot of the primary clutch, providing a comprehensive view of its contours and overall design from a different perspective.

This image focuses on the movable sheave side of the clutch, illustrating the components responsible for the variable ratio function of the CVT system.

A direct front view of the primary clutch assembly, providing a clear look at its overall shape and the central shaft.

This close-up shot highlights the precision-machined surfaces of the clutch sheaves, which are crucial for smooth belt engagement and efficient power transfer.
10. Warranty and Support
For information regarding the product warranty, please refer to the official maXpeedingrods website or contact their customer support directly. Keep your purchase receipt as proof of purchase for any warranty claims.
If you require technical assistance or have questions not covered in this manual, please reach out to maXpeedingrods customer service through their official channels.
Ask a question about this manual
Ask about setup, troubleshooting, compatibility, parts, safety, or missing instructions. Manuals+ will review the question and use this page’s manual context to help answer it.