
Introduction
This manual provides detailed instructions for the installation, operation, and maintenance of your GAMDIAS Aura GL360 Digital WH All-in-One (AIO) PC CPU Liquid Cooler. Please read this manual thoroughly before installation and use to ensure proper function and longevity of the product.
Safety Information
- Ensure your computer system is powered off and unplugged from the wall outlet before installation.
- Handle components with care to avoid damage.
- Keep out of reach of children.
- Do not attempt to disassemble the pump or radiator.
- Refer to professional assistance if you are unsure about any installation steps.
Package Contents
Verify that all components are present in the package.
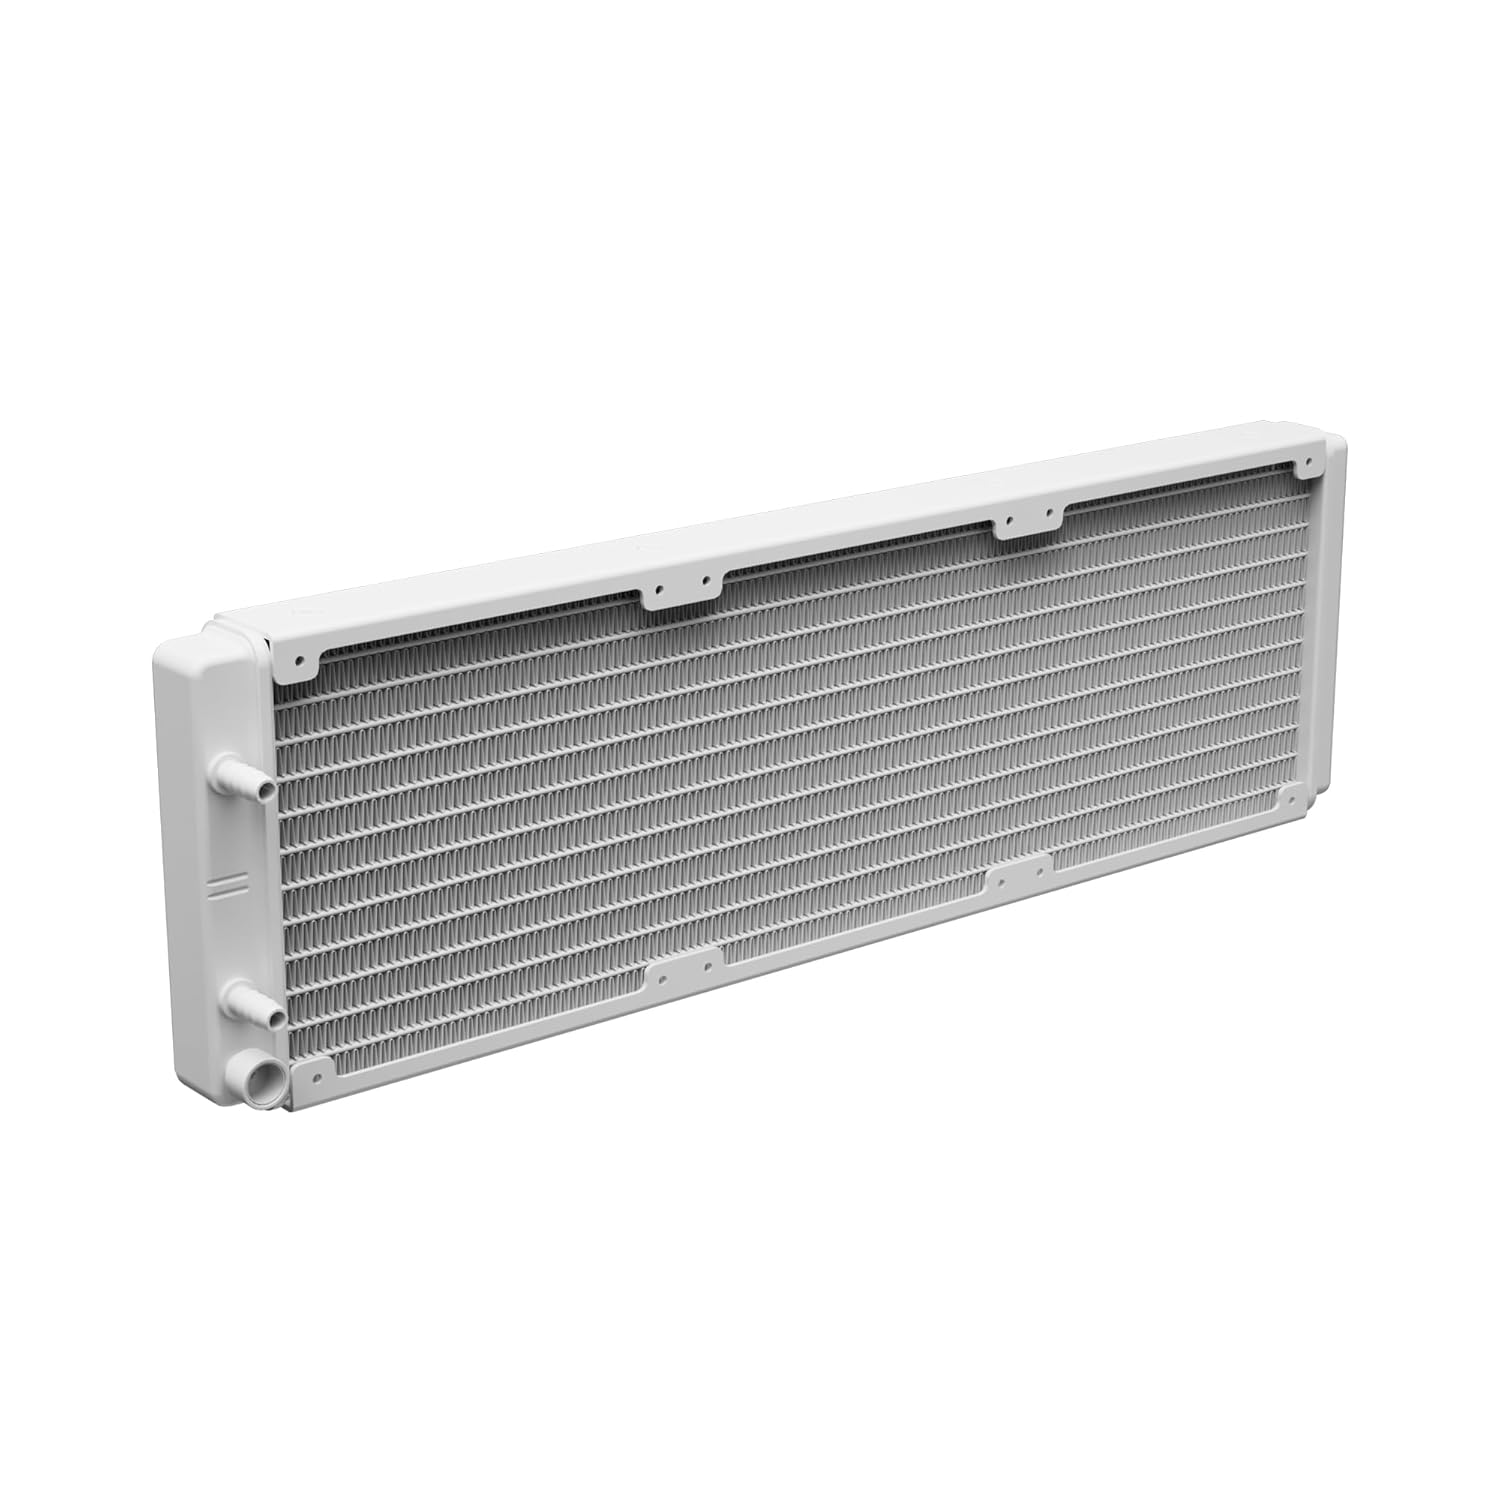
Image: The GAMDIAS Aura GL360 Digital WH AIO Liquid Cooler showing the radiator with three fans, the pump/water block unit, and the braided tubing connecting them.
- AURA GL360 Digital WH Radiator with integrated pump/water block
- 3 x 120mm PWM ARGB Fans
- Mounting Kits for Intel (LGA 1851/1700/1200/115X/20XX) and AMD (AM5/AM4/AM3) sockets
- Thermal Paste
- Fan Screws
- Radiator Screws
- User Manual (this document)

Image: Various mounting brackets, screws, and a tube of thermal paste included with the cooler for universal compatibility.
Setup and Installation
Step 1: Prepare the Motherboard
Identify your CPU socket type (Intel or AMD) and select the appropriate mounting hardware.

Image: Close-up of the pump/water block unit with its 2.1-inch digital display showing "29.4 TEMP".
Step 2: Install Radiator Fans
Attach the three 120mm PWM ARGB fans to the radiator using the provided fan screws. Ensure the fan airflow direction is appropriate for your case's cooling setup (intake or exhaust).

Image: The radiator with three installed ARGB fans, showcasing their vibrant lighting.
Step 3: Mount the Radiator
Install the radiator assembly into your PC case. Common mounting locations include the top or front of the case. Secure it with the longer radiator screws.
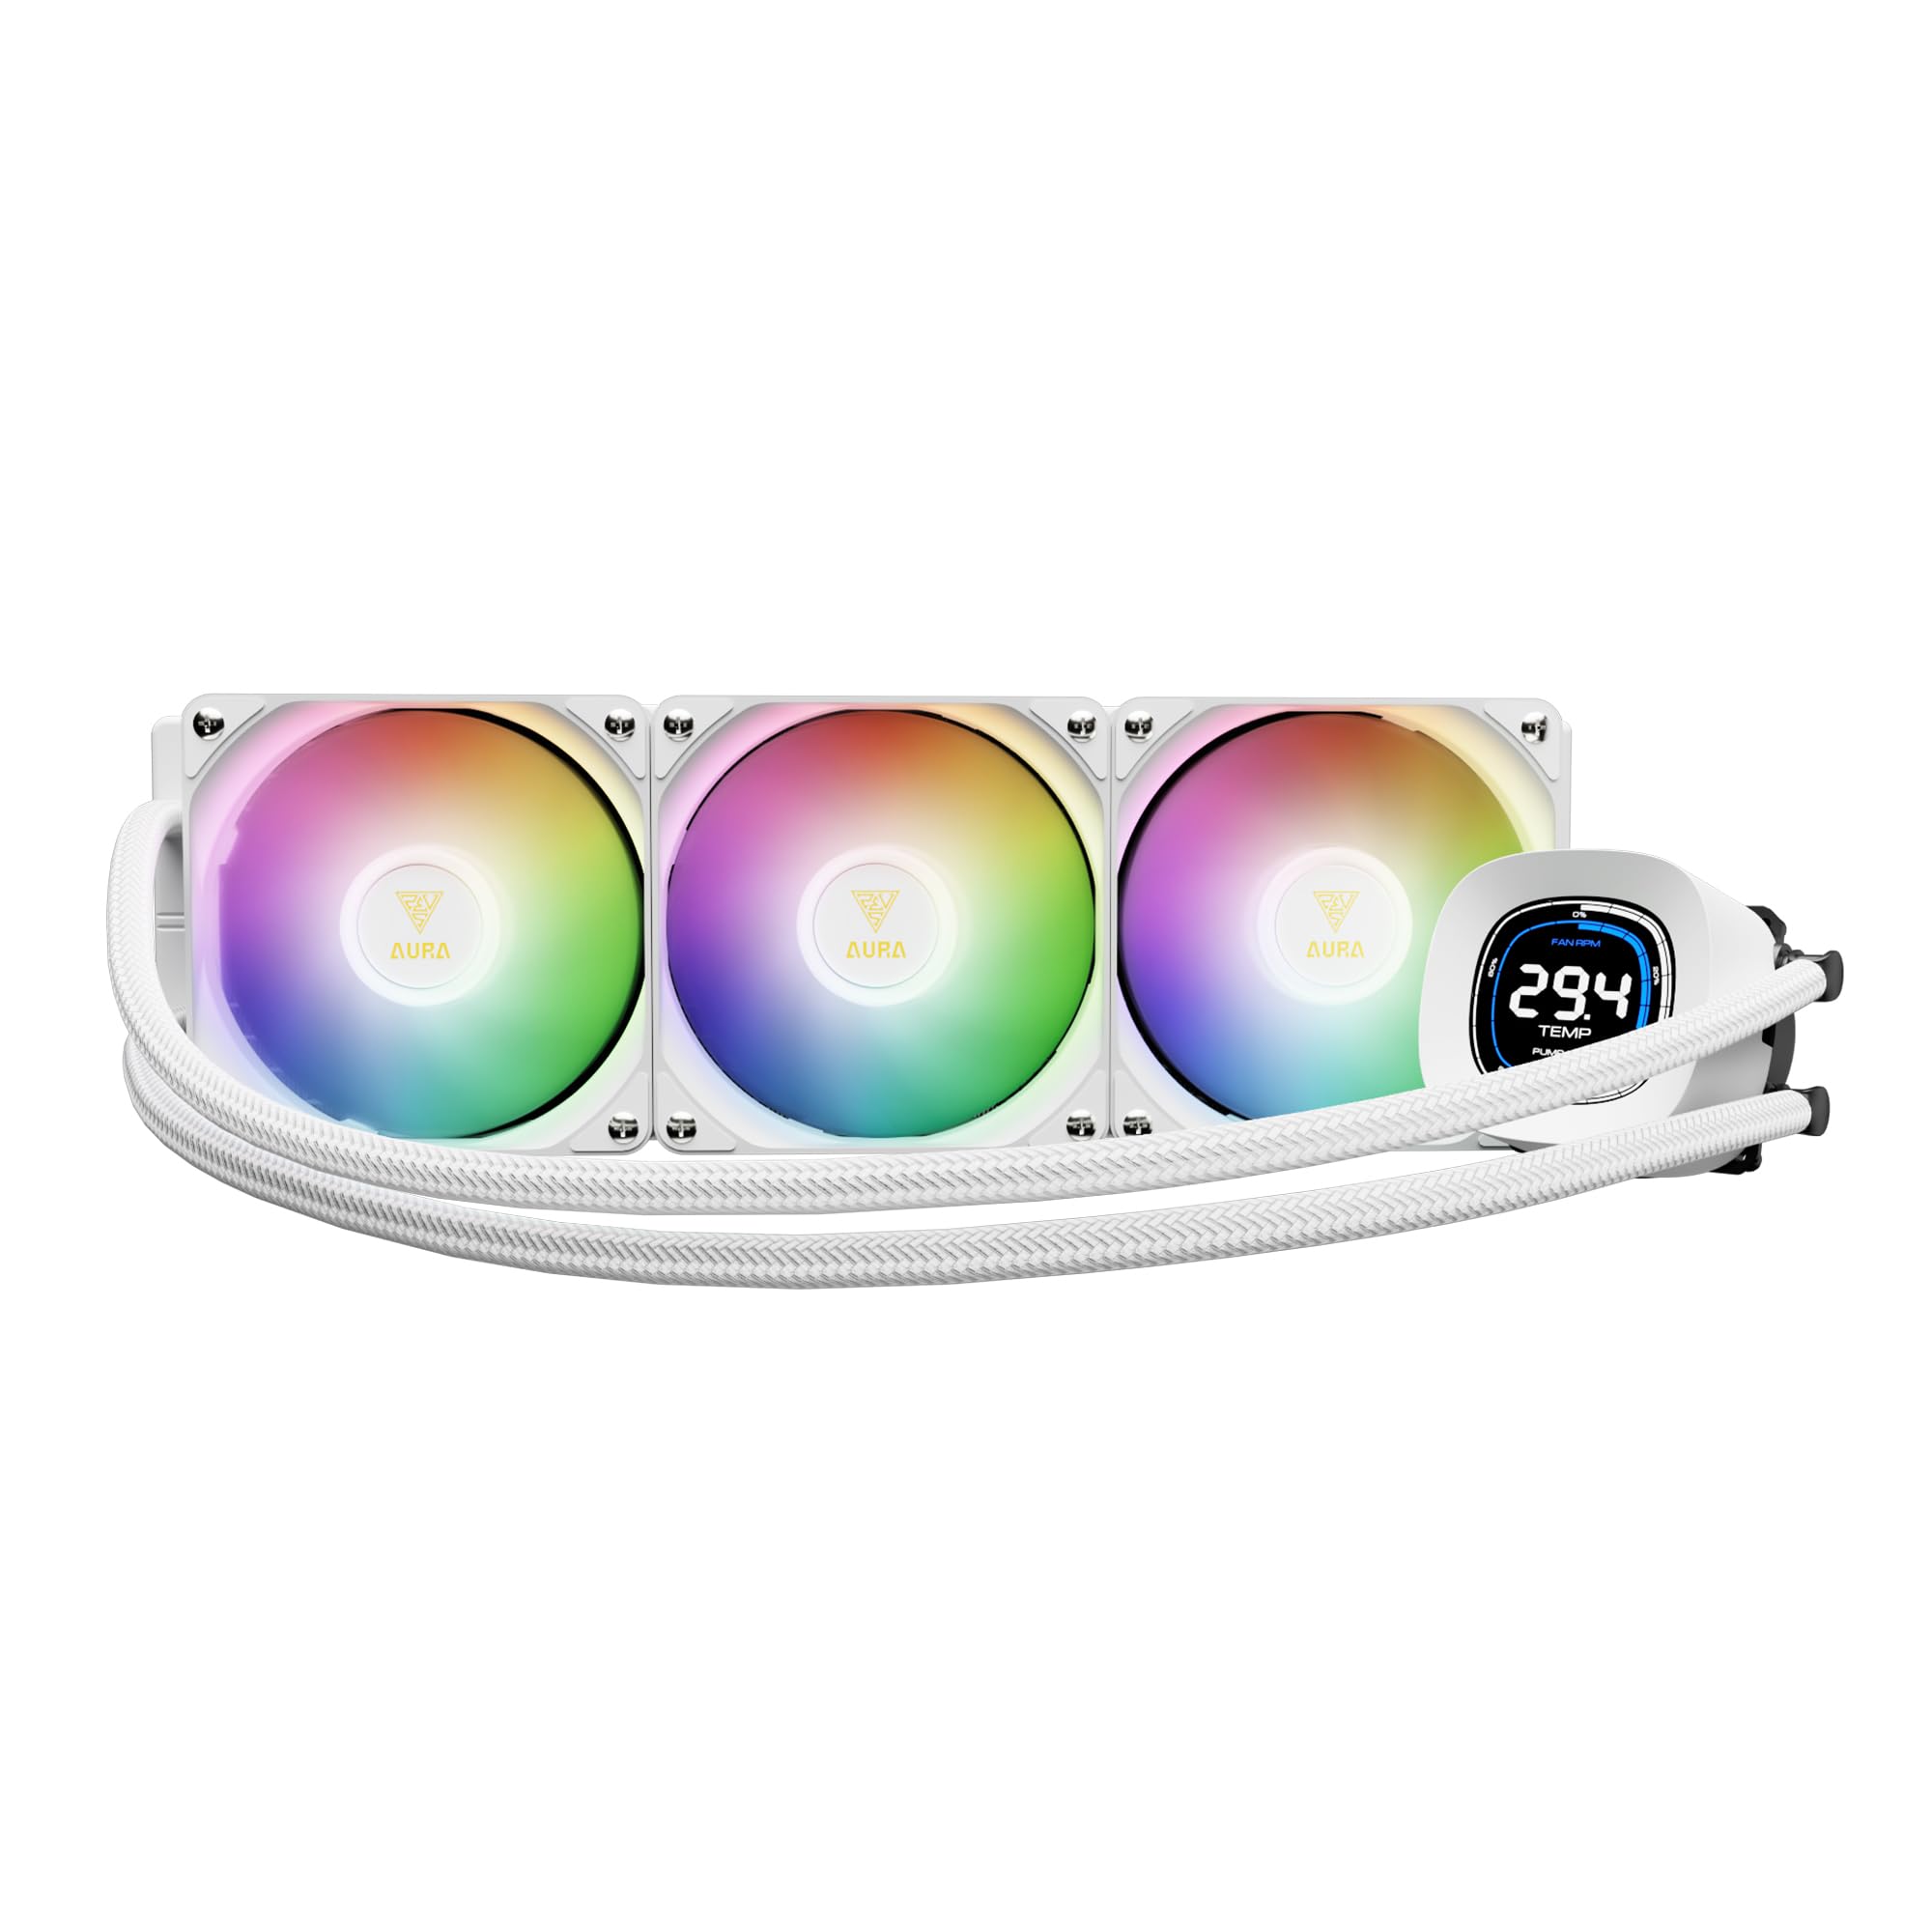
Image: The GAMDIAS Aura GL360 Digital WH AIO Liquid Cooler fully assembled and installed inside a computer case, highlighting the digital display on the pump.
Step 4: Apply Thermal Paste
Clean the CPU surface. Apply a small amount of thermal paste (included) to the center of the CPU's Integrated Heat Spreader (IHS).
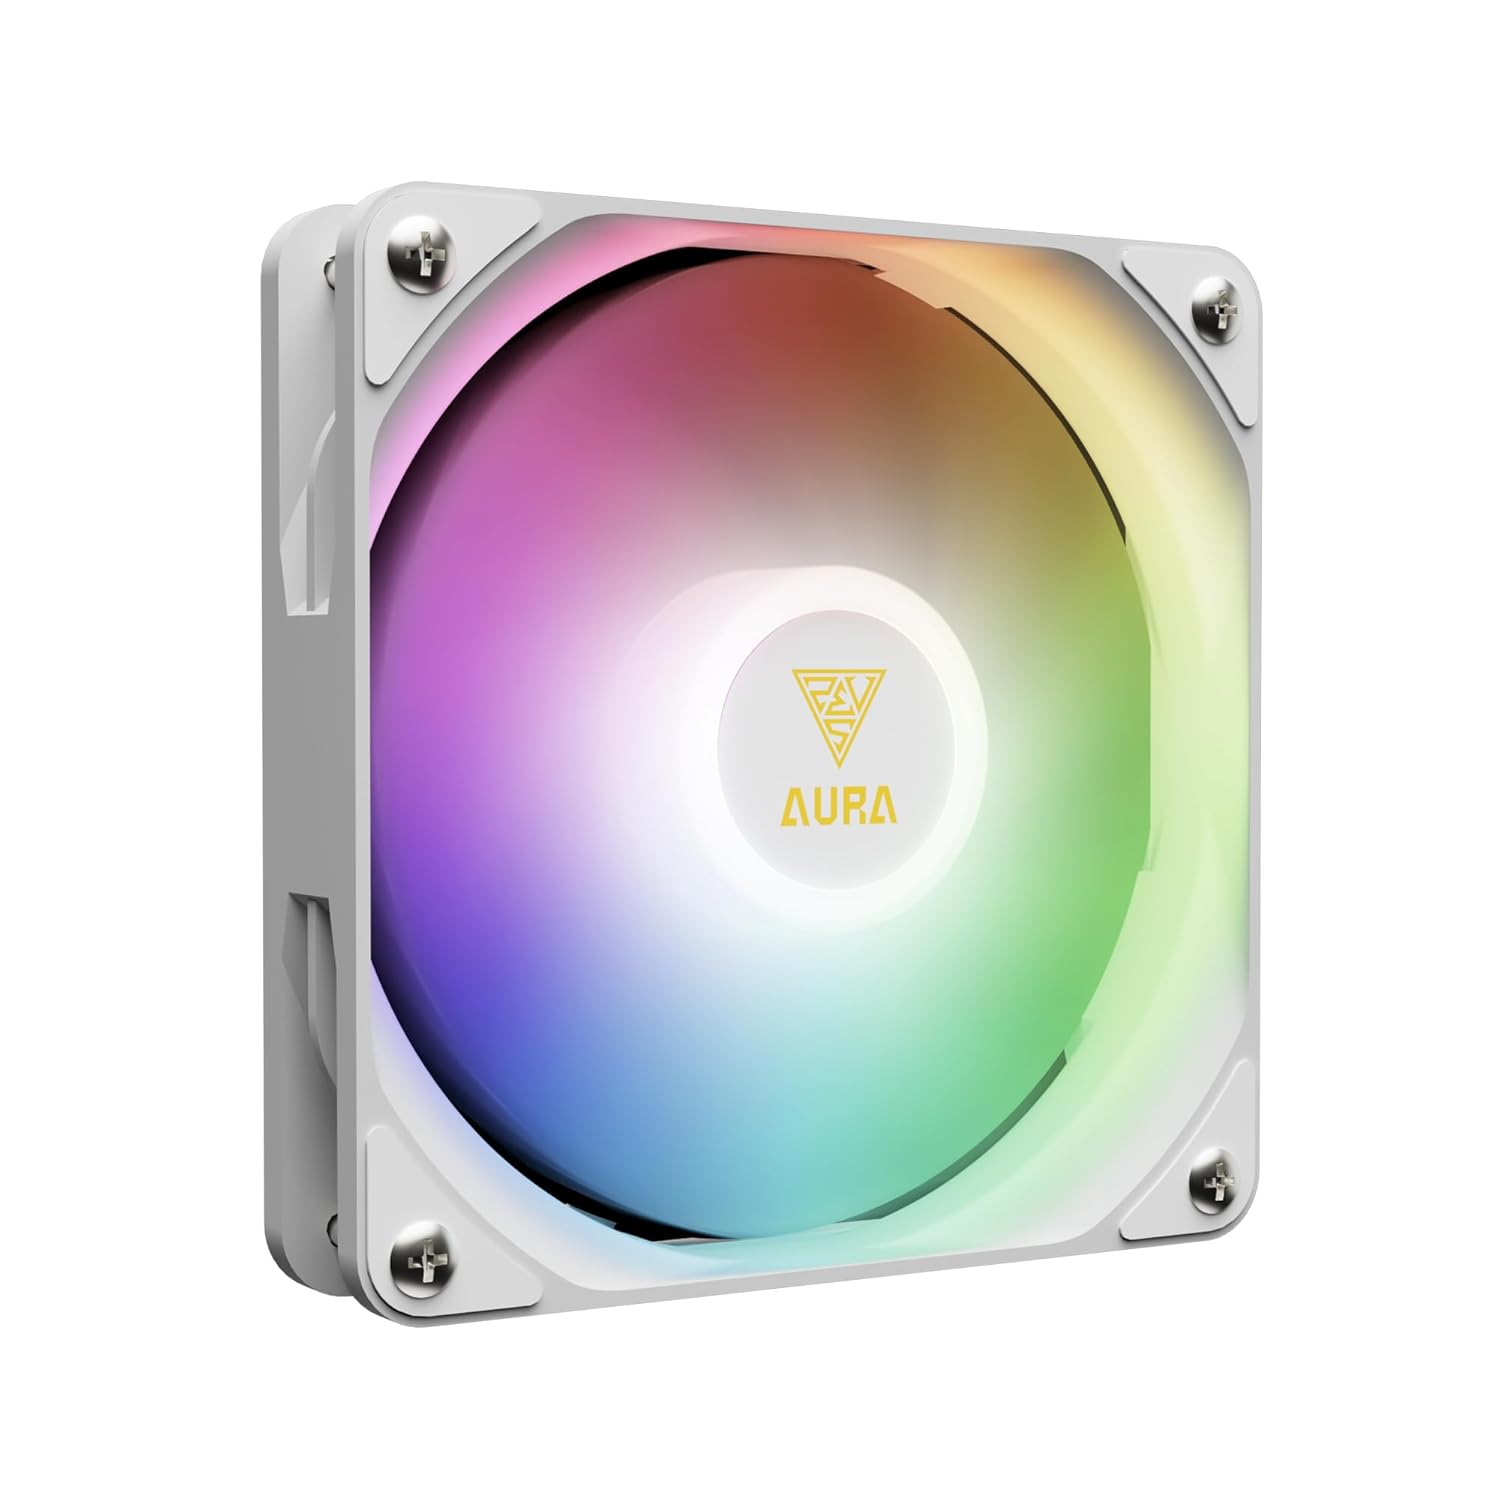
Image: Underside of the pump unit, revealing the copper cold plate designed for efficient heat transfer from the CPU.
Step 5: Install the Water Block/Pump
Carefully place the water block onto the CPU, aligning it with the mounting holes. Secure it with the appropriate screws and backplate for your CPU socket. Tighten screws in a diagonal pattern until snug.

Image: An internal view of the pump unit, illustrating the powerful motor and upgraded copper base for enhanced cooling performance.
Step 6: Connect Cables
Connect the pump's power cable to the CPU_FAN or AIO_PUMP header on your motherboard. Connect the fan cables to available fan headers (e.g., CPU_OPT or SYS_FAN) or a fan controller. Connect the ARGB cables to a compatible 5V 3-Pin addressable RGB header on your motherboard.

Image: The cooler's ARGB lighting synchronized with a motherboard, displaying logos for ASUS Aura Sync, MSI Mystic Light Sync, ASRock Polychrome Sync, and GIGABYTE RGB Fusion 2.0.
Operating Instructions
Once installed and powered on, the AURA GL360 DIGITAL WH will begin cooling your CPU. The 2.1-inch digital screen on the water block provides real-time monitoring.
Digital Display
The display shows CPU temperature, fan speed, and pump speed. It supports different display modes.

Image: Two examples of the digital display on the water block, one in "Stack Mode" and another in "Clock Mode," illustrating how CPU temperature, fan RPM, and pump RPM are presented.
Software Control (ZEUS CAST)
For advanced customization and real-time system monitoring, download and install the ZEUS CAST software from the official GAMDIAS website. This software allows you to:
- Customize display modes and temperature units (°C/°F).
- Set fan and pump speeds.
- Disable speed scales on the display.
- Monitor system status.

Image: A screenshot of the ZEUS CAST software interface, demonstrating options for LCD display customization, fan speed control, and pump speed settings.
Maintenance
- Regularly check for dust accumulation on the radiator fins and fans. Use compressed air to clean them.
- Ensure all cable connections are secure.
- The liquid coolant in the AIO system is sealed and does not require refilling or maintenance.
Troubleshooting
No Power to Pump/Fans
- Check all power connections to the motherboard.
- Ensure the pump cable is connected to a functioning header (CPU_FAN or AIO_PUMP).
- Verify fan cables are securely connected.
High CPU Temperatures
- Confirm the water block is properly seated on the CPU and screws are tightened.
- Ensure thermal paste was applied correctly.
- Check fan orientation for proper airflow.
- Clean any dust from the radiator fins.
- Verify pump and fan speeds in ZEUS CAST software or BIOS.
ARGB Lighting Not Working
- Ensure ARGB cables are connected to a compatible 5V 3-Pin header.
- Check motherboard software for ARGB control.
- Verify connections are secure.
Specifications
| Feature | Specification |
|---|---|
| Model | AURA GL360 DIGITAL WH |
| Cooling Method | Water |
| Compatible Devices | AMD AM5/AM4/AM3, Intel LGA20XX/1851/1700/1151/1150/1155/1156/1200 |
| Noise Level | 33 Decibels |
| Maximum Rotational Speed (Fans) | 1800 RPM |
| Air Flow Capacity (Fans) | 73.7 Cubic Feet Per Minute (CFM) |
| Power Connector Type | 4-Pin |
| Material | Acrylonitrile Butadiene Styrene, Aluminum, Plastic, Polyvinyl Chloride |
| Item Weight | 4.29 pounds |
| Package Dimensions | 17.52 x 8.27 x 5.79 inches |
Warranty and Support
For warranty information and technical support, please visit the official GAMDIAS website or contact their customer service. Keep your purchase receipt for warranty claims.
Official GAMDIAS Website: www.gamdias.com


