
Introduction
Thank you for choosing the Zunate 5K 75MP Digital WiFi Vlogging Camera. This manual provides essential information for setting up, operating, maintaining, and troubleshooting your new camera. Please read it thoroughly before use to ensure optimal performance and longevity of your device.
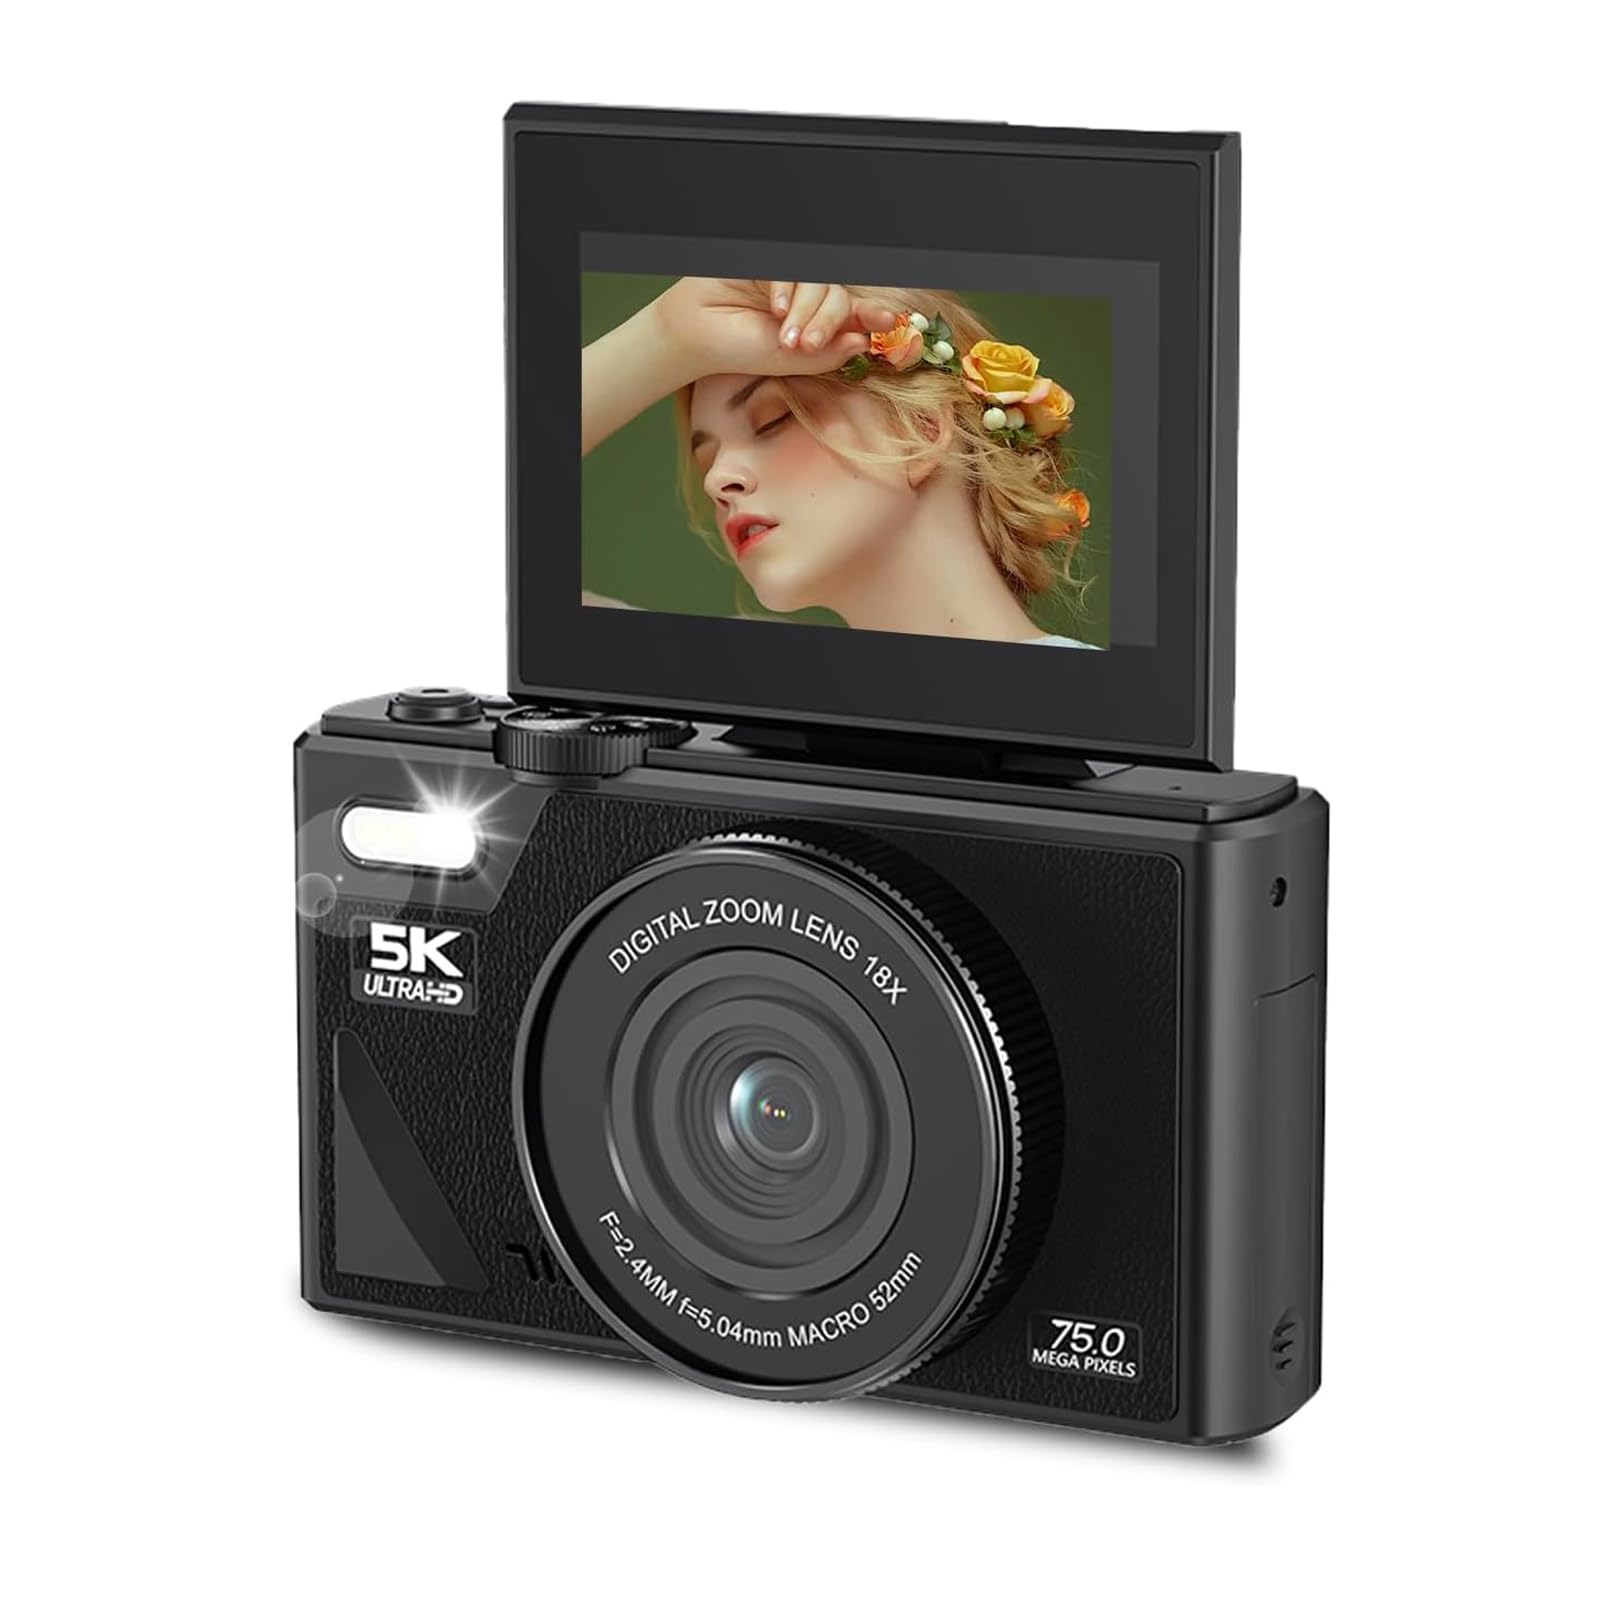
Figure 1: Zunate 5K 75MP Digital WiFi Vlogging Camera, front view.
Setup
1. Unpacking and Box Contents
Carefully unpack all items from the box. Please check that all components are present:
- Zunate 5K 75MP Digital Camera
- Rechargeable Lithium-Ion Battery
- USB Charging Cable
- User Manual
- Wrist Strap (may vary by package)
2. Battery Installation and Charging
- Open the battery compartment cover located at the bottom of the camera.
- Insert the provided 1150 mAh Lithium-Ion battery, ensuring the contacts align correctly.
- Close the battery compartment cover securely.
- Connect the camera to a power source using the USB charging cable. The charging indicator light will illuminate.
- Charge the battery fully before first use. The indicator light will change or turn off when charging is complete.
3. SD Card Installation
A memory card (SD card) is required to store photos and videos. This camera supports standard SD cards.
- Locate the SD card slot, usually next to the battery compartment.
- Insert the SD card with the metal contacts facing the front of the camera until it clicks into place.
- To remove, press the card gently until it pops out.
4. Initial Power On and Settings
- Press and hold the Power button to turn on the camera.
- Upon first use, you may be prompted to set the language, date, and time. Use the navigation buttons to select and confirm your preferences.
Operating Instructions
1. Basic Photography
The camera features an automatic shooting mode for ease of use.
- Power On: Press the Power button.
- Focus: Point the camera at your subject. The AI autofocus system will automatically detect and focus.
- Capture: Press the Shutter button fully to take a photo.
2. Video Recording
To record videos in 5K Ultra HD:
- Switch the camera to video mode (refer to the mode dial or menu).
- Press the Record button to start recording.
- Press the Record button again to stop recording.

Figure 2: Camera in video recording mode, indicating WiFi connectivity.
3. Using the 3-inch 180° Flip Screen
The camera features a versatile 3-inch screen that can flip 180 degrees, ideal for vlogging and selfies.
- Gently pull the screen outwards and rotate it to your desired angle.
- For selfies or vlogging, flip the screen towards the front of the camera to monitor your shot.

Figure 3: Camera with its 3-inch flip screen extended and rotated, suitable for self-portraits or vlogging.
4. Zoom Function
The camera is equipped with an 18x digital zoom.
- Use the 'W' (Wide) and 'T' (Telephoto) buttons, typically located near the shutter button, to zoom in and out.
- Digital zoom magnifies the image electronically, which may reduce image quality at higher zoom levels.
5. Autofocus and Face Detection
The camera utilizes AI autofocus and includes a face detection feature to ensure subjects are sharp.
- In automatic modes, the camera will automatically detect faces and prioritize focus on them.
- Half-press the shutter button to allow the camera to focus before fully pressing to capture.
6. Using the Built-in Flash
The camera includes a built-in flash for low-light conditions.
- Access flash settings through the camera's menu.
- Options typically include Auto Flash, Fill Flash, Red-eye Reduction, and Flash Off.

Figure 4: Illustration of the camera's built-in flash providing illumination in low light conditions.
7. WiFi Connectivity and App Control
The camera supports WiFi for instant sharing and remote control.
- Enable WiFi in the camera's settings menu.
- Download the dedicated Zunate camera app on your smartphone or tablet.
- Connect your device to the camera's WiFi network (SSID and password will be displayed on the camera screen).
- Use the app to transfer photos/videos, preview shots, or control the camera remotely.

Figure 5: The camera's wireless WiFi transmission feature, allowing easy sharing of content to a smartphone.
8. Shooting Modes
The camera offers various shooting modes to enhance your photography.
- Normal Photo: Standard single shot.
- Video + Photo: Captures both video and still images simultaneously.
- Loop Video: Records video in a continuous loop, overwriting older footage.
- Time-lapse Photography: Captures a series of images over time to create a time-lapse video.
- Continuous Photo (Burst): Takes multiple photos in quick succession.
- Timed Photo: Sets a delay before taking a photo (e.g., 3s, 5s, 10s).
- Normal Video: Standard video recording.
- Slow Motion: Records video at a higher frame rate for slow-motion playback.

Figure 6: Overview of multiple photography modes available on the camera, such as normal photo, video, time-lapse, and slow motion.

Figure 7: Visual representation of Burst, Loop, Photo, and Timed shooting options.
Maintenance
1. Cleaning the Camera
- Lens: Use a soft, lint-free cloth specifically designed for camera lenses. Gently wipe in a circular motion. Avoid harsh chemicals.
- Screen: Use a microfiber cloth to clean the display. For stubborn smudges, a small amount of screen cleaner can be applied to the cloth (not directly to the screen).
- Body: Wipe the camera body with a soft, dry cloth. Do not use water or cleaning solutions directly on the camera.
2. Battery Care
- Store batteries in a cool, dry place when not in use.
- Avoid fully discharging the battery frequently to prolong its lifespan.
- If storing for extended periods, charge the battery to about 50% capacity.
3. Storage
When not in use, store the camera in a protective case or bag to prevent dust, scratches, and impact damage. Avoid extreme temperatures and high humidity.
Troubleshooting
| Problem | Possible Cause | Solution |
|---|---|---|
| Camera does not power on. | Battery is dead or incorrectly inserted. | Charge the battery fully. Reinsert the battery correctly. |
| Images are blurry. | Incorrect focus, dirty lens, or camera shake. | Ensure autofocus is engaged. Clean the lens. Hold the camera steady or use a tripod. |
| SD card error. | Card is full, corrupted, or incorrectly inserted. | Delete unnecessary files or use a new card. Reinsert the card. Format the card (this will erase all data). |
| WiFi connection issues. | Incorrect password, out of range, or app issue. | Verify password. Move closer to the camera. Restart the app and camera. |
| Camera freezes or becomes unresponsive. | Software glitch. | Remove and reinsert the battery to force a restart. |
Specifications
| Feature | Detail |
|---|---|
| Brand | Zunate |
| Model Name | Zunateshgrf7q4tm-11 |
| Max Image Resolution | 75 MP |
| Video Resolution | 5K Ultra HD |
| Photo Sensor Size | Full Frame (35mm) |
| Exposure Control | Automatic |
| Form Factor | Compact Digital Camera (listed as DSLR in some specifications) |
| Special Features | Face Detection, AI Autofocus, Anti-vibration |
| Color | Black 5K |
| Connectivity | Wi-Fi, Ethernet (for data transfer) |
| Screen Size | 3 Inches, 180° Flip Screen |
| Lens Type | 18x Digital Zoom Lens |
| Battery | 1150 mAh Lithium-Ion (Rechargeable) |
| Compatible Devices | Smartphones, Tablets, Computers |
| Image Capture Type | Still photos and video |
| Manufacturer Part Number | Zunateshgrf7q4tm-11 |
| Country of Origin | China |
Warranty and Support
Warranty Information
This Zunate camera comes with a 90-day warranty from the date of purchase. This warranty covers manufacturing defects and malfunctions under normal use. It does not cover damage caused by misuse, accidents, unauthorized repairs, or normal wear and tear.
Please retain your proof of purchase for warranty claims.
Customer Support
For technical assistance, troubleshooting, or warranty inquiries, please contact Zunate customer support. Refer to the contact information provided with your product packaging or visit the official Zunate website for the most up-to-date support details.
Note: No specific video URLs with creator_type or preview information were provided in the product data, therefore no videos could be embedded in this manual.