
Introduction
This manual provides detailed instructions for the setup, operation, and maintenance of your ANSOPER 16.5" Large Digital Wall Clock. Please read this manual thoroughly before using the product to ensure proper function and longevity.
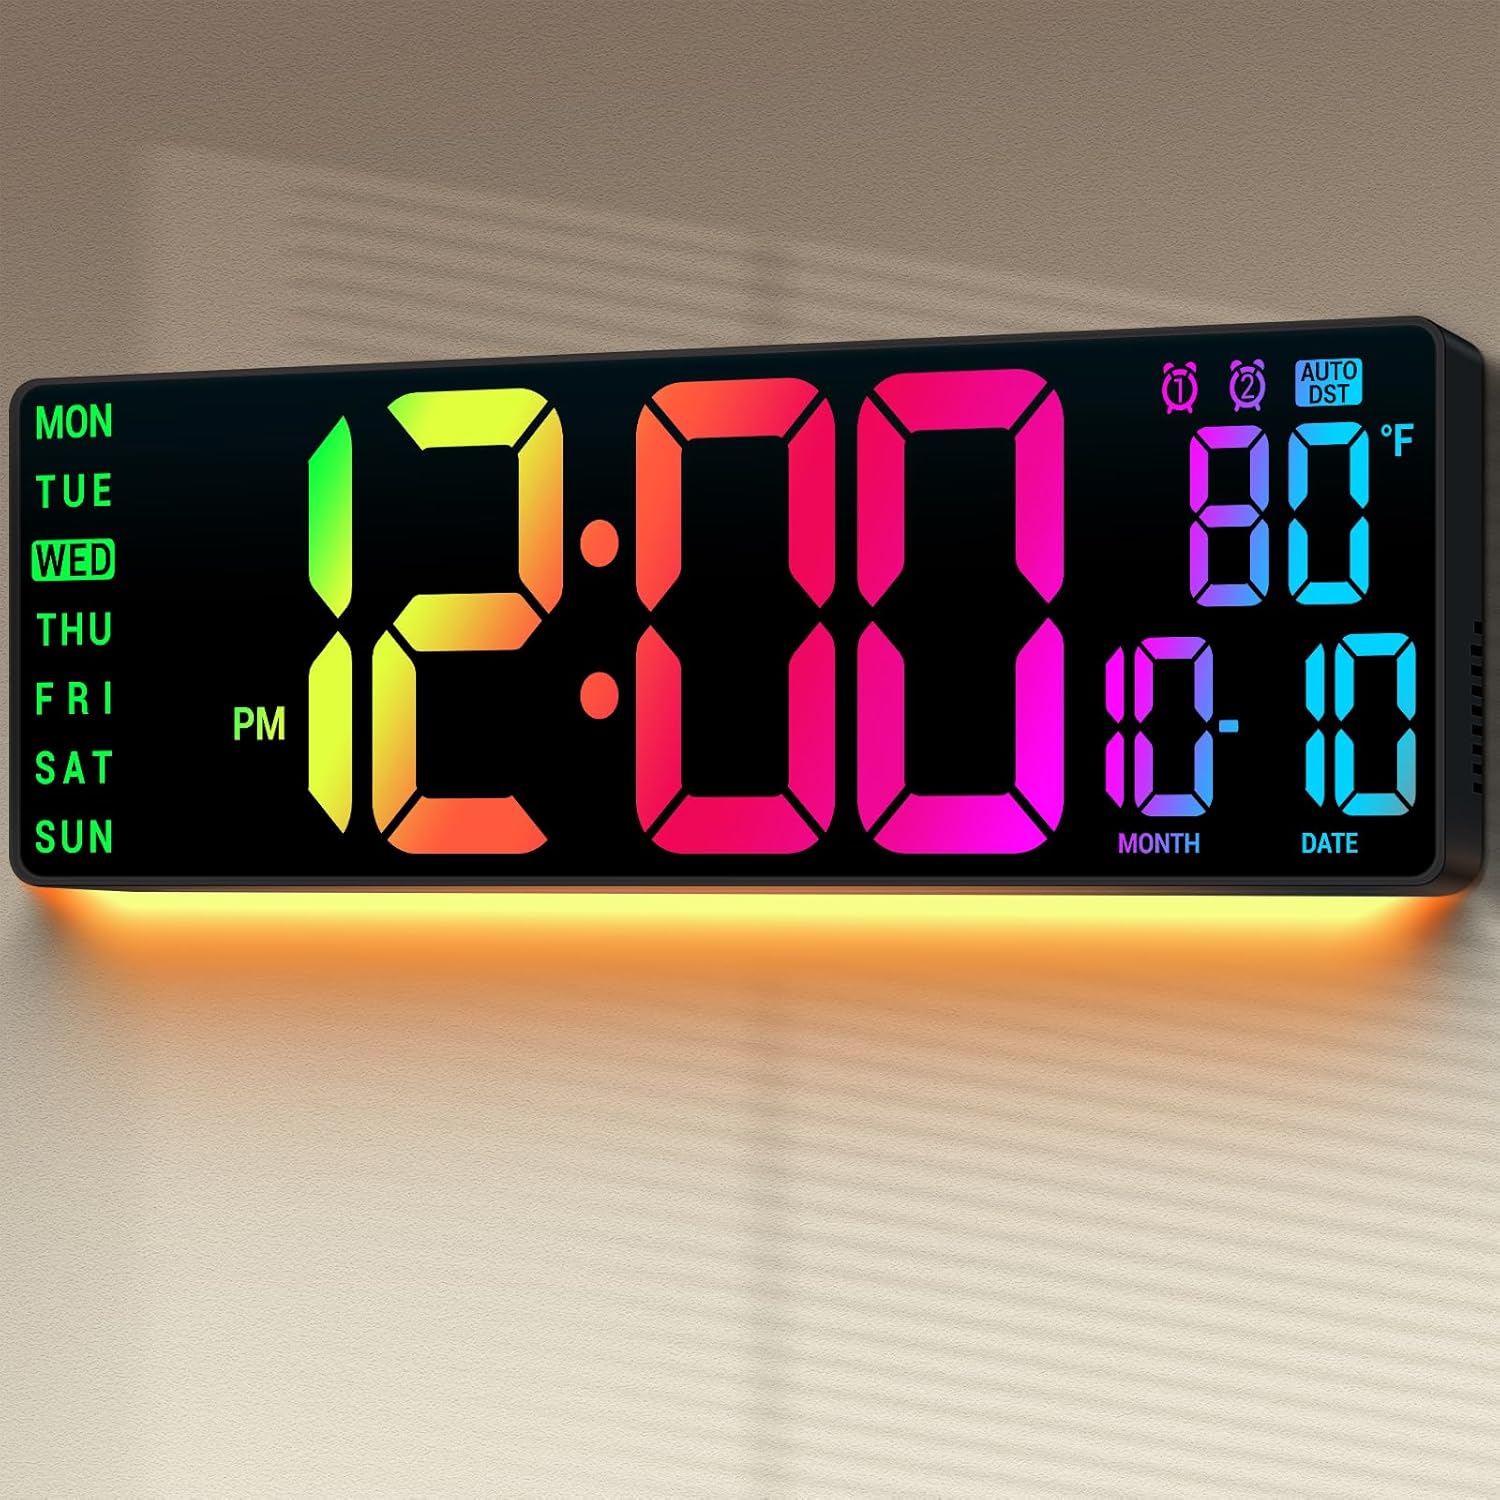
The ANSOPER Digital Wall Clock features a large 16.5-inch LED display, offering clear visibility of time, date, day of the week, and temperature. It includes 11 RGB color modes for the main display and 9 modes for the bottom night light, controllable via a remote. Additional features include dual alarms, countdown/up timers, automatic Daylight Saving Time (DST) adjustment, and an auto-dimming light sensor.
Package Contents
Before proceeding with setup, please verify that all items listed below are included in your package:
- 1 x ANSOPER 16.5" Large Digital Wall Clock
- 1 x Remote Control
- 1 x User Manual
- 1 x Power Adapter
- 1 x DC Power Cable (9.84 ft)
- 1 x Measuring Ruler
- 2 x Hanging Nails
Setup
Power Connection
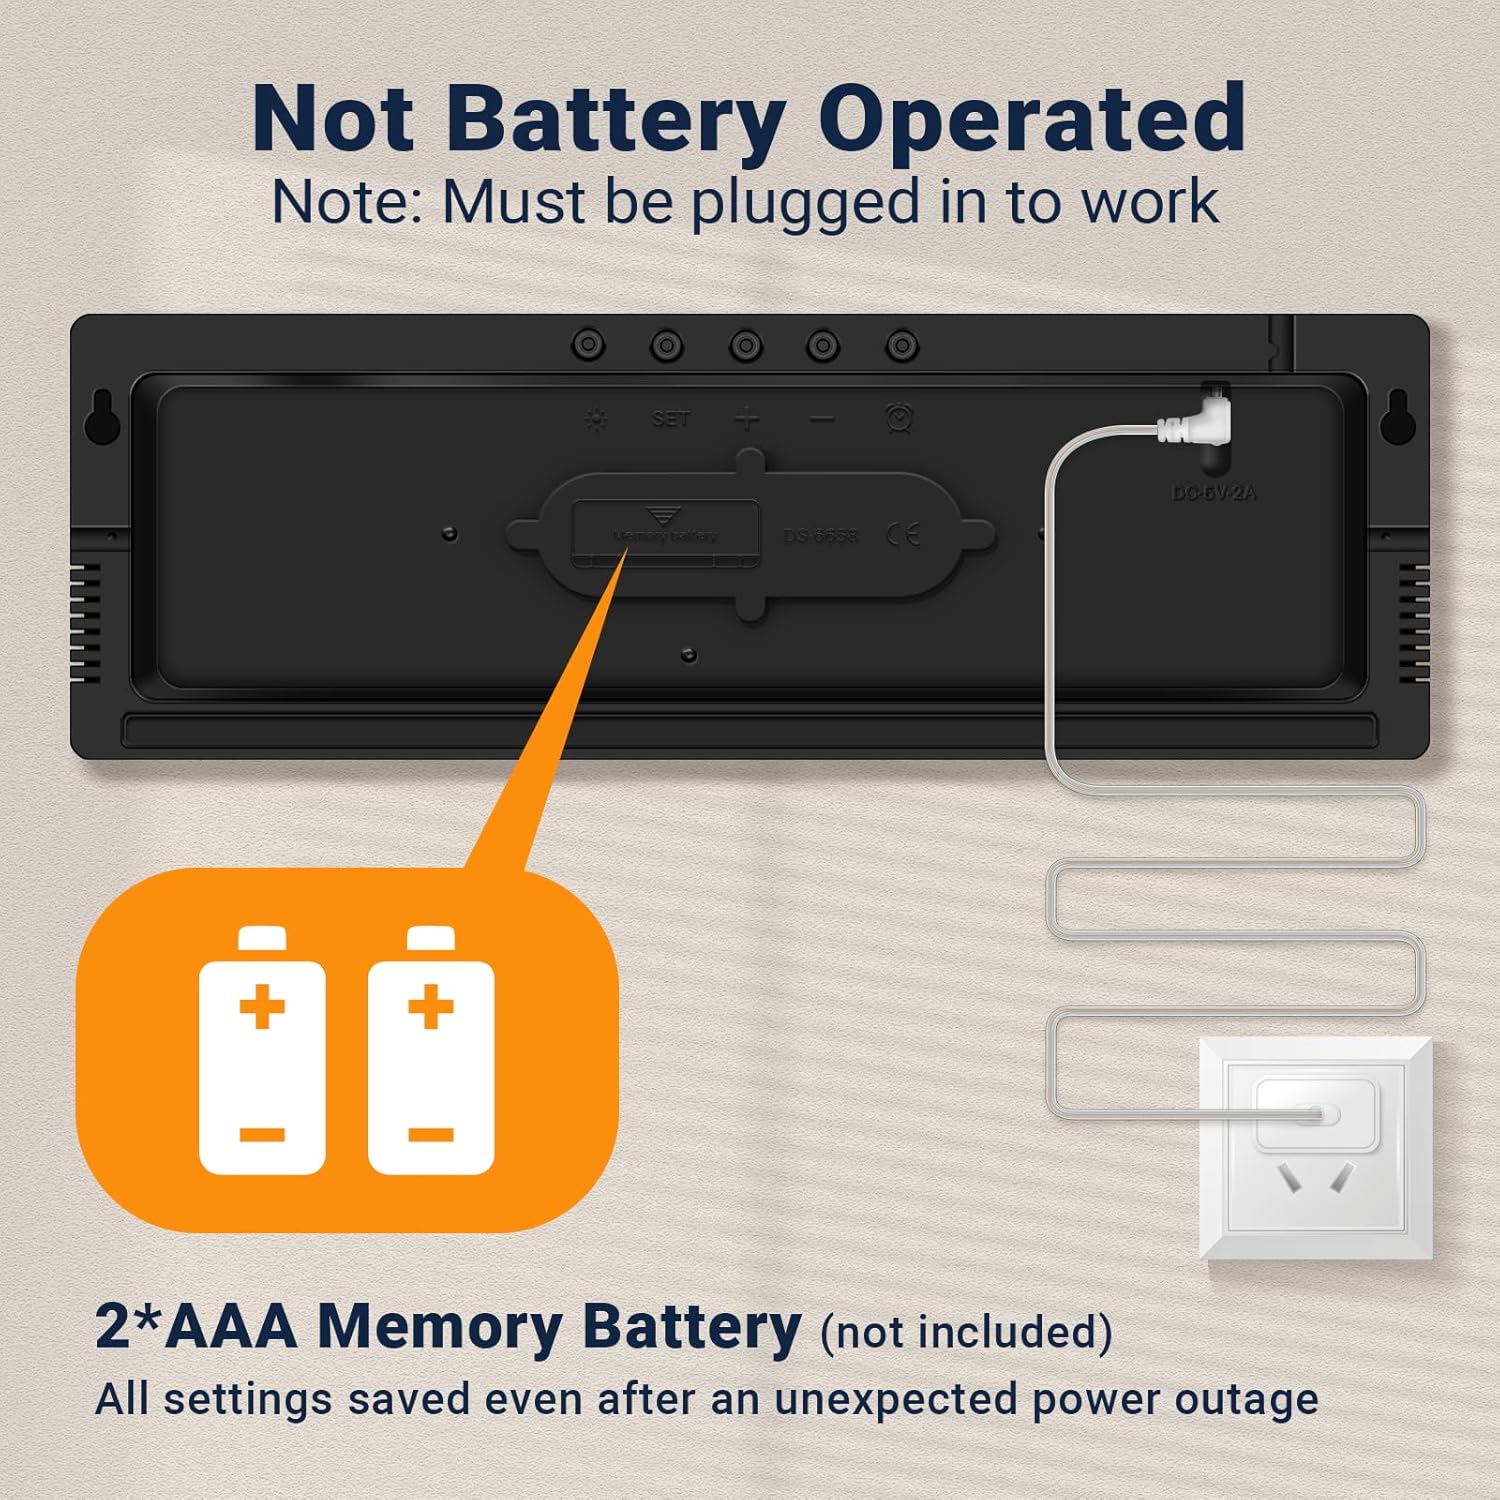
- Connect the provided DC power cable to the DC 5V/2A port on the back of the clock.
- Plug the power adapter into a standard electrical outlet. The clock requires continuous power to display.
Note: The clock must be plugged in for the display to function. The built-in memory battery compartment is for retaining settings during power outages, not for powering the display.
Memory Battery Installation (Optional)
To ensure your time and alarm settings are saved during power interruptions, install 2 AAA batteries (not included) into the battery compartment on the back of the clock. Ensure correct polarity.

Mounting Options
The clock can be placed on a desktop using its integrated stand or mounted on a wall.
- Desktop Placement: Extend the stand located on the back of the clock to position it on a flat surface.
- Wall Mounting: Use the provided measuring ruler to mark the desired positions for the hanging nails. Carefully insert the hanging nails into the wall, ensuring they are securely fastened. Align the clock's mounting holes with the installed nails and hang the clock.
Operating Instructions
The clock's functions are primarily controlled using the included remote control. Some basic settings can also be adjusted via buttons on the back of the clock.
Remote Control Overview
The remote control allows for convenient adjustment of time, date, alarms, display colors, and brightness from a distance of up to 40 feet.
Setting Time and Date
- Press the SET button on the remote or the back of the clock to enter setting mode.
- Use the UP and DOWN arrows to adjust values.
- Press SET again to confirm and move to the next setting (e.g., Hour > Minute > 12/24H format > Year > Month > Day).
- The day of the week will automatically update based on the date.
Temperature Display
The clock displays temperature in either Celsius (C°) or Fahrenheit (F°). Press the C/F button on the remote to switch between units.
RGB Color Modes and Night Light
The clock features 11 vibrant color modes for the main display and 9 modes for the bottom night light.
- Main Display Colors: Press the COLOR button on the remote to cycle through 7 pure colors and 4 dynamic RGB modes.
- Night Light: Press the LIGHT button on the remote to cycle through 8 pure colors and 1 multi-color mode for the bottom night light.
Dual Alarms
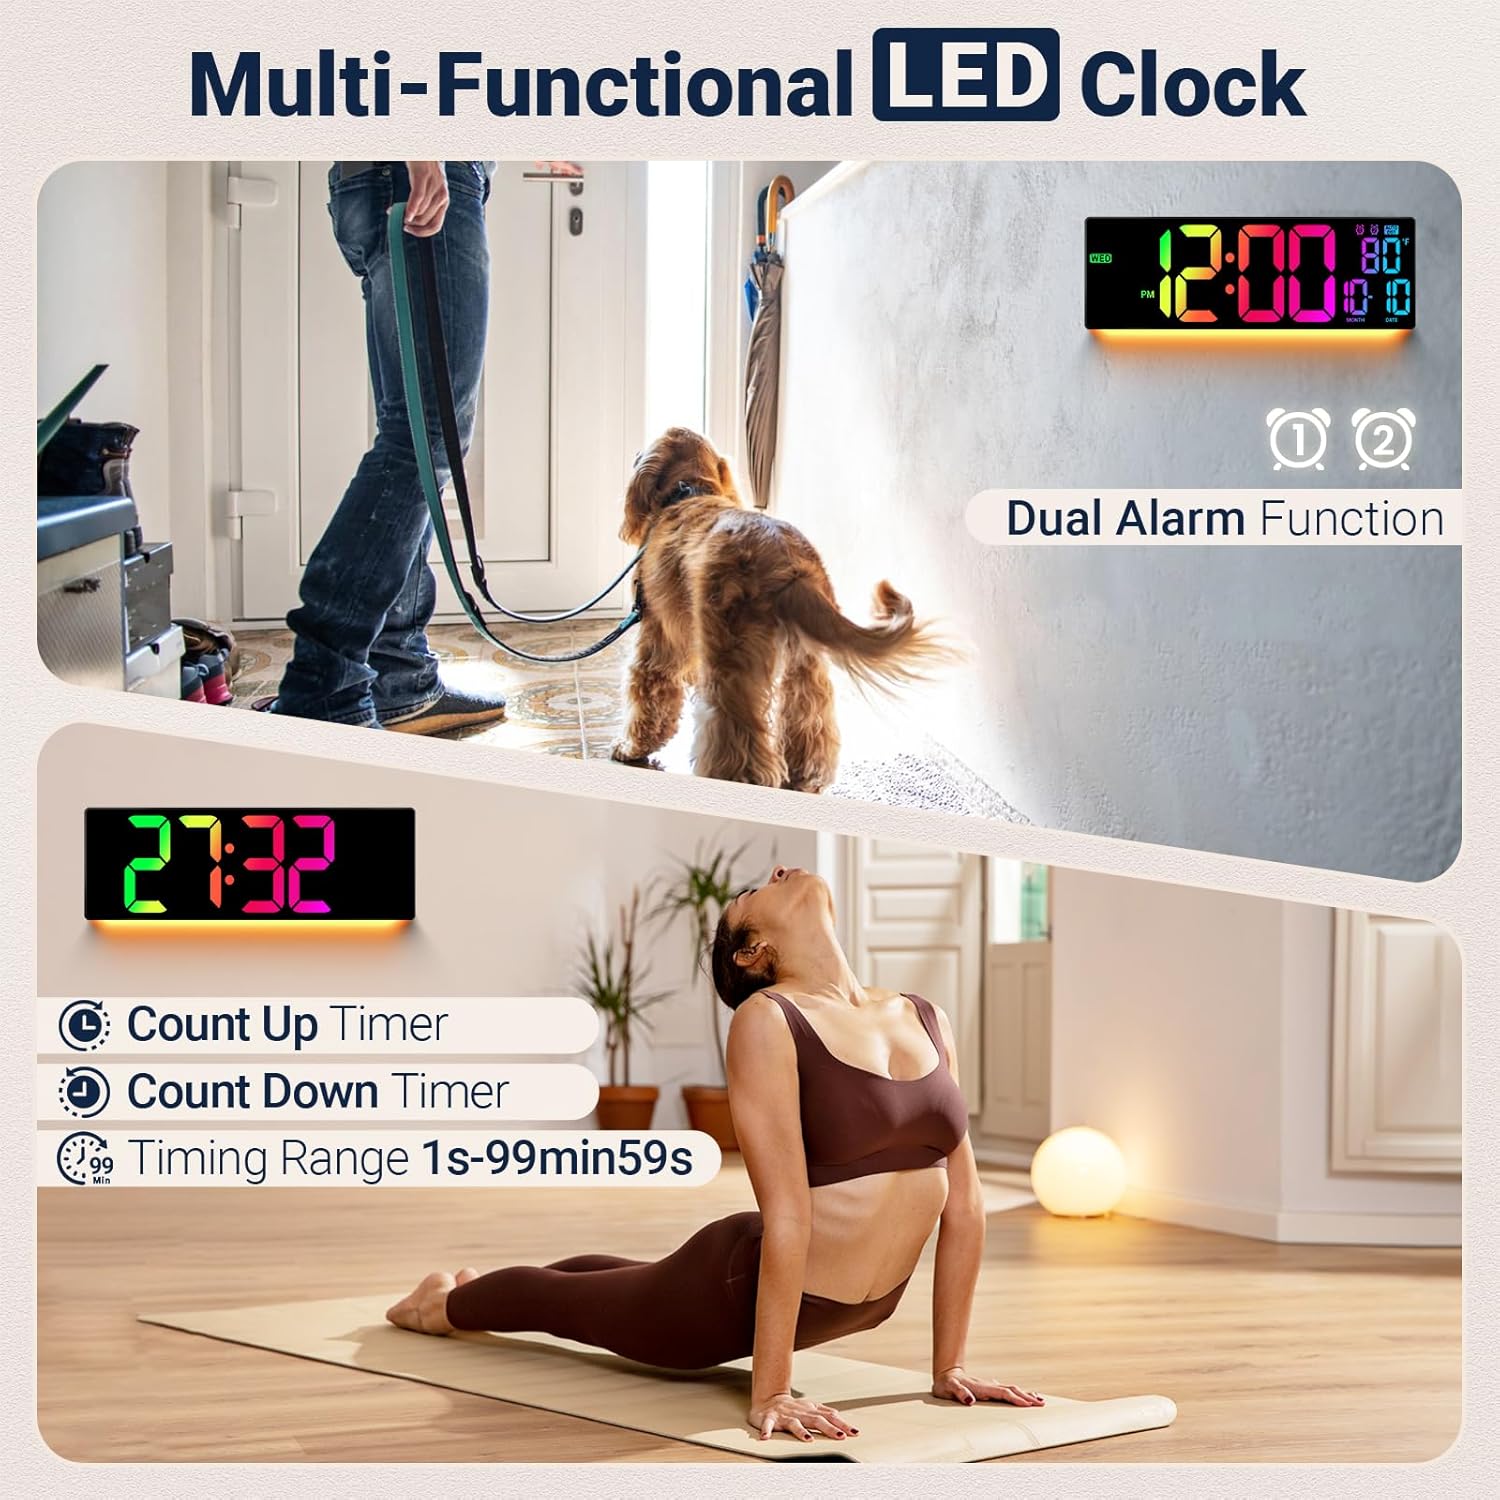
The clock supports two independent alarms.
- Press the ALARM 1 or ALARM 2 button on the remote to select an alarm.
- Use the UP and DOWN arrows to set the desired alarm time.
- Press the corresponding ALARM button again to confirm and activate the alarm. An alarm icon will appear on the display.
- To deactivate an alarm, press its corresponding ALARM button until the alarm icon disappears.
Countdown and Count-Up Timers
The clock includes both countdown and count-up timer functions with a timing range of 1 second to 99 minutes and 59 seconds.
- Countdown Timer: Press the COUNTDOWN button on the remote. Use the number buttons to set the desired time, then press START/STOP to begin.
- Count-Up Timer: Press the COUNTUP button on the remote. Press START/STOP to begin counting.
- Press RESET to clear the timer.
Automatic Daylight Saving Time (DST)
The clock is equipped with an Auto DST feature to automatically adjust for Daylight Saving Time changes. This feature is enabled by default. If manual adjustment is needed, refer to the troubleshooting section.

Brightness Adjustment and Auto-Dimming
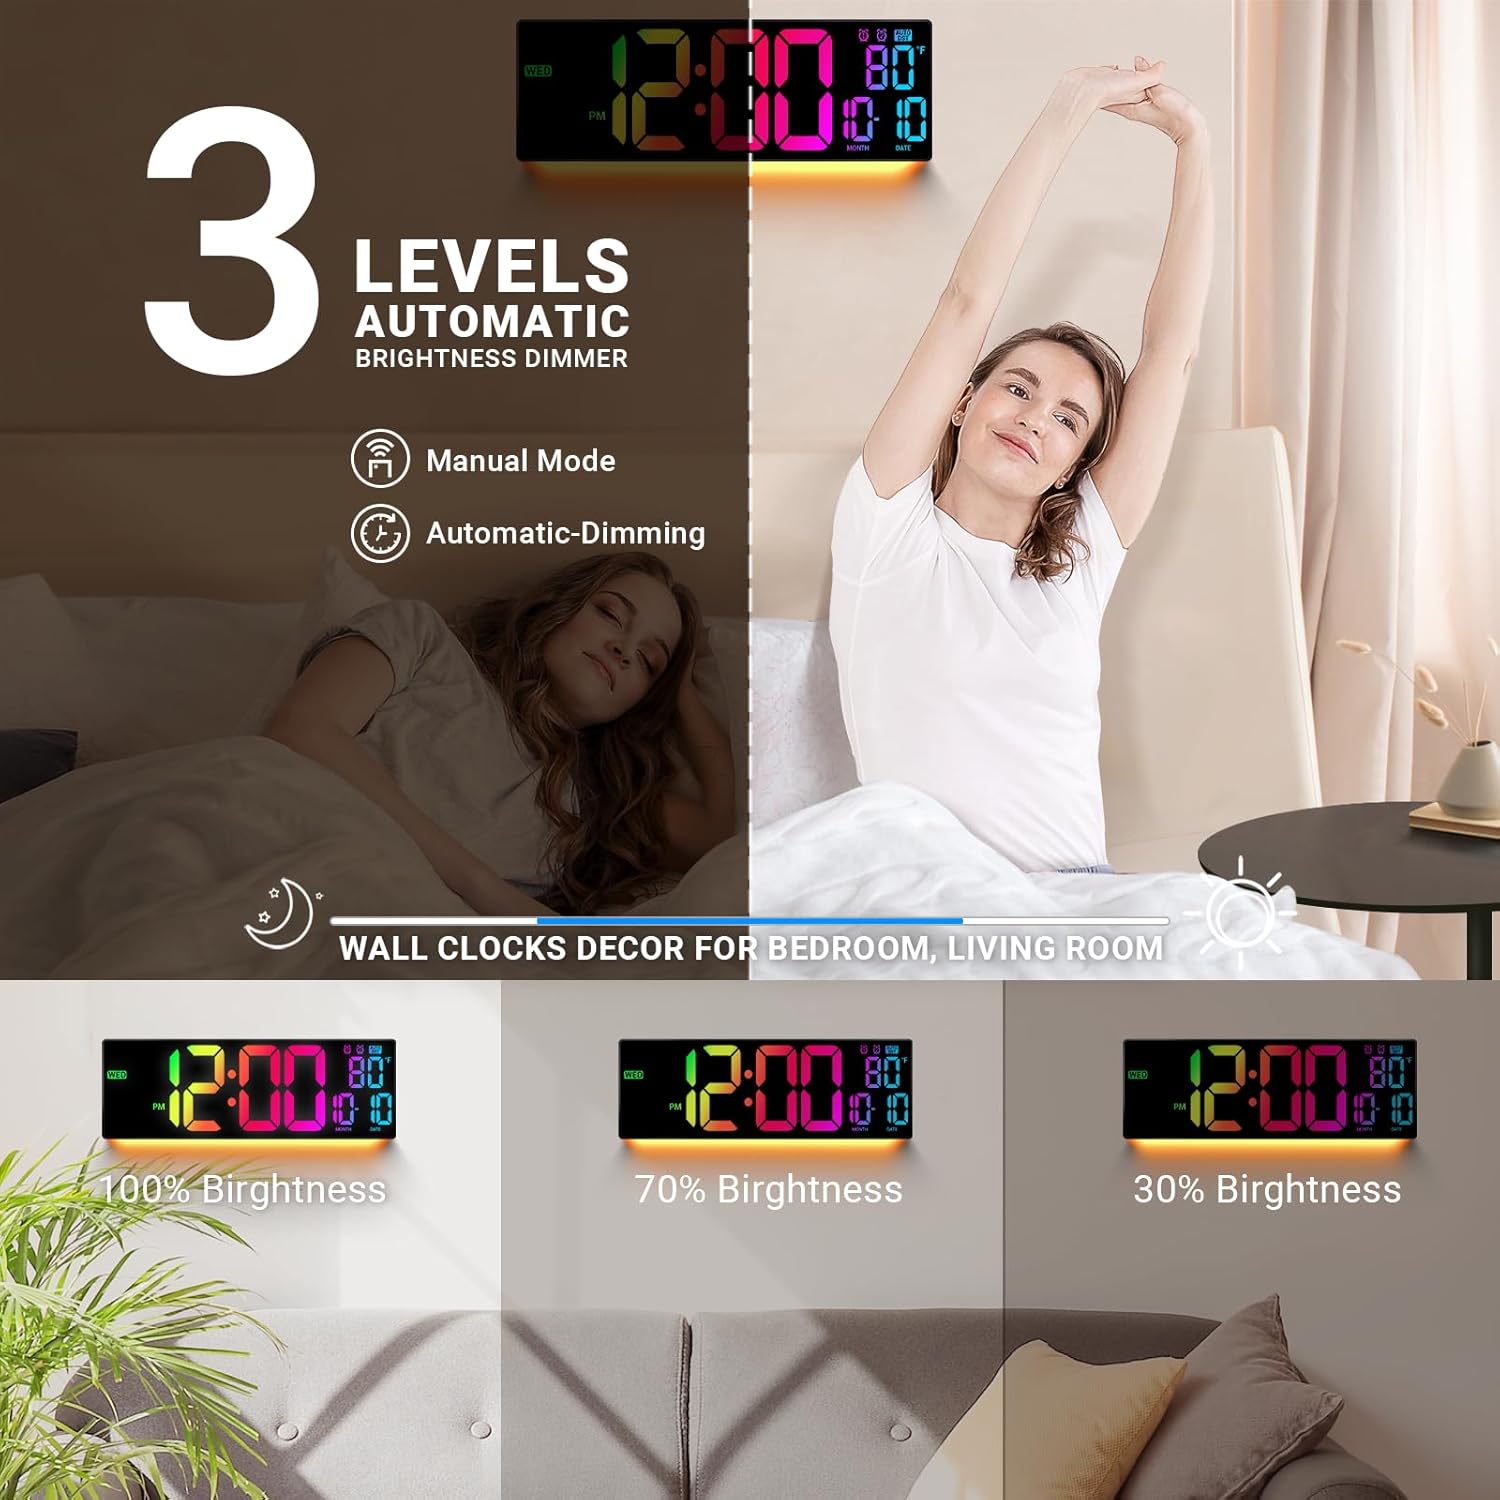
The display brightness can be adjusted manually or set to automatic dimming.
- Manual Brightness: Press the BRIGHTNESS button on the remote to cycle through different brightness levels (e.g., 100%, 70%, 30%).
- Auto-Dimming: The clock features a light sensor that automatically adjusts display brightness based on ambient light conditions. This ensures optimal visibility during the day and prevents excessive brightness at night.
Maintenance
To ensure the longevity and optimal performance of your ANSOPER Digital Wall Clock, follow these simple maintenance guidelines:
- Cleaning: Use a soft, dry cloth to gently wipe the display and casing. Avoid using abrasive cleaners, solvents, or spray cleaners directly on the clock, as these can damage the finish or internal components.
- Power Supply: Always use the original power adapter and cable provided with the clock. Using unauthorized power sources may cause damage.
- Environment: Keep the clock away from direct sunlight, extreme temperatures, and high humidity. Ensure it is placed in a well-ventilated area.
- Battery Replacement: If the memory batteries are installed, replace them annually or when you notice settings are not retained during power outages. Dispose of used batteries responsibly.
Troubleshooting
If you encounter any issues with your clock, please refer to the following common problems and solutions:
| Problem | Possible Cause | Solution |
|---|---|---|
| Clock display is off. | Not plugged in; power outage; faulty adapter. | Ensure the power cable is securely connected and the adapter is plugged into a working outlet. Check for power outages. Try a different USB power source if available. |
| Settings are lost after power outage. | Memory batteries not installed or depleted. | Install 2 new AAA batteries in the memory compartment, ensuring correct polarity. |
| Remote control is not working. | Remote battery depleted; obstruction; out of range. | Replace the remote control battery. Ensure there are no obstructions between the remote and the clock. Operate within 40 feet of the clock. |
| Automatic DST did not adjust. | DST feature disabled or regional setting issue. | Manually adjust the time if Auto DST fails. Consult the full user manual (if provided separately) for specific DST settings or contact support. |
| Temperature reading seems inaccurate. | Sensor interference; clock placed near heat source. | Ensure the clock is not placed directly above or near heat-emitting devices. The temperature sensor is for general room temperature indication and may have minor variations. |
| Alarm sounds unexpectedly. | Alarm accidentally activated; external interference. | Check both ALARM 1 and ALARM 2 settings on the remote and deactivate if necessary. Ensure the clock is not near devices that could cause electromagnetic interference. |
Specifications
| Feature | Detail |
|---|---|
| Brand | ANSOPER |
| Model Number | DWG-5688 |
| Display Type | Digital LED |
| Screen Size | 16.5 inches |
| Product Dimensions (W x H) | 1.2"W x 5"H (Note: This seems to be a partial dimension, likely referring to depth and height, not width of the 16.5" screen) |
| Power Source | Corded Electric (USB) |
| Memory Battery (Not Included) | 2 x AAA batteries |
| Special Features | 11 RGB Color Modes, 9-Mode Night Light, Remote Control, Auto DST, Temperature Display, Date Display, Dual Alarms, Countdown/Up Timers, Auto-Dimming |
| Mounting Type | Tabletop or Wall Mount |
| Material Type | Plastic, Acrylonitrile Butadiene Styrene |
| Indoor/Outdoor Usage | Indoor |
Warranty and Support
ANSOPER products are designed for reliability and performance. For specific warranty information, please refer to the warranty card included with your product or visit the official ANSOPER website. If you require technical assistance or have questions not covered in this manual, please contact ANSOPER customer support through the retailer where the product was purchased or via the contact information provided on the official website.