
1. Important Safety Information
Please read all instructions and safety warnings carefully before using the Lanieney Wireless TENS Unit U8PRO. Improper use can lead to injury or device malfunction. Keep this manual for future reference.
General Warnings:
- Consult your physician before using this device, especially if you have pre-existing medical conditions.
- Do not use if you have a pacemaker, implanted defibrillator, or other metallic or electronic implanted devices.
- Do not use if you are pregnant or suspect you might be pregnant.
- Do not use on areas of skin that are broken, irritated, or have open wounds.
- Do not use while driving, operating machinery, or during any activity where involuntary muscle contractions could put you at risk.
- Keep out of reach of children.
Placement Restrictions:
- Do not place electrode pads on your head, face, neck (especially the carotid sinus area), or across your chest.
- Avoid placing pads over areas of numbness or reduced sensation.
2. Package Contents
Verify that all items listed below are included in your package:
- Charging Case * 1
- Controllers * 2
- Charging Cable * 1
- Storage Bag * 1
- Wireless Electrode Pads * 4
- User Manual * 1

Figure 2.1: Package Contents of the Lanieney Wireless TENS Unit U8PRO.
3. Product Overview
The Lanieney Wireless TENS Unit U8PRO is a versatile 3-in-1 muscle stimulator combining TENS (Transcutaneous Electrical Nerve Stimulation), EMS (Electrical Muscle Stimulation), and MASS (Massage) functions. It is designed for effective muscle pain relief and relaxation.
Key Features:
- 3-in-1 Functionality: TENS, EMS, and MASS modes for comprehensive relief.
- Wireless Design: Offers freedom of movement and convenience.
- Remote Control: Easy selection of 6 modes and 16 intensity levels.
- Dual Channel: Allows treatment of multiple body areas simultaneously.
- 30-Minute Timer: Automatic shut-off for optimal session duration.
- Rechargeable: Integrated charging case for portability and extended use.
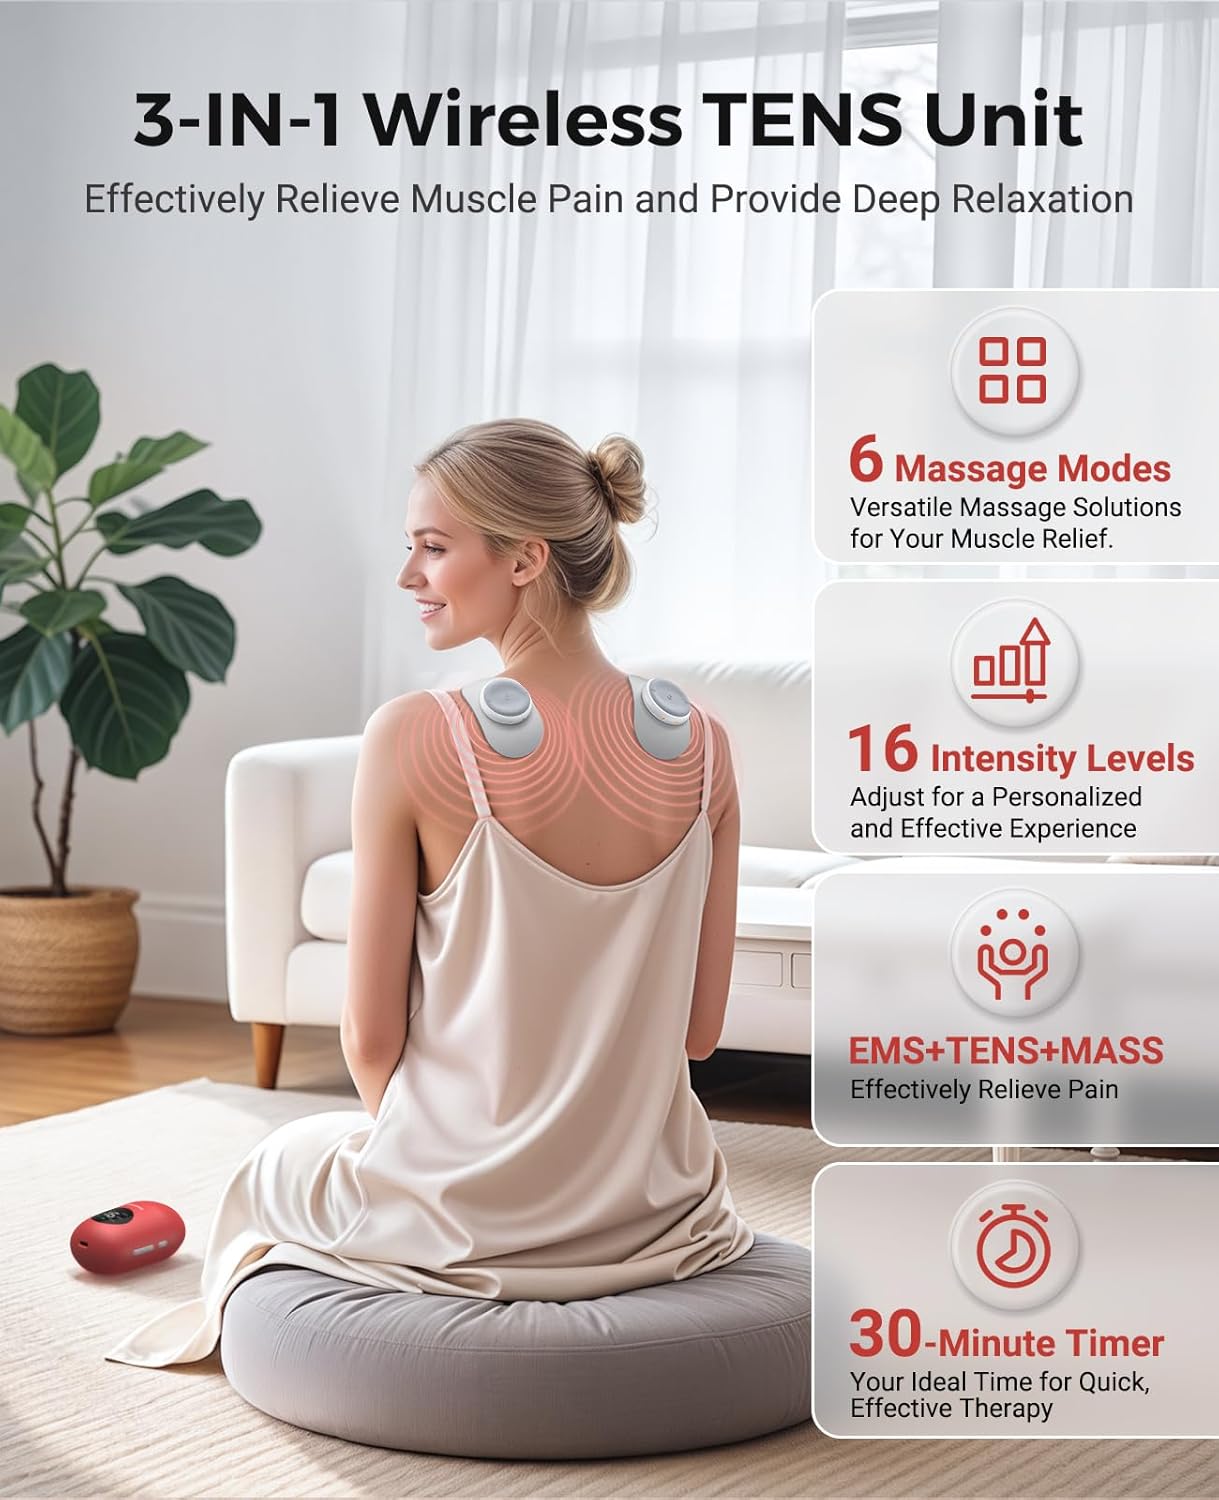
Figure 3.1: Key Features of the Lanieney Wireless TENS Unit U8PRO.

Figure 3.2: Device Interface and Controls.

Figure 3.3: Control Hub Overview.
4. Setup
4.1 Initial Charging
Before first use, ensure the charging case and controllers are fully charged. The charging case acts as a portable power bank for the controllers.
- Place the two controllers into their respective slots within the charging case.
- Connect the provided Type-C charging cable to the charging case and a suitable USB power adapter (not included).
- The charging case display will indicate charging status. A full charge typically provides up to 5 hours of playtime for the controllers. Each controller can operate for up to 2 hours on a single charge from the case.

Figure 4.1: Type-C Charging and Battery Life.

Figure 4.2: Fast Charging Capability.
4.2 Attaching Pads
The controllers attach to the reusable electrode pads via a strong magnetic buckle.
- Take a controller and an electrode pad.
- Align the two magnetic clasps on the controller with the corresponding points on the electrode pad. The magnets will securely connect the controller to the pad.
- Ensure the connection is firm before applying to skin.

Figure 4.3: TENS Pad Construction with Magnetic Buckle.

Figure 4.4: Reusable Electrode Pad Features.
5. Operation
5.1 Applying the Pads to Skin
Ensure your skin is clean and dry before applying the electrode pads. Remove the protective film from the adhesive side of the pad.
- Place the pads firmly on the desired area of your body. Common application areas include the shoulder, back, waist, arm, thighs, and calf.
- Avoid placing pads over joints that move frequently, as this can reduce adhesion.

Figure 5.1: Recommended Pad Placement Areas.

Figure 5.2: Pain Relief for Various Areas.
5.2 Power On/Off and Mode Selection
The device can be operated directly via the controller or the charging case interface.
- To Power On: Long press the power button on the controller or the charging case. The display will light up.
- To Select Mode: Short press the power button to cycle through the 6 available massage modes: Auto, Relax, Beat, Scrap, Knead, Press. The current mode will be displayed.
- To Power Off: Long press the power button again. The device will also automatically power off after 30 minutes of continuous use. If a controller is detached during operation, the green light will flash for 2 minutes and sound twice before powering off automatically.

Figure 5.3: Massage Modes and Intensity Levels.
5.3 Adjusting Intensity
The device offers 16 intensity levels to customize your experience.
- While the device is on and a mode is selected, use the '+' and '-' buttons on the controller or charging case to increase or decrease the intensity.
- Start with the lowest intensity and gradually increase until you feel a comfortable, yet effective, sensation. Avoid setting the intensity too high, which can cause discomfort.

Figure 5.4: Simple Operation Steps.

Figure 5.5: How to Use the Charging Case for Operation.

Figure 5.6: How to Use the Controller.
6. Maintenance
6.1 Cleaning Electrode Pads
To maintain optimal adhesion and hygiene, clean the electrode pads regularly.
- When the electrode pad loses its stickiness, gently rinse the adhesive surface with a small amount of water.
- Carefully scrape off any residue on the surface.
- Allow the pads to air dry completely. Do not wipe with a cloth or tissue, as this can leave fibers.
- The stickiness should be restored after drying. If not, it may be time to replace the pads.
6.2 Storage
Proper storage extends the life of your device and pads.
- After each use, reattach the protective film to the adhesive side of the electrode pads.
- Place the controllers (with pads attached) back into the charging case. The case provides a secure and organized storage solution while also recharging the controllers.
- Store the charging case and all accessories in the provided storage bag in a cool, dry place, away from direct sunlight and extreme temperatures.

Figure 6.1: Effortless Storage and Charging.
7. Troubleshooting
If you encounter any issues with your Lanieney Wireless TENS Unit U8PRO, refer to the following common problems and solutions:
| Problem | Possible Cause | Solution |
|---|---|---|
| Device does not power on. | Low battery in controller or charging case. | Charge the controllers in the charging case. Ensure the charging case itself is charged. |
| No sensation or weak sensation. | Pads not properly adhered; intensity too low; pads worn out. | Ensure pads are firmly attached to clean, dry skin. Increase intensity gradually. Clean pads to restore stickiness or replace if necessary. |
| Pads losing stickiness. | Dirt, oil, or lint on adhesive surface. | Clean pads as described in Section 6.1. Ensure skin is clean before application. |
| Device automatically turns off. | 30-minute auto-off timer activated; controller detached. | This is normal operation. Restart the session if desired. Reattach controller firmly if it came loose. |
If the problem persists after attempting these solutions, please contact Lanieney customer support for further assistance.
8. Specifications
- Brand: Lanieney
- Model Name: U8PRO
- Item Weight: 3.7 ounces
- Product Dimensions: 2.4 x 1.83 x 3.75 inches
- Special Features: Rechargeable, Portable, Compact
- UPC: 745978753403
- Battery Life (Controller): Up to 2 hours per charge
- Battery Life (with Charging Case): Up to 5 hours total playtime
- Modes: 6 (Auto, Relax, Beat, Scrap, Knead, Press)
- Intensity Levels: 16
- Automatic Timer: 30 minutes
9. Warranty and Support
For warranty information and customer support, please refer to the documentation included with your purchase or visit the official Lanieney website. Keep your purchase receipt as proof of purchase for any warranty claims.
Manufacturer: Lanieney
For technical assistance or product inquiries, please contact Lanieney customer service through their official channels.