
advwin HZB-15YLR
User Manual for ADVWIN 3-in-1 Water Cooler Dispenser with Ice Maker
Model: HZB-15YLR
Brand: advwin
1. Introduction
Thank you for choosing the ADVWIN 3-in-1 Water Cooler Dispenser with Ice Maker. This versatile appliance provides instant hot water, chilled cold water, and convenient ice production, making it an ideal solution for homes and offices. Designed for efficiency and ease of use, it features a top-loading design compatible with 3 or 5-gallon water bottles and incorporates multiple safety features for reliable operation.
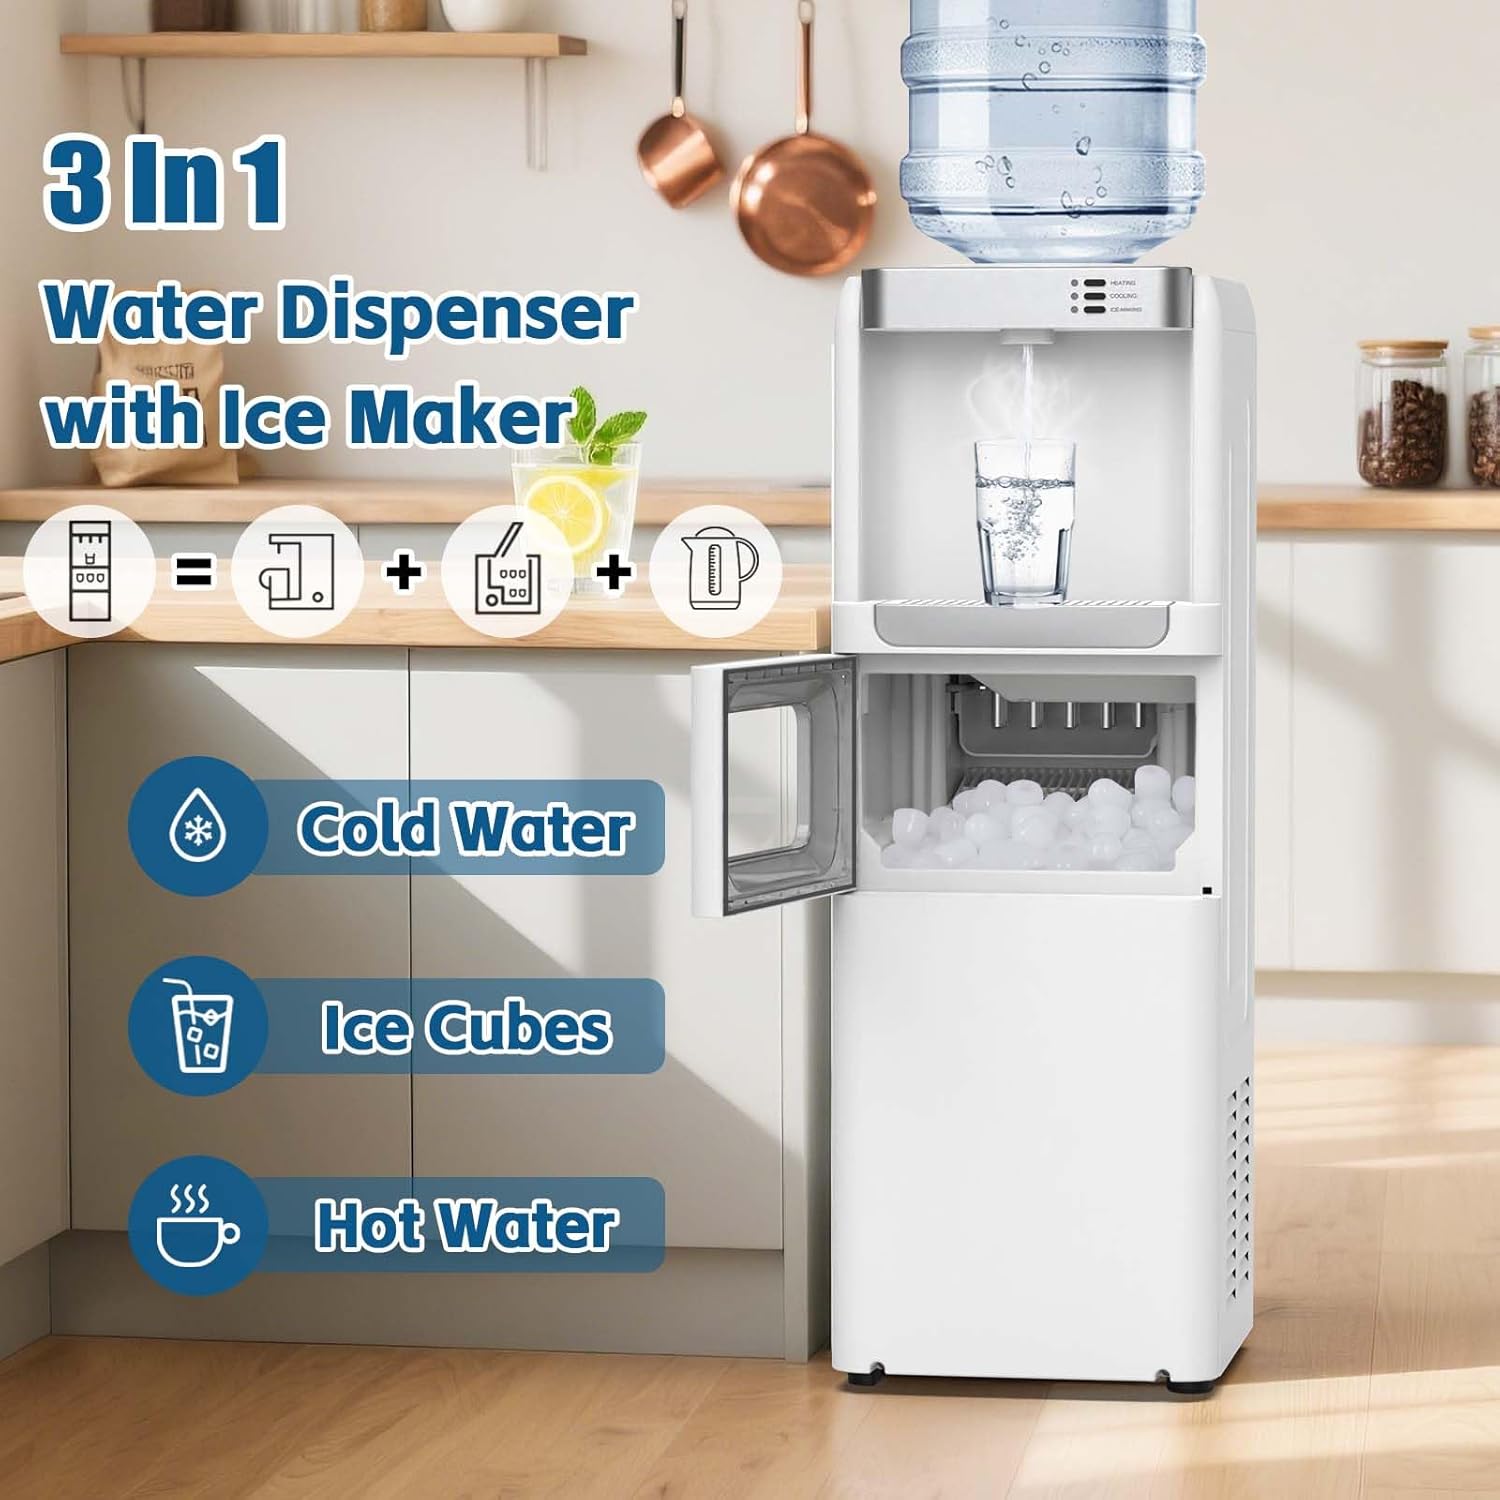
Image: The ADVWIN 3-in-1 Water Dispenser highlighting its capabilities for cold water, ice cubes, and hot water.
2. Important Safety Instructions
Please read all instructions carefully before using the appliance to ensure safe operation and to prevent injury or damage. Keep this manual for future reference.
- Always connect the dispenser to a grounded electrical outlet.
- Do not operate the appliance if the power cord or plug is damaged.
- Keep the dispenser away from direct sunlight and heat sources.
- Ensure proper ventilation around the unit. Maintain at least 4 inches of clearance from walls.
- Do not immerse the appliance, cord, or plug in water or other liquids.
- The hot water function dispenses water above 194°F (90°C). Use caution to prevent burns.
- This appliance is equipped with a child safety lock for the hot water dispenser. Always engage the child lock when not in use, especially in households with children.
- Do not turn on the heating or cooling functions without a water bottle installed and water flowing into the tanks to prevent dry-burning.
- Only use potable water in the dispenser.
- Unplug the dispenser before cleaning or performing any maintenance.
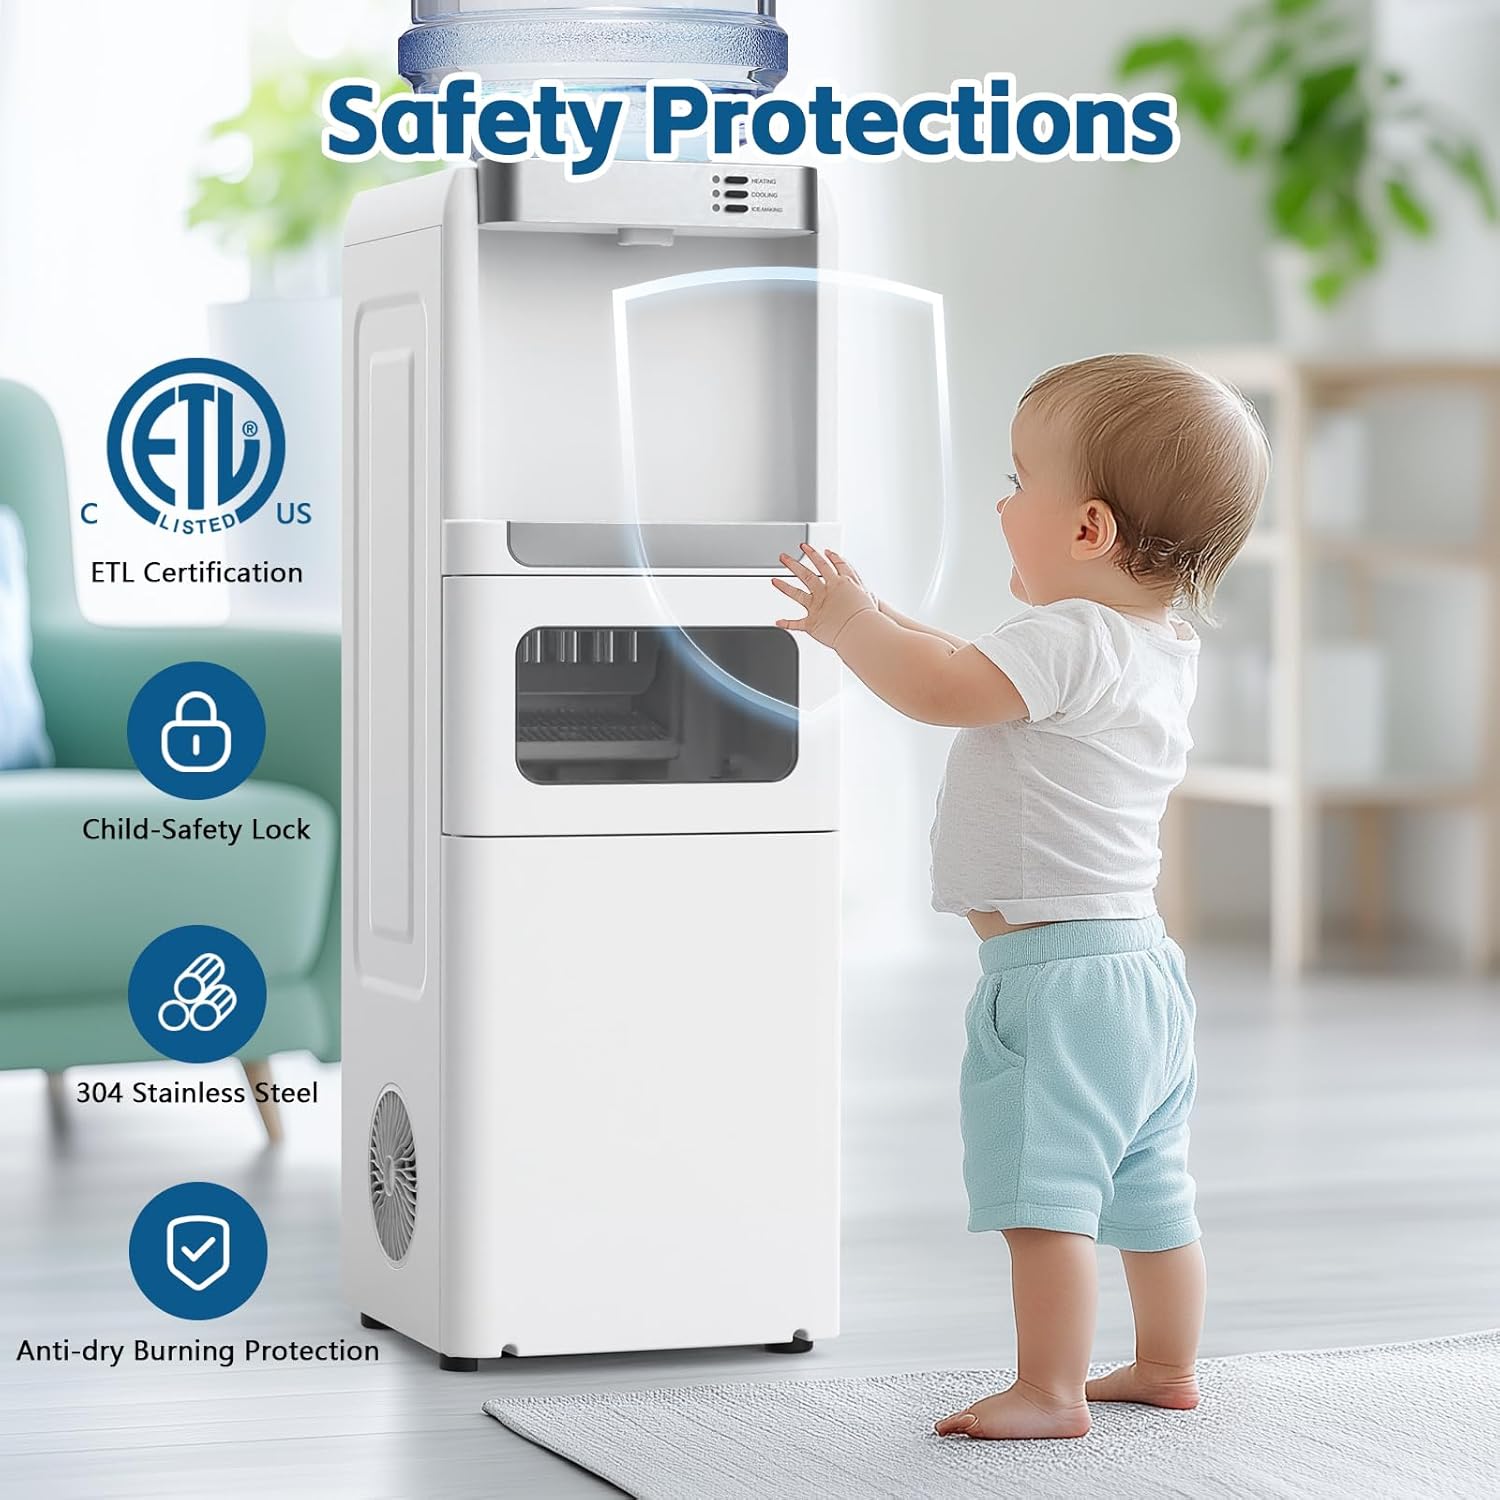
Image: Visual representation of the dispenser's safety features, including ETL certification and child lock.
3. Product Components
Familiarize yourself with the main parts of your water cooler dispenser:
- Water Bottle Support: Holds the top-loading 3 or 5-gallon water bottle.
- Control Panel: Features indicators for Power, Add Water, Heating, Cooling, and Ice-Making, along with dispensing buttons and child lock.
- Hot Water Dispense Lever: Dispenses hot water (requires child lock release).
- Cold Water Dispense Lever: Dispenses cold water.
- Ice Maker Compartment: Area where ice is produced and stored. Features a transparent window.
- Ice Bin: Removable bin for collecting and storing bullet ice cubes.
- Detachable Drip Tray: Collects spills and is removable for easy cleaning.
- Condenser Grille: Located at the back or side for heat dissipation.
- Power Cord: For electrical connection.
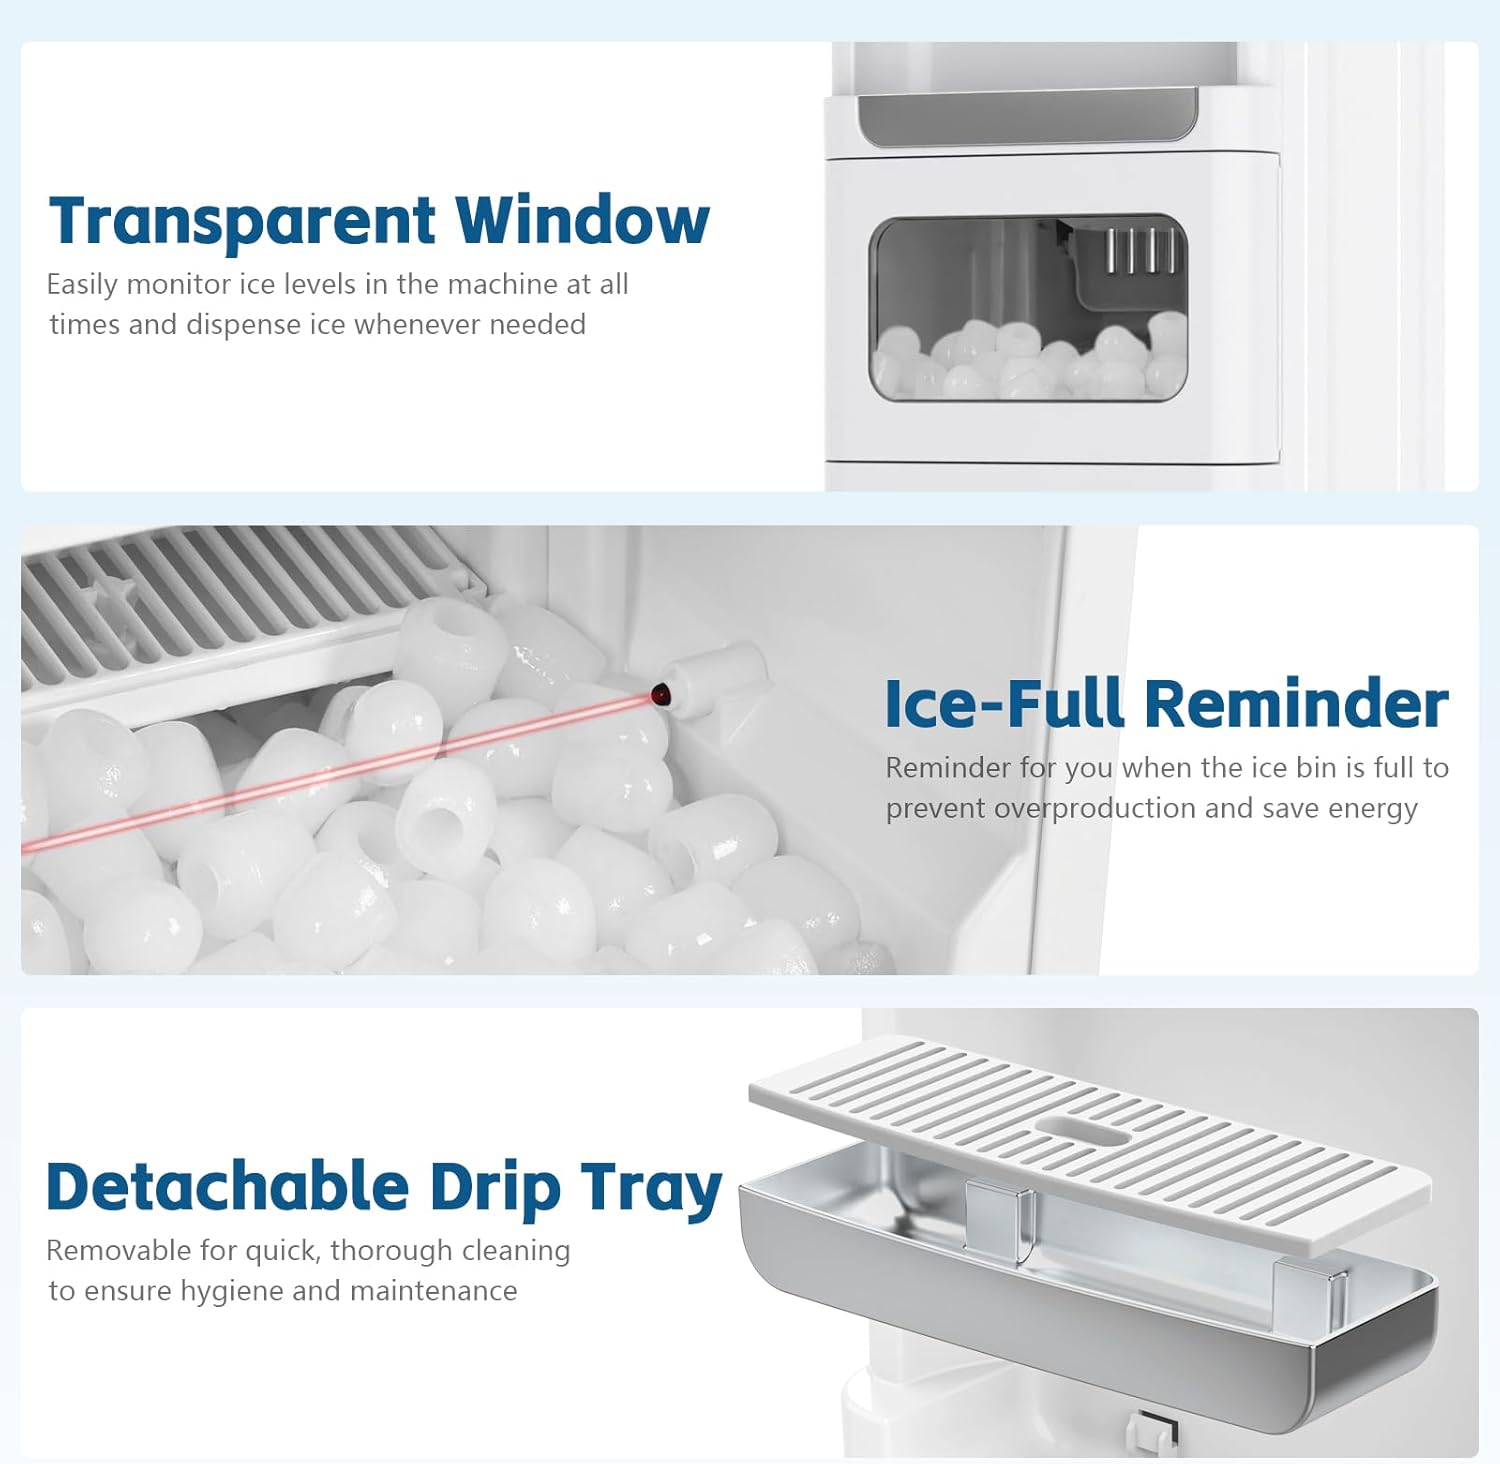
Image: Detailed view of the transparent ice window, ice-full reminder sensor, and the detachable drip tray.
4. Setup and Installation
- Unpacking: Carefully remove the dispenser from its packaging. Inspect for any shipping damage. Retain packaging for future transport if needed.
- Placement:
- Place the dispenser on a flat, stable, and level surface.
- Ensure there is adequate space around the unit for ventilation (at least 4 inches from walls).
- Avoid placing in direct sunlight or near heat-generating appliances.
- Dimensions: Approximately 11.9"D x 11.4"W x 32.9"H.

Image: Product dimensions for proper placement.
- Initial Cleaning: Before first use, clean the water tanks and ice bin.
- Remove the water bottle support.
- Drain any residual water from the tanks (if applicable from manufacturing).
- Wipe down the interior and exterior with a damp cloth.
- Rinse the detachable drip tray and ice bin with clean water.
- Install Water Bottle:
- Remove the cap from a new 3 or 5-gallon water bottle.
- Carefully invert the bottle and place it firmly onto the water bottle support on top of the dispenser. Ensure it is seated correctly to prevent leaks.
- Water will flow into the internal tanks. Allow a few minutes for the tanks to fill completely before plugging in the unit.
- Power Connection: Plug the power cord into a grounded electrical outlet. The "Power" indicator light should illuminate.
- Initial Cooling/Heating: Allow the unit to operate for at least 15-20 minutes before dispensing water or making ice for the first time, to allow the water to reach optimal temperatures.
5. Operating Instructions
5.1 Dispensing Water
The dispenser offers both hot and cold water options.
- Cold Water: Place a cup under the cold water spigot. Press the cold water dispense lever. Cold water will flow (temperature: <44.6°F / 7°C).
- Hot Water: Place a cup under the hot water spigot. To dispense hot water (temperature: >194°F / 90°C), first push the child safety lock button, then press the hot water dispense lever. Release the child lock button after dispensing.

Image: Control panel indicating hot, cold, and ice water temperature ranges and tank capacities.
5.2 Ice Making Function
The integrated ice maker produces bullet-shaped ice cubes rapidly.
- Ensure the water bottle is properly installed and the unit is plugged in.
- The ice-making process will start automatically when the ice bin is not full and water levels are sufficient.
- The dispenser can produce up to 33 lbs of ice per 24 hours.
- Each cycle produces 9 ice cubes in approximately 7 minutes.
- The ice storage capacity is 2.5 lbs.
- Ice-Full Reminder: The unit will automatically stop ice production when the ice bin is full to prevent overproduction and save energy.
- Transparent Window: Monitor the ice level in the compartment through the transparent window.
- Note: This appliance does not keep ice cubes frozen. Melted ice water will return to the water reservoir for re-use in ice production or dispensing.

Image: Infographic detailing the ice production capabilities of the dispenser.

Image: Close-up of the fast ice making feature, highlighting the infrared sensor technology.
6. Care and Maintenance
Regular cleaning and maintenance will ensure the longevity and optimal performance of your dispenser.
- Exterior Cleaning: Wipe the exterior surfaces with a soft, damp cloth. Do not use abrasive cleaners or solvents.
- Drip Tray Cleaning: The drip tray is detachable for easy cleaning. Remove it, empty any collected water, wash with mild soap and water, rinse thoroughly, and dry before reattaching.
- Ice Bin Cleaning: Periodically remove the ice bin, wash it with mild soap and water, rinse thoroughly, and dry completely before placing it back into the unit.
- Internal Tank Cleaning (Recommended Monthly):
- Unplug the dispenser and remove the water bottle.
- Drain all water from the hot and cold tanks using the drain plugs located at the back of the unit (if available, otherwise dispense until empty).
- Prepare a cleaning solution of water and white vinegar (e.g., 1 gallon water to 1 cup vinegar) or a food-grade dispenser cleaning solution.
- Pour the solution into the water reservoir.
- Allow it to sit for 15-20 minutes.
- Dispense a small amount of the solution from both hot and cold spigots (use caution with hot water).
- Drain the remaining solution from the tanks.
- Rinse the tanks thoroughly by filling with clean water and draining several times until no vinegar smell remains.
- Condenser Cleaning: Periodically vacuum or brush the condenser coils at the back of the unit to remove dust and lint, which can improve efficiency.
7. Troubleshooting Guide
Before contacting customer service, please refer to the following common issues and solutions:
| Problem | Possible Cause | Solution |
|---|---|---|
| No hot or cold water |
|
|
| Ice maker not producing ice |
|
|
| Water leaking |
|
|
| Unusual noise |
|
|
8. Product Specifications
| Feature | Specification |
|---|---|
| Model Number | HZB-15YLR |
| Brand | advwin |
| Color | White |
| Material | Acrylonitrile Butadiene Styrene (ABS) |
| Product Dimensions (D x W x H) | 11.9"D x 11.4"W x 32.9"H |
| Item Weight | 29 Pounds |
| Installation Type | Freestanding |
| Access Location | Top-Loading (3 or 5 Gallon Bottles) |
| Power Source | Corded Electric |
| Hot Water Temperature | >194°F (90°C) |
| Cold Water Temperature | <44.6°F (7°C) |
| Ice Production Capacity | Up to 33 lbs / 24 hours |
| Ice Production Cycle | 9 cubes / 7 minutes |
| Ice Storage Capacity | 2.5 Pounds |
| Hot Water Tank Capacity | 1.2L |
| Cold Water Tank Capacity | 0.8L |
| Safety Features | Child Lock, Dry-Burn Protection, ETL Certified |
9. Warranty Information
For specific warranty details, please refer to the warranty card included with your product or contact ADVWIN customer support. Generally, products are covered against defects in materials and workmanship for a specified period from the date of purchase. Keep your purchase receipt as proof of purchase.
10. Customer Support
If you have any questions, require technical assistance, or need to report an issue, please contact ADVWIN customer support. For the most up-to-date contact information, please visit the official ADVWIN website or refer to the contact details provided on your product packaging.
Manufacturer: ADVWIN
For online support, you may visit the ADVWIN store on Amazon: ADVWIN Store
Ask a question about this manual
Ask about setup, troubleshooting, compatibility, parts, safety, or missing instructions. Manuals+ will review the question and use this page’s manual context to help answer it.