
Introduction
Thank you for purchasing the Seeday Nightstand with Charging Station, Model CTG-PB-0007. This manual provides detailed instructions for assembly, operation, and maintenance to ensure safe and efficient use of your new nightstand. Please read this manual thoroughly before assembly and retain it for future reference.
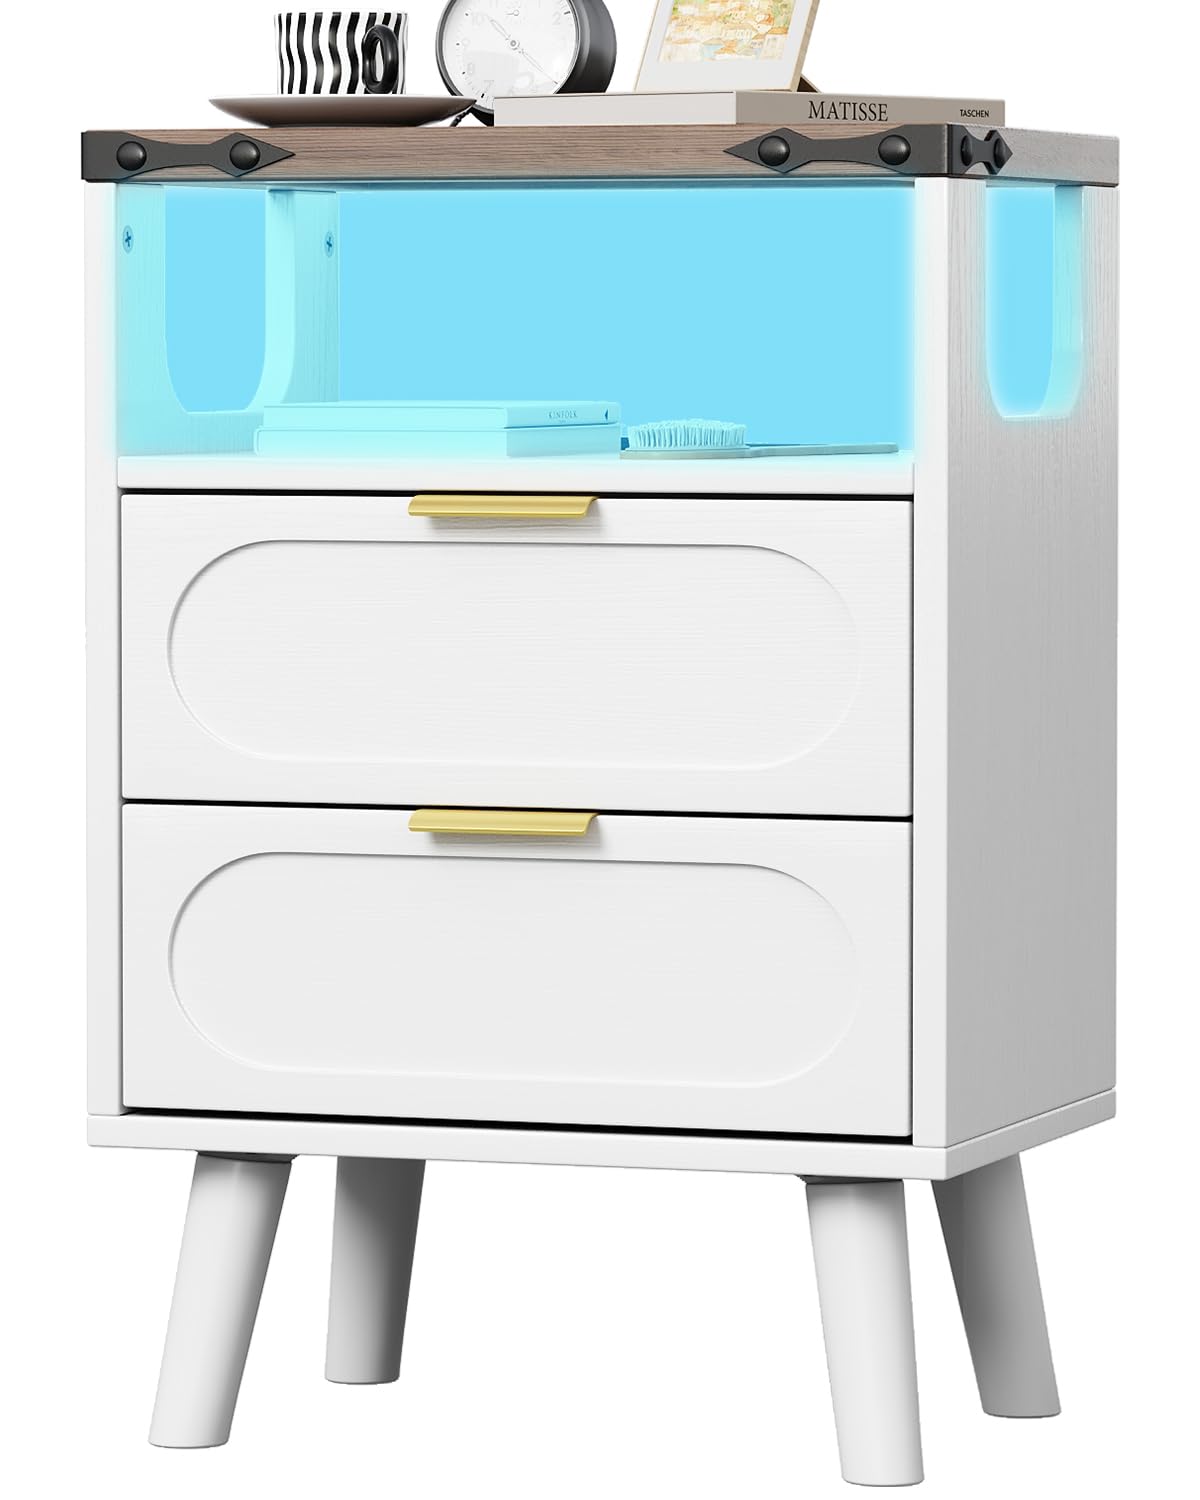
Image: The Seeday Nightstand with Charging Station in white, featuring two drawers, an open shelf with LED lighting, and a brown top panel.
Important Safety Information
Always follow the assembly instructions carefully. Keep the charging station dry and do not overload the outlets. Unplug the charging station when not in use or during lightning storms.
Package Contents
Before beginning assembly, ensure all parts are present and undamaged. Refer to the included assembly guide for a complete list of components and hardware. Typically, your package will include:
- Nightstand frame components (engineered wood panels)
- 2 Drawers with gold handles
- 4 Support legs
- Charging station module (2 AC outlets, 1 USB port, 1 Type-C port)
- LED light strip and remote control
- Assembly hardware (screws, dowels, etc.)
- Assembly Guide

Image: Diagram showing the dimensions of the nightstand (11.8"D x 15.7"W x 25"H) and the individual drawer components with their measurements.
Assembly Instructions
Follow the step-by-step instructions provided in the included assembly guide. It is recommended to assemble the nightstand on a soft, clean surface to prevent scratches. All necessary tools are typically included.
- Prepare Components: Unpack all parts and lay them out. Identify each component using the labels in the assembly guide.
- Assemble Frame: Connect the side panels to the base and top panels using the provided hardware. Ensure all connections are secure.
- Install Drawers: Assemble the two drawers according to the guide. Install the drawer slides into the main frame and then insert the assembled drawers.
- Attach Legs: Securely attach the four support legs to the bottom of the nightstand.
- Install Charging Station: Place the charging station module into its designated slot on the top shelf. Route the power cord through the cable management opening.
- Apply LED Light Strip: Adhere the LED light strip to the underside of the top shelf or within the open storage area as indicated in the guide. Connect it to the power source.
Video: An official assembly guide video demonstrating the step-by-step process for setting up the Seeday Nightstand. This video is provided by the seller, Guangqi-Direct.
Operating Instructions
Using the Charging Station
The integrated charging station provides convenient power access for your electronic devices.
- Power Connection: Plug the nightstand's main power cord into a standard wall outlet.
- AC Outlets: Use the two 125V/12A AC outlets for devices requiring standard wall power.
- USB Ports: Connect your devices to the 5V/2A USB-A port or the 5V/2A Type-C port for charging.
- Safety: Do not exceed the maximum power rating of the charging station. Avoid spilling liquids on the charging ports.

Image: A detailed view of the nightstand's charging station, highlighting the two AC outlets, one USB-A port, and one Type-C port, along with the power cord.
Controlling the LED Light
The nightstand features an LED light strip with multiple color and brightness settings, controlled by a 24-key remote or a mobile application.
- Remote Control: Use the provided 24-key remote to turn the light on/off, change colors, adjust brightness, and select various lighting modes.
- Mobile App Control: Download the compatible mobile application (refer to the assembly guide for app details) to access advanced features such as custom light colors, rhythmic modes, and scheduling.
- Color Options: The LED light offers multicolor dimming modes, allowing you to choose from a wide spectrum of colors.
- Brightness Adjustment: Adjust the light intensity to your preference using the remote or app.

Image: Visual representation of the LED light's capabilities, showing various color options, brightness levels, and the mobile application interface for control.
Maintenance
Proper care will extend the life and appearance of your nightstand.
- Cleaning: Wipe the nightstand surfaces with a damp cloth for general cleaning. For a thorough clean, use a dry cloth immediately after. Avoid harsh chemicals or abrasive cleaners.
- Dusting: Regularly dust all surfaces with a soft, dry cloth.
- Liquid Spills: Immediately wipe up any liquid spills to prevent damage to the wood and electrical components.
- Charging Station: Keep the charging ports free of dust and debris. Do not attempt to clean the electrical components with liquids.
Troubleshooting
| Problem | Possible Cause | Solution |
|---|---|---|
| LED light does not turn on. | Power cord not plugged in; remote control battery low; LED strip not properly connected. | Ensure the nightstand is plugged into a live outlet. Check remote battery and replace if necessary. Verify LED strip connection. |
| Charging station not working. | Nightstand not plugged in; device cable faulty; charging station overloaded. | Confirm the nightstand is plugged in. Try a different charging cable. Reduce the number of devices connected. |
| Drawers are stiff or do not slide smoothly. | Improper assembly; debris in drawer slides. | Review assembly steps for correct drawer slide installation. Clear any obstructions from the drawer slides. |
Specifications
| Feature | Detail |
|---|---|
| Brand | Seeday |
| Model Name | CTG-PB-0007 |
| Product Dimensions | 11.8"D x 15.7"W x 25"H |
| Item Weight | 22.6 pounds |
| Frame Material | Engineered Wood |
| Color | White |
| Number of Drawers | 2 |
| Charging Station | 2 AC Outlets (125V/12A), 1 USB Port (5V/2A), 1 Type-C Port (5V/2A) |
| Power Cord Length | 4.9 Feet |
| Special Features | Charging Station, LED Light, Easy Assembly |
| Product Care | Wipe with Damp Cloth, Wipe with Dry Cloth |
Warranty and Support
For warranty information or technical support, please refer to the contact details provided with your purchase documentation or visit the official Seeday website. Please have your model number (CTG-PB-0007) and purchase date available when contacting support.