
Introduction
This manual provides essential instructions for the safe and efficient operation, setup, and maintenance of your wheelfun 1/12 T150K RC Hydraulic Tractor. Please read this manual thoroughly before using the product to ensure proper function and longevity.

Figure 1: Front-side view of the wheelfun 1/12 T150K RC Hydraulic Tractor.

Figure 2: Side-rear view of the wheelfun 1/12 T150K RC Hydraulic Tractor.
Setup
Before operating your RC Hydraulic Tractor, ensure all components are correctly assembled and connected.
1. Battery Connection
The tractor requires a 3S Lithium/Li-polymer/LiPo Battery (not included). Locate the battery compartment, typically at the front of the tractor. Connect the battery securely to the designated connector.

Figure 3: Front compartment with battery connection point.
2. Powering On
After connecting the battery, switch the power to the 'ON' position. The tractor's internal systems, including the lighting and sound systems, will initialize.

Figure 4: Detail of the exhaust and air intake system.
3. Remote Controller Setup
The FlySky I6S Remote Controller and Receiver are included. Refer to the remote controller's specific manual for pairing and calibration instructions. Ensure the remote controller is powered on and properly linked to the tractor before operation.
Setup Overview Video
Video 1: This video demonstrates the initial setup steps, including battery connection and power-on sequence, along with a brief overview of the lighting and sound systems.
Operation
Familiarize yourself with the controls of the FlySky I6S Remote Controller to operate the tractor effectively.
1. Driving Controls
- Steering: The tractor features hydraulic steering for precise control. Use the designated joystick or wheel on your remote controller to steer left and right.
- Speed Control: The 2-speed gearbox allows switching between high and low speeds. Consult your remote controller manual for specific gear shift controls.
- Neutral Gear: The tractor can be set to neutral gear, allowing the engine to run without engaging the drive system.
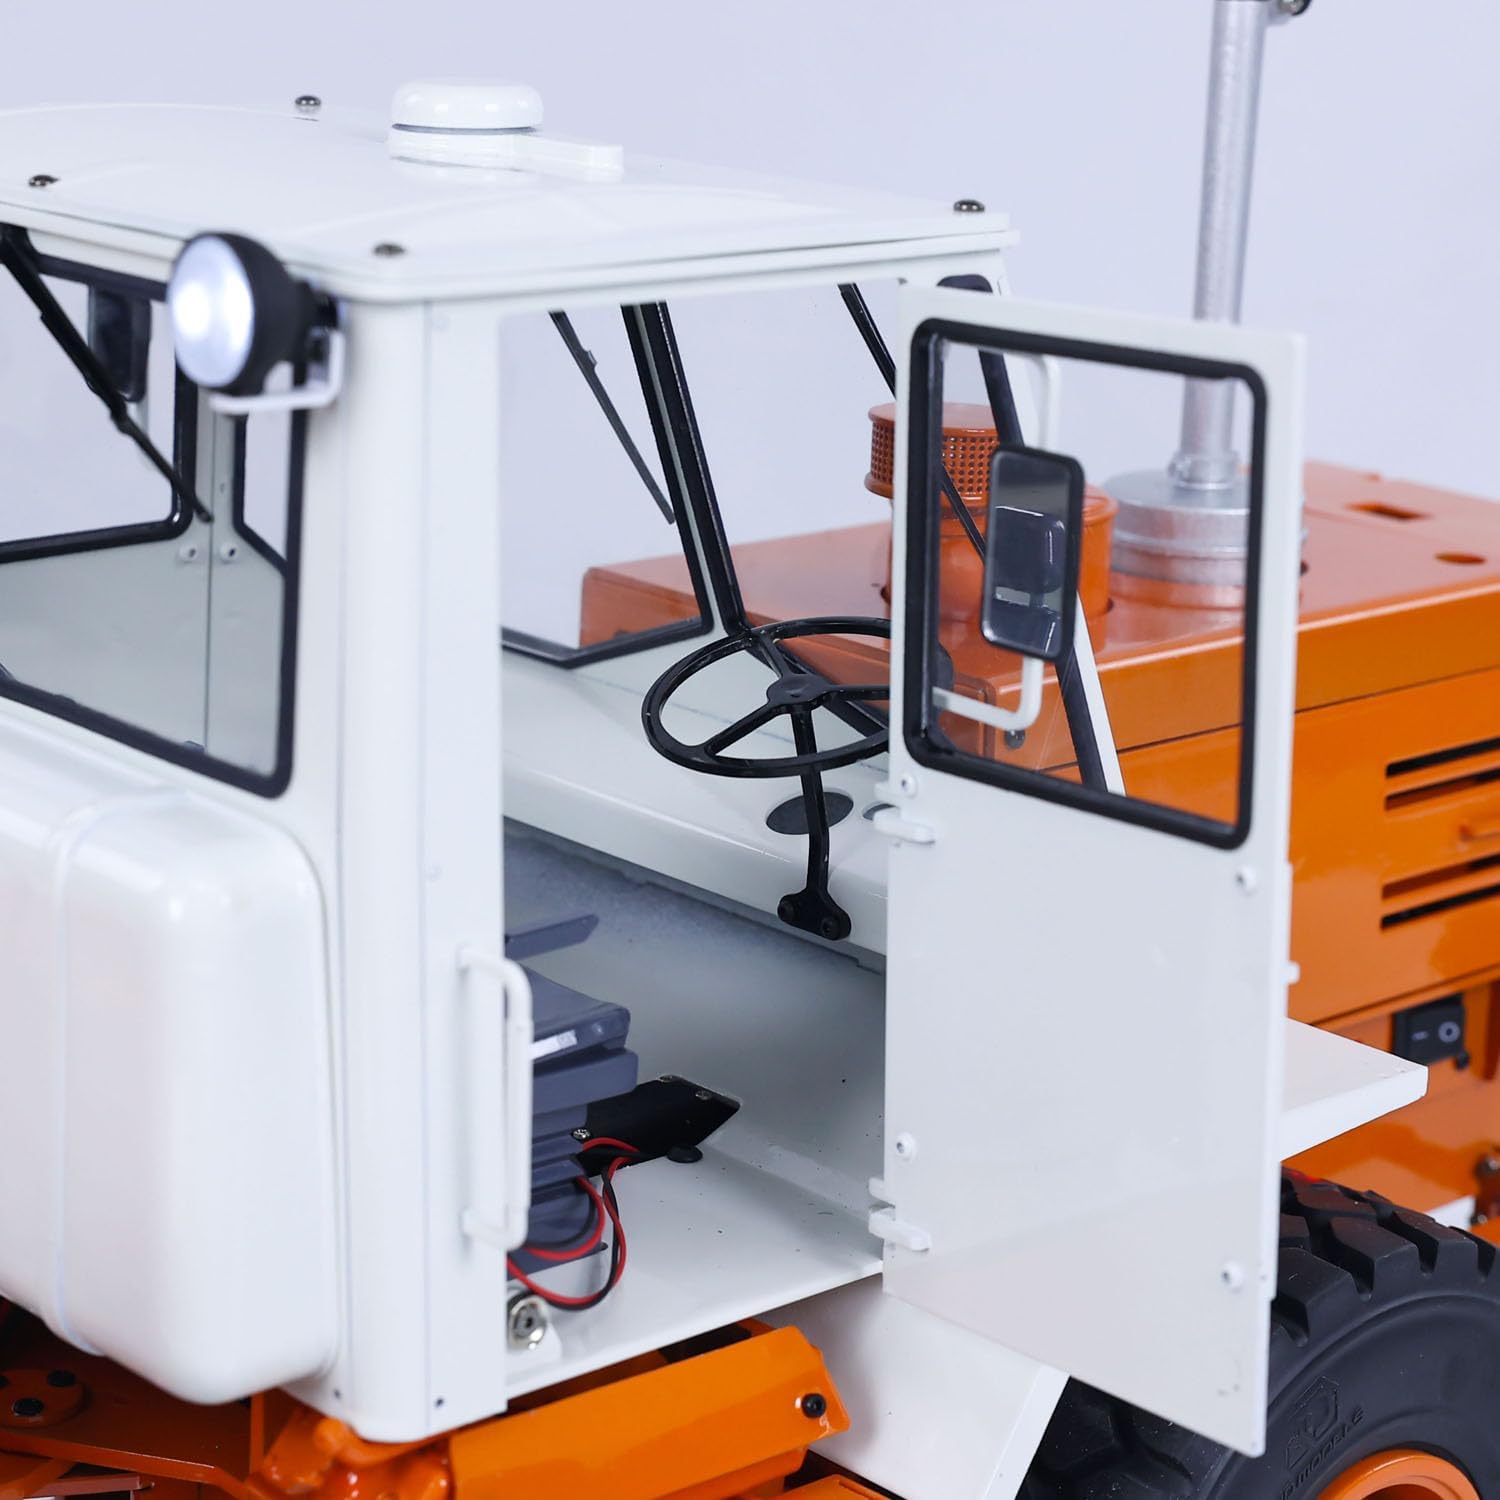
Figure 5: Cabin interior showing the steering wheel and seats.
2. Hydraulic System
The hydraulic system includes a 3-way reversing valve and a pump with a flow rate of 1.2L/MIN and a rated pressure of 3.5MPA. This system controls the rear suspension power output.
- Rear Suspension: The rear suspension can handle a maximum lifting force of 10 KG. Use the remote controller to operate the rear hitch for attaching and detaching implements.

Figure 6: Detail of the rear hitch and suspension system.
3. Lighting and Sound Systems
The tractor is equipped with a simulation lighting system (headlights, taillights) and a sound system for enhanced realism. These features are typically controlled via the remote controller.
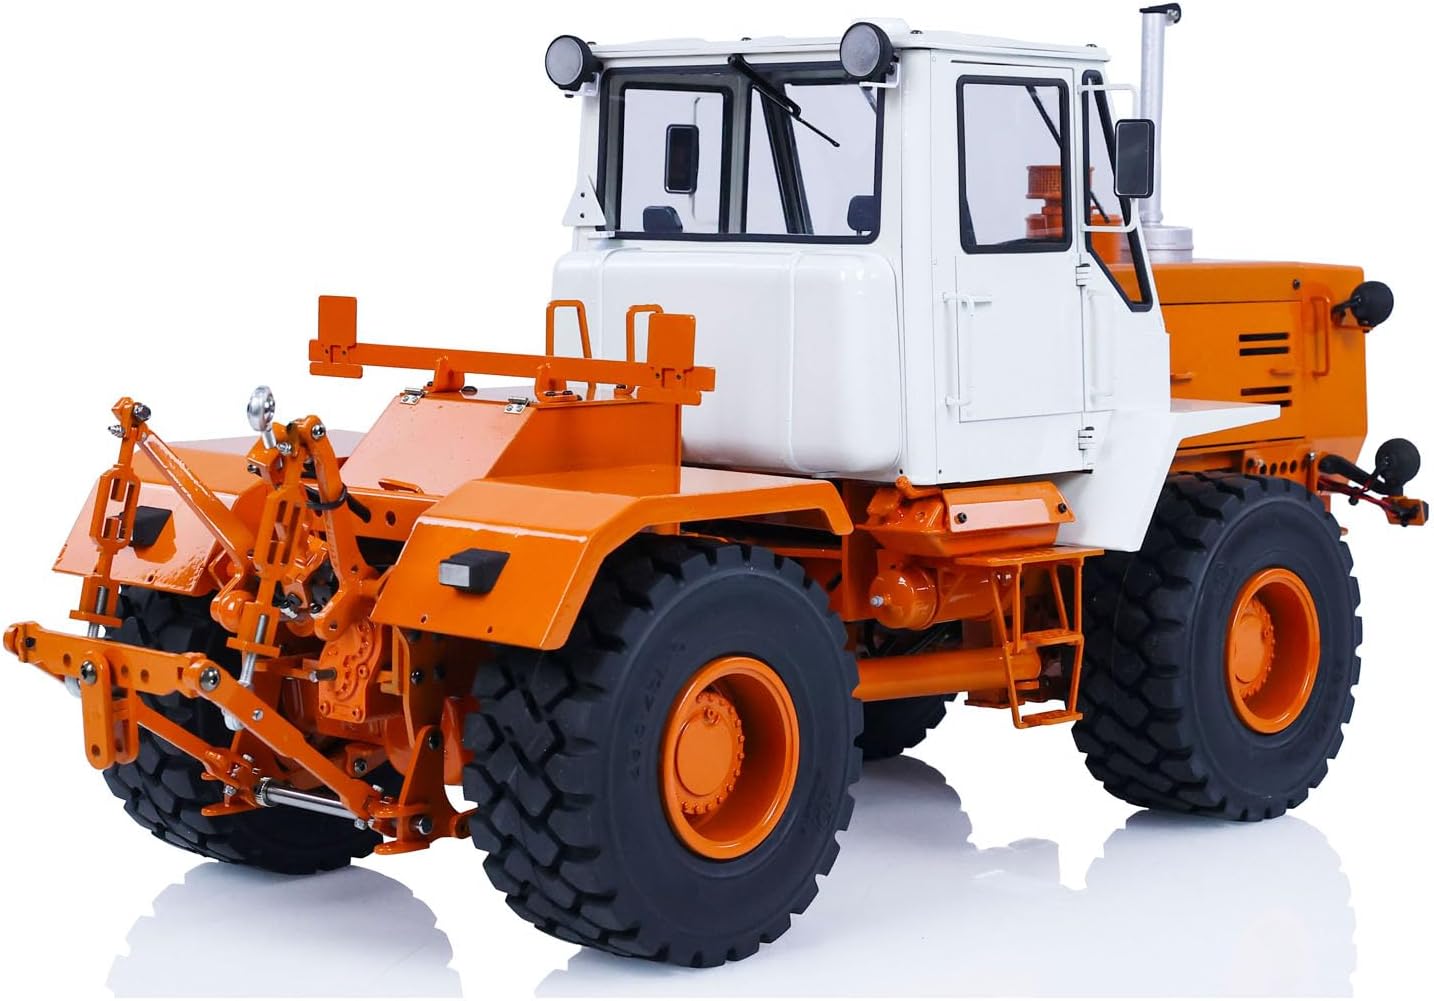
Figure 7: Rear-side view of the tractor, highlighting the taillights.
Maintenance
Regular maintenance ensures the longevity and optimal performance of your RC Hydraulic Tractor.
- Cleaning: After each use, clean the tractor to remove dirt, dust, and debris. Use a soft brush or cloth. Avoid using harsh chemicals or excessive water, especially near electronic components.
- Battery Care: Always disconnect the battery when not in use. Store batteries in a cool, dry place. Follow the battery manufacturer's guidelines for charging and storage.
- Hydraulic System: Periodically check the hydraulic fluid levels. Use only recommended hydraulic oil (not included). Inspect hoses and connections for leaks or damage.
- General Inspection: Regularly inspect all moving parts, screws, and connections for looseness or wear. Tighten any loose screws and replace worn parts as needed.
Troubleshooting
This section addresses common issues you might encounter with your RC Hydraulic Tractor.
- Tractor Not Responding:
- Check if the battery is fully charged and properly connected.
- Ensure the remote controller is powered on and correctly paired with the tractor.
- Verify that the tractor's power switch is in the 'ON' position.
- Weak Hydraulic Function:
- Check the hydraulic fluid level and refill if necessary.
- Inspect for any leaks in the hydraulic lines or connections.
- Ensure the hydraulic pump is receiving power.
- Unusual Noises:
- Turn off the tractor immediately.
- Inspect for any foreign objects caught in moving parts.
- Check for loose gears or damaged components.
- Damage Out of Box: If the item is damaged upon arrival, contact customer support for a free replacement part.
Specifications
| Feature | Detail |
|---|---|
| Item Condition | New, Painted and Assembled |
| Scale | 1/12 |
| Material | Metal, Plastic |
| Vehicle Size | Approx. 702 x 330 x 250 mm |
| Net Weight | Approx. 17.5 KG |
| Battery Compartment Size | 120 x 45 x 30 mm |
| Recommended Car Battery | 3S Lithium/Li-polymer/LiPo Battery (Not Included) |
| Transmission | 2-speed Gearbox |
| Hydraulic Steering | 3-way Center-Position Return High-Power Digital Servo Valve |
| Rear Suspension Lifting Force | Max 10 KG |
| Chassis Minimum Ground Clearance | 37 mm |
| Hydraulic Pump Flow Rate | 1.2 L/MIN |
| Hydraulic Pump Rated Pressure | 3.5 MPA |
| Lighting System | Simulation Lighting System Included |
| Sound System | Simulation Sound System Included |
| Remote Controller | FlySky I6S Remote Controller and Receiver Included |
| Product Dimensions | 36 x 20 x 16 inches |
| Item Weight | 42 pounds |
| Item Model Number | TH22920-AMZUS2-S |
| Manufacturer Recommended Age | 21 years and up |
Warranty & Support
For warranty information and support, please refer to the manufacturer's official channels or your point of purchase. The manufacturer offers a professional after-sales team and a technical maintenance team that can provide guidance in English through video or text for repairs.
Optional protection plans may be available for purchase separately to extend coverage beyond the standard manufacturer's warranty.