1. Introduction
This manual provides essential information for the safe and efficient operation of your WORKPRO Air Tacker W181008AJ. Please read these instructions thoroughly before use and retain them for future reference. This air tacker is designed for various woodworking and carpentry applications, offering a lightweight and compact solution for fastening tasks.
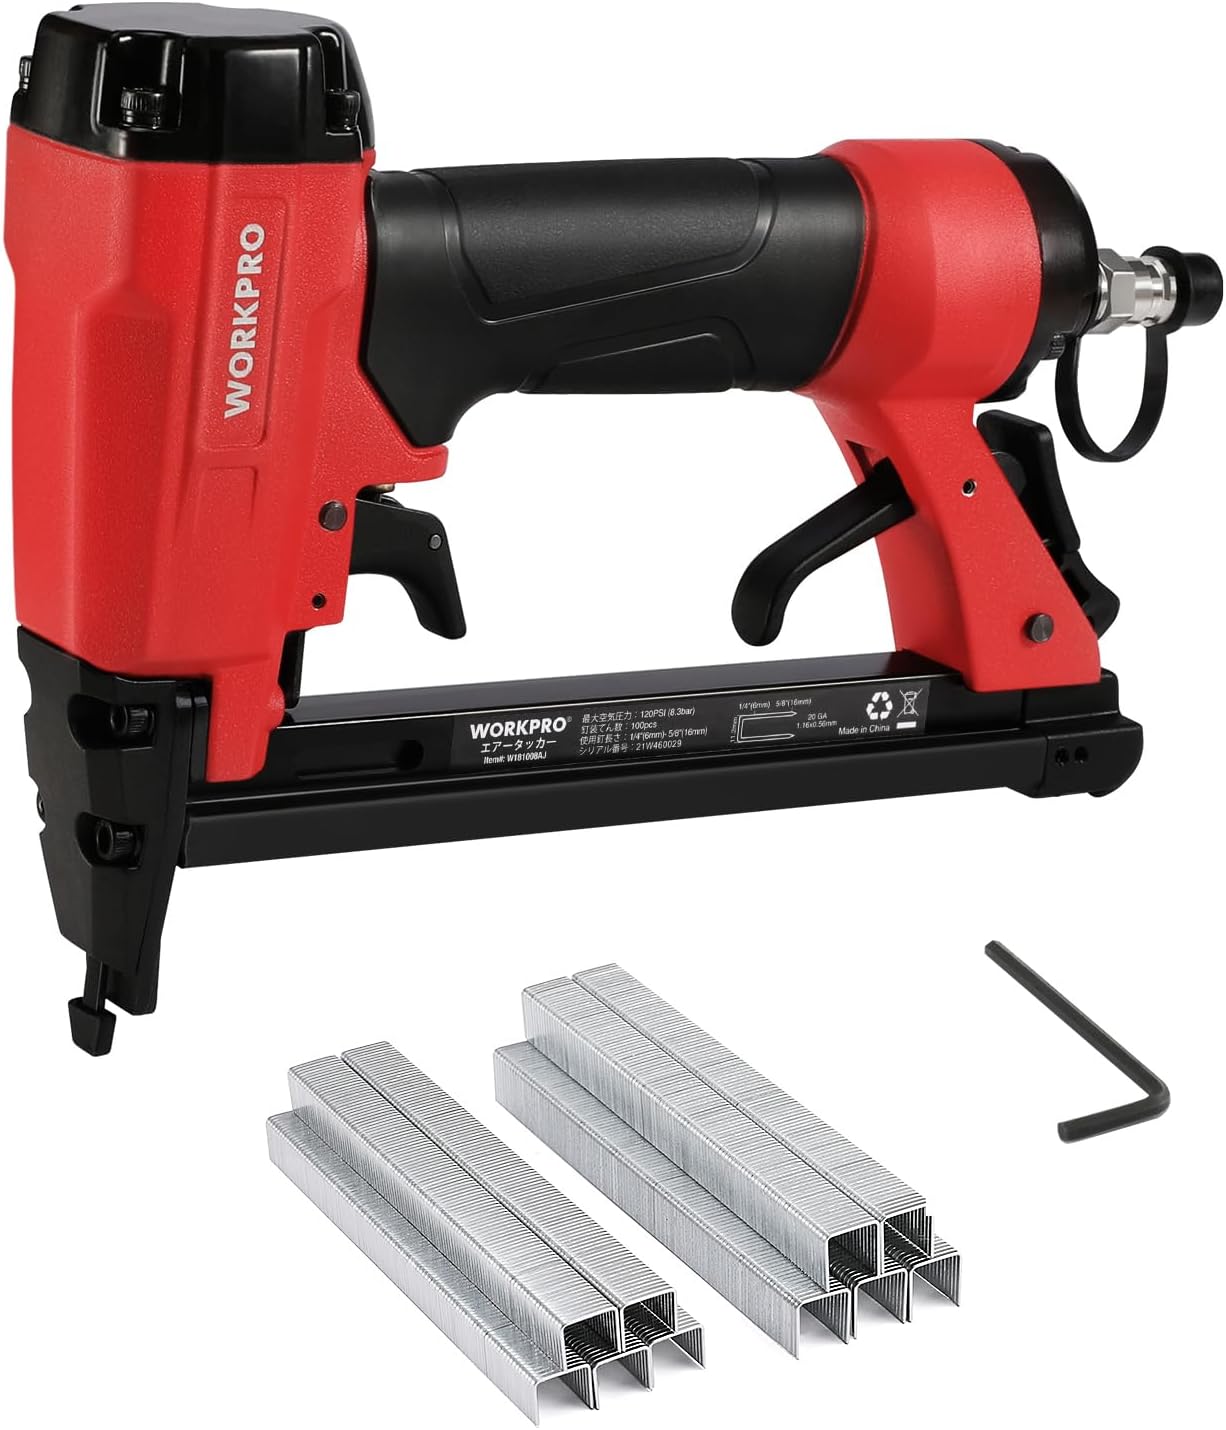
Image 1.1: WORKPRO Air Tacker W181008AJ with included staples and hex wrench.
2. Safety Information
Always prioritize safety when operating power tools. Failure to follow safety guidelines can result in serious injury.
- Wear appropriate personal protective equipment (PPE), including safety glasses, hearing protection, and gloves.
- Ensure the workpiece is stable and secured before fastening.
- Never point the tool at yourself or others.
- Disconnect the air supply before performing any adjustments, maintenance, or clearing jams.
- Keep hands and body parts clear of the firing area.
- Operate the tool in a well-ventilated area.
- Do not use the tool if it is damaged or malfunctioning.
2.1 Mis-fire Prevention Safety Lock
The WORKPRO Air Tacker W181008AJ is equipped with a safety device that prevents accidental firing. The stapler will not fire unless the safety nose is firmly pressed against the workpiece. This design minimizes the risk of unintended staple discharge, enhancing user safety during operation.

Image 2.1: Safety lock function, preventing firing unless the nose is pressed against the workpiece.
3. Product Components
Familiarize yourself with the various parts of your air tacker:

Image 3.1: Main components of the WORKPRO Air Tacker.
- Trigger: Activates the stapling mechanism.
- Safety Nose: Must be pressed against the workpiece for the tool to fire.
- Staple Quantity Indicator: A display window to check the remaining staple quantity.
- Magazine: Holds the staples.
- Magazine Release Latch: Used to open the magazine for loading staples.
- Air Inlet: Connection point for the air hose.
- Rear Exhaust: Expels air during operation.
4. Specifications
| Feature | Specification |
|---|---|
| Model | W181008AJ |
| Body Size (L×W×H) | 221 × 51 × 166 mm |
| Weight | 950 g |
| Operating Air Pressure Range | 0.4~0.7 MPa (approx. 4~7 kgf/cm²) / 60-100 PSI |
| Staple Loading Capacity | 100 staples |
| Compatible Staple Leg Length | 6 ~ 16 mm |
| Compatible Staple Shoulder Width | 11.2 mm (outer), 10 mm (inner) |
| Staple Cross-section | 0.56 × 1.16 mm |
| Recommended Air Hose Inner Diameter | 6 mm or more |
| Fastener Size | 20 GA |

Image 4.1: Detailed specifications and compatible staple types.
5. Setup
5.1 Loading Staples
Follow these steps to load staples into the magazine:
- Press the magazine release latch to unlock the magazine.
- Slide open the magazine cover.
- Insert a strip of compatible staples into the magazine, ensuring they are oriented correctly.
- Close the staple magazine cover until it locks securely.

Image 5.1: Staple loading procedure.
5.2 Connecting Air Supply
- Ensure your air compressor is set to the recommended operating pressure (0.4-0.7 MPa / 60-100 PSI).
- Connect an air hose with an inner diameter of 6mm or more to the air inlet of the tacker.
- Verify all connections are secure to prevent air leaks.
6. Operating Instructions
6.1 General Operation
- After connecting the air supply and loading staples, position the safety nose firmly against the workpiece where you intend to fasten.
- Press the trigger to drive a staple. The safety mechanism ensures the tool will only fire when properly engaged with the surface.
- Release the trigger after each staple.
6.2 360° Exhaust Adjustment
The rear exhaust port can be rotated 360 degrees. This allows you to direct the expelled air away from your face or the workpiece, improving comfort and visibility during operation, regardless of your working posture.

Image 6.1: 360° adjustable exhaust for user comfort.
6.3 Applications
This air tacker is suitable for a wide range of applications, including:
- Re-upholstering furniture (e.g., motorcycle seats, chairs)
- Furniture woodworking
- Interior finishing tasks
- Exterior light-duty fastening
- Crafts and DIY projects (e.g., building wooden boxes, pet houses, picture frames, bookshelves)

Image 6.2: Examples of DIY projects.
7. Maintenance
Regular maintenance ensures the longevity and optimal performance of your air tacker:
- Lubrication: Apply a few drops of pneumatic tool oil into the air inlet before each use or after extended periods of non-use.
- Cleaning: Keep the tool clean and free from dust and debris. Wipe down the exterior with a clean cloth.
- Air Filter: Regularly check and clean the air filter on your compressor to ensure a clean air supply to the tool.
- Storage: Store the tool in a dry, clean environment away from direct sunlight and extreme temperatures. Disconnect the air hose before storage.
- Fastener Check: Ensure only compatible staples are used. Using incorrect staples can cause jams and damage the tool.
8. Troubleshooting
If you encounter issues with your air tacker, refer to the following common problems and solutions:
| Problem | Possible Cause | Solution |
|---|---|---|
| Staples not firing | No air pressure; Safety nose not fully depressed; Empty magazine; Jammed staples | Check air supply and pressure; Ensure safety nose is pressed against workpiece; Reload staples; Clear staple jam (disconnect air first) |
| Staples not fully driven | Low air pressure; Incorrect staple length for material; Worn driver blade | Increase air pressure; Use shorter staples or adjust depth (if applicable); Contact service for blade replacement |
| Air leaks | Loose connections; Damaged O-rings/seals | Tighten connections; Replace damaged O-rings/seals |
| Tool jams frequently | Incorrect staple size; Damaged staples; Dirty magazine | Use correct staples; Inspect staples for damage; Clean magazine thoroughly |
9. Warranty and Support
Information regarding product warranty and customer support is not available in this manual. Please refer to the product packaging or the manufacturer's official website for details on warranty coverage and how to contact customer service for assistance.


