
NUKI 221184
Nuki Door Sensor User Manual
Model: 221184
1. Introduction
The Nuki Door Sensor is an accessory designed to enhance the functionality of your Nuki Smart Lock system. It provides real-time information about the status of your door, indicating whether it is open or closed. This manual provides detailed instructions for the installation, operation, and maintenance of your Nuki Door Sensor.

Image: The Nuki Door Sensor, consisting of two white components: a larger rectangular sensor unit and a smaller square magnet, which work together to detect door status.
2. Product Overview
The Nuki Door Sensor integrates seamlessly with your Nuki Smart Lock to provide comprehensive door monitoring. It helps ensure your door is securely closed and locked, offering enhanced security and peace of mind.
Key Features:
- Real-time Door Status: Know if your door is open or closed at any time via the Nuki app.
- Enhanced Security: Works in conjunction with the Nuki Smart Lock to confirm the door is securely shut before locking.
- Notifications: Receive alerts for changes in door status, such as when the door is opened or left ajar (Nuki Premium feature).
- Easy Installation: Simple DIY installation with adhesive pads, no drilling required.
- Long Battery Life: Powered by a 3.6V lithium battery, providing up to 2 years of operation.
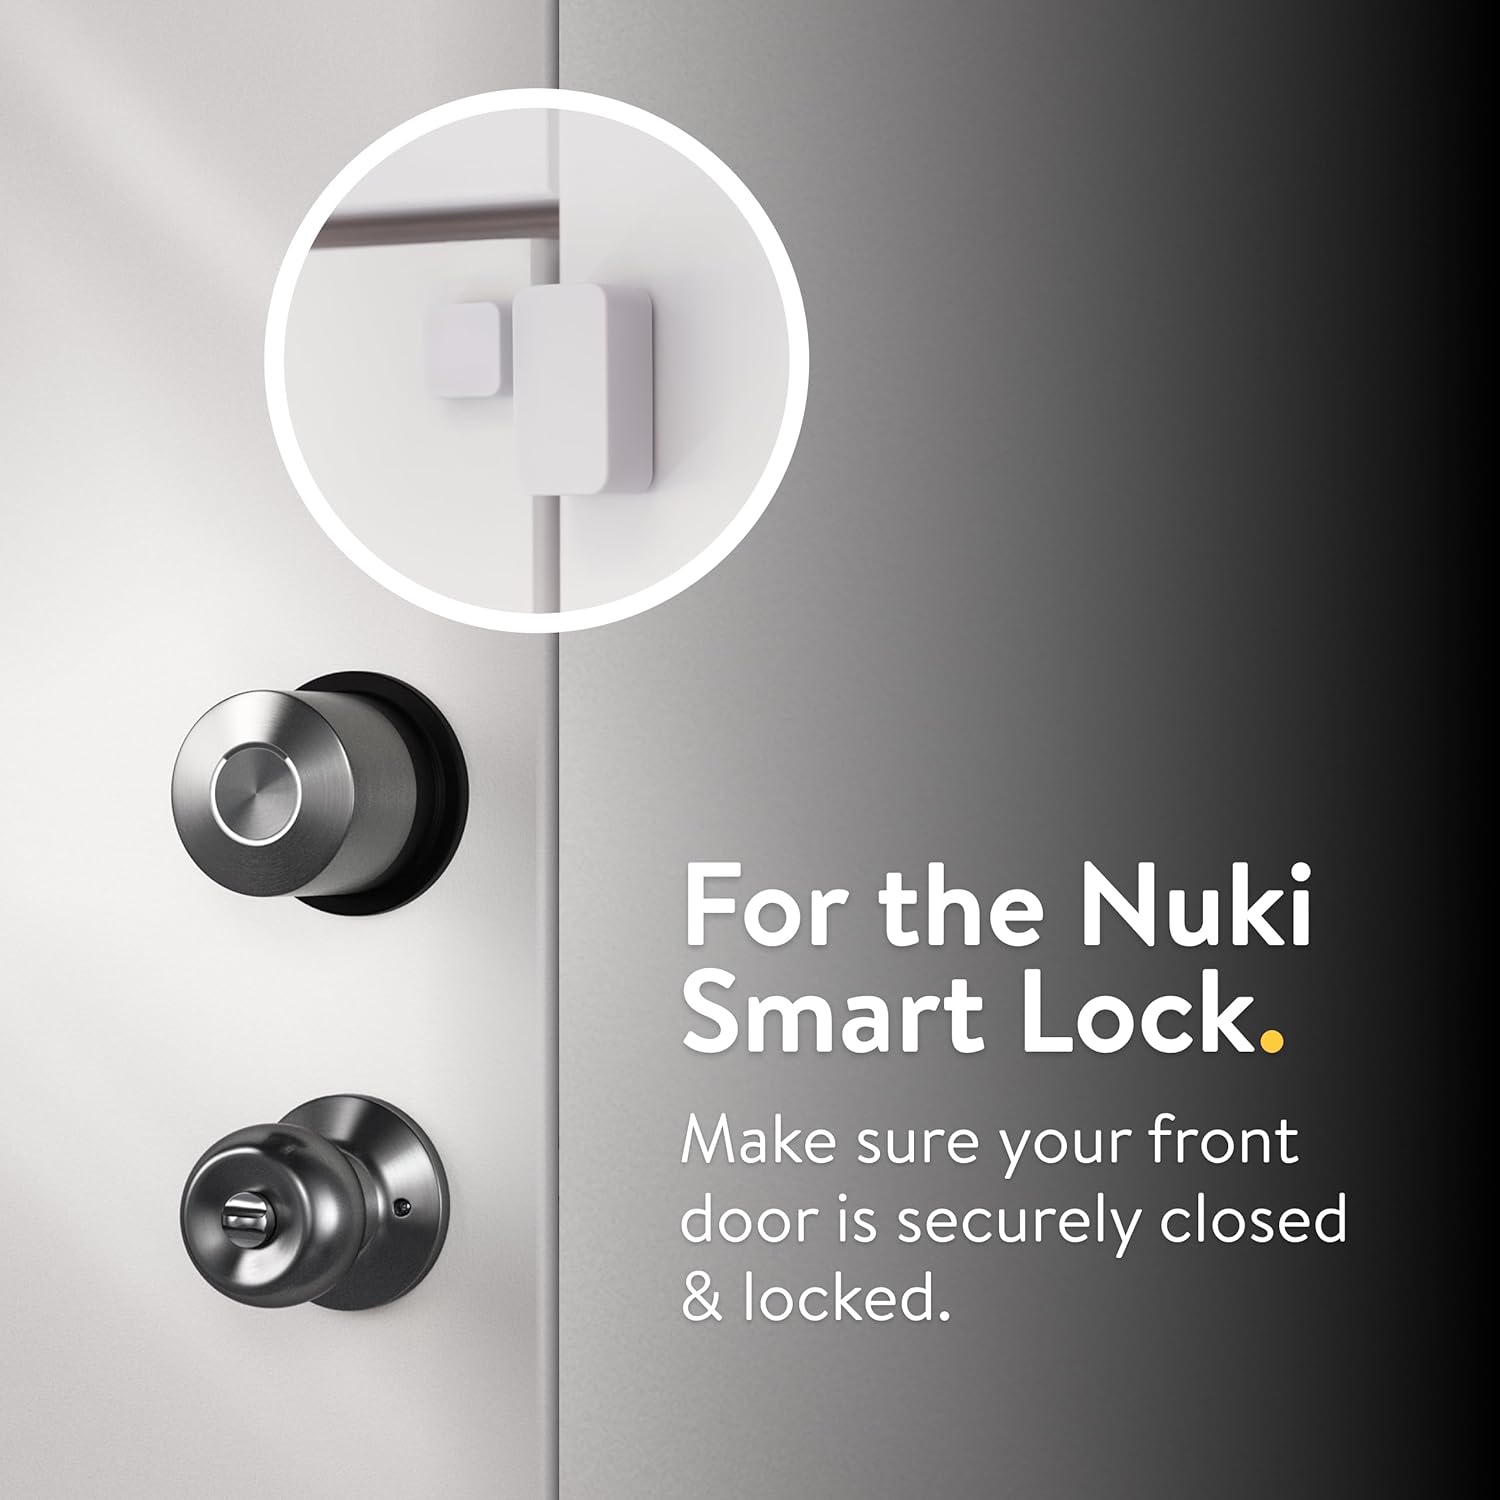
Image: The Nuki Door Sensor installed on a door frame, positioned to work with a Nuki Smart Lock, ensuring the door is securely closed and locked.
3. Setup and Installation
Follow these steps to properly install and set up your Nuki Door Sensor.
Installation Steps:
- Prepare the Surface: Ensure the door and door frame surfaces where the sensor will be attached are clean, dry, and free of dust or grease.
- Attach the Sensor:
- Identify the main sensor unit (larger rectangular piece) and the magnet (smaller square piece).
- Attach the main sensor unit to the door frame using the provided adhesive pads. Position it near the top corner of the door, on the side where the door closes.
- Attach the magnet to the door itself, directly opposite the main sensor unit, ensuring they align when the door is closed. The gap between the sensor and magnet should be minimal when the door is closed.

Image: A person's hands demonstrating the easy DIY installation of the Nuki Door Sensor by attaching its two components to the door and frame using adhesive pads.
- Connect to Nuki App:
- Open the Nuki app on your smartphone.
- Follow the in-app instructions to add and connect your new Nuki Door Sensor to your Nuki Smart Lock system. The app will guide you through the pairing process.
- Calibration:
- The Nuki app will prompt you to open and close the door several times. This process allows the sensor to learn the "open" and "closed" positions accurately.
- Ensure the door is fully closed and fully open during calibration to achieve precise readings.
4. Operation
Once installed and calibrated, the Nuki Door Sensor operates automatically in conjunction with your Nuki Smart Lock and the Nuki app.
Monitoring Door Status:
- Open the Nuki app to view the current status of your door (open or closed). This status is displayed alongside the lock status (locked or unlocked).
- The sensor provides immediate feedback on the door's physical state.

Image: A smartphone screen displaying the Nuki app, which shows the door status as "locked" and "door closed," indicating the door is securely shut.
Notifications and Automation:
- Real-time Alerts: With Nuki Premium, you can receive notifications on your smartphone if the door status changes (e.g., door opened, door left ajar for too long).
- Automatic Locking: The Nuki Smart Lock can be configured to automatically lock only when the door sensor confirms the door is fully closed, preventing locking against an open door.

Image: A smartphone displaying a Nuki app notification indicating that the "Home door" has been opened, a feature available to Nuki Premium subscribers.
5. Maintenance
The Nuki Door Sensor requires minimal maintenance, primarily focusing on battery replacement.
Battery Information:
- The Nuki Door Sensor is powered by one 3.6V Lithium-Thionyl Chloride (Li-SOCL2) battery, which is included.
- The battery is designed for long-lasting performance, typically up to 2 years, depending on usage.
- The Nuki app will notify you when the battery level is low, indicating it's time for a replacement.
Battery Replacement:
- Carefully detach the main sensor unit from the door frame.
- Locate the battery compartment.
- Remove the old battery and insert a new 3.6V Lithium-Thionyl Chloride (Li-SOCL2) battery, ensuring correct polarity.
- Reattach the sensor unit to the door frame.
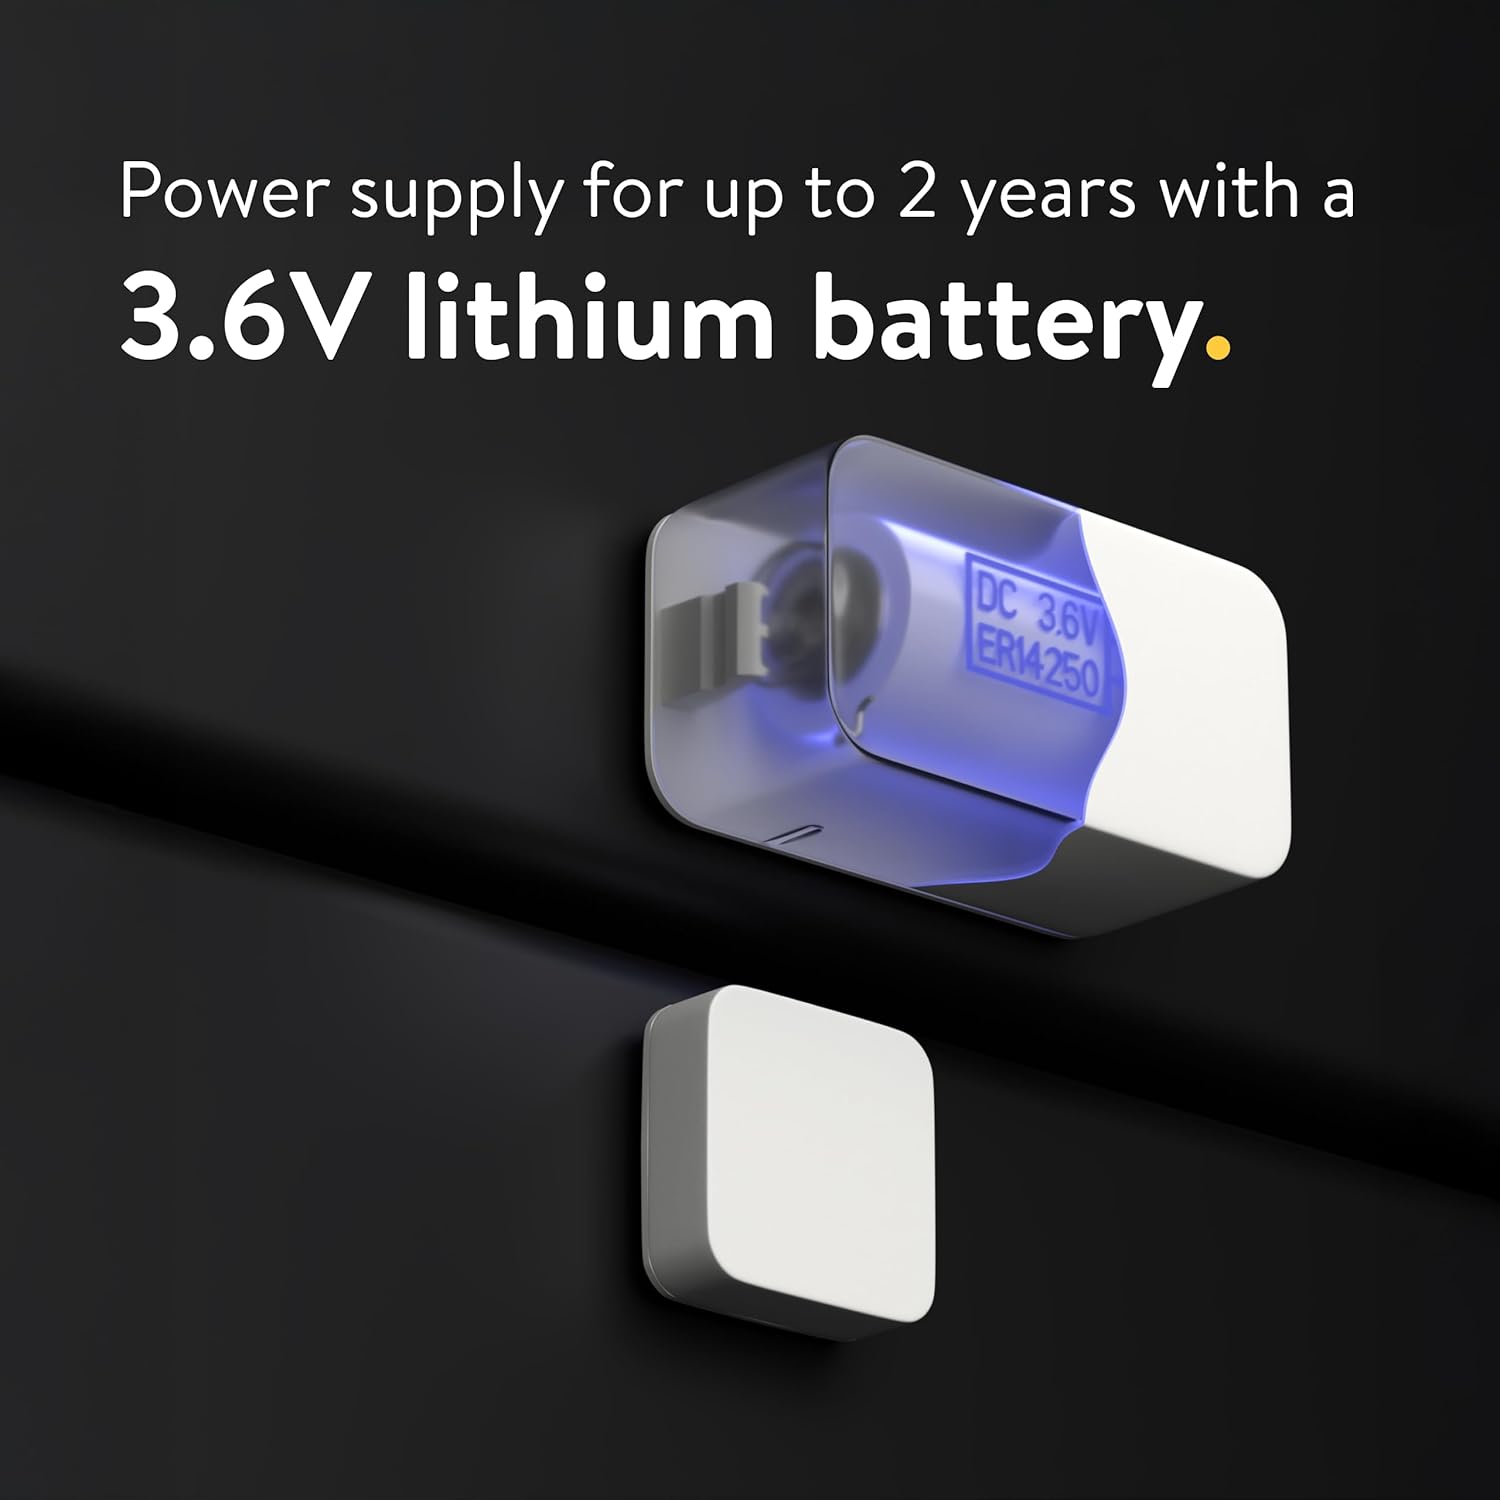
Image: An illustrative view of the Nuki Door Sensor highlighting its internal 3.6V lithium battery, which provides power for up to two years.
6. Troubleshooting
If you encounter issues with your Nuki Door Sensor, refer to the following common problems and solutions.
| Problem | Possible Cause | Solution |
|---|---|---|
| Inaccurate Door Status / Delayed Updates |
|
|
| Sensor Not Responding |
|
|
| No Notifications (Nuki Premium) |
|
|
7. Specifications
| Feature | Detail |
|---|---|
| Model Number | 221184 |
| Dimensions | 1.57 x 0.83 x 0.63 inches (main sensor unit) |
| Item Weight | 0.81 ounces |
| Color | White |
| Battery Type | 1 x 3.6V Lithium-Thionyl Chloride (Li-SOCL2) (included) |
| Battery Life | Up to 2 years (typical) |
| Connectivity | Bluetooth (connects to Nuki Smart Lock) |
| Special Features | Alarm functionality (via Nuki Smart Lock system) |
| Country of Origin | Romania |
8. Warranty and Support
Nuki products are designed and manufactured to high-quality standards. For specific warranty details and technical support, please refer to the official Nuki website or contact Nuki customer service.
- Online Support: Visit the official Nuki support page for FAQs, troubleshooting guides, and software updates.
- Contact Customer Service: If you require further assistance, contact Nuki customer support directly. Contact information can typically be found on the Nuki website.
- Product Registration: Consider registering your product on the Nuki website to receive important updates and support.
Note: Nuki products are developed and manufactured in Europe, adhering to high production and privacy standards.
Related documents221184


Ask a question about this manual
Ask about setup, troubleshooting, compatibility, parts, safety, or missing instructions. Manuals+ will review the question and use this page’s manual context to help answer it.