1. Introduction
This manual provides essential information for the safe and efficient operation, installation, and maintenance of your HEINNER HDW-FSM60714AWD+++ freestanding dishwasher. Please read these instructions carefully before using the appliance and keep them for future reference.

Figure 1: Front view of the HEINNER HDW-FSM60714AWD+++ freestanding dishwasher. This image shows the anthracite finish and the control panel.
2. Safety Instructions
To ensure safe operation, always adhere to the following safety guidelines:
- Electrical Safety: Ensure the appliance is properly grounded. Do not use extension cords. Disconnect power before any maintenance or cleaning.
- Water Safety: The AquaStop system automatically blocks water supply in case of a leak. Regularly check hoses for damage.
- Child Safety: Activate the child lock to prevent accidental changes to settings or opening of the door during operation. Keep detergents out of reach of children.
- General Use: Do not sit or stand on the dishwasher door. Load sharp items with points down to prevent injury.
- Automatic Shutdown: The appliance features an automatic shutdown after 15 minutes of inactivity to conserve energy.
3. Setup and Installation
3.1 Unpacking
Carefully remove all packaging materials. Inspect the dishwasher for any damage incurred during transit. Report any damage to your retailer immediately.
3.2 Positioning
Place the dishwasher on a flat, stable surface. The standard dimensions are 850 mm (H) × 600 mm (W) × 600 mm (D). Adjustable feet allow for leveling and integration under a countertop. Ensure sufficient space for the door to open fully (1175 mm with door open).
3.3 Water and Electrical Connections
Connect the water inlet and drain hoses according to local plumbing codes. Ensure the electrical connection matches the appliance's requirements (220V). Consult a qualified technician if you are unsure about any connections.
4. Operating Instructions
4.1 Loading the Dishwasher
This dishwasher has a capacity for 10 place settings. Arrange dishes to allow water to reach all surfaces. The upper basket is height-adjustable to accommodate taller items. Load sharp items with points facing downwards.

Figure 2: Proper loading of dishes into the dishwasher. Note the arrangement for optimal cleaning.

Figure 3: Example of a 10 place setting load, including dinner plates, bowls, glasses, cutlery, and serving utensils.
4.2 Adding Detergent and Rinse Aid
Fill the detergent dispenser with the appropriate amount of dishwasher detergent. Check the rinse aid indicator and refill as needed for optimal drying results.
4.3 Program Selection
The dishwasher offers 7 wash programs to suit various needs:
- Intensive: For heavily soiled dishes, pots, and pans.
- Eco: Energy and water-efficient program for normally soiled dishes. Consumes less than 10 liters of water per cycle.
- Rapid 30 min: Quick wash for lightly soiled items without drying.
- Glass: Gentle wash for delicate glassware.
- Normal: Standard program for daily soiled dishes.
- Auto: Automatically adjusts temperature and duration based on soil level detected by sensors.
- Prewash: For rinsing dishes that will be washed later.
Select the desired program using the control panel. The intuitive panel allows for easy selection.
4.4 Special Functions
- Delayed Start: Schedule the wash cycle up to 24 hours in advance to take advantage of off-peak electricity rates.
- Salt and Rinse Aid Indicators: Luminous indicators alert you when salt or rinse aid levels are low, ensuring optimal performance.
- Automatic Drying: Condensation drying ensures dishes are ready to put away after the cycle.
- Eco Mode: Limits resource consumption for more responsible daily use.
5. Maintenance and Cleaning
5.1 Cleaning the Filters
The triple-layer filtration system effectively retains food particles. Regularly clean the filters to prevent blockages and ensure efficient washing. Refer to the detailed diagrams in the full manual for filter removal and cleaning instructions.
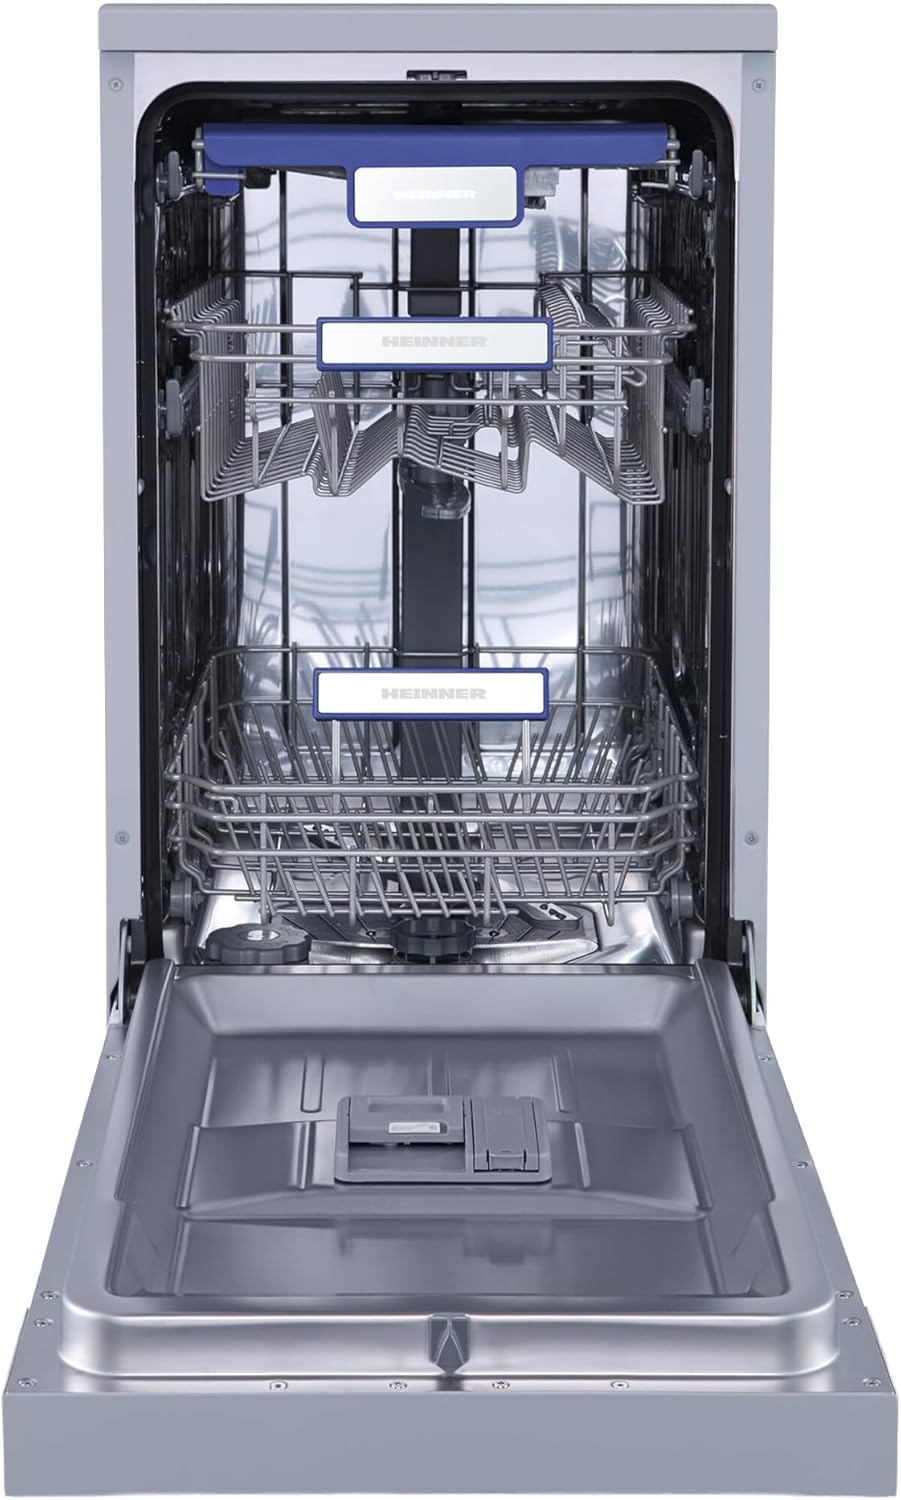
Figure 4: Interior view of the dishwasher, highlighting the baskets, spray arms, and the filter system at the base.
5.2 Cleaning the Spray Arms
The double rotating spray arms ensure thorough water coverage. Periodically check the spray arm nozzles for any blockages and clean them if necessary.

Figure 5: The 360° rotating spray arms ensure comprehensive water distribution for effective cleaning.
5.3 Exterior and Interior Cleaning
Wipe the exterior with a soft, damp cloth. The stainless steel interior is resistant to corrosion; clean it periodically with a dishwasher cleaner or a mixture of vinegar and water to maintain its shine.
6. Troubleshooting
Before contacting customer service, refer to the following common issues and solutions:
- Dishwasher not starting: Check if the power cord is properly plugged in, the door is fully closed, and the child lock is not activated.
- Dishes not clean: Ensure spray arms are not blocked, filters are clean, and dishes are loaded correctly. Check detergent and rinse aid levels.
- Water not draining: Inspect the drain hose for kinks or blockages. Clean the filter system.
- Unusual noise: Check for foreign objects in the pump area or spray arms. Ensure dishes are not rattling against each other.
- Error codes: Consult the full user manual for specific error code meanings and troubleshooting steps.
7. Specifications
| Feature | Specification |
|---|---|
| Model Number | HDW-FSM60714AWD+++ |
| Brand | HEINNER |
| Capacity | 10 Place Settings |
| Programs | 7 (Intensive, Eco, Rapid 30 min, Glass, Normal, Auto, Prewash) |
| Energy Class | D (New European Standards) |
| Annual Energy Consumption | 84 kWh / 100 cycles |
| Noise Level | Approximately 49 dB |
| Dimensions (H x W x D) | 850 x 600 x 600 mm |
| Weight | 40 Kilograms |
| Voltage | 220V |
| Interior Material | Stainless Steel |
| Exterior Finish | Painted Steel (Anthracite) |
| Safety Features | AquaStop, Child Lock, Automatic Shutdown |
| Country of Origin | Romania |
8. Warranty and Support
8.1 Warranty Information
Your HEINNER HDW-FSM60714AWD+++ dishwasher comes with a 5-year warranty. This warranty covers essential components and labor. Please retain your proof of purchase for warranty claims.
8.2 Customer Support
For technical assistance, spare parts, or warranty service, please contact HEINNER customer support. Refer to the official HEINNER website or your purchase documentation for contact details. The HEINNER after-sales service ensures prompt and professional support.


