
Introduction
Thank you for choosing the Xflyee 16.5" Digital Wall Clock. This manual provides detailed instructions for setting up, operating, and maintaining your new clock. Please read this manual thoroughly before use to ensure proper function and to maximize your product experience. This digital clock features a large LED display, remote control, multiple night light colors, dual alarms, indoor temperature display, and flexible mounting options.
Product Features
- Large 16.5-inch LED Display: Features oversized 9.8-inch time digits for clear visibility from a distance.
- 6-Color Dimmable Night Light: Offers 4 solid colors and 2 dynamic options with adjustable brightness (0-100%) for ambient lighting.
- Dual Alarms with Snooze: Set two independent alarms with a snooze function.
- Indoor Temperature Display: Shows current indoor temperature in Celsius or Fahrenheit.
- Automatic DST & Brightness Adjustment: Automatically updates for Daylight Saving Time and adjusts display brightness via a built-in light sensor.
- Remote Control & Button Control: Convenient operation via included remote or integrated buttons.
- Versatile Mounting: Designed for both wall-mounting and tabletop placement.
- Additional Displays: Includes date and day of the week.
- Multi-functional Timer: Features both count-up and count-down timer modes.
- Memory Battery: Preserves settings during power outages (requires 4 AAA batteries, included).

Image: The clock displaying time, alarm, and timer functions, highlighting its versatility.
Package Contents
Please check the package for the following items:
- Xflyee 16.5" Digital Wall Clock
- Remote Control
- 5V/2A Power Adapter
- 9.8-foot Power Cable
- Memory Batteries (2 x AAA, pre-installed or included separately)
- Measuring Rod (for wall mounting)
- Hook Wall Stickers
- Wall Screws
- User Manual

Image: Components of the accessory kit, showing the power adapter, cable, memory batteries, and mounting hardware.
Setup
1. Power Connection
Connect the provided 9.8-foot power cable to the clock and then plug the 5V/2A power adapter into a standard wall outlet. The clock requires continuous power to operate.
2. Memory Battery Installation
The clock features a built-in memory battery compartment. Ensure 2 AAA batteries (included) are correctly installed. These batteries preserve your time and alarm settings during power outages, but do not power the main display.
3. Mounting Options
The clock can be used in two ways:
- Tabletop Placement: Extend the integrated pull-out stand located on the back of the clock to place it securely on any flat surface.
- Wall Mounting: Use the integrated hang holes on the back of the clock. A measuring rod, hook wall stickers, and wall screws are provided to assist with installation. Mark the desired position on the wall, drill pilot holes if necessary, and secure the clock using the appropriate hardware.
Operating Instructions
The clock can be operated using the buttons on the device or the included remote control. For most functions, the remote control offers greater convenience.

Image: A user operating the digital wall clock with the remote control from a distance.
1. Time Setting
Use the remote control to access time setting mode. Follow the on-screen prompts to adjust hours, minutes, and 12/24-hour format. Confirm settings to save.
2. Alarm Setting
The clock supports two independent alarms. Use the remote to enter alarm setting mode. Set the desired alarm time for Alarm 1 and Alarm 2. You can also select alarm frequency (e.g., Mon-Fri, Mon-Sun). The snooze function can be activated after an alarm sounds.

Image: The clock showing an alarm set for 8:00, with options for 5-day (Mon-Fri) or 7-day (Mon-Sun) alarm modes.
3. Night Light Control
The clock features a customizable night light. Use the remote control to cycle through 4 solid colors (Red, Green, Yellow, Ice Blue) and 2 dynamic color-changing modes. Adjust the brightness from 0% (off) to 100% to suit your preference.
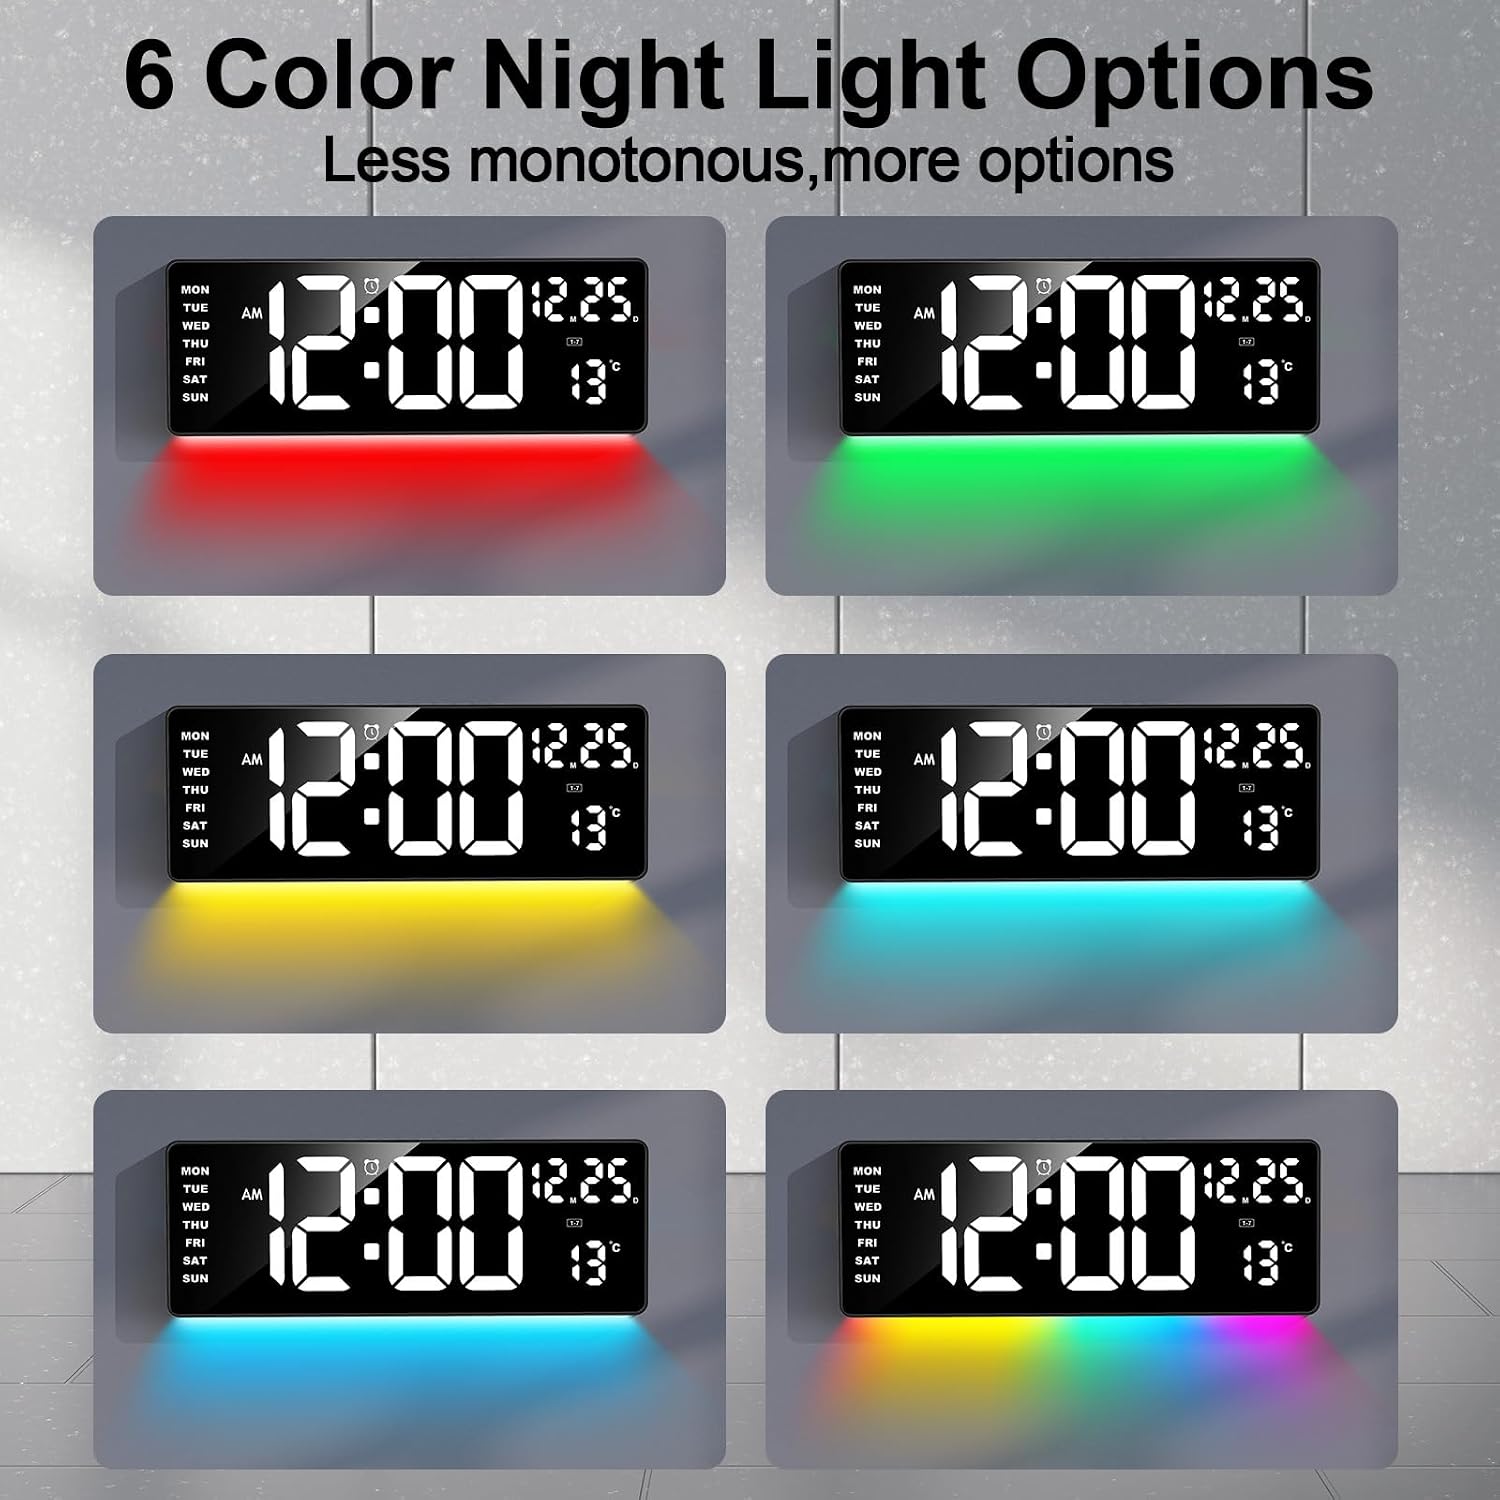
Image: Examples of the digital clock displaying different night light colors, such as red, green, yellow, and ice blue.
4. Brightness Adjustment
The main display brightness can be adjusted in two ways:
- Automatic Dimming: The built-in light sensor automatically adjusts the display brightness based on ambient light conditions.
- Manual Control: Use the remote control to select one of 4 manual brightness levels or turn the display off completely.

Image: The clock illustrating four manual brightness levels (LV.1 to LV.4) and an off state, alongside the auto-dimming feature.
5. Daylight Saving Time (DST)
The clock is equipped with an automatic DST function. It will automatically update the time at the beginning and end of Daylight Saving Time, eliminating the need for manual adjustment.

Image: The clock showing how it automatically adjusts for Daylight Saving Time, with illustrations for '+1H Spring Forward' and '-1H Fall Back'.
6. Temperature Display
The clock displays the indoor temperature. Use the remote control to switch between Celsius (°C) and Fahrenheit (°F) units.

Image: The digital clock showing the indoor temperature display, with a family in the background.
7. Timer Function
Activate the timer function via the remote control. You can set a count-down timer for specific durations or use the count-up timer for tracking elapsed time.

Image: The clock demonstrating its multi-functional timer, showing both count-up and count-down modes in use.
Maintenance
Cleaning
To clean the clock, gently wipe the display and casing with a soft, dry, or slightly damp cloth. Avoid using abrasive cleaners, solvents, or chemical sprays, as these can damage the surface.
Memory Battery Replacement
If the clock consistently loses its settings after a power outage, the internal AAA memory batteries may need replacement. Open the battery compartment on the back of the clock, remove the old batteries, and insert new ones, ensuring correct polarity.
Troubleshooting
| Problem | Possible Cause | Solution |
|---|---|---|
| Clock does not power on. | Power adapter not connected or faulty; power outlet not working. | Ensure the 5V/2A power adapter is securely connected to the clock and a working power outlet. Test the outlet with another device. |
| Clock loses time/settings after power outage. | Memory batteries are low or not installed correctly. | Check and replace the 2 AAA memory batteries in the battery compartment, ensuring correct polarity. |
| Remote control not working. | Remote batteries are low or depleted; obstruction between remote and clock. | Replace the remote control batteries. Ensure there is a clear line of sight between the remote and the clock. |
| Display brightness is too dim or too bright. | Automatic brightness adjustment is active; manual setting is incorrect. | Use the remote control to adjust manual brightness levels or ensure the auto-dimming feature is functioning correctly in varying light conditions. |
| Time is incorrect after DST change. | Automatic DST feature may be disabled or not updated. | Verify that the automatic DST feature is enabled in the settings. If issues persist, manually adjust the time. |
Specifications
| Feature | Detail |
|---|---|
| Brand | Xflyee |
| Model Number | 3016 |
| Display Type | Digital LED |
| Screen Size | 16.5 inches |
| Time Digit Height | 9.8 inches |
| Product Dimensions (W x H) | 15"W x 5.5"H |
| Power Source | Corded Electric (5V/2A adapter) |
| Power Cable Length | 9.8 feet |
| Memory Battery | 2 x AAA batteries (included) |
| Material | Plastic (Frame), Glass (Display) |
| Special Features | Adjustable Brightness, 6-Color Night Light, Dual Alarms, Snooze, Indoor Temperature, Auto DST, Remote Control, Timer |
| Mounting Type | Wall Mount, Tabletop |
Official Product Video
Video: An official product video demonstrating the features and operation of the Xflyee 16.5 Inch Digital Wall Clock with Remote Control.
Warranty and Support
For warranty information or technical support, please refer to the contact details provided with your purchase documentation or visit the official Xflyee website. Keep your purchase receipt for warranty claims.