
1. Introduction
Welcome to the user manual for your new elecci E99 Drone. This manual provides essential information for safe operation, setup, maintenance, and troubleshooting of your drone. Please read it thoroughly before your first flight to ensure a safe and enjoyable experience. The E99 Drone features a screen controller, altitude hold, one-key take-off/landing, and active obstacle avoidance, making it suitable for both beginners and experienced pilots.
2. Safety Guidelines
Adhering to these safety guidelines is crucial for preventing accidents and ensuring the longevity of your drone.
- Pre-Flight Check: Always inspect the drone, propellers, and batteries for any damage before each flight.
- Environment: Fly in open, clear areas away from people, animals, buildings, and power lines. Avoid flying in strong winds or rain.
- Battery Safety: Use only the provided charger and batteries. Do not overcharge or puncture batteries. Discontinue use if batteries are swollen or damaged.
- Line of Sight: Always maintain visual line of sight with your drone during flight.
- Age Restriction: This product is not suitable for children under 14 years old without adult supervision.
- Respect Privacy: Be mindful of privacy when using the camera.
3. Package Contents
Verify that all items are present in your package:
- E99 Drone (Foldable)
- Screen Controller
- Rechargeable Drone Batteries (x2)
- USB Charging Cable
- Spare Propellers (x4)
- Propeller Guards (x4)
- Screwdriver
- User Manual
- Portable Carrying Case
- SD Card

4. Product Overview
4.1 E99 Drone
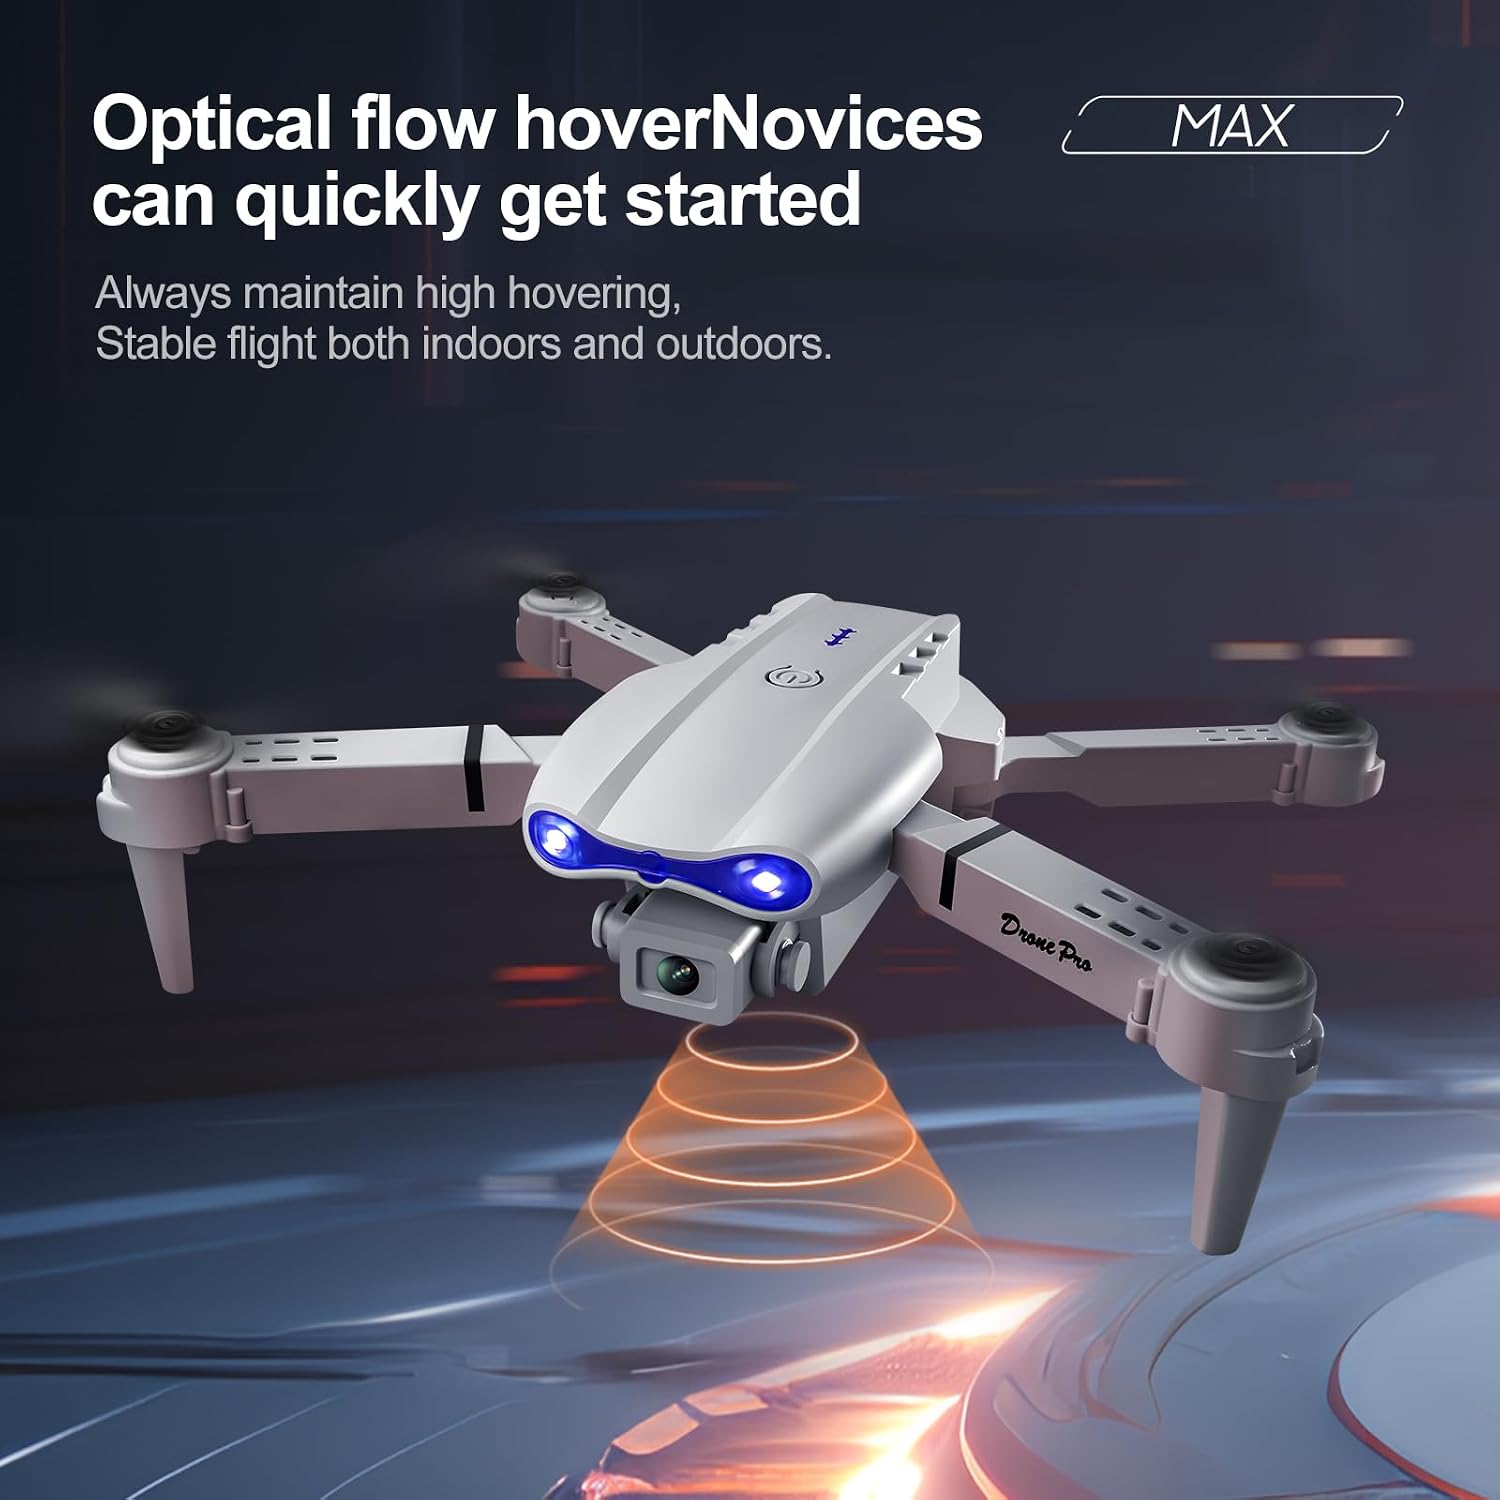
The E99 drone is designed for portability and ease of use. Its foldable arms make it compact for transport. It features a 1080P HD camera for aerial photography and videography, and active obstacle avoidance for safer flights.

4.2 Screen Controller
The screen controller provides intuitive control over the drone and displays live video feed from the drone's camera. It features various buttons for one-key functions, speed switching, and obstacle avoidance.


5. Setup
5.1 Battery Installation and Charging
- Drone Battery: Insert the fully charged drone battery into the battery compartment on the rear of the drone until it clicks into place.
- Charging: Connect the drone battery to the USB charging cable and plug it into a USB power source (e.g., computer, USB adapter). The indicator light will show charging status and turn off when fully charged. Charging time is approximately 60-90 minutes.
- Controller Battery: The screen controller has an internal rechargeable battery. Charge it using the provided USB cable.

5.2 Propeller Installation
If propellers are not pre-installed, attach them according to the markings (A and B) on the propellers and motor arms. Ensure they are securely fastened.
5.3 Controller Pairing
- Place the drone on a flat, level surface.
- Turn on the drone's power switch. The drone's indicator lights will flash.
- Turn on the screen controller.
- Push the left joystick (throttle) fully up, then fully down. The drone's lights will stop flashing and remain solid, indicating successful pairing.
6. Operating Instructions
6.1 Pre-Flight Check
- Ensure batteries are fully charged for both drone and controller.
- Check that propellers are securely attached and undamaged.
- Confirm the drone is paired with the controller.
- Choose an open, safe flying area.
6.2 Take-off and Landing
- One-Key Take-off: Press the One-Key Take-off/Landing button (refer to Figure 4.4) once. The drone will automatically ascend to a stable hovering altitude.
- Manual Take-off: After pairing, push both joysticks down and outwards simultaneously to unlock the motors. Then, slowly push the left joystick (throttle) up to ascend.
- One-Key Landing: Press the One-Key Take-off/Landing button again. The drone will automatically descend and land gently.
- Manual Landing: Slowly pull the left joystick (throttle) down until the drone lands. Once landed, push both joysticks down and inwards simultaneously to stop the motors.
6.3 Basic Flight Controls
- Left Joystick (Throttle/Yaw):
- Up/Down: Ascend/Descend
- Left/Right: Rotate Left/Right (Yaw)
- Right Joystick (Pitch/Roll):
- Up/Down: Fly Forward/Backward (Pitch)
- Left/Right: Fly Left/Right (Roll)
6.4 Special Features
- Altitude Hold: The drone automatically maintains its altitude, allowing for easier control of horizontal movement.
- 360 Degree Flip: Press the 360° tumbling button (refer to Figure 4.4) and then push the right joystick in any direction to perform a flip.
- Active Obstacle Avoidance: The drone is equipped with sensors to detect and avoid obstacles, enhancing flight safety. Activate/deactivate using the Obstacle Avoidance Switch on the controller.
- Headless Mode: Press the Headless Mode button. In this mode, the drone's orientation is relative to the pilot, regardless of the drone's front direction.
- Speed Switching: Use the Speed Switching button to cycle through different flight speeds (low, medium, high) to suit your flying skill level and environment.
7. Camera Operation
The E99 drone is equipped with a 1080P HD camera for capturing high-quality aerial photos and videos.
- Taking Photos: Press the Photograph/View photos button on the controller to take a single photo.
- Recording Video: Press the Video/Play the video button to start recording. Press it again to stop recording.
- SD Card: Ensure an SD card is inserted into the drone's camera slot to save photos and videos. Files can be accessed by connecting the drone to a computer or by removing the SD card.
- Live View: The screen controller provides a live feed from the drone's camera, allowing you to frame your shots in real-time.
8. Maintenance
Proper maintenance ensures the longevity and optimal performance of your drone.
- Cleaning: Use a soft, dry cloth to clean the drone and controller. Do not use harsh chemicals or solvents. Ensure the camera lens is clean for clear images.
- Propellers: Regularly check propellers for cracks or damage. Replace damaged propellers immediately using the spare parts provided.
- Battery Care: Store batteries in a cool, dry place. Do not store fully charged or completely depleted batteries for extended periods. Charge them to about 50% for long-term storage.
- Storage: When not in use, store the drone and its accessories in the provided carrying case to protect them from dust and physical damage.
9. Troubleshooting
If you encounter issues, refer to the following common problems and solutions:
| Problem | Possible Cause | Solution |
|---|---|---|
| Drone does not power on | Low battery; Battery not inserted correctly | Charge battery; Reinsert battery firmly |
| Drone not pairing with controller | Incorrect pairing procedure; Low controller battery | Repeat pairing steps; Charge controller |
| Unstable flight / Drifting | Drone not calibrated; Damaged propeller | Calibrate drone on a flat surface; Replace damaged propeller |
| Poor camera image/video quality | Dirty lens; Insufficient lighting; SD card issue | Clean lens; Fly in well-lit conditions; Format or replace SD card |
| Obstacle avoidance not working | Feature not activated; Sensors obstructed | Ensure obstacle avoidance is switched on; Clean sensor areas |
10. Specifications
| Feature | Detail |
|---|---|
| Brand | elecci |
| Model Name | E99 |
| Color | White - 2 batteries |
| Video Capture Resolution | 1080p |
| Connectivity Technology | Bluetooth |
| Remote Control Technology | Bluetooth |
| Included Components | Battery, Handbag, Camera, Screen Controller, SD Card |
| Item Weight | 6.4 ounces |
| Special Features | 360 Degree Flip, Auto Follow, One Key Rotation, One Button Return |
11. Warranty and Support
For warranty information or technical support, please refer to the contact details provided with your purchase or visit the official elecci website. Keep your proof of purchase for warranty claims.