
Introduction
Welcome to the world of remote-controlled flight with your new Sharper Image Gamma Drone. This lightweight 6.9-inch drone is designed for ease of use, featuring assisted takeoff and landing, along with intuitive Auto-Orientation control. Its caged propeller design enhances durability and safety during indoor flights. This manual provides essential information for setting up, operating, and maintaining your drone.

Image: The Sharper Image Gamma Drone, its remote control, and a sheet of custom decals.
Package Contents
Please ensure all items are present before proceeding with setup:
- Sharper Image Gamma Drone (6.9-inch)
- 2.4GHz Wireless Remote Control
- Built-in Rechargeable Drone Battery
- Micro USB Charging Cable
- Custom Decal Sheet (40+ reusable stickers)
- Spare Propellers (quantity may vary)
- Small Screwdriver (for battery compartment)
Getting Started (Setup)
1. Remote Control Battery Installation
The remote control requires 3 AAA batteries (not included). Open the battery compartment on the back of the remote control, insert the batteries according to the polarity indicators, and close the compartment securely.
2. Charging the Drone Battery
The drone features a built-in rechargeable battery. Connect the included Micro USB charging cable to the drone's charging port and plug the other end into a USB power source (e.g., computer, USB wall adapter). The indicator light on the charging cable will show the charging status. Charging typically takes approximately 45-60 minutes for a full charge, providing about 8 minutes of flight time.
3. Power On/Off and Pairing
- Ensure both the drone and remote control are powered off.
- Place the drone on a flat, level surface.
- Turn on the drone. The drone's indicator lights will begin to flash.
- Turn on the remote control. The remote's indicator light will also flash.
- Push the left joystick (throttle) all the way up, then pull it all the way down. You will hear a beep, and the drone's lights will become solid, indicating successful pairing.
4. Calibration
After pairing, it is recommended to calibrate the drone for stable flight. With the drone on a flat surface, push both joysticks on the remote control to the bottom-right corner simultaneously. The drone's lights will flash rapidly and then become solid, indicating successful calibration.

Image: The remote control and the Micro USB charging cable for the drone's rechargeable battery.
Controls and Flight Operation
Remote Control Layout
The 2.4GHz wireless remote control features two joysticks and several buttons for various functions:
- Left Joystick (Throttle/Rotate): Controls altitude (up/down) and rotation (left/right).
- Right Joystick (Direction): Controls forward/backward and left/right movement.
- Assisted Takeoff/Landing Button: Initiates automatic takeoff or landing with a single press.
- Speed Mode Button: Toggles between two speed modes (low and high) for different skill levels.
- Auto-Orientation Button: Activates headless mode, making flight direction relative to the remote control, regardless of the drone's orientation.
- Stunt Button: Activates 360-degree flip function.
Basic Flight
- Takeoff: Press the Assisted Takeoff/Landing button for automatic ascent, or slowly push the left joystick up to manually lift off.
- Ascend/Descend: Use the left joystick to control vertical movement.
- Forward/Backward/Side-to-Side: Use the right joystick to control horizontal movement.
- Rotation: Push the left joystick left or right to rotate the drone.
- Landing: Press the Assisted Takeoff/Landing button for automatic descent, or slowly pull the left joystick down to manually land.
Flight Assist Features
The Gamma Drone includes features to enhance flight stability and control:
- Auto-Orientation (Headless Mode): Simplifies control by eliminating the need to track the drone's front. The drone will move relative to the remote control's orientation.
- Stability Control: Built-in gyro sensors help maintain stable flight, making it easier for beginners.
Advanced Maneuvers
- Two Speed Modes: Switch between beginner-friendly low speed and more agile high speed using the Speed Mode button.
- 360-Degree Flips: Press the Stunt button, then quickly push the right joystick in any direction to perform an aerial flip.

Image: Visual representation of the drone's flight assist, propeller shields, and gyro sensor technology.
Customization and Durability
Custom Decals
Personalize your drone with the included sheet of over 40 reusable decals. Apply them to the drone's body to create a unique look.
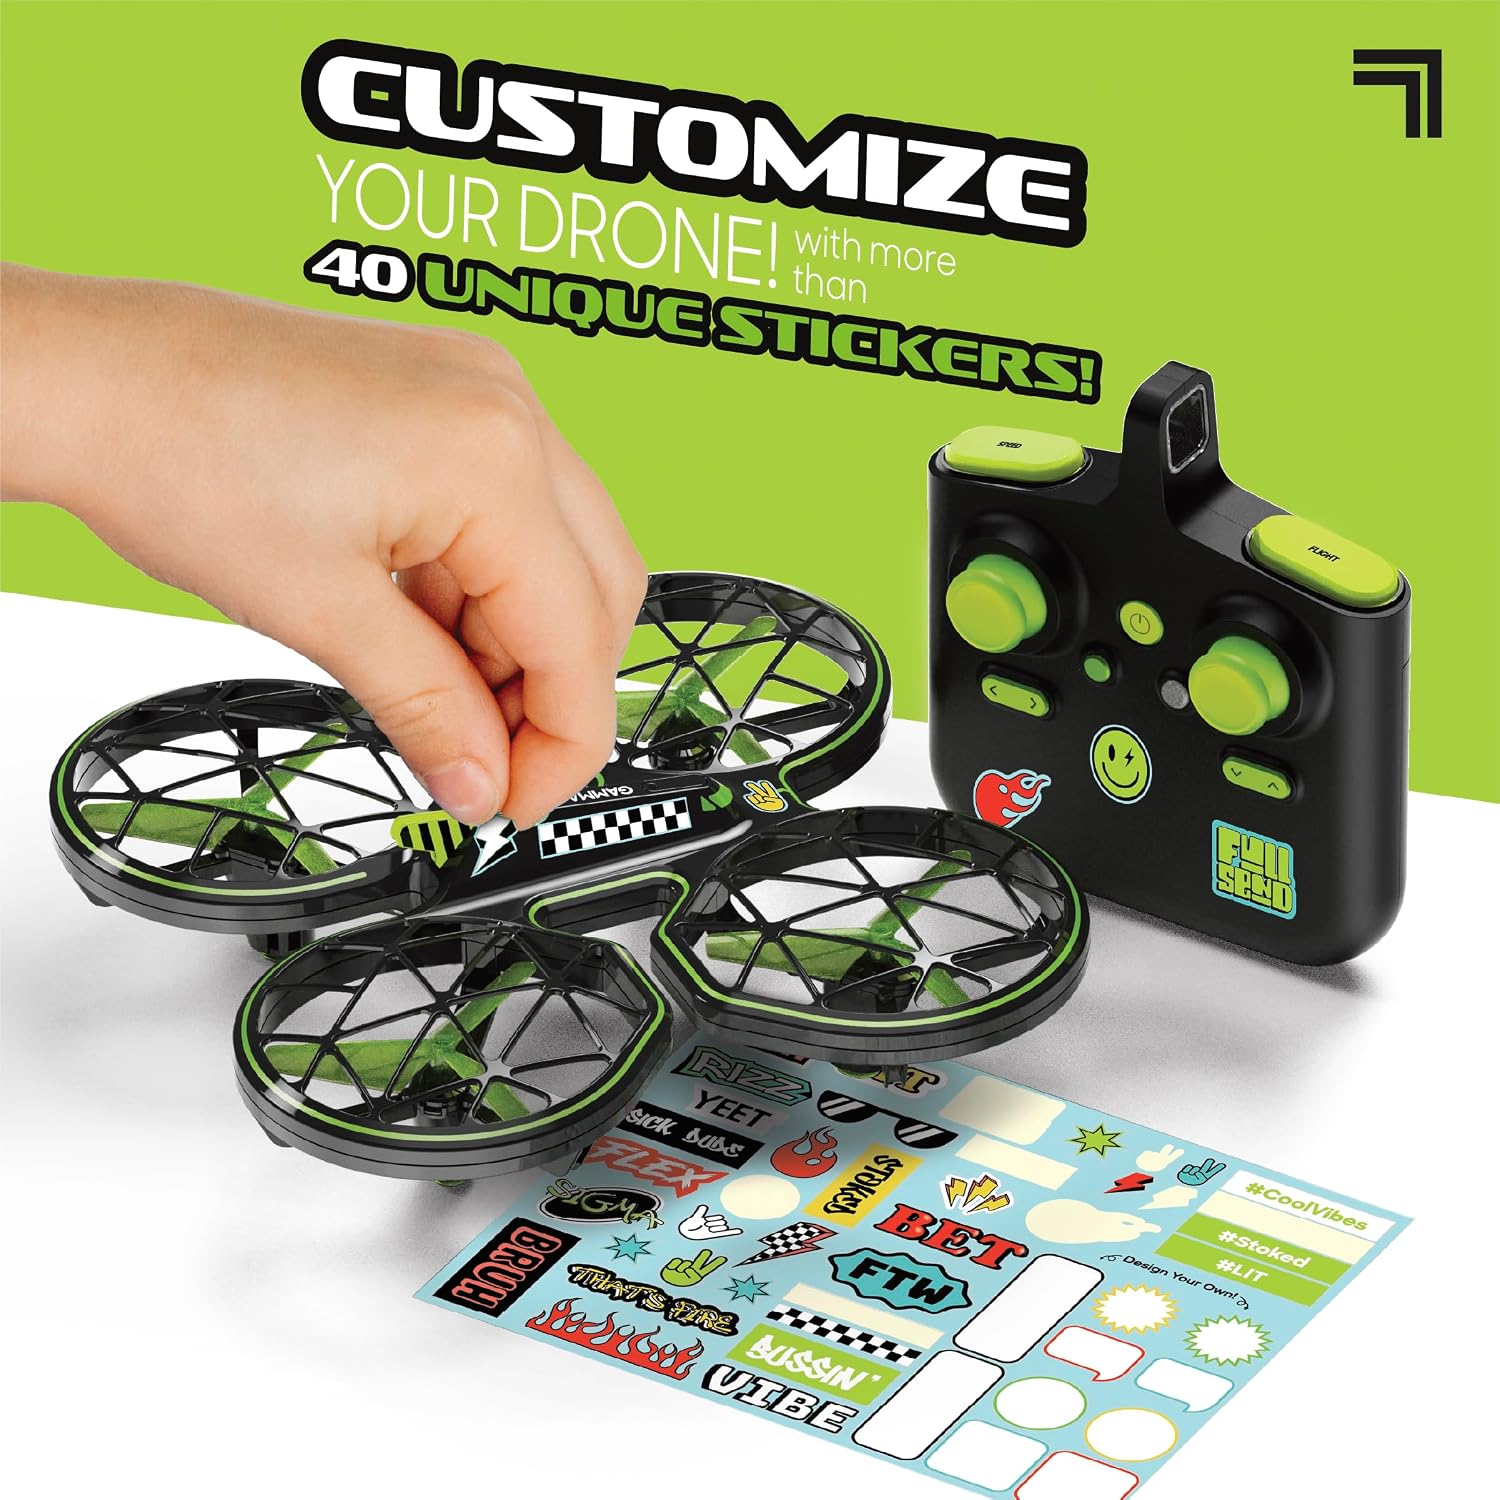
Image: A hand applying one of the custom decals to the drone's surface.
Protected Propellers
The drone features a durable caged design that shields the propellers from impacts and bumps, making it suitable for indoor flight and protecting both the drone and its surroundings.
Specifications
- Brand: Sharper Image
- Model Name: Drone Gamma
- Item Model Number: 1213022080
- Product Dimensions: 17.5 x 5.4 x 17.5 cm
- Item Weight: 426.38 g
- Control Range: Up to 150 feet (45.7 m)
- Battery Type (Drone): Built-in rechargeable
- Battery Type (Remote): 3 AAA batteries (not included)
- Flight Time: Approximately 8 minutes per charge
- Recommended Age: 8+ Years
- Special Feature: Remote Control, Caged Propellers, Auto-Orientation, Assisted Takeoff & Landing, Two Speed Modes, 360-degree Flips
Maintenance
To ensure the longevity and optimal performance of your Sharper Image Gamma Drone, follow these maintenance guidelines:
- Cleaning: Use a soft, dry cloth to clean the drone and remote control. Avoid using harsh chemicals or solvents.
- Propeller Care: Regularly inspect propellers for damage (bends, cracks). Replace any damaged propellers using the included spare parts and screwdriver. Ensure propellers are securely attached before each flight.
- Storage: When not in use, store the drone and remote control in a cool, dry place, away from direct sunlight and extreme temperatures. Remove AAA batteries from the remote control if storing for extended periods.
Troubleshooting
If you encounter issues with your drone, please refer to the following common solutions:
- Drone not responding/not pairing: Ensure both drone and remote batteries are charged. Repeat the pairing process (Power On/Off and Pairing section). Make sure you are within the operating range.
- Unstable flight/drifting: Perform a calibration (Calibration section) on a flat surface. Check for any damaged propellers and replace if necessary.
- Short flight time: Ensure the drone battery is fully charged. Flight time can be affected by aggressive flying or strong air currents.
- Propellers not spinning: Check for any obstructions around the propellers. Ensure the drone is properly paired and calibrated.
Warranty and Support Information
For specific warranty details and customer support, please refer to the information provided on the product packaging or contact Sharper Image customer service directly. Keep your purchase receipt as proof of purchase.