1. Important Safety Information
This product is not suitable for individuals under the age of 14. Adult supervision is recommended for all users. Please read and understand all instructions before operating the vehicle.
- Always operate the vehicle in a safe, open area away from people, pets, and obstacles.
- Do not operate near public roads, water, or high-voltage power lines.
- Ensure all batteries are charged correctly and installed securely.
- Avoid contact with moving parts during operation.
- Do not modify the vehicle or its components, as this may void the warranty and create safety hazards.
- Store the vehicle and its components in a cool, dry place when not in use.
2. What's in the Box
Verify that all components are present before proceeding with setup.
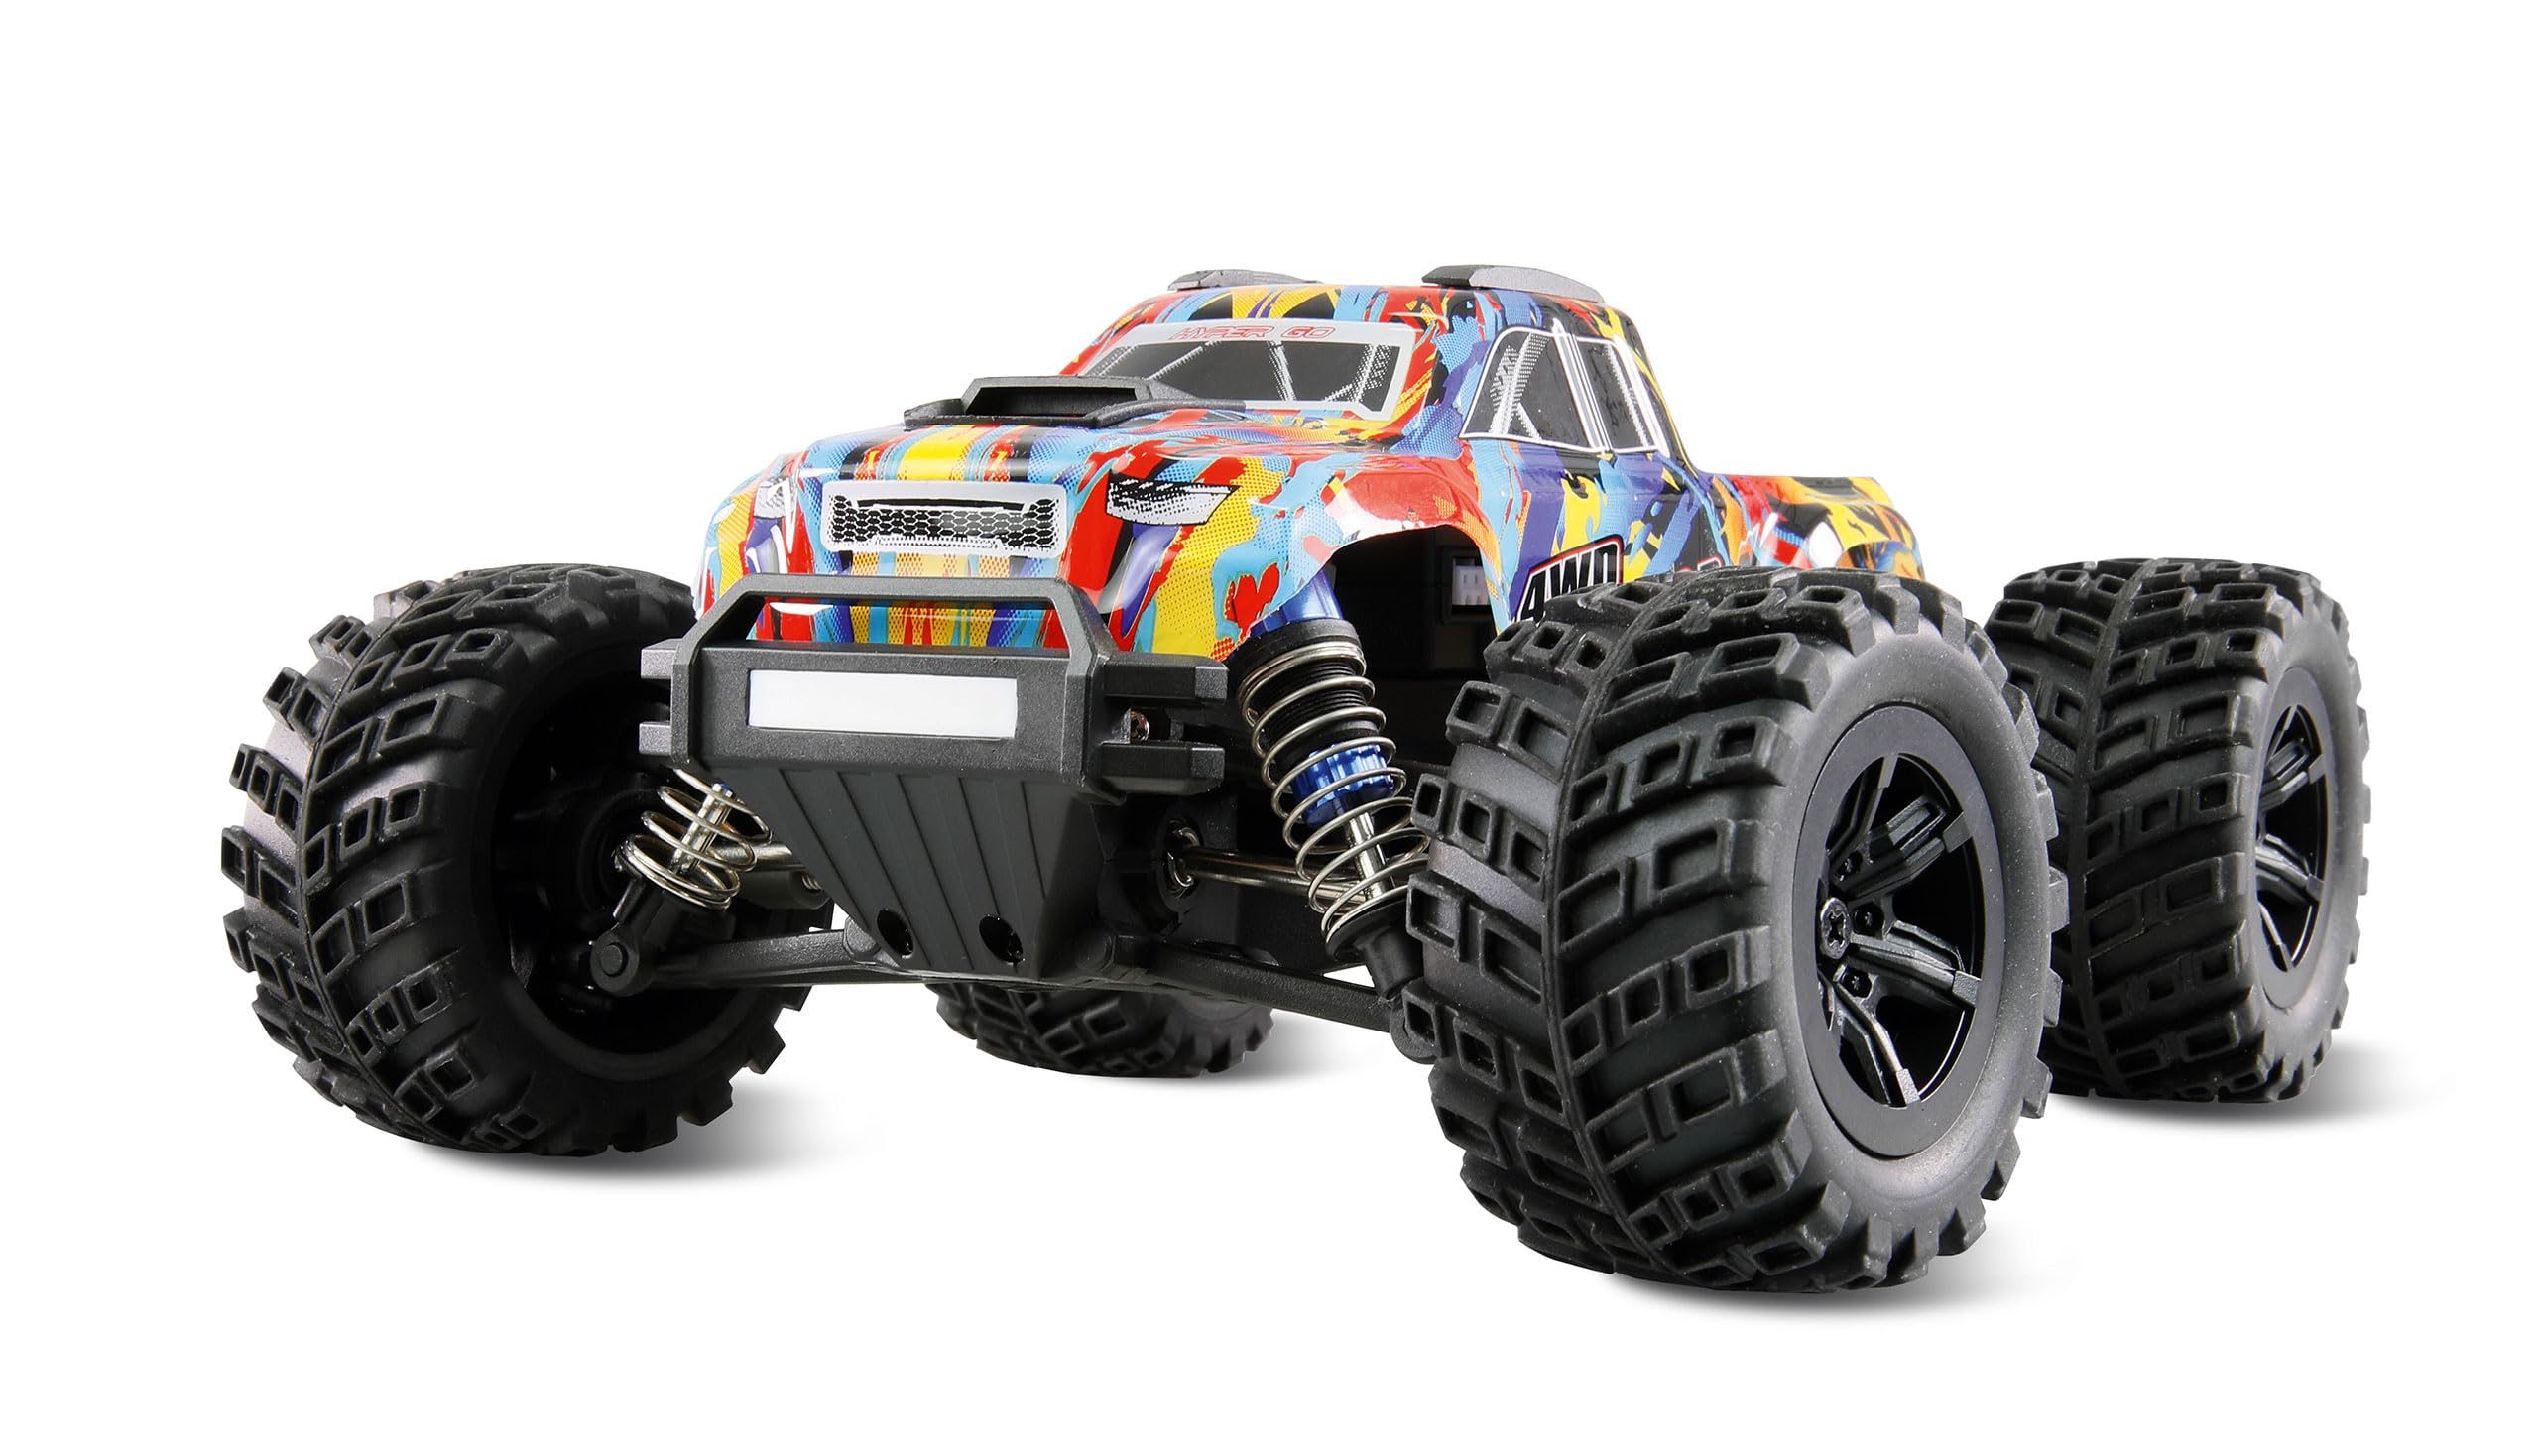
Figure 2.1: Contents of the Amewi Hyper Go MTX20 package.
- Amewi Hyper Go MTX20 Monster Truck (1:20 Scale)
- 2.4 GHz Remote Control
- Rechargeable Vehicle Battery
- USB Charging Cable
- Instruction Manual
- Small Screwdriver (for battery compartment)
3. Setup
3.1 Charging the Vehicle Battery
Before first use, fully charge the vehicle's rechargeable battery. The charging time may vary.
- Connect the USB charging cable to a compatible USB power source (e.g., computer USB port, USB wall adapter).
- Connect the vehicle battery to the charging cable.
- Observe the indicator light on the charging cable. It will typically show red during charging and turn off or green when fully charged.
- Once charging is complete, disconnect the battery from the charger.
3.2 Installing Vehicle Battery
Install the charged battery into the vehicle.
- Locate the battery compartment on the underside of the vehicle.
- Open the battery compartment cover.
- Carefully insert the charged battery, ensuring correct polarity.
- Connect the battery connector to the vehicle's power connector.
- Close the battery compartment cover securely.
3.3 Installing Remote Control Batteries
The remote control requires 1 AA battery (included).
- Locate the battery compartment on the back of the remote control.
- Use a small screwdriver to open the battery compartment cover.
- Insert 1 AA battery, observing the correct polarity (+/-).
- Replace the battery compartment cover and secure it with the screw.
3.4 Pairing the Remote Control
The vehicle and remote control are typically pre-paired. If re-pairing is necessary:
- Ensure both the vehicle and remote control are powered off.
- Turn on the vehicle. The LED on the vehicle may flash.
- Turn on the remote control.
- The LED indicators on both the vehicle and remote should become solid, indicating a successful connection.
- If pairing fails, turn off both devices and repeat the process.
4. Operating Instructions
4.1 Basic Controls
Familiarize yourself with the remote control functions:
- Steering Wheel: Turn left or right to control the vehicle's direction.
- Throttle Trigger: Pull to move forward, push to brake or reverse.
- Trim Adjustments: Small dials or buttons on the remote to fine-tune steering and throttle for straight driving.

Figure 4.1: Side profile of the MTX20, highlighting its ground clearance and wheel design.
4.2 Driving Tips
- Start slowly to get a feel for the controls.
- Practice steering and throttle control in an open area.
- The vehicle features LED lighting for improved visibility in low-light conditions.
- Utilize the adjustable suspension to adapt to different terrains. Soft rubber tires provide optimal grip.
- The integrated wheelie bar assists in performing controlled wheelies.
- Avoid driving through water or excessively muddy areas to prevent damage to electronics.
- When finished, always turn off the vehicle first, then the remote control. Disconnect the vehicle battery.
5. Maintenance
Regular maintenance ensures optimal performance and extends the lifespan of your MTX20.
- Cleaning: After each use, especially off-road, clean the vehicle to remove dirt, dust, and debris. Use a soft brush or compressed air. Avoid water directly on electronics.
- Inspection: Regularly check for loose screws, damaged parts, or worn tires. Pay attention to the drive train (made of aluminum and steel) and suspension components.
- Suspension: The adjustable oil pressure shock absorbers should be checked for leaks or damage. Ensure they move freely.
- Battery Care: Always disconnect the battery after use. Store batteries in a cool, dry place. Do not overcharge or completely discharge batteries.
- Modular Construction: The MTX20 features a modular design for easier maintenance and repair. Refer to diagrams (if available in a full manual) for component identification.
- Clipless Body: The body is secured with a quick-release mechanism. Ensure it is properly locked before operation.

Figure 5.1: Front view of the MTX20, illustrating the robust bumper and suspension system.
6. Troubleshooting
If you encounter issues, refer to the following common problems and solutions:
| Problem | Possible Cause | Solution |
|---|---|---|
| Vehicle does not respond to remote. | Low battery in vehicle or remote; not paired; power switch off. | Charge vehicle battery; replace remote battery; ensure both are powered on and paired. |
| Vehicle drives erratically or not straight. | Steering trim needs adjustment; damaged steering components. | Adjust steering trim on the remote control; inspect steering linkages for damage. |
| Reduced speed or power. | Low vehicle battery; motor overheating; debris in drivetrain. | Recharge vehicle battery; allow motor to cool; clean drivetrain. |
| Suspension appears stiff or damaged. | Debris in shocks; bent components; impact damage. | Clean shock absorbers; inspect for bent or broken parts and replace if necessary. |
If problems persist, contact Amewi customer support for further assistance.
7. Specifications
| Feature | Detail |
|---|---|
| Model | Hyper Go MTX20 |
| Item Model Number | 22699 |
| Scale | 1:20 |
| Motor Type | 4400kV Brushless Motor |
| Drive Train | Aluminum and Steel |
| Suspension | Adjustable Oil Pressure Shock Absorbers |
| Tires | Soft Rubber Tires |
| Special Features | LED Lighting, Rollover Protection, Wheelie Bar, Clipless Body |
| Product Dimensions | 8.66 x 7.09 x 4.13 inches |
| Item Weight | 1.22 pounds |
| Recommended Age | 14 years and up |
| Remote Control Batteries | 1 AA battery (included) |
8. Warranty and Support
For warranty information and technical support, please refer to the official Amewi website or contact their customer service directly.
- Keep your proof of purchase for any warranty claims.
- Do not attempt unauthorized repairs, as this may void your warranty.
- For replacement parts or further assistance, visit the Amewi official support channels.


