
CUIUIC 15.6inch
CUIUIC Dual Portable Monitor User Manual
Model: 15.6inch
Brand: CUIUIC
1. Introduction and Overview
The CUIUIC 15.6" Dual Portable Monitor is an innovative, driver-free solution designed to expand your laptop's display capabilities. This folding stacked triple laptop screen extender offers Full HD 1080P IPS panels, providing a larger visual area and enhancing productivity for various tasks, from professional work to gaming and entertainment. Its versatile design includes an adjustable stand and VESA mount compatibility, making it ideal for both travel and fixed workstation setups.
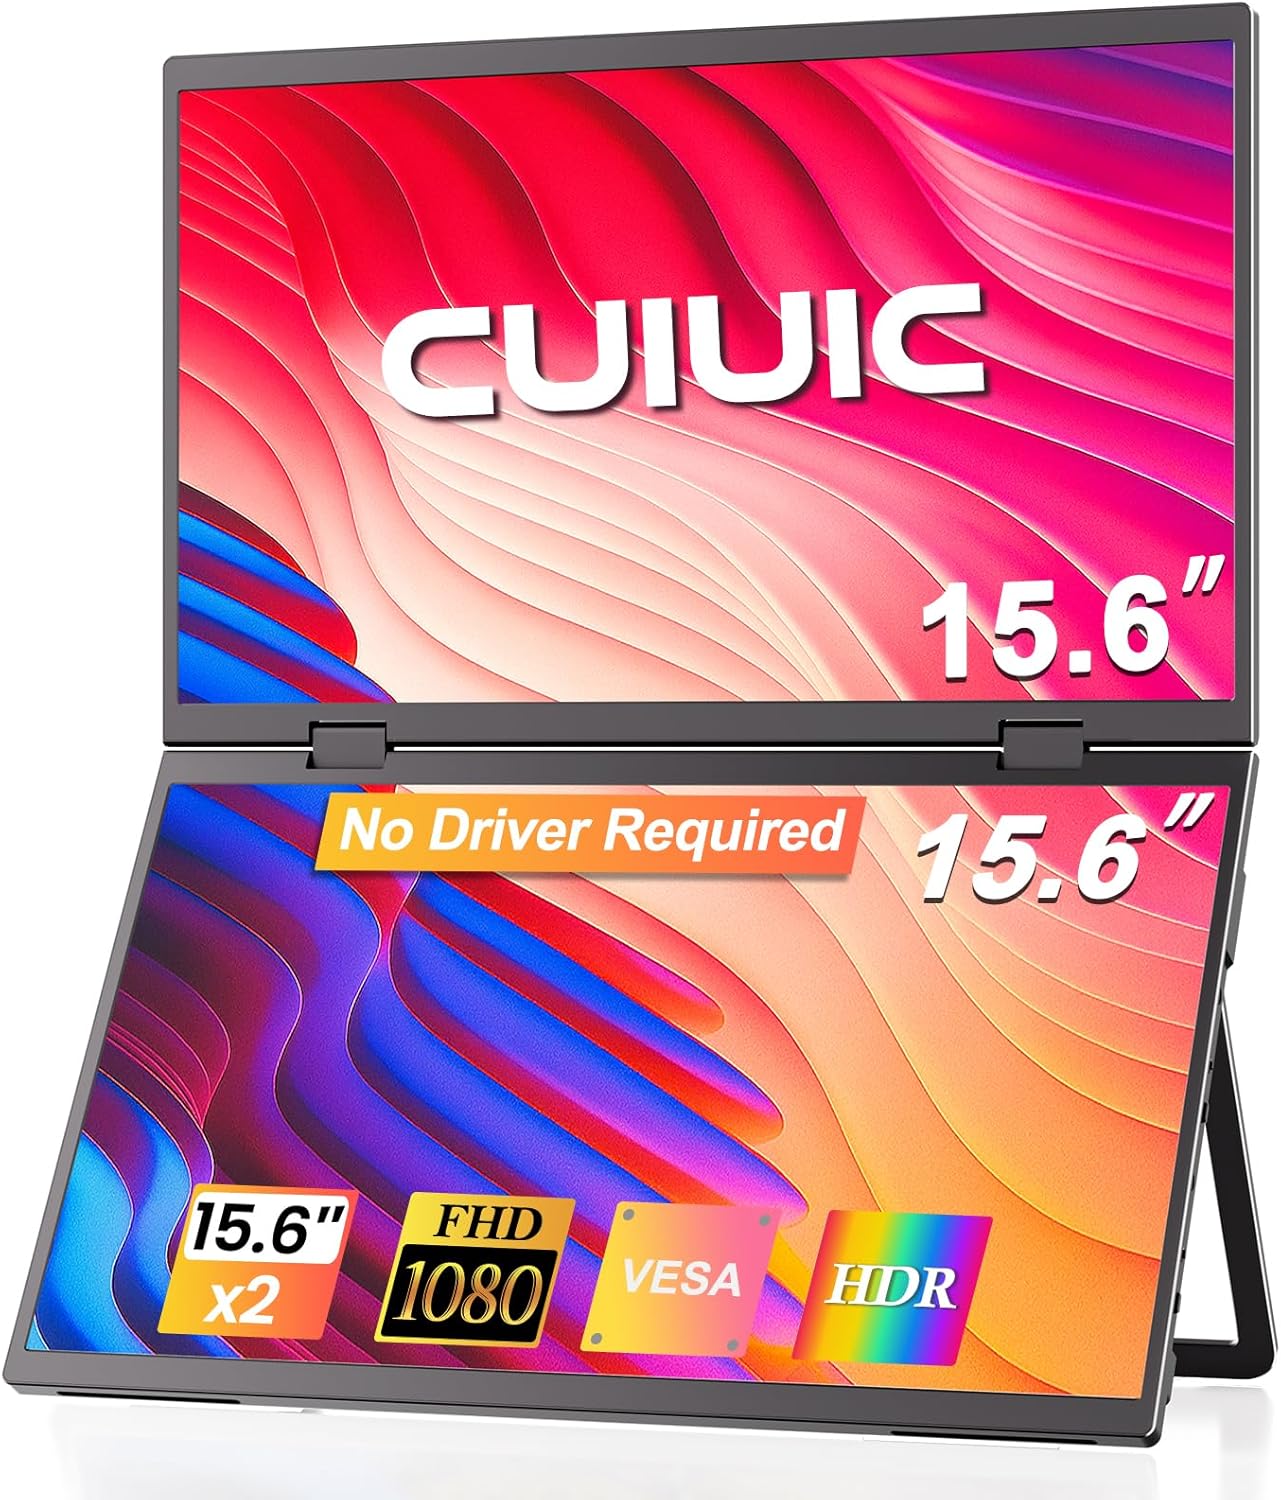
Image: The CUIUIC Dual Portable Monitor shown in its stacked configuration, highlighting its compact and innovative design.
2. Package Contents
Please ensure all items are present in the package before proceeding with setup.
- 15.6" Dual Monitor × 1
- Mini HDMI to standard HDMI Cable × 2
- USB Type C to USB Type C Cable × 3
3. Key Features
3.1. Plug & Play, Easy Setup
Experience hassle-free setup with CUIUIC's driver-free dual-screen monitor. Simply connect your devices using a single Type-C cable for seamless dual-screen display. For optimal performance, connecting the power supply is recommended.

Image: Visual guide demonstrating the four-step USB-C connection and extended display setup process.
3.2. Independent Connection & Powerful Function
This monitor allows users to manage different tasks efficiently. It uniquely supports simultaneous connection of two different devices, enabling multiple users to collaborate independently. When connecting two different devices, ensure both screens receive HDMI and power connections for full functionality.

Image: Illustration of the monitor connected to two separate devices simultaneously, showcasing independent display capabilities.
3.3. Ergonomic Design & Workspace Upgrade
The 15.6" dual stacked monitor doubles your workspace, providing a larger visual area. Its vertical layout reduces scrolling and page switching, minimizing eye and neck strain. Features include an IPS matte screen, 100% sRGB color gamut, ΔE<2 for accurate color reproduction, anti-glare, flicker-free technology, and eye care features for comfortable extended viewing.

Image: A side-by-side comparison showing how the dual monitor setup saves desk space and improves efficiency compared to a single laptop screen.
3.4. Folding Monitor for Versatile Use
Share your screen effortlessly with 0-360° rotation, ideal for collaboration. It supports duplicate, expand, split, landscape, and portrait modes for flexible display options, perfect for multi-screen simultaneous and independent displays.
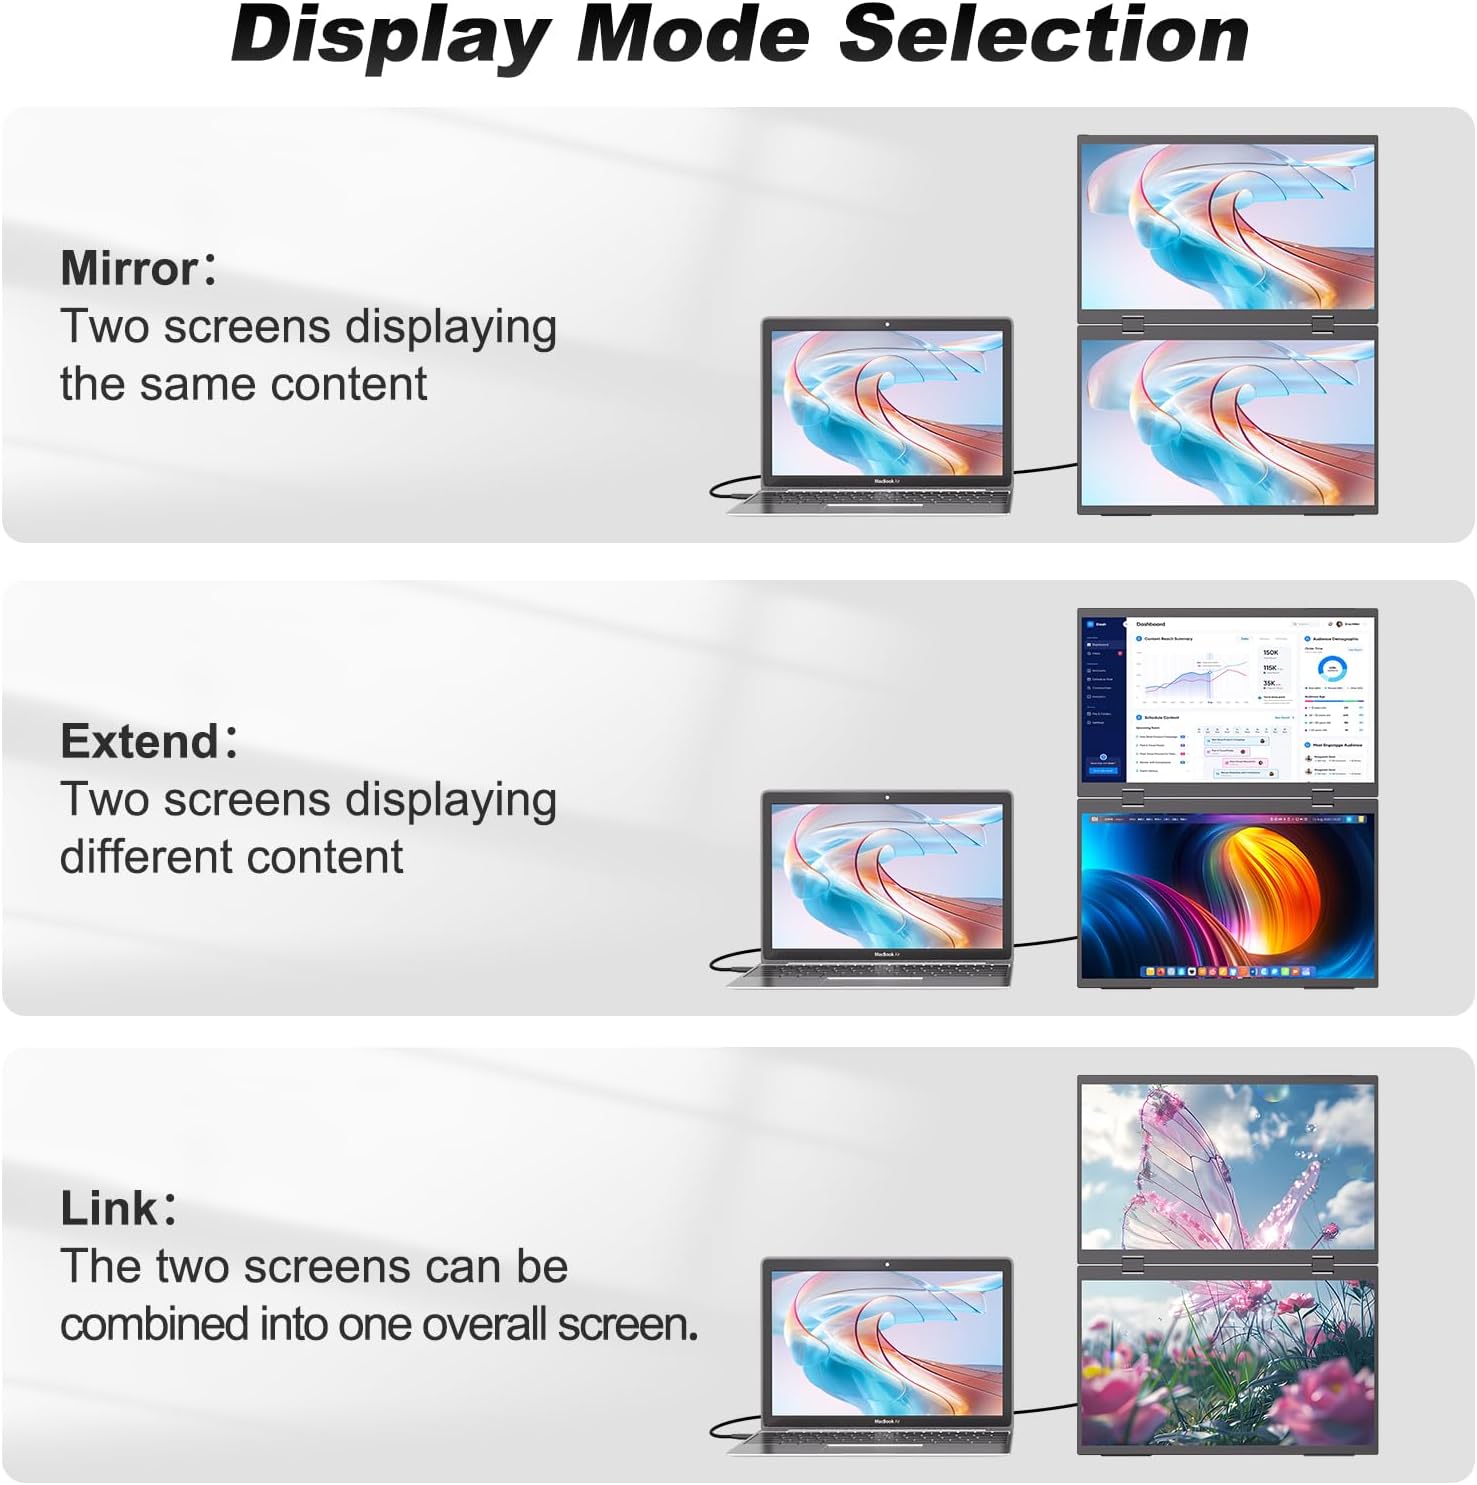
Image: Diagrams illustrating the Mirror, Extend, and Link display modes for various usage scenarios.
3.5. Adjustable Stand & VESA Mount
The built-in adjustable stand allows for easy tilt, swivel, and pivot adjustments to find your perfect ergonomic position. With VESA (75x75 mm, M4*4 mm) support, the monitor can be mounted to a wall, monitor arm, or other VESA-compatible systems, saving desk space and creating multi-monitor setups.

Image: Demonstrates the integrated stand and VESA mounting capabilities of the monitor.
4. Setup Guide
4.1. Initial Connection (USB-C)
- Check the Interface: Ensure your computer's USB-C port supports Thunderbolt 3.0 or higher. If not, the connection may not work as expected.
- Connect the Device: Use a USB-C to USB-C cable to connect your computer's USB-C port to the monitor's Type-C port (refer to the diagram for details on port labels like Type-C 1, Type-C 2, Type-C Power Port).
- Select Extended Mode:
- Windows: Press Win + P and choose "Extend" from the projection options.
- Mac: Select "Extend Display" in the "Display Settings".
- Set the Monitor to Extended Mode: Press the 'A' button on the monitor, rotate the 'B' button to select "Extended Mode", and then press 'B' to confirm.
Important Note: For a better experience and to avoid running out of power, it's recommended to connect an external power supply to the monitor, especially when using HDMI connections or with devices that do not provide sufficient power via USB-C.

Image: Diagram showing how connecting to different ports (C1/HD1 vs C2/HD2) affects which screen is displayed, emphasizing driver-free operation.
5. Operating Modes
The CUIUIC Dual Portable Monitor supports various display modes to suit your needs:
5.1. Mirror Mode
Two screens displaying the same content. Useful for presentations or sharing content with others.
5.2. Extend Mode
Two screens displaying different content, expanding your desktop workspace. Ideal for multitasking and productivity.

Image: Visual guide for setting up Extend Mode on Windows, showing how screens A, B, and C can display different content.
5.3. Link Mode
The two screens can be combined into one overall larger screen, providing an expansive display for specific applications.
The monitor also supports landscape and portrait orientations, allowing for flexible setup based on your content and workflow.
6. Connectivity
The CUIUIC Dual Portable Monitor offers versatile connectivity options:
6.1. USB-C Connection
The display is divided into main and sub-screen. Connecting the sub-screen only displays the sub-screen content. Connecting the main screen allows both screens to be displayed. A single USB-C cable connection is supported for video and power, but a separate power supply is recommended to avoid power issues.

Image: Diagram illustrating USB-C connection to a laptop, showing main and secondary screen functionality.
6.2. Mini HDMI Connection
Similar to USB-C, connecting the sub-screen via Mini HDMI only displays the sub-screen. Connecting the main screen allows both screens to be displayed. When using HDMI, it is crucial to supply power to the display separately.

Image: Diagram illustrating Mini HDMI connection to a laptop, emphasizing the need for separate power.
6.3. Multi-Device Compatibility
The monitor is compatible with a wide range of devices including Laptops (Windows, Mac), PCs, PS5, Nintendo Switch, Phones (iPhone 15 series directly via Type-C; other iPhones need Lightning to HDMI adapter; Android via USB-C 3.1+), and Xbox.

Image: Icons representing various compatible devices such as laptops, PCs, gaming consoles, and smartphones.
7. Display Settings
Both the main and secondary screens can be individually adjusted according to personal needs. This allows for optimization of brightness, volume, and color settings to achieve the best visual experience for each screen.

Image: Depicts the on-screen display (OSD) menu for individual screen settings, including brightness, contrast, and color temperature.
8. Troubleshooting
8.1. No Display / Black Screen
Check Power: Ensure the monitor is receiving sufficient power. If using USB-C, try connecting the dedicated power supply. If using HDMI, a separate power supply is required and must be connected.
Check Cable Connections: Verify that all USB-C and/or HDMI cables are securely connected to both the monitor and your device. Try re-seating the cables.
Source Selection: Use the monitor's OSD menu to ensure the correct input source (e.g., Type-C 1, Mini HDMI 1) is selected.
Device Compatibility: For USB-C, confirm your laptop's USB-C port supports Thunderbolt 3.0/4 or USB-C 3.1 (DisplayPort Alternate Mode). Older USB-C ports may not support video output.
8.2. Screens Mirroring Instead of Extending
Windows: Press Win + P and select "Extend" from the projection options.
Mac: Go to System Settings > Displays and ensure "Extend Display" is selected, not "Mirror Displays".
8.3. Poor Image Quality / Washed Out Colors
Adjust Settings: Access the monitor's OSD menu to adjust brightness, contrast, and color temperature. Refer to Section 7 for details.
Check Resolution: Ensure your device's display settings are configured to 1920 x 1080 Pixels (FHD 1080p) for optimal clarity.
Viewing Angle: While IPS panels offer wide viewing angles, extreme angles can still affect perception. Adjust the monitor's position for best viewing.
8.4. Audio Issues
Check Volume: Ensure the monitor's volume is not muted or set too low via the OSD menu.
Audio Output: Verify that your computer's audio output is set to the CUIUIC monitor in your sound settings.
9. Specifications
| Brand | CUIUIC |
| Model | 15.6inch Dual Portable Monitor |
| Screen Size | 15.6 Inches (x2) |
| Display Resolution Maximum | 1920 x 1080 Pixels (FHD 1080p) |
| Aspect Ratio | 16:9 |
| Panel Type | IPS Matte Screen |
| Color Gamut | 100% sRGB |
| Color Accuracy | ΔE<2 |
| VESA Mount | 75x75 mm (M4*4 mm) |
| Item Weight | 5.52 pounds |
| Package Dimensions | 15.47 x 10.63 x 3.43 inches |
10. Warranty and Support
CUIUIC products are designed for reliability and performance. For specific warranty details and support, please refer to the warranty information provided with your purchase or visit the official CUIUIC store on Amazon.
CUIUIC Store: Visit the CUIUIC Store on Amazon
Related documents15.6inch


Ask a question about this manual
Ask about setup, troubleshooting, compatibility, parts, safety, or missing instructions. Manuals+ will review the question and use this page’s manual context to help answer it.