
JIJ J1-3pack
JIJ Flashlight 3 Pack User Manual
Model: J1-3pack | Brand: JIJ
Introduction
Thank you for choosing the JIJ Flashlight 3 Pack. This manual provides essential information for the safe and efficient use of your rechargeable, high-lumen LED tactical flashlights. Please read it thoroughly before use and retain it for future reference. These flashlights are designed for versatility and durability, suitable for various outdoor activities, home emergencies, and professional use.
What's in the Box
Upon opening your JIJ Flashlight 3 Pack, please verify that all components listed below are present and in good condition.
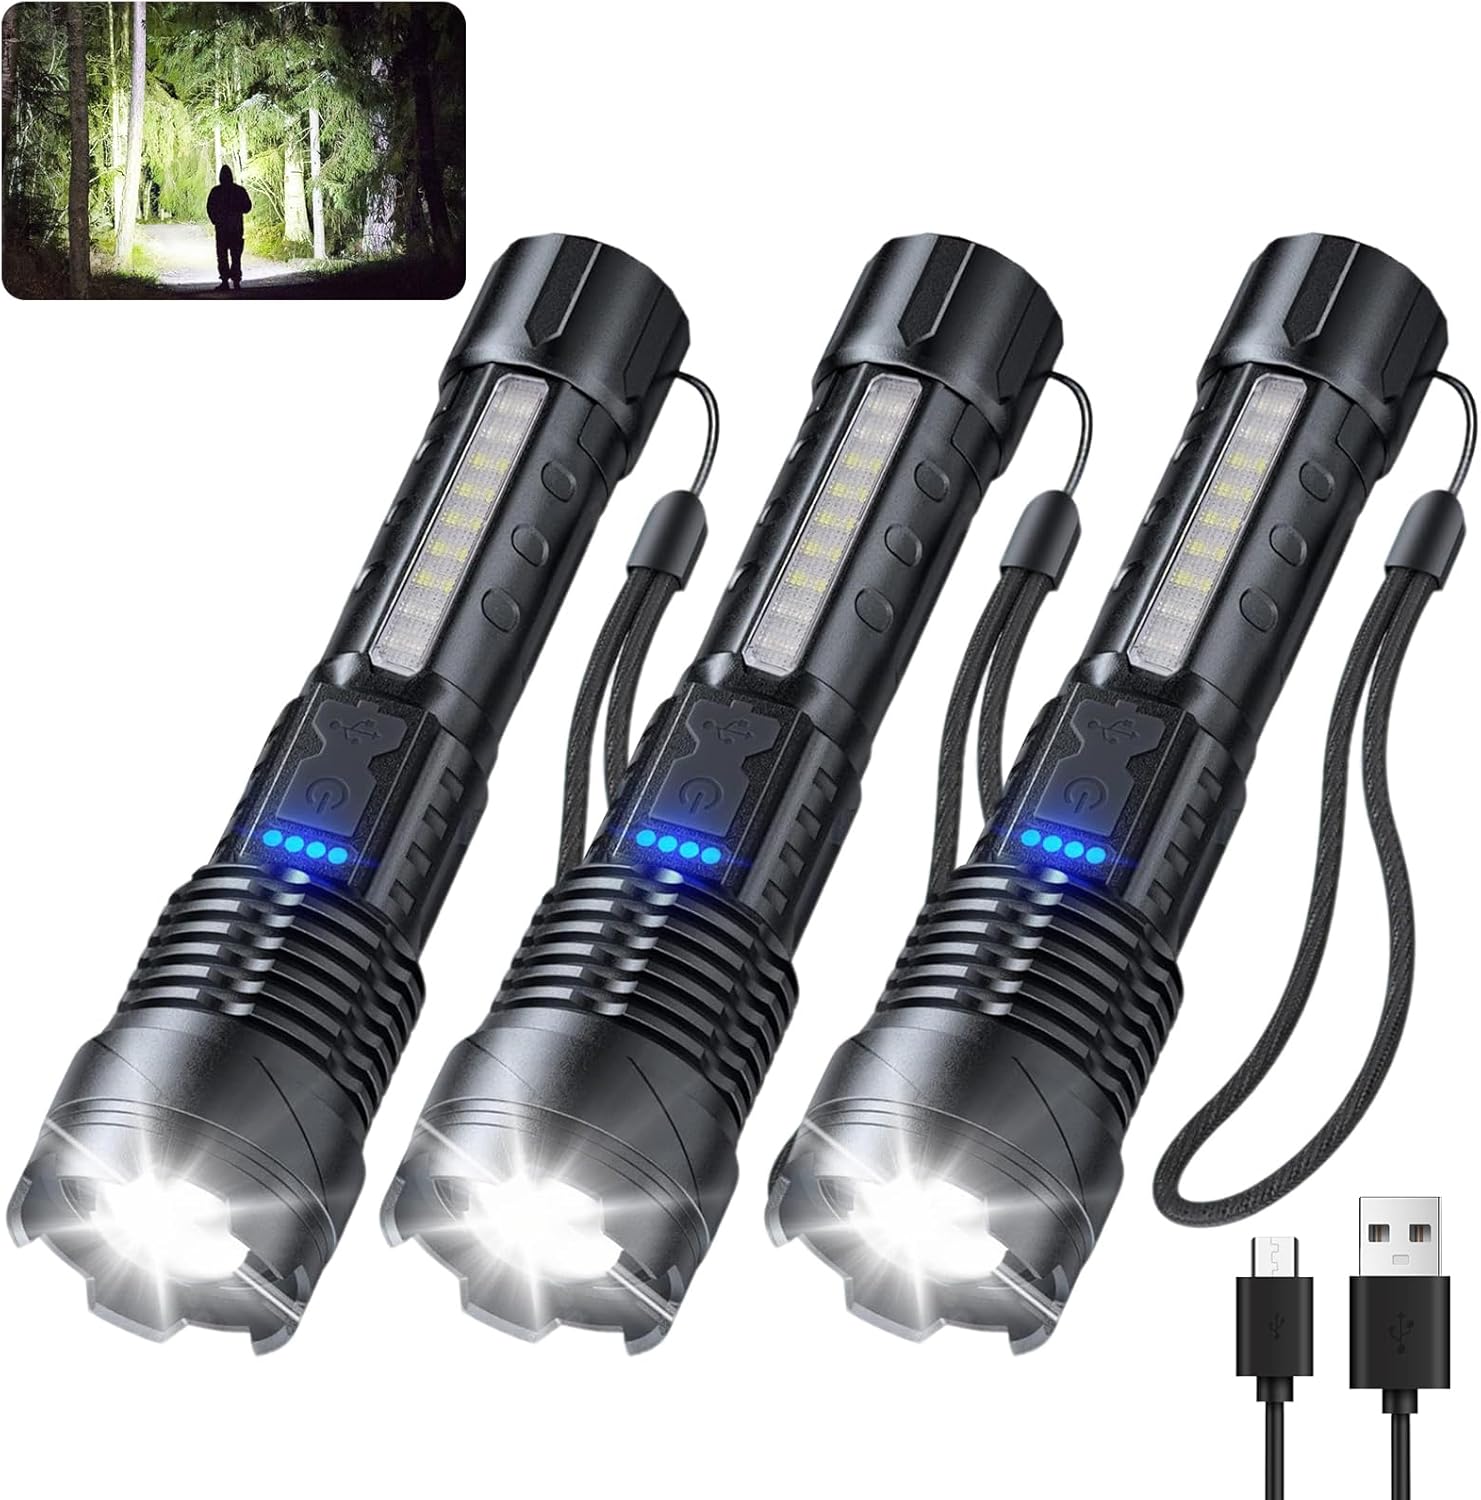
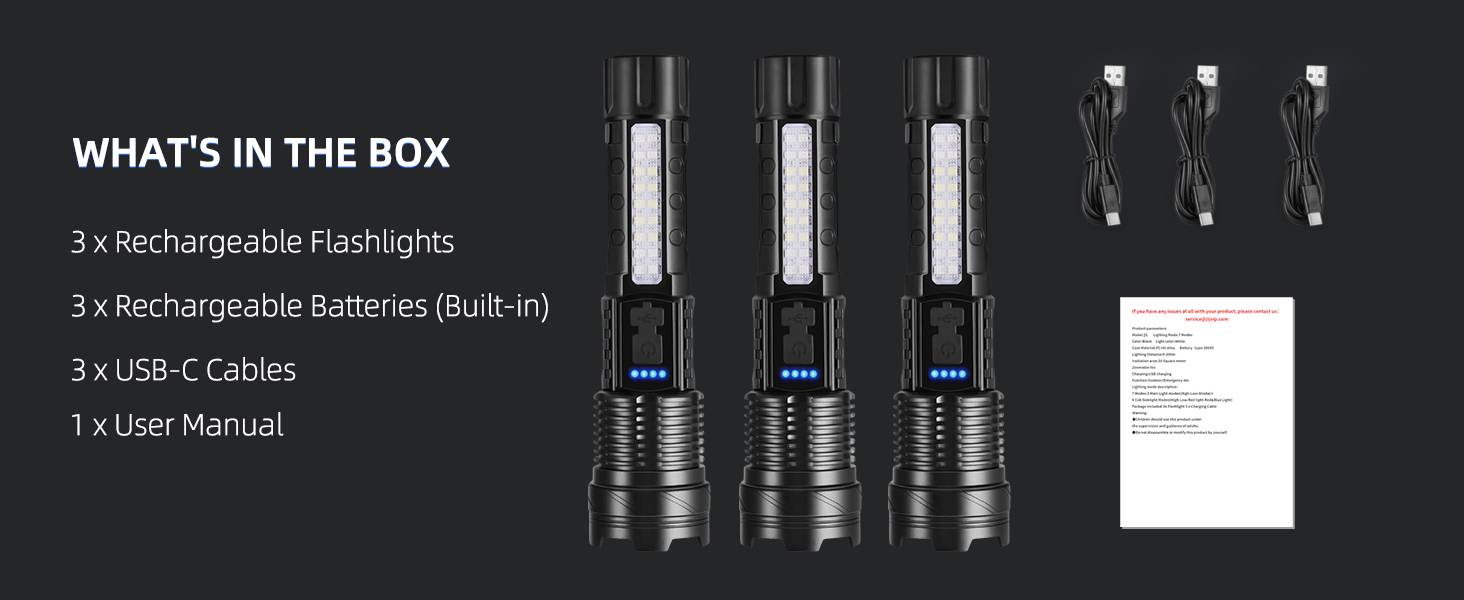
- 3 x Rechargeable Flashlights
- 3 x Rechargeable Batteries (Built-in)
- 3 x USB-C Cables
- 3 x Wrist Lanyards
- 1 x User Manual
Product Features
The JIJ Flashlight is engineered with advanced features for optimal performance and reliability.
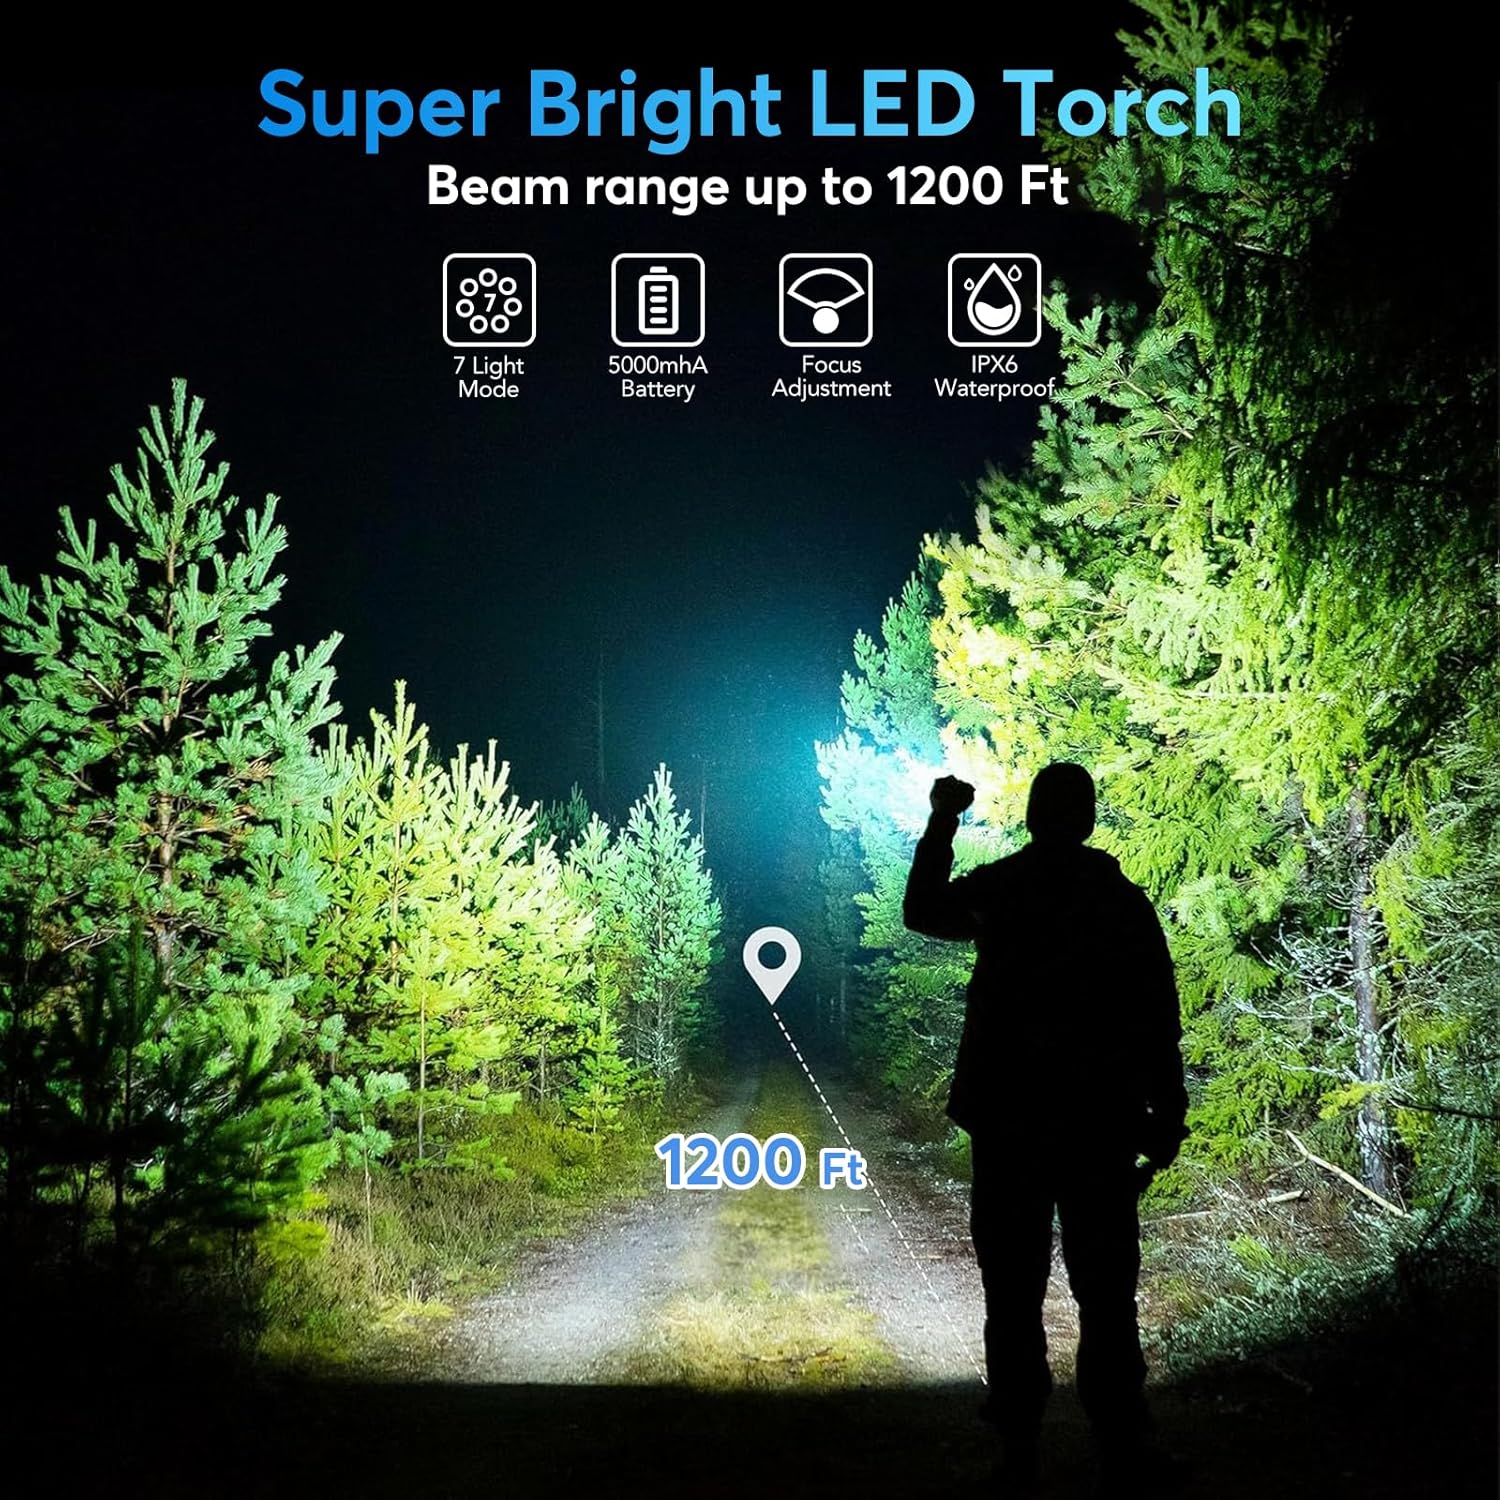
- Ultra-Bright Illumination: Each flashlight provides up to 1000 lumens, capable of illuminating distances up to 1200 feet.
- Adjustable Focus: Easily switch between a concentrated spotlight for long-range visibility and a wide floodlight for broad area illumination.
- 7 Lighting Modes: Features 3 main LED modes (High, Low, Strobe) and 4 side light modes (Cold White, Neutral White, Red, and Red & Blue Strobe for emergencies).
- Rechargeable & Long-Lasting: Equipped with a high-capacity 5000mAh built-in battery, offering up to 12 hours of runtime on High Mode. Fast Type-C charging port.
- Battery Level Indicator: A 4-stage indicator provides precise battery status.
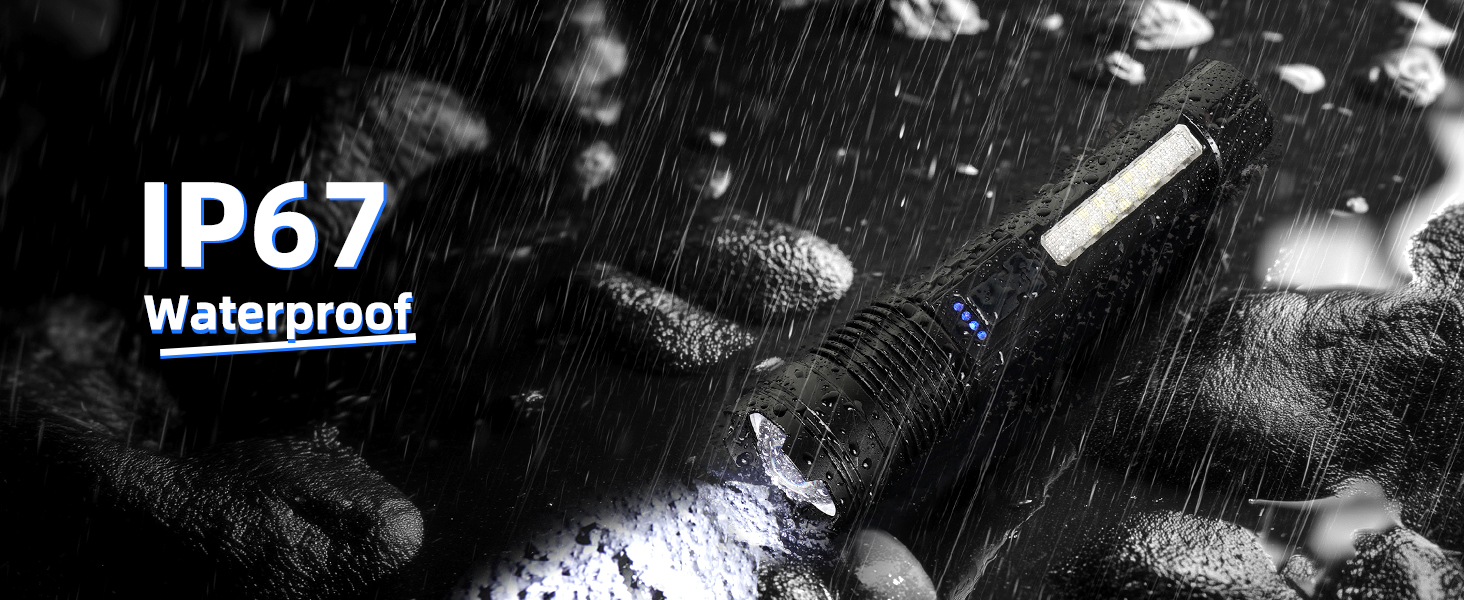
- Rugged & Weather-Ready Design: Constructed from aircraft-grade aluminum with an IP67 waterproof rating, making it submersible up to 2 meters for 30 minutes. Resistant to dust, sand, and moisture.
Setup
Before first use, it is recommended to fully charge your JIJ flashlight.
- Initial Charge: Connect the provided USB-C cable to the flashlight's charging port and the other end to a USB power source (e.g., wall adapter, computer, power bank). The battery indicator lights will illuminate to show charging progress.
- Full Charge Indication: All four battery indicator lights will be solid blue when the flashlight is fully charged. This typically takes approximately 3 hours.
- Attach Lanyard: Thread the wrist lanyard through the designated loop at the tail cap of the flashlight for secure handling.
Operating Instructions
Familiarize yourself with the flashlight's controls for optimal use.
Main Light Operation
- Power On/Off: Press the power button once to turn on the main light. Press again to cycle through High, Low, and Strobe modes. Press and hold for 2 seconds to turn off.
- Mode Cycling: With the main light on, short press the power button to switch between High, Low, and Strobe.
- Zoom Function: Extend the head of the flashlight forward to narrow the beam for a spotlight effect. Pull the head back to widen the beam for a floodlight effect.

Side Light Operation
- Activate Side Light: With the flashlight off, press and hold the power button for 3 seconds to activate the side light.
- Side Light Mode Cycling: Once the side light is on, short press the power button to cycle through Cold White, Neutral White, Red, and Red & Blue Strobe modes.
- Turn Off Side Light: Press and hold the power button for 2 seconds to turn off the side light.
Battery Indicator
The blue LED lights above the power button indicate the remaining battery charge:
- 4 lights: 75-100% charge
- 3 lights: 50-75% charge
- 2 lights: 25-50% charge
- 1 light: Below 25% charge (recharge soon)
Charging Instructions
To ensure optimal performance and battery longevity, follow these charging guidelines:
- Use only the provided USB-C cables for charging.
- Connect the flashlight to a standard USB power source (5V/1A recommended).
- The battery indicator lights will flash during charging and become solid blue when fully charged.
- Avoid over-discharging the battery. Recharge when only one indicator light remains.
- Do not attempt to charge the flashlight in wet conditions. Ensure the charging port cover is securely closed when not charging to maintain waterproof integrity.
Maintenance
Proper maintenance will extend the life and performance of your JIJ flashlight.
- Cleaning: Wipe the flashlight body with a soft, damp cloth. Do not use abrasive cleaners or solvents. Keep the lens clean for optimal light output.
- Waterproof Seals: Periodically inspect the O-rings and seals for any signs of wear or damage. Ensure they are free of dirt and debris to maintain the IP67 waterproof rating.
- Storage: Store the flashlight in a cool, dry place away from direct sunlight and extreme temperatures. For long-term storage, charge the battery to approximately 50-75% every 3-6 months to prevent deep discharge.
- Battery Care: The built-in battery is not user-replaceable. Do not attempt to open the flashlight housing.

Troubleshooting
If you encounter issues with your JIJ flashlight, refer to the following common problems and solutions.
| Problem | Possible Cause | Solution |
|---|---|---|
| Flashlight does not turn on. | Low battery or no charge. | Charge the flashlight fully using the provided USB-C cable. |
| Light is dim or flickers. | Low battery. | Recharge the flashlight. |
| Flashlight does not charge. | Faulty cable or power source. | Try a different USB-C cable or power adapter. Ensure the charging port is clean. |
| Water ingress after exposure. | Charging port cover not sealed or damaged O-rings. | Ensure the charging port cover is always securely closed. Inspect O-rings for damage and clean if necessary. If damage is present, contact support. |
Specifications
Detailed technical specifications for the JIJ Flashlight.
| Feature | Detail |
|---|---|
| Model Number | J1-3pack |
| Light Source Type | LED |
| Brightness | 1000 Lumens (White Light) |
| Power Source | USB Rechargeable (Built-in Lithium Ion Battery) |
| Battery Capacity | 5000mAh |
| Charging Time | Approx. 3 hours (Type-C) |
| Runtime (High Mode) | Up to 12 hours |
| Material | Aircraft-grade Aluminum |
| Water Resistance Level | IP67 (Submersible up to 2 meters for 30 minutes) |
| Product Dimensions | 10"D x 2"W x 6.5"H (Approximate) |
| Item Weight | 1.15 pounds (for the pack) |
| Voltage | 3.7 Volts |
Warranty and Support
JIJ stands behind the quality of its products.
- Warranty: This product comes with a Lifetime Warranty, as specified by JIJ. Please refer to your purchase documentation for specific terms and conditions.
- Customer Support: For warranty claims, technical assistance, or any questions regarding your JIJ Flashlight, please contact JIJ customer service through the platform where you made your purchase or visit the official JIJ website for contact information.
Ask a question about this manual
Ask about setup, troubleshooting, compatibility, parts, safety, or missing instructions. Manuals+ will review the question and use this page’s manual context to help answer it.