
1. Introduction
This manual provides detailed instructions for the MURAUX 6K 64MP Video Camera Camcorder, Model A10. Please read this manual thoroughly before using the device to ensure proper operation and to maximize its capabilities. This camcorder is designed for capturing high-quality video and photos, featuring 6K video resolution, 64MP still image capture, 18X digital zoom, night vision, and Wi-Fi connectivity.
2. Package Contents
Verify that all items listed below are included in your package. If any items are missing or damaged, please contact customer support.
- MURAUX 6K 64MP Video Camera Camcorder (A10)
- USB Cable
- 32GB SD Card
- External Microphone
- 2 x Lithium Polymer Batteries
- Remote Control
- User Manual (this document)

Figure 2.1: Included Accessories
3. Product Overview
Familiarize yourself with the main components of your MURAUX A10 camcorder.
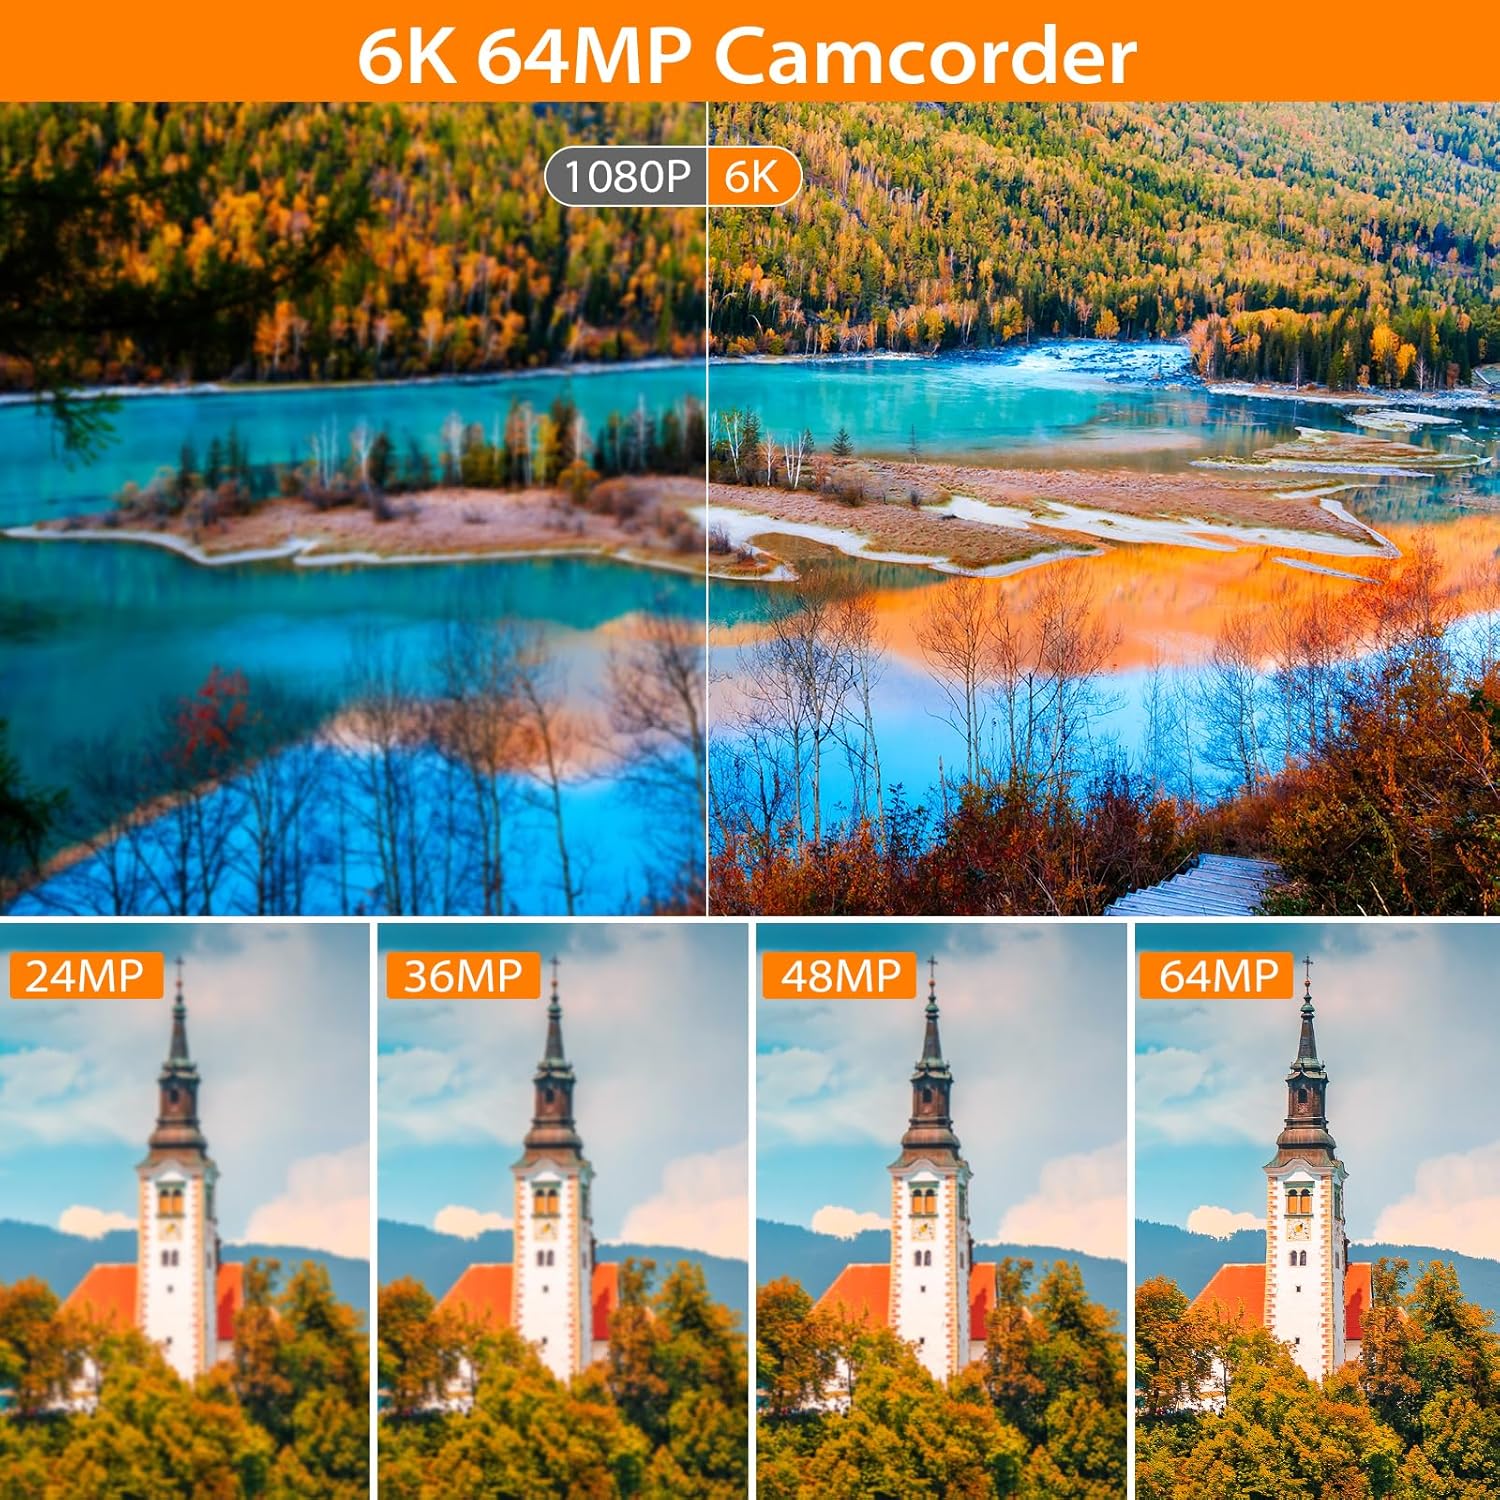
Figure 3.1: Camcorder Front and Side View
Key Components:
- Lens: Captures video and photo footage.
- 3.0" Touch Screen LCD: Rotates 270° for flexible viewing and control.
- Power Button: Turns the camcorder on/off.
- Record/Shutter Button: Starts/stops video recording or takes a photo.
- Zoom Lever: Controls the 18X digital zoom.
- Microphone Input: For connecting the external microphone.
- SD Card Slot: For inserting the memory card.
- Battery Compartment: Houses the rechargeable battery.
- USB Port: For charging, data transfer, and webcam functionality.
- HDMI Port: For connecting to a TV or monitor (HDMI cable not included).
4. Setup
4.1. Battery Installation and Charging
- Open the battery compartment cover on the bottom of the camcorder.
- Insert a fully charged Lithium Polymer battery, ensuring correct polarity.
- Close the battery compartment cover securely.
- To charge, connect the camcorder to a power source using the provided USB cable. The charging indicator will illuminate.
- Alternatively, use the external battery charger (if included) to charge the spare battery.
4.2. SD Card Installation
- Locate the SD card slot on the side of the camcorder.
- Insert the 32GB SD card with the metal contacts facing the front of the camcorder until it clicks into place.
- To remove, gently press the SD card until it pops out.
- Note: Ensure the camcorder is powered off before inserting or removing the SD card to prevent data loss.
4.3. External Microphone Attachment
- Slide the external microphone onto the hot shoe mount on top of the camcorder.
- Connect the microphone's audio cable to the microphone input port on the camcorder.
- Ensure the microphone is powered on (if it has its own power source).

Figure 4.1: Camcorder with External Microphone and Remote Control
5. Operating Instructions
5.1. Power On/Off
- To power on, open the LCD screen or press the Power button.
- To power off, close the LCD screen or press and hold the Power button.
5.2. Basic Recording (Video/Photo)
- Turn on the camcorder.
- Use the Mode button (or touch screen menu) to select between video recording mode or photo capture mode.
- Frame your shot using the LCD screen.
- Press the Record/Shutter button to start video recording or take a photo.
- Press the Record/Shutter button again to stop video recording.
5.3. Digital Zoom
Use the zoom lever located near the top of the camcorder to adjust the 18X digital zoom. Push the lever forward to zoom in and backward to zoom out.

Figure 5.1: Digital Zoom and Night Vision
5.4. Infrared Night Vision
To activate night vision for recording in low-light or complete darkness:
- Ensure the camcorder is powered on.
- Tap the power button briefly to toggle the infrared night vision mode. The screen will display a monochrome image when active.
- Repeat the action to deactivate night vision.
5.5. Using the Remote Control
The included 2.4G wireless remote control allows for hands-free operation. Point the remote at the camcorder to control functions such as recording, zooming, and playback without touching the camera.
5.6. Advanced Shooting Modes
- Pause Function: During video recording, press the Record/Shutter button briefly to pause, and press again to resume. This creates a single, continuous video file.
- Continuous Shooting: Capture a rapid sequence of photos. Select this mode from the menu.
- Time-Lapse: Record events over a long period and play them back in a sped-up video. Configure interval settings in the menu.
- Slow Motion: Record video at a higher frame rate for slow-motion playback.
- Loop Recording: Continuously record, overwriting the oldest files when the memory card is full.

Figure 5.2: Continuous Shooting, Pause Function, and Time-Lapse
6. Connectivity
6.1. Wi-Fi Connection (HelloCam App)
Connect your camcorder to a smartphone or tablet for live preview, remote control, and file transfer.
- Download the "HelloCam" app from your device's app store.
- On the camcorder, turn on Wi-Fi (usually via the menu or a dedicated button). The camcorder will display a Wi-Fi network name (e.g., HDV6K) and password.
- On your smartphone/tablet, go to Wi-Fi settings and connect to the camcorder's Wi-Fi network using the provided password.
- Open the "HelloCam" app and tap "Connect Camera."
- You can now view live footage, control recording, and transfer files.

Figure 6.1: Easy Sharing via Wi-Fi
6.2. Webcam Functionality
The camcorder can be used as a webcam for live streaming, video calls, or online meetings.
- Connect the camcorder to your computer using the USB cable.
- Select "PC Camera" or "Webcam" mode on the camcorder's screen (if prompted).
- Your computer should recognize the camcorder as a webcam. Select it as the video source in your video conferencing or streaming software.

Figure 6.2: Webcam and Remote Control Usage
6.3. HDMI Output
Connect the camcorder to a TV or monitor using an HDMI cable (not included) to view your recordings on a larger screen.
7. Maintenance
- Cleaning: Use a soft, dry cloth to clean the camcorder body. For the lens, use a specialized lens cleaning cloth and solution. Avoid abrasive cleaners.
- Storage: Store the camcorder in a cool, dry place away from direct sunlight and extreme temperatures. Remove the battery if storing for extended periods.
- Battery Care: Fully charge batteries before first use. Do not expose batteries to high temperatures or dispose of them in fire.
- SD Card: Format the SD card periodically to maintain optimal performance. Back up important data before formatting.
8. Troubleshooting
| Problem | Possible Cause | Solution |
|---|---|---|
| Camcorder does not power on. | Battery is depleted or incorrectly inserted. | Ensure battery is fully charged and inserted with correct polarity. |
| Cannot record video/take photos. | SD card is full, locked, or not inserted. Incorrect mode selected. | Check SD card status (space, lock switch). Ensure it's inserted correctly. Select the appropriate recording mode. Format the SD card if necessary (after backing up data). |
| Poor video/photo quality (grainy, blurry). | Low light conditions, dirty lens, incorrect settings, digital zoom overuse. | Activate Night Vision in low light. Clean the lens. Adjust resolution settings. Avoid excessive digital zoom, which can reduce image clarity. |
| Wi-Fi connection issues. | Incorrect password, app not connected, camcorder Wi-Fi off. | Ensure Wi-Fi is enabled on the camcorder. Verify the password. Reconnect via the "HelloCam" app. |
| Remote control not working. | Remote battery depleted, line of sight blocked. | Replace remote battery. Ensure no obstructions between remote and camcorder. |
| Camcorder shuts off unexpectedly. | Low battery, auto-power off setting. | Charge the battery. Adjust auto-power off settings in the menu. |
9. Specifications
| Feature | Detail |
|---|---|
| Brand | MURAUX |
| Model Number | A10 |
| Video Capture Resolution | 6K |
| Effective Still Resolution | 64 MP |
| Photo Sensor Technology | CMOS |
| Screen Size | 3.0 Inches (270° Rotation) |
| Digital Zoom | 18X |
| Flash Memory Type | SD (32GB card included) |
| Video Capture Format | MP4, MOV, AVI |
| Supported Audio Format | AAC, MP3 |
| Connectivity Technology | USB, Wi-Fi, HDMI |
| Special Features | Night Vision, Webcam Functionality, Remote Control, Pause Function, Continuous Shooting, Time-Lapse, Slow Motion, Loop Recording |
| Batteries | 2 Lithium Polymer batteries (included) |
| Item Weight | 0.5 Kilograms |
| Water Resistance Level | Not Water Resistant |
| Image Stabilization | No |
10. Warranty and Support
MURAUX products are designed for reliability and performance. For specific warranty details, please refer to the warranty card included in your product packaging or visit the official MURAUX website.
If you encounter any issues or have questions regarding your MURAUX 6K 64MP Video Camera Camcorder A10, please contact our customer support team. Our dedicated team is available to assist you with troubleshooting, technical guidance, and any other product-related inquiries.
Customer Support Contact: Please refer to the contact information provided on the product packaging or the official MURAUX website for the most up-to-date support channels.