1. Introduction
This manual provides comprehensive instructions for the safe installation, operation, and maintenance of your RL LIVE YOUR LIGHT R67462131 LED Ceiling Fan with Light. Please read this manual thoroughly before installation and retain it for future reference.
The R67462131 model is a compact LED ceiling fan with a light, designed for smaller spaces. It features a white matte plastic finish, 6 blades, and a diameter of 53 cm with a height of 16 cm. Key functionalities include 3 fan speeds, a timer function, reversible summer/winter operation, dimmable lighting, adjustable color temperature (2700K-6500K), and a night light mode, all controllable via the included remote control. The fan and light can be operated independently, and the light includes a memory function.

Figure 1: Overview of the RL LIVE YOUR LIGHT R67462131 LED Ceiling Fan with Light.
2. Safety Information
WARNING: To reduce the risk of fire, electric shock, or personal injury, always follow these basic precautions:
- Read all instructions carefully before installation and use.
- Ensure the main power supply is disconnected before installation or maintenance.
- Installation must be performed by a qualified electrician in accordance with local electrical codes.
- Mount the fan securely to a ceiling joist or structure capable of supporting the fan's weight.
- Do not insert objects into the fan blades while the fan is operating.
- This appliance is not intended for use by persons (including children) with reduced physical, sensory or mental capabilities, or lack of experience and knowledge, unless they have been given supervision or instruction concerning use of the appliance by a person responsible for their safety.
- Children should be supervised to ensure that they do not play with the appliance.
3. Package Contents
Verify that all components are present and undamaged before proceeding with installation.
- LED Ceiling Fan Unit (R67462131)
- Remote Control
- Instruction Manual (this document)
- Mounting Hardware (screws, anchors, etc. - typically included)

Figure 2: Visual representation of key features including remote control, light switch, fan function, adjustable color temperature, dimming, night light, 3 speeds, timer, and summer/winter modes.
4. Setup and Installation
Important: Before beginning installation, ensure the power is turned off at the circuit breaker.
- Prepare the Mounting Location: Ensure the ceiling junction box is securely fastened and capable of supporting the fan's weight.
- Mount the Bracket: Attach the mounting bracket to the ceiling junction box using the provided screws.
- Wiring: Connect the fan's electrical wires to the household wiring according to the wiring diagram in the full installation guide (if provided separately) or standard electrical practices (Live to Live, Neutral to Neutral, Ground to Ground). Ensure all connections are secure.
- Attach the Fan Unit: Carefully lift the fan unit and secure it to the mounting bracket. Follow specific instructions for your model to ensure proper alignment and locking.
- Remote Control Setup: Install batteries (not always included) into the remote control. Pair the remote with the fan if required (refer to specific pairing instructions, usually a button press sequence on the remote or fan within a short time after power-on).
- Restore Power: Once installation is complete and all connections are secure, restore power at the circuit breaker.

Figure 3: The R67462131 fan installed, showing its compact dimensions (530mm diameter, 160mm height).
5. Operating Instructions
The R67462131 ceiling fan is operated using the included remote control. Ensure the remote has working batteries.
5.1 Fan Functions
- Power On/Off: Press the fan power button on the remote to turn the fan on or off.
- Speed Control: Use the speed buttons (usually indicated by numbers 1, 2, 3 or +/-) to select one of the 3 available fan speeds.
- Summer Mode (Counter-clockwise): In summer, the fan blades should rotate counter-clockwise to create a downward airflow, providing a cooling breeze.
- Winter Mode (Clockwise): In winter, the fan blades should rotate clockwise to create an upward airflow, which helps distribute warm air more evenly throughout the room. Use the dedicated summer/winter mode button on the remote to switch rotation direction.
- Timer Function: Activate the timer function to automatically turn off the fan after a set period (e.g., 1 hour, 2 hours, 4 hours). Refer to the remote control's specific timer buttons.
5.2 Light Functions
- Light On/Off: Press the light power button on the remote to turn the light on or off.
- Brightness Adjustment (Dimming): Use the dimming buttons (usually +/- or a dedicated dimmer slider) to adjust the light brightness from minimum to maximum (850 lumens).
- Color Temperature Adjustment: Adjust the light color from warm white (2700 Kelvin) to cool white (6500 Kelvin) using the CCT adjustment buttons on the remote.
- Night Light Mode: Activate the night light mode for a very low brightness setting, ideal for ambient lighting during the night.
- Memory Function: The light features a memory function. When turned off via the remote, it will retain the last selected brightness and color temperature settings when turned back on.
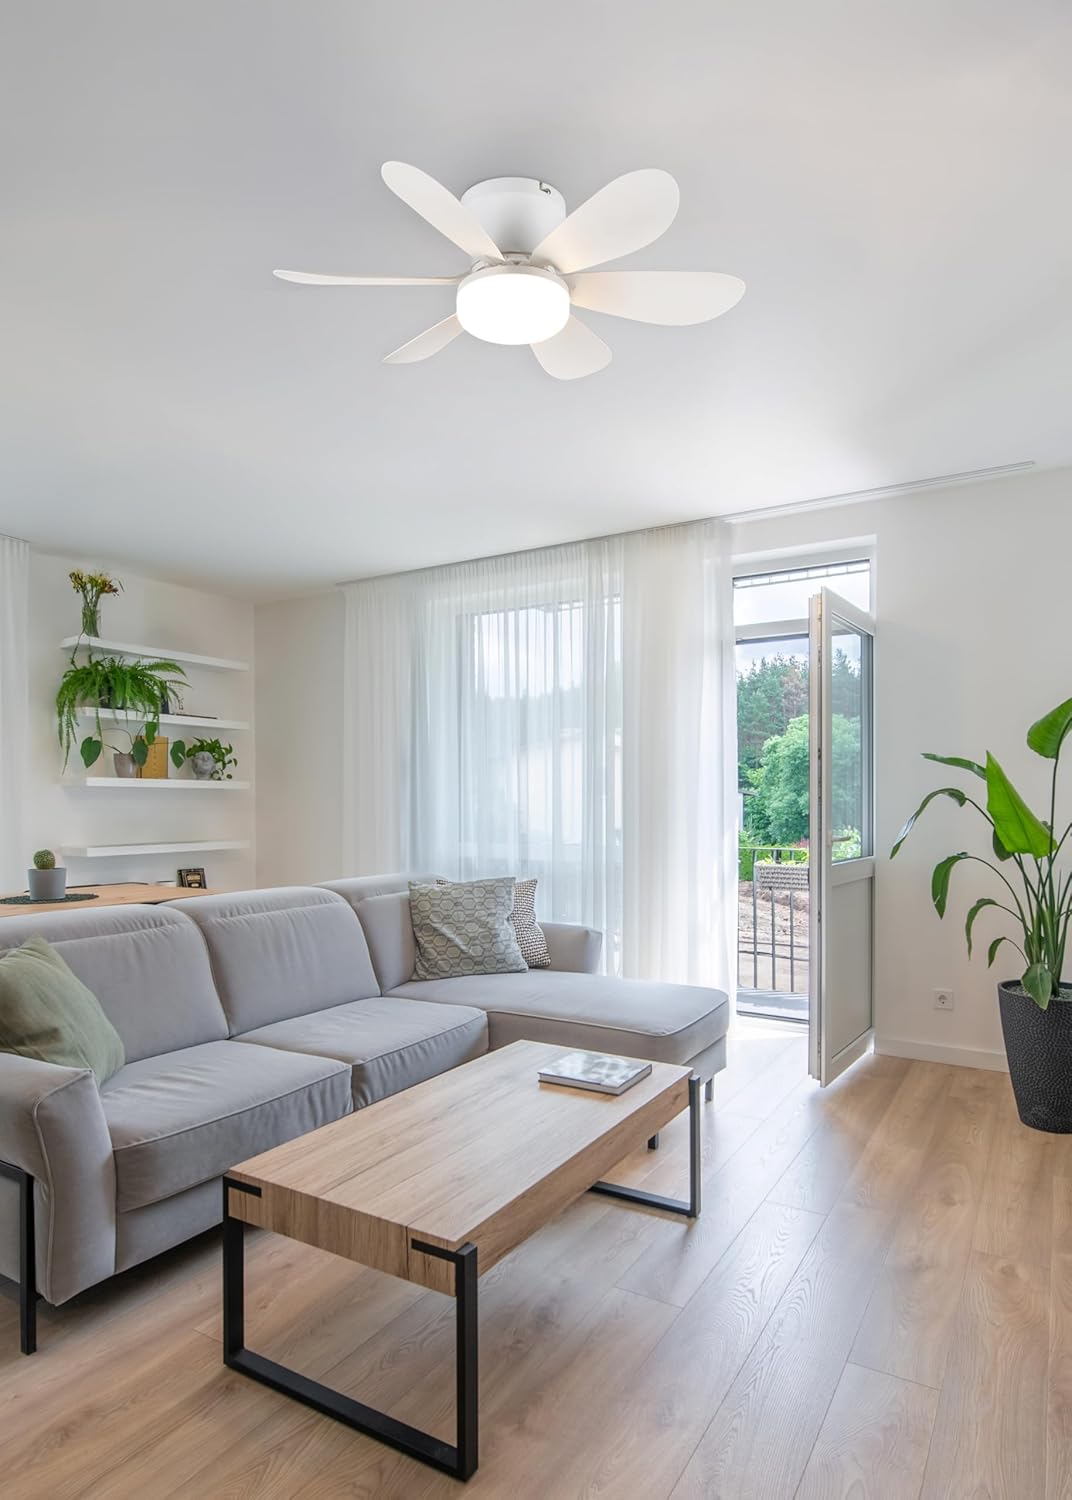
Figure 4: The R67462131 fan providing illumination and air circulation in a living space.
6. Maintenance
Regular maintenance ensures optimal performance and extends the lifespan of your ceiling fan.
- Cleaning: Turn off the power before cleaning. Use a soft, damp cloth to wipe down the fan blades and motor housing. Do not use abrasive cleaners or solvents.
- Blade Balance: If the fan wobbles, check that all blade screws are tight and that the blades are not bent or damaged. Balancing kits are available if needed.
- Light Source: The LED light source is integrated and generally not user-replaceable. If the light fails, contact customer support.
- Remote Control: Replace batteries in the remote control when its range decreases or it stops responding.
7. Troubleshooting
If you encounter issues with your fan, refer to the following common problems and solutions:
| Problem | Possible Cause | Solution |
|---|---|---|
| Fan does not start. | No power supply; loose wiring; remote control issues. | Check circuit breaker. Ensure all wiring connections are secure. Check remote batteries and pairing. |
| Light does not turn on. | No power supply; loose wiring; remote control issues; LED failure. | Check circuit breaker. Ensure all wiring connections are secure. Check remote batteries and pairing. If LED is integrated, contact support. |
| Fan wobbles. | Loose mounting; unbalanced blades. | Ensure mounting bracket and fan unit are securely fastened. Check blade screws and for any bent blades. |
| Remote control not working. | Dead batteries; not paired; obstruction. | Replace batteries. Re-pair remote if necessary. Ensure clear line of sight to the fan receiver. |
If the problem persists after attempting these solutions, please contact customer support.
8. Specifications
| Feature | Detail |
|---|---|
| Model | R67462131 |
| Brand | RL LIVE YOUR LIGHT |
| Product Dimensions | 53 cm (Diameter) x 16 cm (Height) |
| Weight | 605 g |
| Material | Plastic |
| Color | White Matte |
| Power Source | Corded Electric |
| Voltage | 230 Volts |
| Wattage | 8 Watts |
| Fan Speeds | 3 |
| Light Output (Max) | 850 Lumens |
| Color Temperature | 2700K (Warm White) to 6500K (Cool White) |
| Energy Efficiency Class | F |
| Included Components | Remote control, instructions |

Figure 5: Technical drawing illustrating the fan's dimensions and structure.

Figure 6: Energy efficiency label for the integrated light source (Class F).
9. Warranty and Support
For warranty information, please refer to the documentation provided with your purchase or contact your retailer. For technical support, spare parts, or further assistance, please contact RL LIVE YOUR LIGHT customer service through their official website or the contact information provided in your purchase documentation.
Keep your purchase receipt as proof of purchase for warranty claims.


