
Blemil BL9052Plus
Blemil BL9052Plus Video Baby Monitor User Manual
Model: BL9052Plus
1. Introduction
Thank you for choosing the Blemil BL9052Plus Video Baby Monitor. This manual provides essential information for the safe and effective operation of your device. Please read it thoroughly before use and retain it for future reference.
The Blemil BL9052Plus offers a secure, non-WiFi connection for monitoring your baby with a 6-inch large screen, remote pan/tilt/zoom camera, two-way talk, night vision, and temperature monitoring. Its long-lasting battery and ECO mode ensure reliable performance.
2. Important Safety Information
- Strangulation Hazard: Keep all cords out of reach of children. Never place the camera or cords within 3 feet (1 meter) of the crib or playpen. Secure cords to a wall or floor using clips.
- Choking Hazard: This product contains small parts. Keep out of reach of children.
- Electrical Shock Hazard: Do not expose the product to water or moisture. Do not open the product casing. Refer all servicing to qualified personnel.
- Battery Safety: Use only the provided power adapters. Do not use damaged chargers or batteries. Do not short-circuit or disassemble batteries.
- Overheating: Do not cover the monitor or camera with blankets or other objects. Ensure proper ventilation.
- Interference: This product operates on a 2.4GHz frequency. Keep it away from other 2.4GHz devices (e.g., Wi-Fi routers, microwaves) to avoid interference.
- Adult Supervision: This product is intended to assist in monitoring your baby and should not replace proper adult supervision.
3. Package Contents
Carefully unpack the box and ensure all items are present:
- Camera Unit (TX) x 1
- Monitor Unit (RX) x 1
- Power Adapter x 2 (for camera and monitor)
- Wall Mounting Kit x 1
- User Manual x 1

Figure 3.1: Contents of the Blemil BL9052Plus package.
4. Product Overview
The Blemil BL9052Plus consists of a camera unit (baby unit) and a monitor unit (parent unit).
4.1 Monitor Unit (Parent Unit)
The monitor unit features a 6-inch IPS screen for clear video display. It includes controls for camera movement, zoom, two-way talk, volume, and menu navigation.
4.2 Camera Unit (Baby Unit)
The camera unit is equipped with a lens that can pan 320° horizontally and tilt 120° vertically. It includes infrared LEDs for night vision, a microphone, and a speaker for two-way audio.
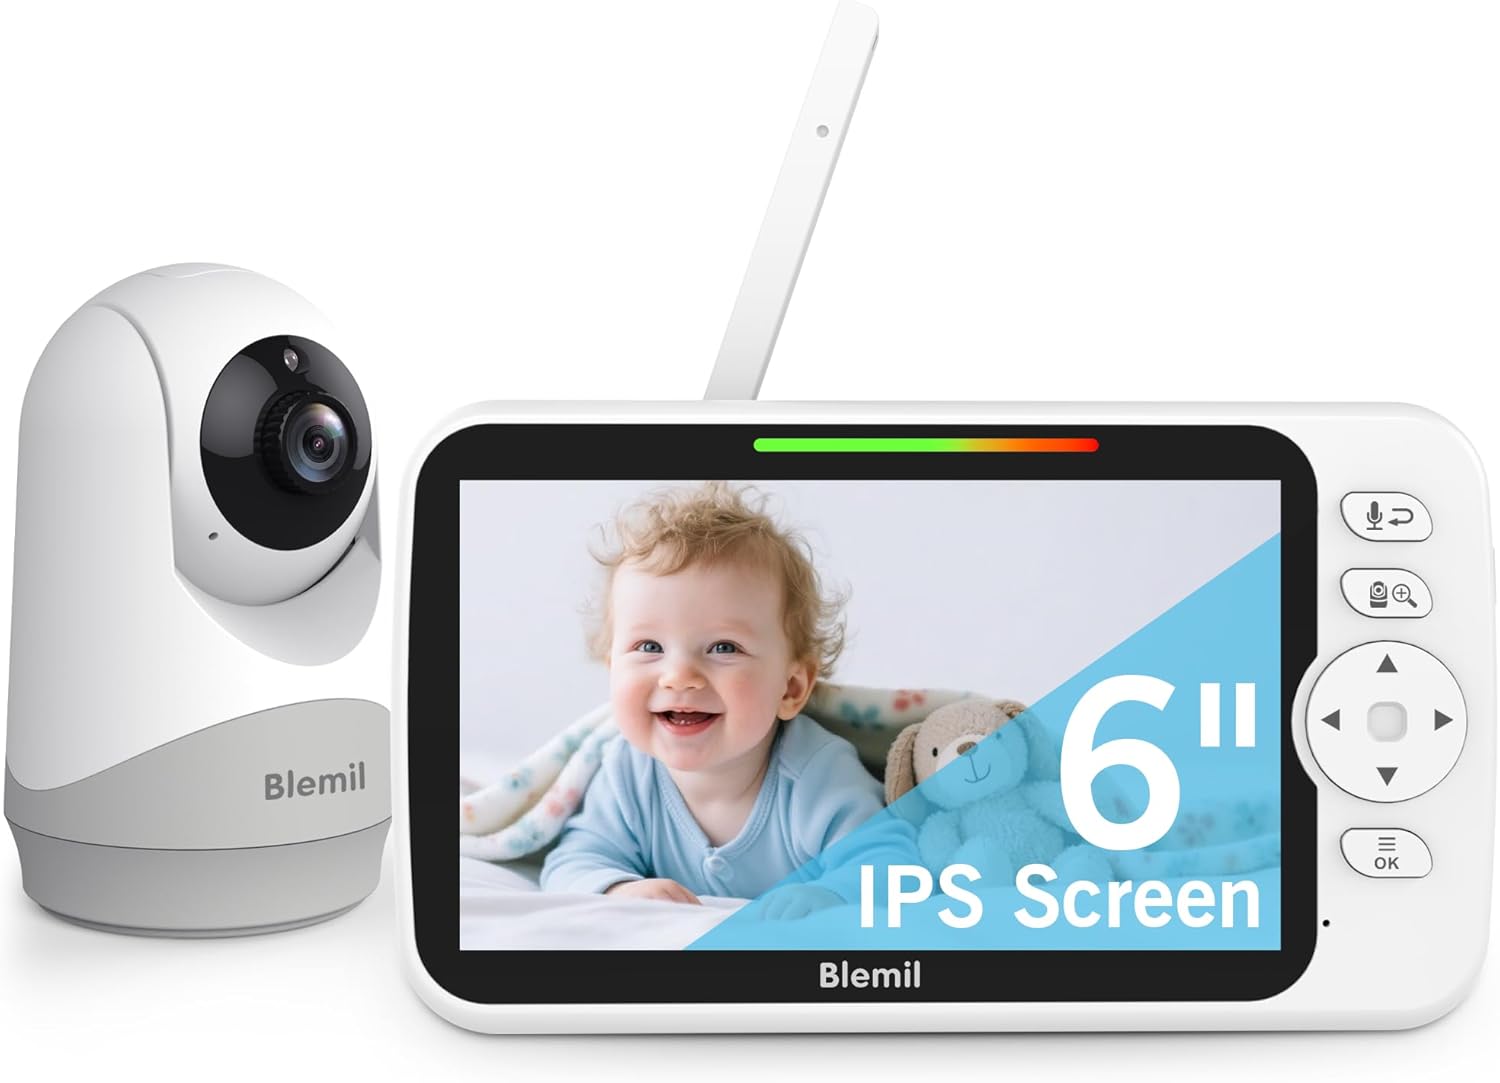
Figure 4.1: Blemil BL9052Plus Monitor and Camera Units.

Figure 4.2: Key Features of the Blemil BL9052Plus.
5. Setup
5.1 Charging the Monitor Unit
- Connect one power adapter to the monitor unit and plug it into a power outlet.
- Charge the monitor unit for at least 3 hours before first use to ensure optimal battery life. The battery indicator on the screen will show charging status.
5.2 Powering the Camera Unit
- Connect the second power adapter to the camera unit and plug it into a power outlet.
- The camera unit does not have a battery and must remain plugged in during operation.
5.3 Positioning the Camera Unit
- Place the camera unit on a flat surface, such as a dresser or shelf, at least 3 feet (1 meter) away from the crib.
- Alternatively, use the included wall mounting kit to securely attach the camera to a wall or ceiling. Ensure the camera has a clear line of sight to the baby.
- Adjust the camera angle manually or remotely once the system is powered on.

Figure 5.1: Recommended camera placement near a crib.
5.4 Initial Pairing (Usually Pre-Paired)
The camera and monitor units are typically pre-paired at the factory. If the monitor does not display video after powering on both units, you may need to re-pair them:
- Turn on both the camera and monitor units.
- On the monitor unit, navigate to the menu and select the 'Camera Pairing' option.
- Press the pairing button on the back of the camera unit (refer to the camera unit diagram in the full manual for exact location).
- The monitor will display a 'Paired' message once successful.
6. Operating Instructions
6.1 Power On/Off
- Monitor Unit: Press and hold the Power button on the monitor unit to turn it on or off.
- Camera Unit: The camera unit powers on automatically when plugged into an electrical outlet. Unplug to power off.
6.2 Screen Display and Icons
The monitor screen displays various icons indicating status such as signal strength, battery level, temperature, zoom level, and active features. Refer to the on-screen display for current system status.
6.3 Remote Pan, Tilt, and Zoom (PTZ)
Use the directional buttons on the monitor unit to control the camera's movement and zoom:
- Pan: Press the left/right directional buttons to rotate the camera horizontally (320°).
- Tilt: Press the up/down directional buttons to tilt the camera vertically (120°).
- Zoom: Press the dedicated zoom button (often marked with a magnifying glass icon) to activate 2x digital zoom. Use directional buttons to navigate the zoomed image.
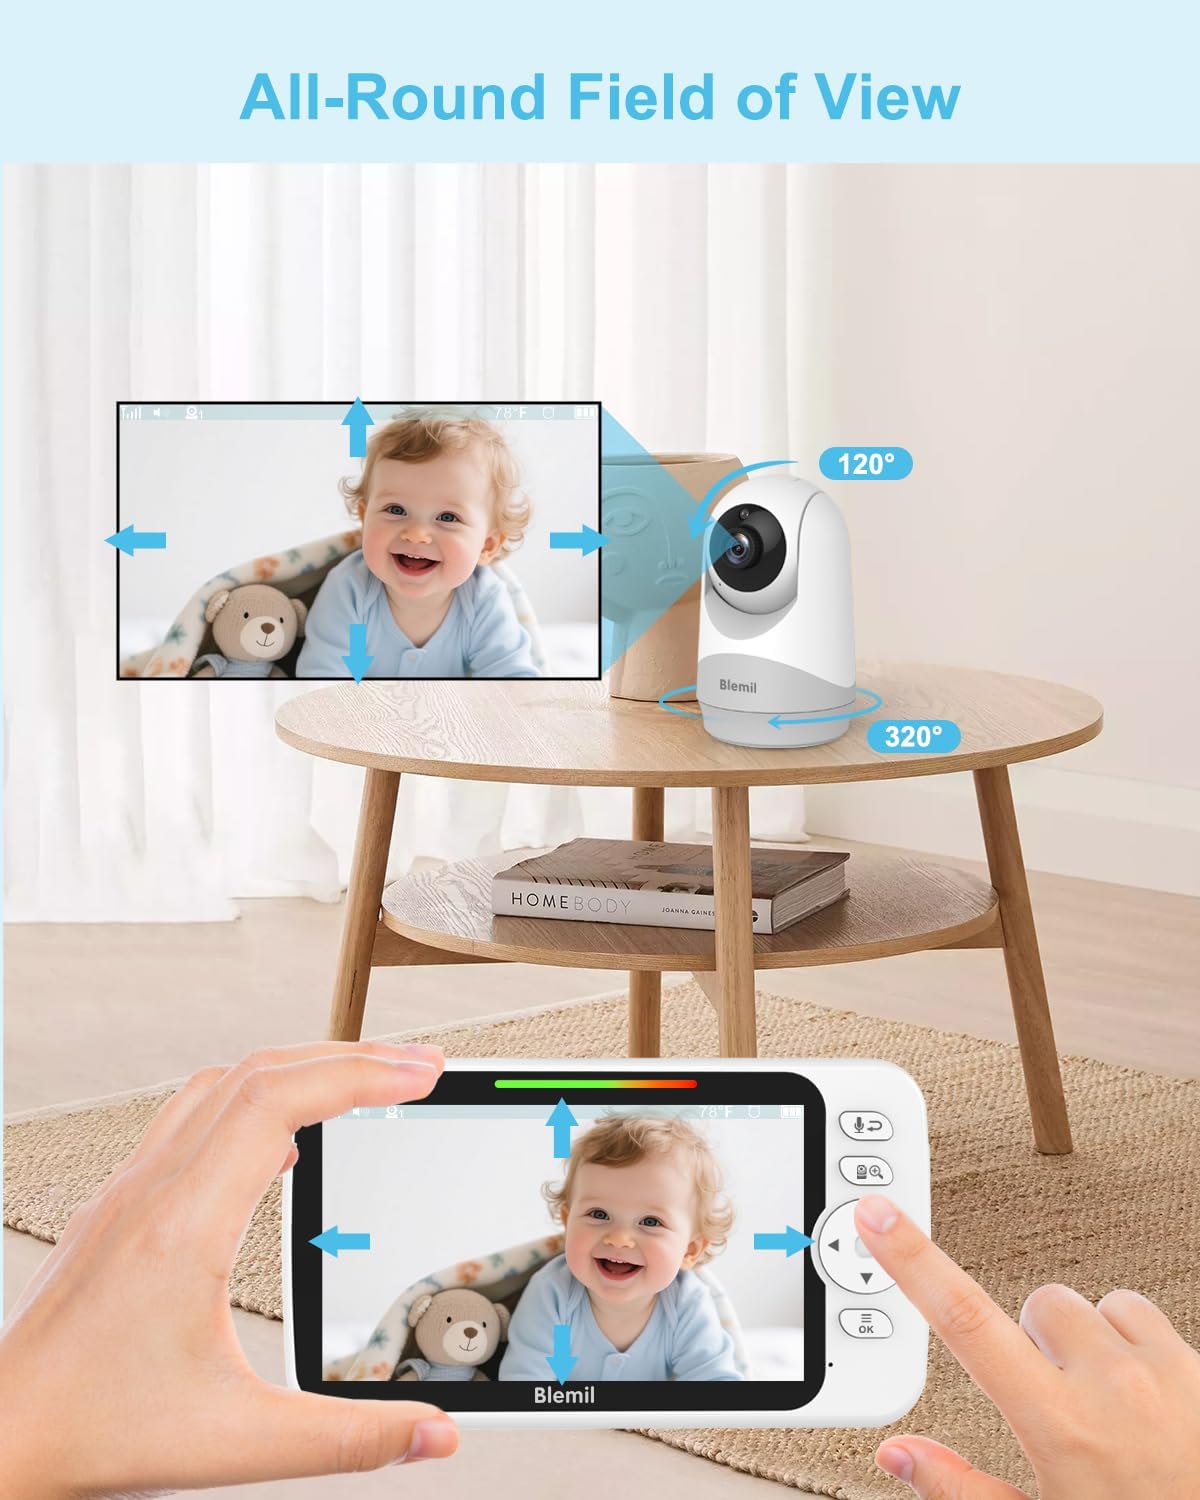
Figure 6.1: Remote Pan and Tilt Functionality.

Figure 6.2: 2x Digital Zoom in action.
6.4 Two-Way Talk
To speak to your baby through the camera unit:
- Press and hold the microphone button on the monitor unit.
- Speak clearly into the monitor's microphone.
- Release the button to stop talking and listen for your baby's response.
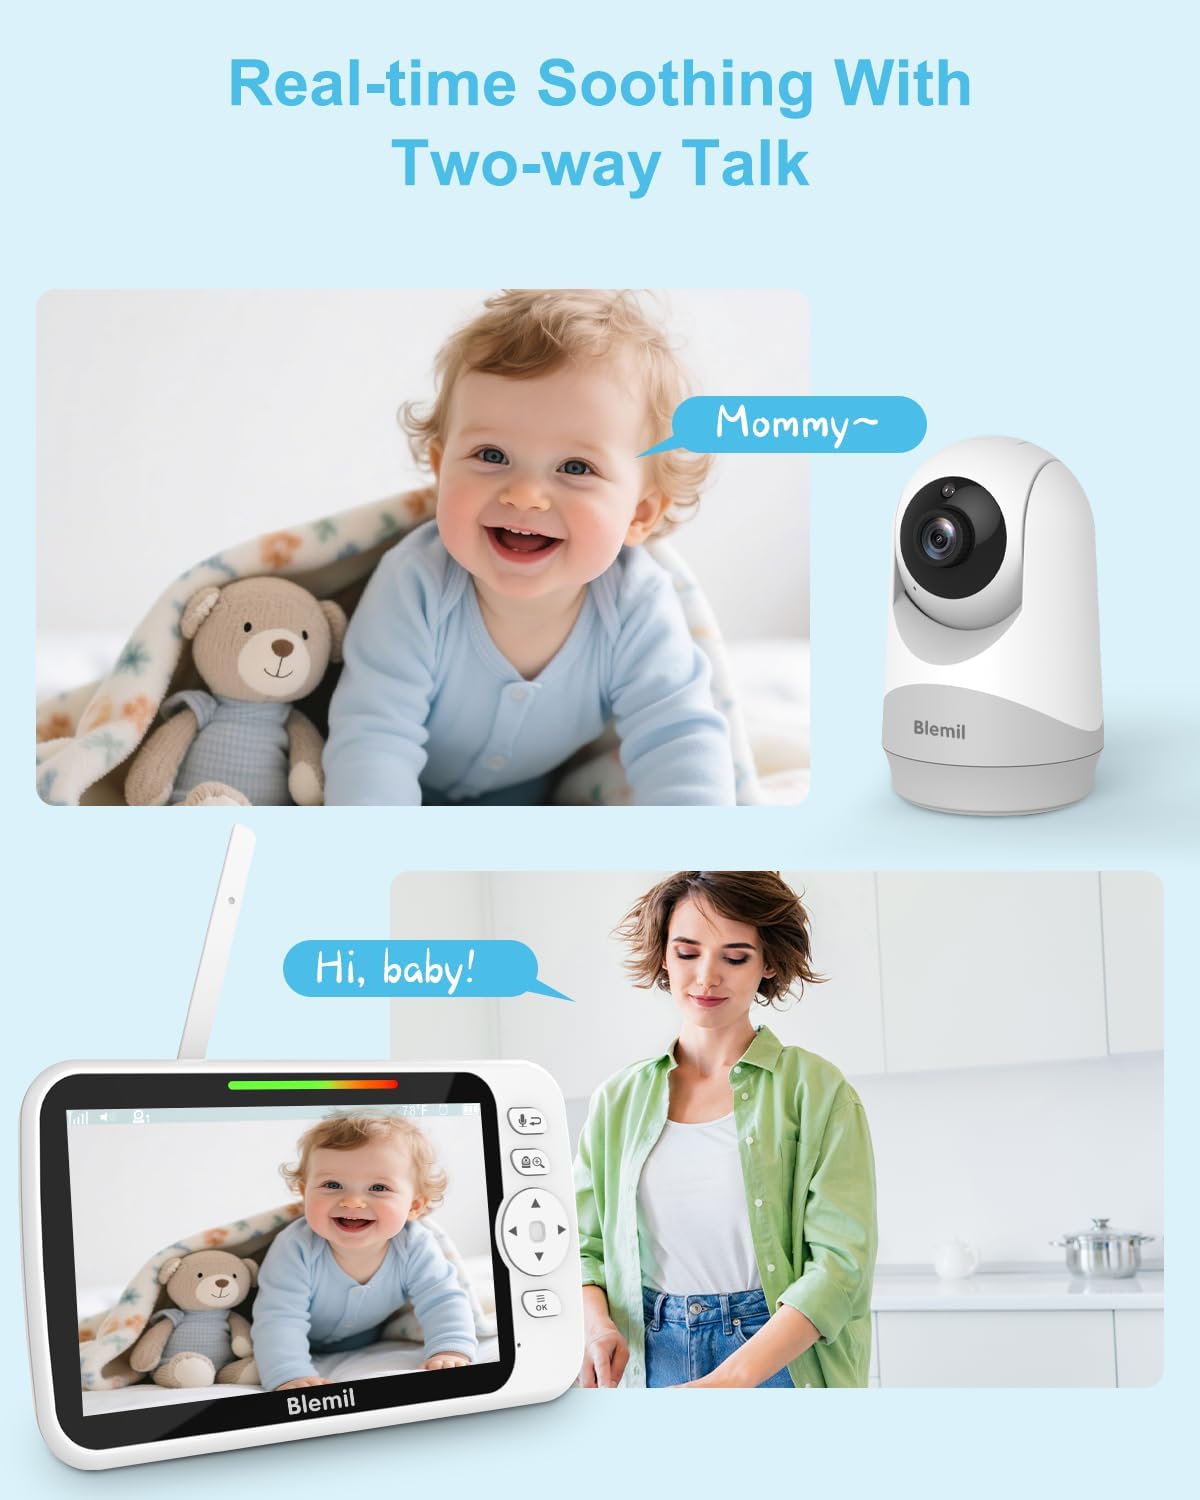
Figure 6.3: Two-Way Talk Functionality.
6.5 Night Vision
The camera unit automatically activates infrared night vision in low-light conditions, providing a clear black-and-white image on the monitor. This feature ensures continuous monitoring even in a dark room.

Figure 6.4: Automatic Night Vision.
6.6 ECO Mode
ECO mode conserves battery life by turning off the monitor screen when no sound is detected from the baby's room. The screen will automatically reactivate when sound above a set threshold is detected.
- Access the menu on the monitor unit.
- Select 'ECO Mode' and choose your desired sensitivity level (Low, Medium, High).
- The monitor screen will turn off after a period of silence, and turn back on when sound is detected.

Figure 6.5: Battery Life with ECO Mode.
6.7 Temperature Monitoring
The camera unit includes a temperature sensor that displays the room temperature on the monitor screen. You can set temperature alerts in the menu to be notified if the room becomes too hot or too cold.
6.8 Lullabies
The monitor unit can play built-in lullabies to soothe your baby.
- Access the menu on the monitor unit.
- Select 'Lullabies' and choose a melody.
- You can adjust the volume or turn off the lullaby from this menu.
6.9 Language Selection
To change the language of the monitor's interface:
- Access the menu on the monitor unit.
- Select 'Language' and choose your preferred language from the list.

Figure 6.6: Language Selection Interface.
7. Maintenance
7.1 Cleaning
- Wipe the camera and monitor units with a dry, soft, lint-free cloth.
- Do not use cleaning sprays or liquid cleaners directly on the units.
- Avoid abrasive cleaners or solvents.
7.2 Battery Care
- To prolong battery life, avoid fully discharging the monitor unit frequently.
- If storing the unit for an extended period, charge it to about 50% and store in a cool, dry place. Recharge every 3-6 months.
8. Troubleshooting
| Problem | Possible Cause | Solution |
|---|---|---|
| No image/sound on monitor | Units not powered on; Out of range; Not paired; Low battery. | Ensure both units are plugged in and powered on. Move monitor closer to camera. Re-pair units (Section 5.4). Charge monitor battery. |
| Poor image quality | Low light; Camera lens dirty; Interference. | Night vision activates automatically in low light. Clean camera lens. Move units away from other 2.4GHz devices. |
| Static or interference | Other electronic devices; Obstructions. | Move monitor and camera away from other electronic devices (e.g., Wi-Fi routers, cordless phones). Reduce physical obstructions between units. |
| Monitor battery drains quickly | ECO mode off; Frequent screen activation. | Activate ECO mode (Section 6.6). Reduce screen brightness. |
| Two-way talk not working | Microphone button not held; Volume too low. | Ensure microphone button is pressed and held during speech. Increase monitor volume. |
| Temperature reading inaccurate | Camera placed near heat source/vent. | Relocate camera to a more central area of the room, away from direct sunlight, vents, or heaters. |
9. Specifications
| Feature | Detail |
|---|---|
| Model Name | BL9052Plus |
| Screen Size | 6 inches |
| Video Capture Resolution | 720p |
| Connectivity Technology | Wireless 2.4GHz FHSS Technology |
| Pan Angle | 320° |
| Tilt Angle | 120° |
| Zoom | 2x Digital Zoom |
| Battery Capacity (Monitor) | 4000mAh |
| Battery Life (Screen On) | Up to 18 hours |
| Battery Life (ECO Mode) | Up to 35 hours |
| Range | Up to 1000 ft (line of sight) |
| Power Source | Battery Powered (Monitor), AC Powered (Camera) |
| Special Features | 2-Way Audio, Night Vision, Temperature Monitoring, Lullabies, ECO Mode |
| Product Dimensions | 6 x 5 x 5 inches |
| Item Weight | 1.63 pounds (0.74 kg) |
| UPC | 646414460810 |
10. Warranty and Customer Support
Blemil products are designed and manufactured to the highest quality standards. This product is covered by a limited warranty from the date of purchase. For detailed warranty information, please refer to the warranty card included in your package or visit the official Blemil website.
If you encounter any issues or have questions regarding your Blemil BL9052Plus Video Baby Monitor, please contact our customer support team. Our representatives are available to assist you with troubleshooting, parts replacement, or general inquiries.
- Email: support@blemil.com (Example)
- Website: www.blemil.com (Example)
Related documentsBL9052Plus

Ask a question about this manual
Ask about setup, troubleshooting, compatibility, parts, safety, or missing instructions. Manuals+ will review the question and use this page’s manual context to help answer it.