
Introduction
Thank you for purchasing the Oaks Aura 52" Farmhouse Ceiling Fan with Lights and Remote. This manual provides detailed instructions for the safe installation, operation, and maintenance of your new ceiling fan. Please read all instructions carefully before beginning installation and retain this manual for future reference.
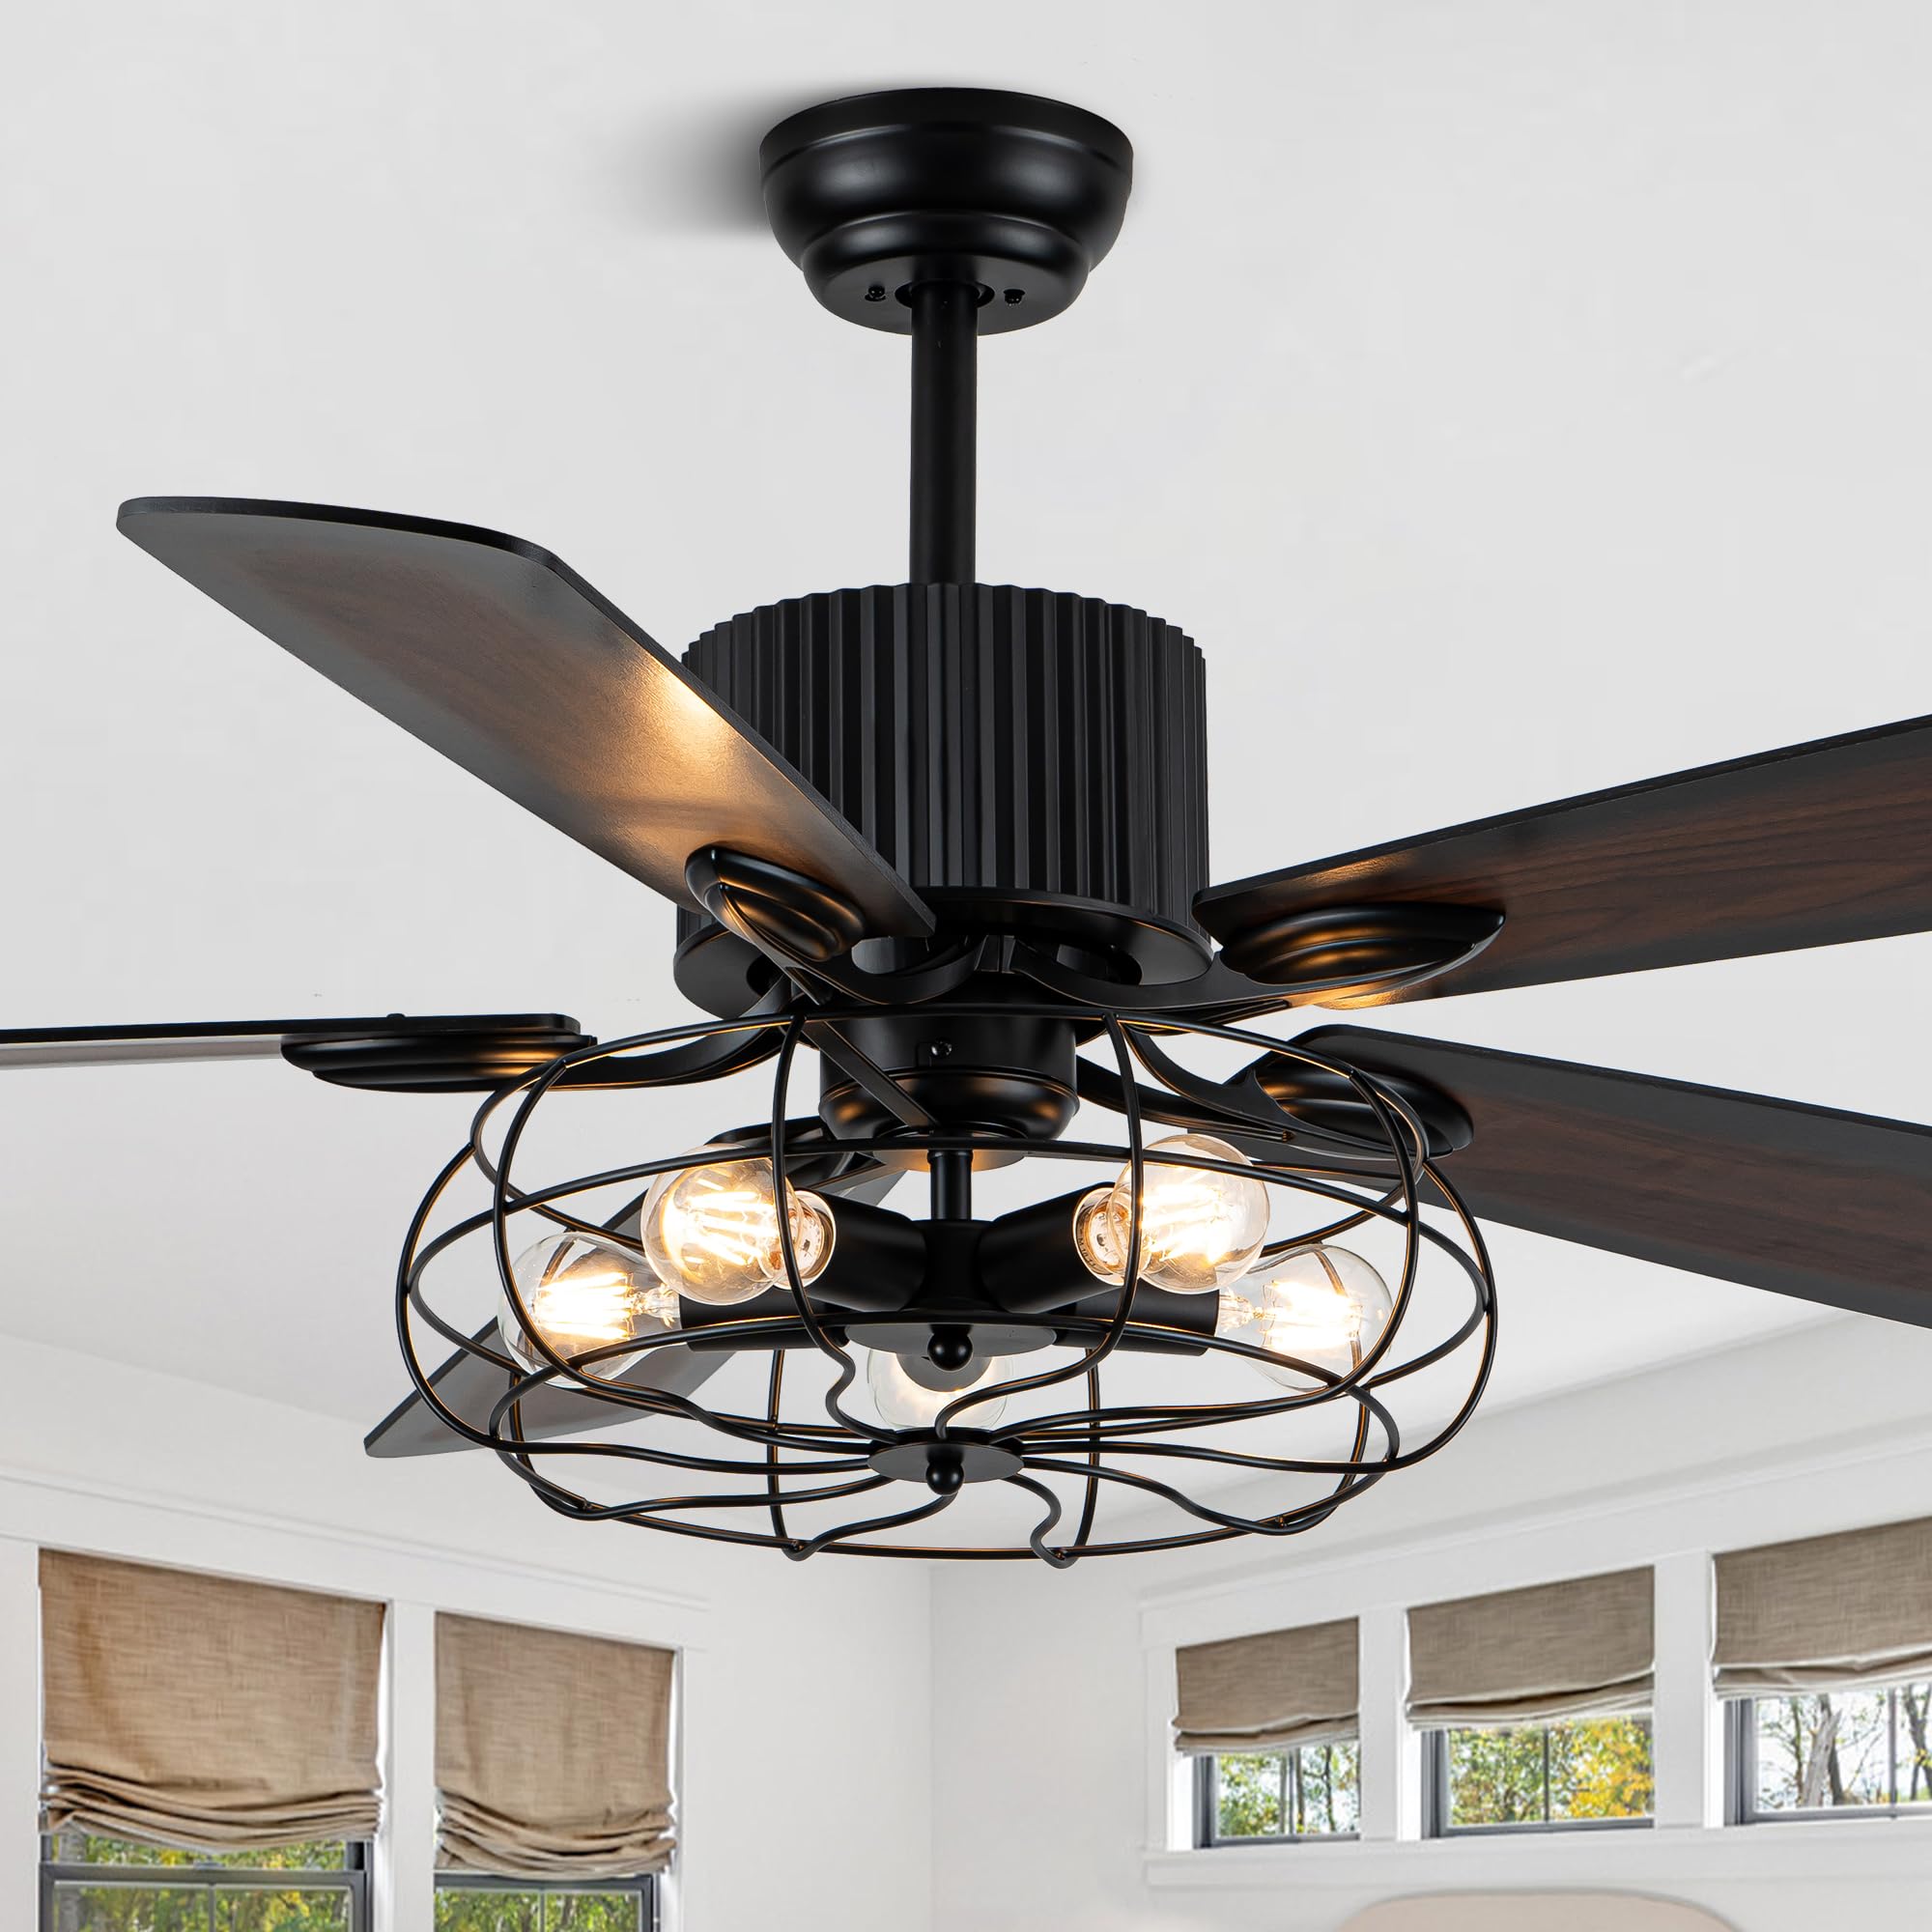
Image: The Oaks Aura 52-inch Farmhouse Ceiling Fan with Lights and Remote, Model MD-BD2011, installed in a modern dining room setting.
Safety Information
To reduce the risk of electric shock, fire, or injury to persons, read and follow all instructions carefully.
- Ensure the power is turned off at the circuit breaker before installation or servicing.
- All wiring must be in accordance with national and local electrical codes. Consult a qualified electrician if you are unsure about wiring procedures.
- The mounting structure must be capable of supporting the weight of the fan (approximately 16.3 lbs).
- Do not operate the fan with damaged blades or housing.
- Keep hands, clothing, and other objects clear of the fan blades when the fan is in operation.
- This fan is designed for indoor and outdoor (covered) use. Do not expose to direct water spray.
Package Contents
Verify that all components listed below are included in your package before beginning installation.
- Motor Housing Assembly
- Fan Blades (5)
- Light Kit with Caged Design
- Remote Control with Wall Mount Bracket
- Downrods (3.9" and 7.8")
- Mounting Hardware
- Instruction Manual
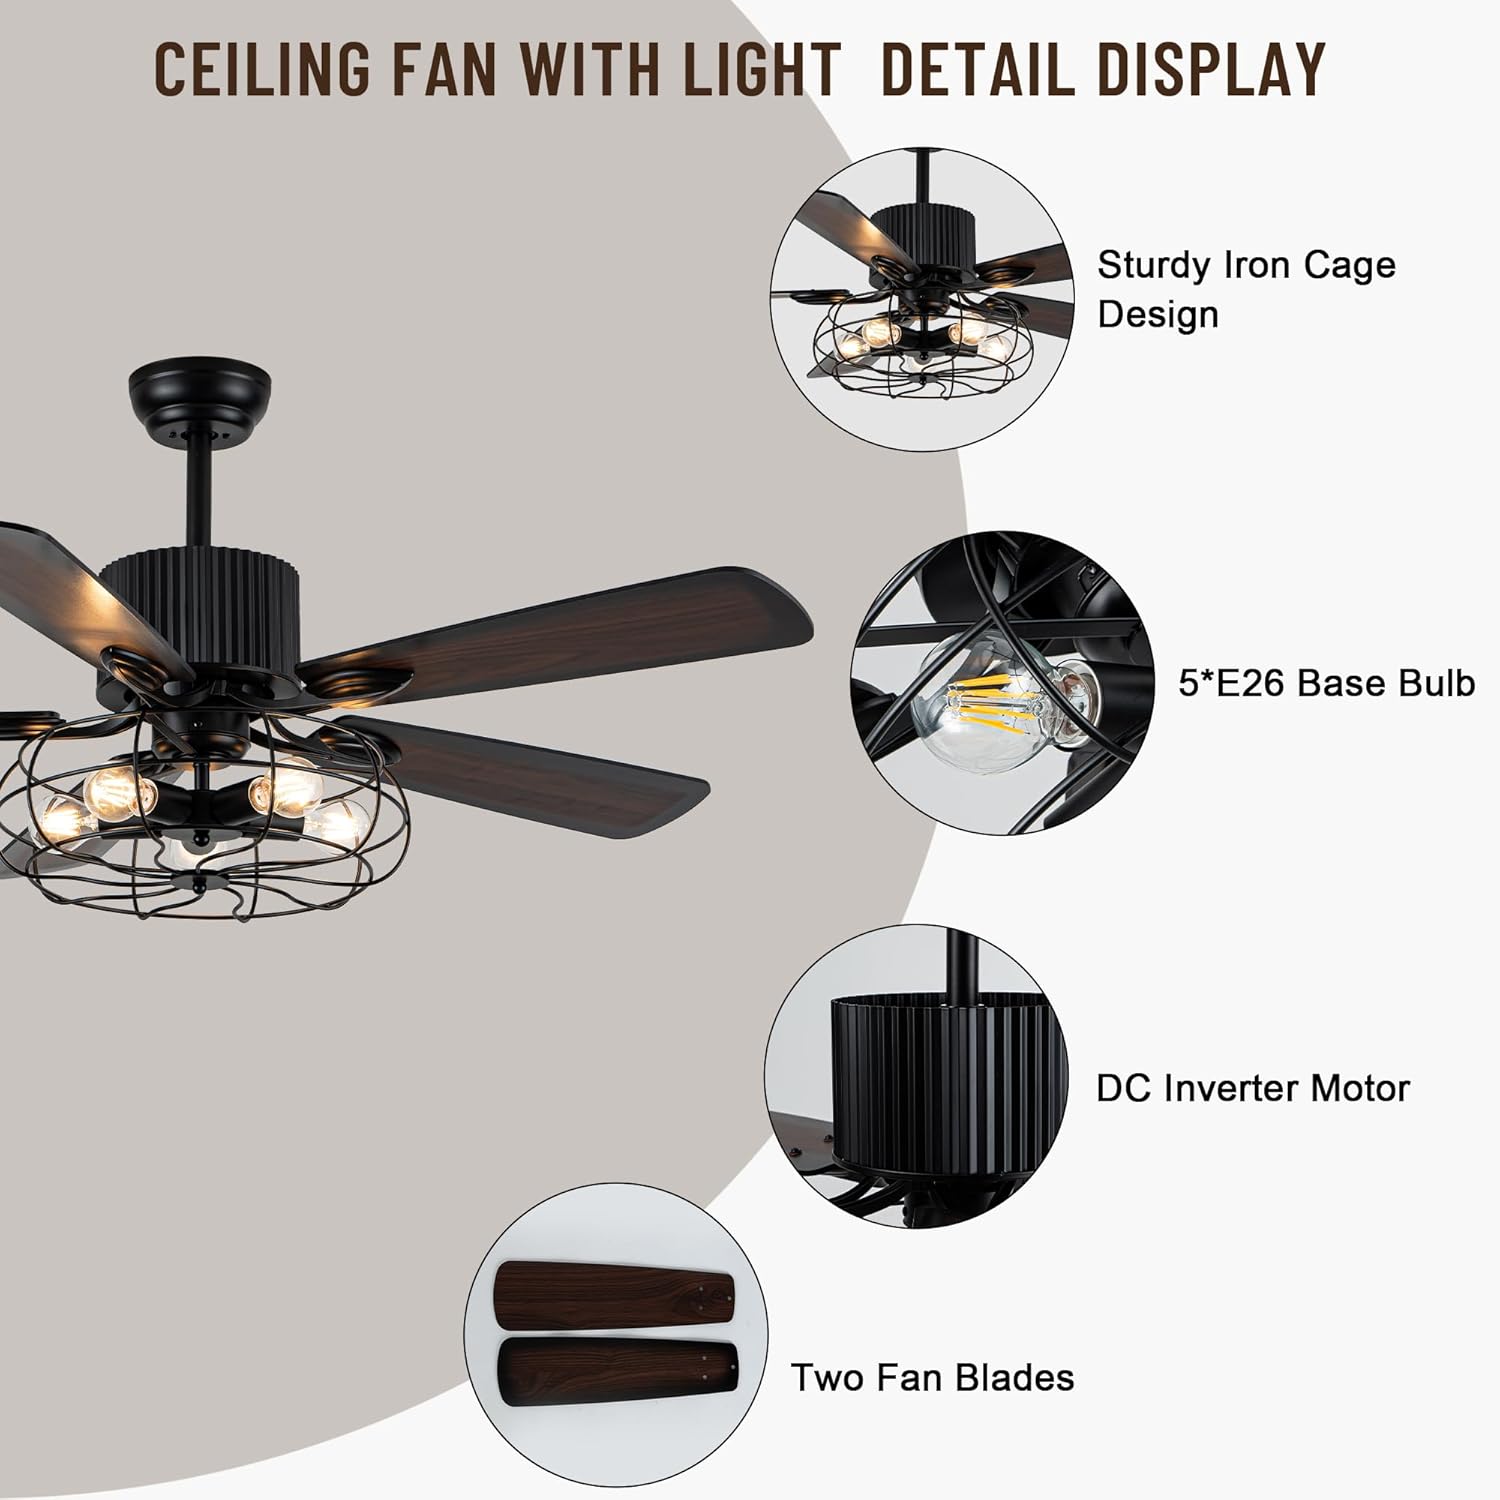
Image: A detailed display of the ceiling fan components, highlighting the sturdy iron cage design, 5*E26 base bulb sockets, DC Inverter Motor, and two fan blades (dark and light walnut options).
Product Specifications
| Feature | Specification |
|---|---|
| Model Number | MD-BD2011 |
| Size | 52 inches |
| Material | Copper, Engineered Wood, Metal, Plastic |
| Motor Type | DC Motor |
| Voltage | 110 Volts |
| Wattage | 60 watts |
| Light Source | E26 Bulb Base (Bulbs not included) |
| Brightness | 800 Lumens (Max, depending on bulb) |
| Control Method | Remote Control |
| Special Features | Adjustable Height, Energy Efficient, Quiet Operation, Remote Controlled, Timer, Reversible Motor |
| Item Weight | 16.3 Pounds |
| Dimensions (L x W x H) | 52"L x 52"W x 23.2"H (with 7.8" downrod) |

Image: A diagram illustrating the dimensions of the 52-inch ceiling fan, including the 5.9-inch and 7.8-inch downrods, and a visual representation of the remote control with its various functions.
Setup & Installation
Follow these steps for proper installation of your ceiling fan. Professional installation is recommended if you are not familiar with electrical wiring.
1. Pre-Installation Checklist
- Turn off power at the circuit breaker.
- Ensure you have all necessary tools (screwdriver, wire strippers, ladder, etc.).
- Confirm the electrical box is securely mounted and rated for ceiling fan support.
2. Mounting the Fan
- Attach the mounting bracket to the electrical box using the provided screws.
- Assemble the downrod to the motor housing, feeding wires through the downrod.
- Carefully lift the fan assembly and hang it from the mounting bracket.
3. Wiring
- Connect the fan wires to the household electrical wires according to the wiring diagram in the full manual. Ensure all connections are secure with wire nuts.
- Place the remote receiver inside the canopy.
4. Attaching Blades and Light Kit
- Attach the fan blades to the motor housing using the provided screws.
- Connect the light kit wiring to the fan motor wiring.
- Secure the light kit housing and install E26 bulbs (not included).
Video: This video demonstrates the unboxing and initial assembly steps for the 52-inch Farmhouse Ceiling Fan with Light, showing how to connect various components.
Operating Instructions
Your Oaks Aura ceiling fan is operated using the included multi-function remote control.
Remote Control Functions
- ALL OFF: Turns off both fan and light.
- LIGHT ON/OFF: Toggles the light on or off.
- Fan Speed Buttons (1-6): Adjusts fan speed from 1 (lowest) to 6 (highest).
- FAN ON/OFF: Turns the fan on or off.
- F (Forward): Sets the fan to downdraft mode (summer).
- R (Reverse): Sets the fan to updraft mode (winter).
- 1H/2H/4H: Activates the fan timer for 1, 2, or 4 hours.
- Mute Button: Silences remote beeps.

Image: The multi-function remote control for the ceiling fan, showing buttons for fan speed, light control, timer settings, and fan direction (forward/reverse).
Fan Speed Control
The fan offers 6 adjustable speeds to suit your comfort needs. Use buttons 1-6 on the remote to select your desired speed.

Image: A visual guide demonstrating the adjustable wind speeds (1-2 for smooth sleep, 3-4 for steady/soft, 5-6 for strong breeze) and their corresponding comfort levels.
Reversible Motor Function
The fan features a reversible motor for year-round comfort. Use the 'F' button for summer (downdraft) and 'R' button for winter (updraft) on the remote control.
- Summer Mode (Forward Rotation): Creates a cooling effect by pushing air downwards.
- Winter Mode (Reverse Rotation): Circulates warm air near the ceiling, helping to warm the room.
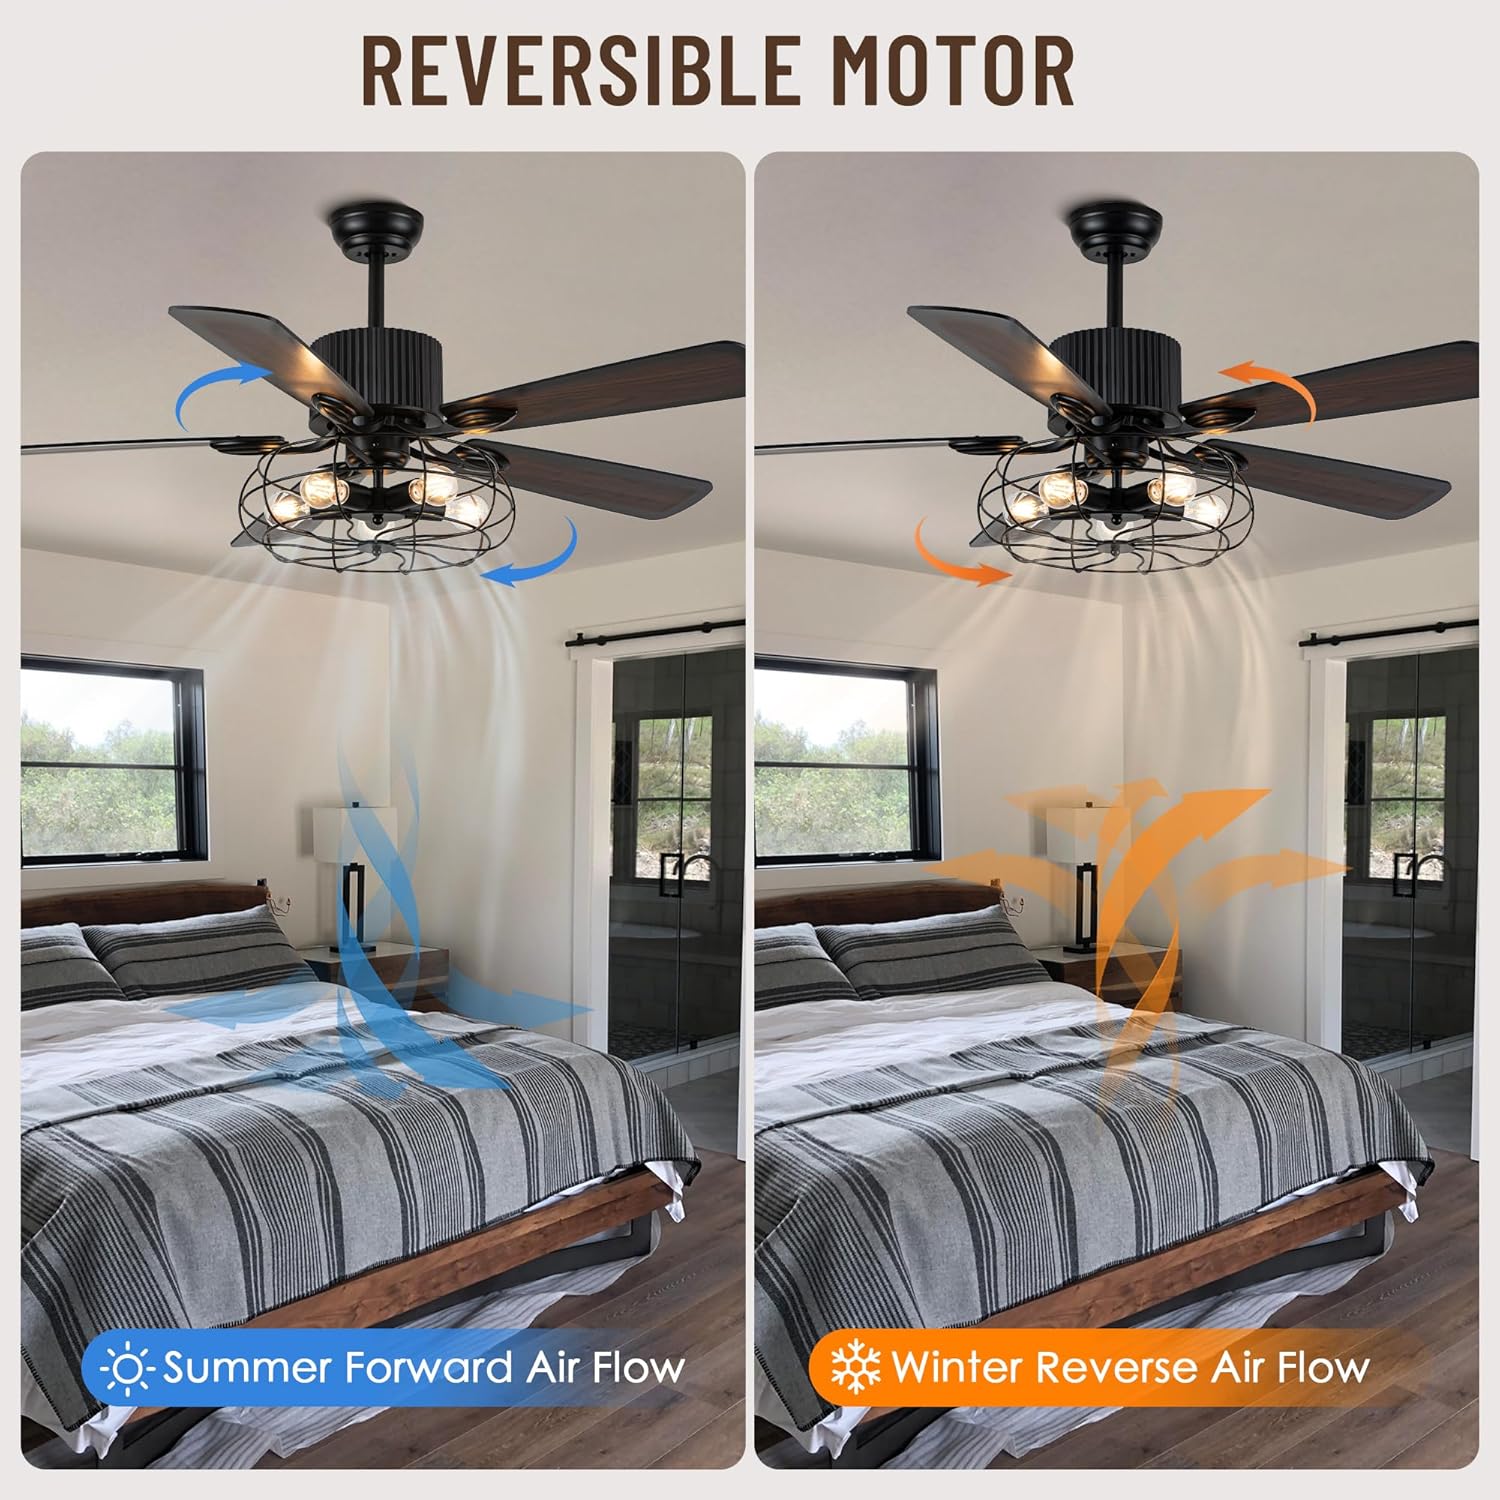
Image: A diagram illustrating the reversible motor function, showing how summer forward airflow creates a cooling breeze and winter reverse airflow helps circulate warm air.
Timer Function
Set the fan to automatically turn off after 1, 2, or 4 hours using the corresponding buttons on the remote control.
Lighting Control
The light kit uses E26 base bulbs (not included). Use the 'LIGHT ON/OFF' button on the remote to control the light. The fan is compatible with most E26 bulbs on the market, allowing you to choose your preferred lighting.
Video: This video showcases the 52-inch Farmhouse Ceiling Fan with Light in various room settings, demonstrating its operation and aesthetic appeal.
Care and Maintenance
Regular maintenance will ensure the longevity and optimal performance of your ceiling fan.
- Cleaning: Wipe the fan housing and blades with a soft, damp cloth. Do not use abrasive cleaners or solvents.
- Blade Inspection: Periodically check the blade screws for tightness. Loose blades can cause wobbling and noise.
- Light Bulbs: Replace E26 bulbs as needed. Ensure power is off before changing bulbs.
- Motor: The DC motor is designed for quiet operation and requires no lubrication.
Troubleshooting Guide
If you experience issues with your ceiling fan, refer to the following common problems and solutions:
| Problem | Possible Cause | Solution |
|---|---|---|
| Fan does not start | No power to the fan; Loose wire connections; Remote control battery low. | Check circuit breaker; Verify all wire connections are secure; Replace remote control battery. |
| Fan wobbles | Loose blade screws; Improperly balanced blades; Loose mounting bracket. | Tighten all blade screws; Use a balancing kit (not included) to balance blades; Ensure mounting bracket is securely fastened. |
| Light does not work | Bulb faulty or loose; Loose wire connection in light kit. | Replace bulb or tighten; Check light kit wiring connections. |
| Remote control not working | Battery low or incorrectly installed; Remote not paired with fan. | Replace battery, ensuring correct polarity; Refer to the full manual for remote pairing instructions. |
| Excessive noise | Loose screws; Fan not properly secured; Motor issues. | Check and tighten all screws; Ensure fan is securely mounted; If noise persists, contact customer support. |
Warranty and Support
Oaks Aura provides a manufacturer's warranty for this product. Please refer to the warranty card included in your package for specific terms and conditions. For technical support, replacement parts, or any questions regarding your product, please contact Oaks Aura customer service through the retailer where the product was purchased.
Please have your model number (MD-BD2011) and purchase date available when contacting support.


