
1. Product Overview
This ZWP replacement remote control is designed for seamless operation of various mini projectors. It offers a comfortable grip and durable construction, ensuring reliable performance.
Compatible Projector Models:
- Magcubic HY300Pro
- HIPPUS HY300Pro
- Aubor HY300Pro
- Xgody HY300Pro
- Maypug P1
- Gaimoo GM300
- Nonete NT20 NT30
- SKUOU HY300 Plus
- HOTPEAK PR06
- WellSonic HY300 Pro+ Mini Projector
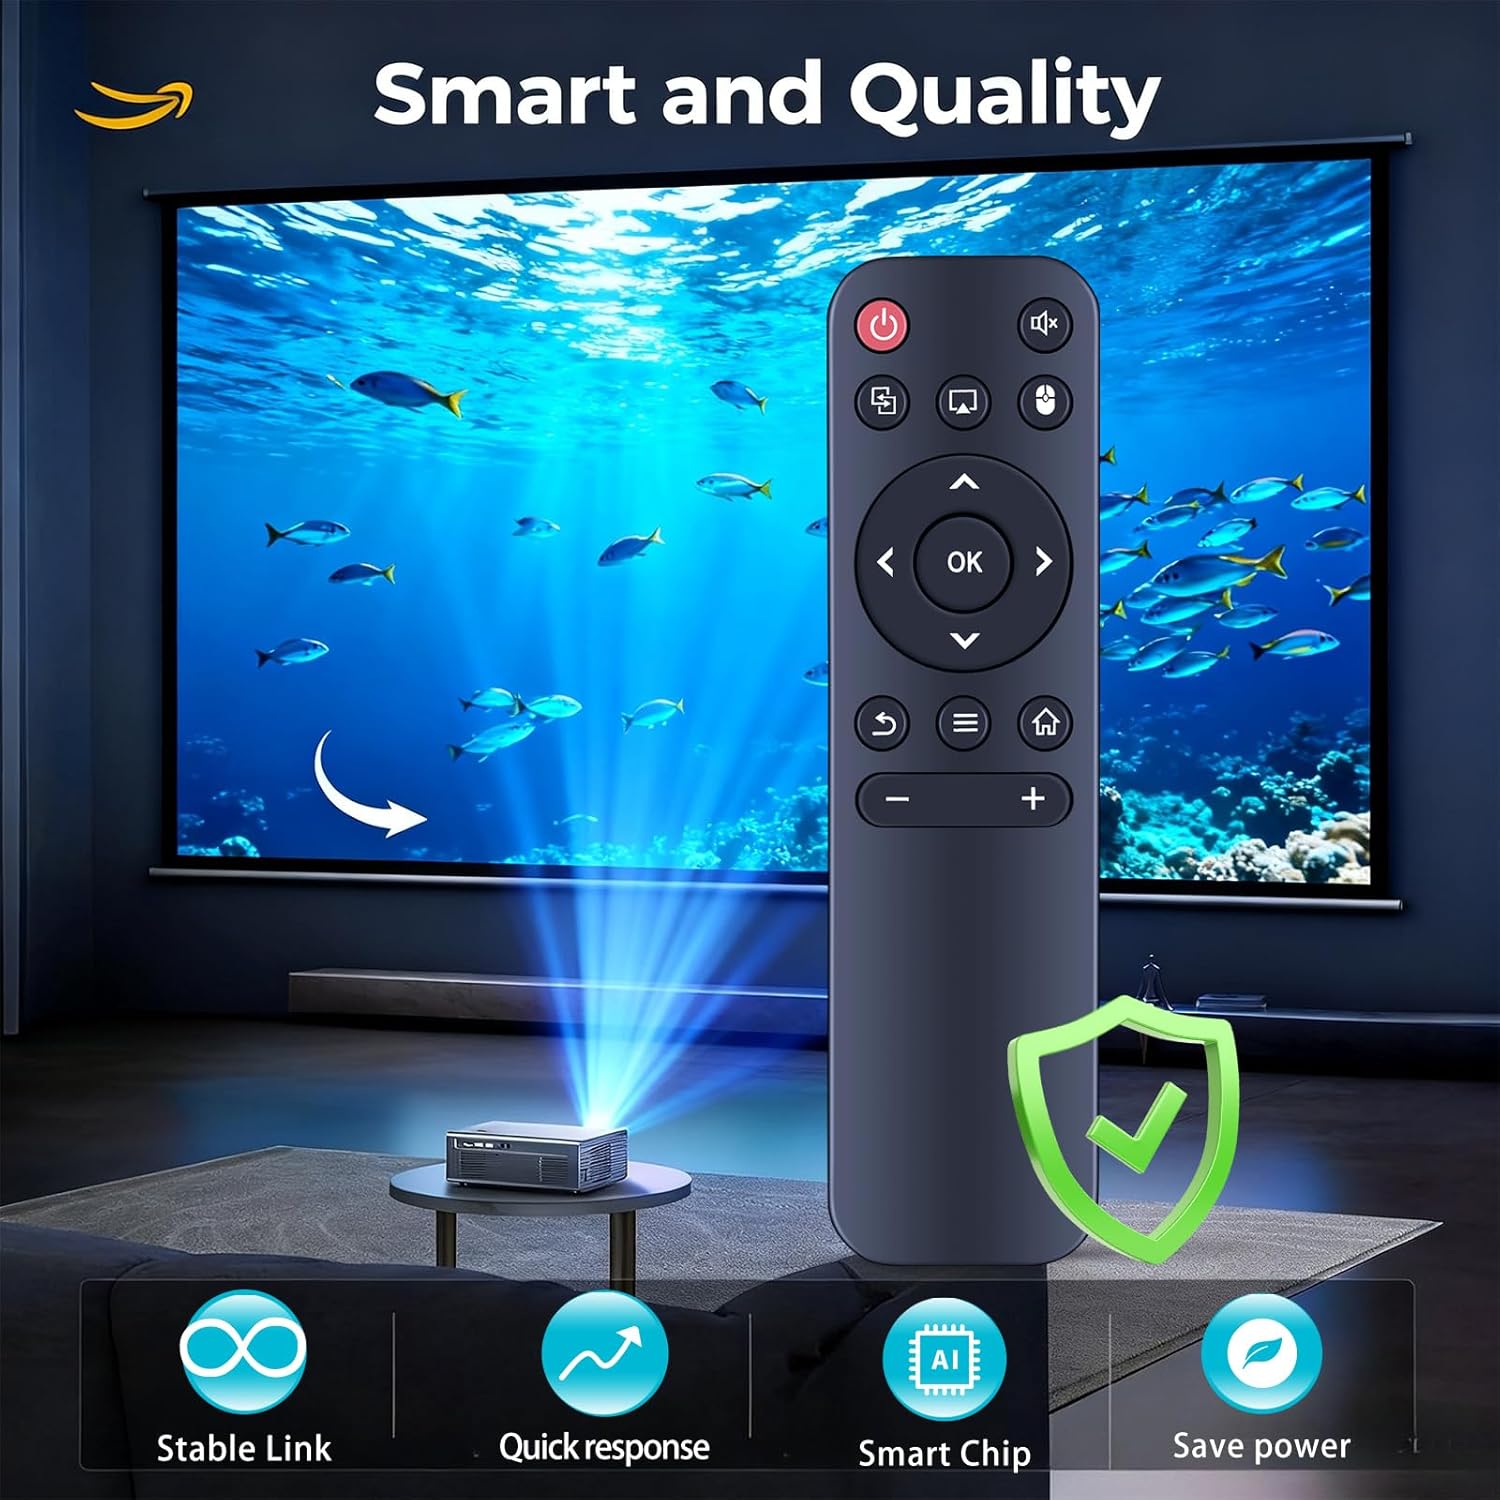
Image: The ZWP replacement remote control shown alongside a mini projector displaying an underwater scene, highlighting its smart and quality features like stable link, quick response, smart chip, and power saving.
2. Setup Instructions
2.1 Battery Installation
- Locate the battery compartment cover on the back of the remote control.
- Slide the cover downwards or press the latch to open it.
- Insert two AAA batteries, ensuring the positive (+) and negative (-) terminals align correctly with the markings inside the compartment.
- Replace the battery compartment cover until it clicks securely into place.
Note: Batteries are not included with the remote control.

Image: An illustration demonstrating how to insert two AAA batteries into the remote control, emphasizing that batteries are not included and highlighting ultra-long standby time.
2.2 Initial Use
This replacement remote control requires no programming or complex setup. Once batteries are correctly installed, it is ready for immediate use with compatible projectors.

Image: A hand holding the ZWP remote control, with text indicating 'Use Directly', 'Perfectly Compatible', and 'No Setup Required', illustrating its ease of use.
3. Operating Instructions
The remote control provides intuitive access to your projector's functions. Point the remote towards the projector for optimal signal transmission.
3.1 Button Functions
- Power Button (⏻): Turns the projector on or off.
- Mute Button (🔇): Mutes or unmutes the projector's audio.
- Navigation Pad (Up, Down, Left, Right, OK): Navigates menus and confirms selections.
- Back Button (↩): Returns to the previous screen or menu.
- Menu Button (☰): Accesses the projector's main menu or settings.
- Home Button (🏠): Returns to the projector's home screen.
- Volume Buttons (- / +): Adjusts the audio volume.
- Source/Input Button: Selects input sources (e.g., HDMI, USB).
- Mouse Mode Button: Activates or deactivates the air mouse function (if supported by projector).
3.2 Operating Range
The remote control supports multi-angle induction, allowing for effective operation from various positions. It can function reliably up to a distance of approximately 26 feet (8 meters).
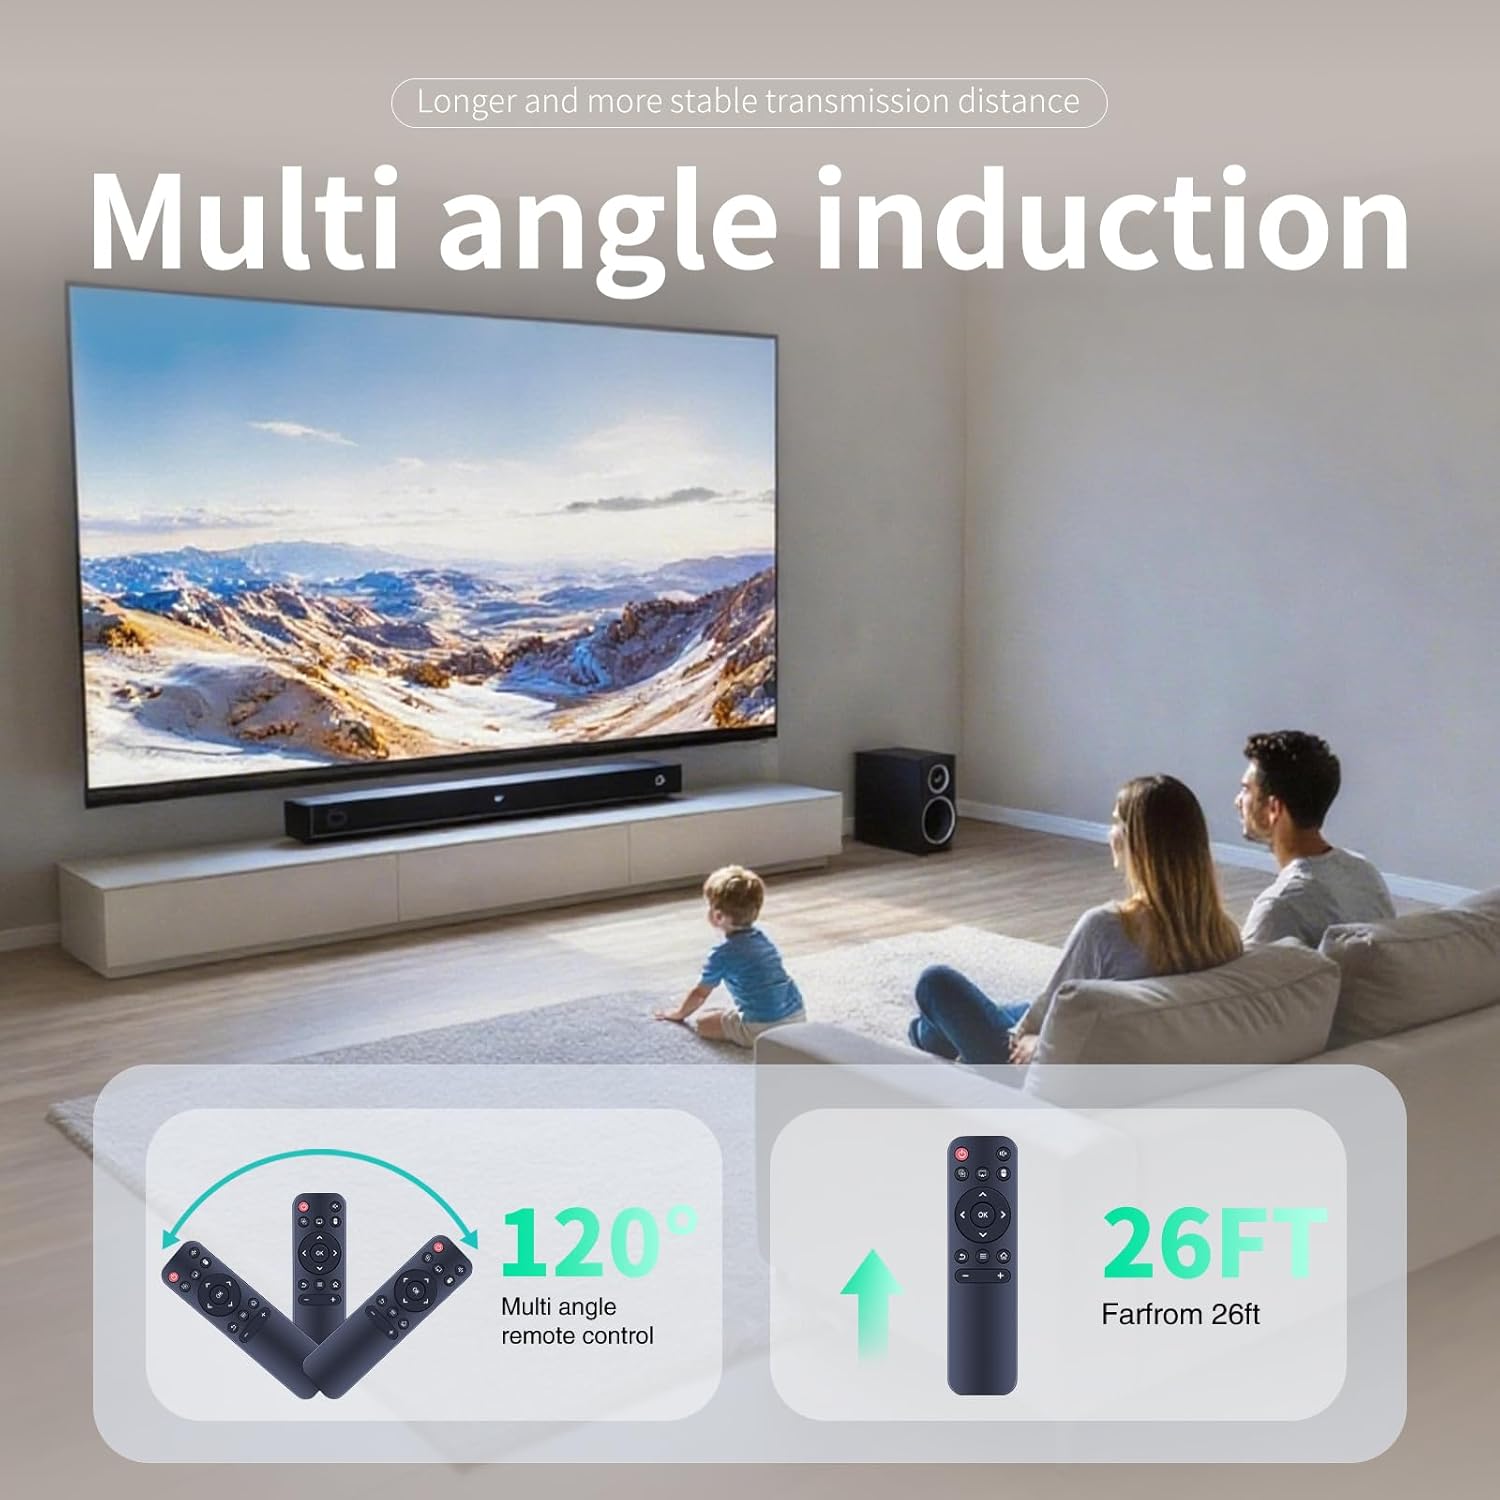
Image: A family watching a projector, with an overlay illustrating the ZWP remote control's multi-angle induction capability (120 degrees) and an effective operating range of up to 26 feet.
4. Maintenance
4.1 Cleaning
To clean the remote control, gently wipe it with a soft, dry cloth. Do not use liquid cleaners, abrasive materials, or solvents, as these may damage the surface or internal components.
4.2 Battery Replacement
Replace batteries when the remote control's response becomes sluggish or stops functioning. Refer to Section 2.1 for battery installation instructions. Remove batteries if the remote will not be used for an extended period to prevent leakage.
4.3 Storage
Store the remote control in a cool, dry place, away from direct sunlight, high temperatures, and humidity.
5. Troubleshooting
Remote Control Not Responding:
- Check Batteries: Ensure batteries are inserted correctly with the correct polarity and are not depleted. Replace with fresh AAA batteries if necessary.
- Line of Sight: Although the remote supports multi-angle induction, ensure there are no obstructions between the remote control and the projector.
- Compatibility: Verify that your projector model is listed as compatible in Section 1.
- Projector Status: Ensure the projector is powered on and not in standby mode.
If you continue to experience issues, please contact customer support for assistance.
6. Specifications
| Feature | Specification |
|---|---|
| Brand | ZWP |
| Model Number | ZWP |
| Color | Black |
| Special Feature | Ergonomic Design |
| Compatible Devices | Projectors (specific models listed in Section 1) |
| Max Number of Supported Devices | 1 |
| Item Weight | 2.08 ounces (approximately 59 grams) |
| Package Dimensions | 6.8 x 2.3 x 1 inches (approximately 17.3 x 5.8 x 2.5 cm) |

Image: The ZWP remote control highlighting its ergonomic design and physical dimensions: Length 5.43 inches, Width 1.50 inches, Height 0.59 inches.
7. Support
For any questions or further assistance regarding your ZWP replacement remote control, please do not hesitate to contact our customer support. We are committed to helping you resolve any issues.