
Introduction
The uleway T180GT is a 4G mobile phone designed for seniors, featuring large buttons, clear display, and high-volume audio for ease of use. It includes a Bluetooth charging dock with an integrated speaker for hands-free communication and media playback. This manual provides essential information for setting up, operating, maintaining, and troubleshooting your device.
Product Overview
Familiarize yourself with the main components of your uleway T180GT phone and its charging dock.

Image 1: Phone Components. This image displays the phone from three angles: a side view highlighting the volume control buttons (1), a rear view showing the SOS emergency button (2), and a front view detailing the large keypad and screen. The bottom view shows the flashlight button (3).

Image 2: Charging Dock Components. This image illustrates the various parts of the charging dock, including the phone slot, microphone, call key, end key, speaker, and the Type-C USB port for power input.
Package Contents
- uleway T180GT 4G Mobile Phone
- Charging Dock
- USB Cable
- Rechargeable Lithium Battery (1000 mAh)
Setup
1. SIM Card and Battery Installation
- Carefully remove the back cover of the phone.
- Insert your SIM card(s) into the designated slot(s). This phone supports Dual SIM.
- Insert the rechargeable lithium battery into its compartment, ensuring the contacts align.
- Replace the back cover until it clicks securely into place.
2. Charging the Phone
Your phone can be charged using the included charging dock or directly via the USB-C cable.

Image 3: Two Charging Methods. This image shows the phone being charged directly via a USB-C cable and also placed in the charging dock for convenient recharging.
- Using the Charging Dock: Connect the USB cable to the charging dock and a power adapter. Place the phone into the dock's slot. The phone will begin charging automatically.
- Direct USB-C Charging: Connect the USB cable directly to the phone's USB-C port and a power adapter.
A full charge provides up to 5-6 hours of talk time and up to 200 hours of standby time.
Operating Instructions
1. Power On/Off
- To power on, press and hold the red End Call/Power button until the screen lights up.
- To power off, press and hold the red End Call/Power button until the power off option appears, then confirm.
2. Making and Receiving Calls
- To Make a Call: Dial the number using the large keypad and press the green Call button.
- To Receive a Call: When the phone rings, press the green Call button to answer.
- To End a Call: Press the red End Call button.
3. Adjusting Volume
Use the dedicated volume control buttons on the side of the phone (refer to Image 1, item 1) to adjust call volume, ringtone volume, and media volume.
4. Screen Lock Settings
To prevent accidental key presses or screen locking, adjust the automatic keypad lock settings:
- Navigate to Menu.
- Select Security.
- Choose Automatic Keypad Lock.
- Select your desired duration (e.g., Off, 30 seconds, 1 minute, 2 minutes, 5 minutes).
Special Features
1. SOS Emergency Button
The SOS button provides a quick way to contact emergency services or pre-set family members.
Image 4: SOS Button Location. The red SOS button is prominently located on the back of the phone (refer to Image 1, item 2).
- Setting Up SOS Numbers: Access the SOS settings in the phone's menu to add up to 5 emergency contact numbers.
- Using the SOS Function: In an emergency, press and hold the SOS button on the back of the phone for several seconds. The phone will emit a loud alarm and automatically dial the pre-set emergency numbers in sequence until one is answered.
2. Speed Dial
Assign frequently called contacts to speed dial numbers (2-9) for quick access.

Image 5: Speed Dial Setup. This image illustrates how to set up speed dial contacts by long-pressing numbers 2-9 on the keypad.
- Setting Up Speed Dial: Long press a number key (2-9) for 2 seconds. Follow the on-screen prompts to assign a contact from your phonebook to that speed dial number.
- Using Speed Dial: Once set, simply long press the assigned number key to dial the contact.
3. Hands-Free Calling with Charging Dock
The charging dock features a built-in speaker, allowing for hands-free calls and enhanced audio experience.

Image 6: Hands-Free Device. An elderly woman is shown comfortably using the phone in its charging dock for a hands-free conversation, demonstrating its convenience.
- Place your phone in the charging dock.
- When a call comes in, you can answer it using the green Call key on the dock.
- The integrated speaker in the dock will provide clear, loud audio for your conversation.
4. Bluetooth Connectivity
The phone supports Bluetooth for connecting to compatible devices such as headsets or other phones for file transfer.
5. FM Radio
Enjoy listening to your favorite FM radio stations directly on your phone. The charging dock's speaker can enhance the audio experience.
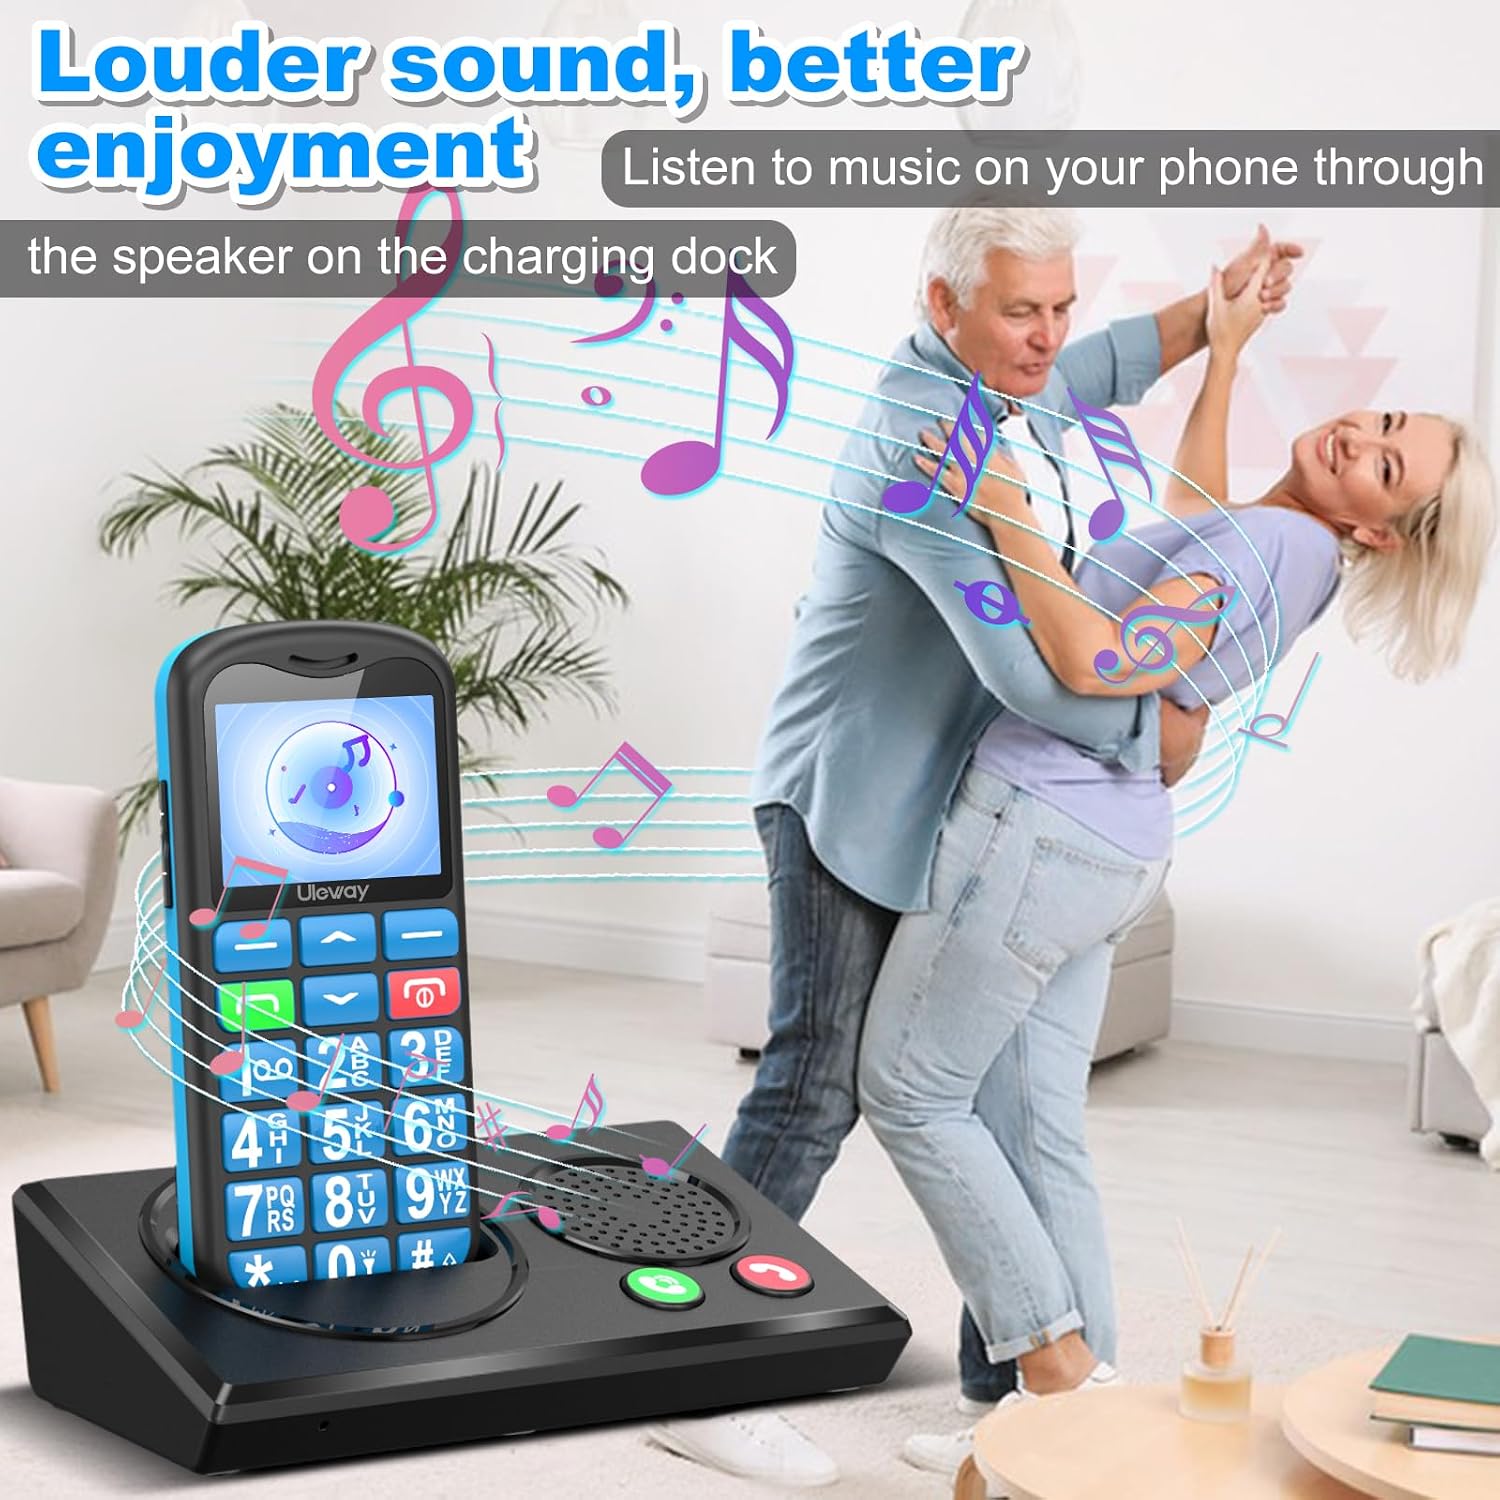
Image 7: Louder Sound, Better Enjoyment. This image depicts an elderly couple enjoying music playing from the phone's charging dock speaker, highlighting the enhanced audio quality.
6. Flashlight
A super bright flashlight is integrated for use in dark environments. The flashlight button is located on the bottom of the phone (refer to Image 1, item 3).
Maintenance
1. Cleaning
- Use a soft, dry cloth to clean the phone and charging dock.
- Avoid using liquid cleaners or abrasive materials.
2. Battery Care
- Do not expose the battery to extreme temperatures.
- Charge the battery regularly to maintain its lifespan.
- If the phone will not be used for an extended period, charge it to about 50% before storing.
Troubleshooting
- Phone does not power on: Ensure the battery is correctly installed and charged. Connect the phone to the charger and try again.
- Cannot make/receive calls: Check if the SIM card is properly inserted and activated. Ensure you have network coverage.
- Low call volume: Adjust the volume using the side buttons during a call. Check the phone's sound settings.
- Screen locks too frequently: Adjust the 'Automatic Keypad Lock' setting as described in the Operating Instructions section.
- Charging issues: Ensure the USB cable and power adapter are working correctly. Clean the charging ports on both the phone and the dock.
- SOS button not working: Verify that emergency numbers are correctly set up in the SOS settings.
Specifications
| Model Number | T180GT |
| Network Technology | 4G (compatible with 3G and 2G) |
| SIM Card Slots | Dual SIM |
| Operating System | ROTS |
| RAM | 48 MB |
| Storage Capacity | 16 GB (supports up to 16 GB flash memory) |
| Battery Capacity | 1000 mAh |
| Talk Time | Up to 5-6 hours |
| Standby Time | Up to 200 hours |
| Display Type | LCD |
| Connectivity | Bluetooth, USB Type-C |
| Water Resistance | Not water resistant |
| Dimensions | 14.4 x 12.6 x 5.7 cm |
| Weight | 300 g |
Warranty Information
Your uleway T180GT mobile phone is covered by a standard manufacturer's warranty. Please refer to the warranty card included in your product packaging for specific terms and conditions, including warranty duration and coverage details. Keep your proof of purchase for warranty claims.
Customer Support
If you encounter any issues not covered in this manual or require further assistance, please contact uleway customer support. Contact information can typically be found on the product packaging, the official uleway website, or through your retailer.