
1. Introduction
This manual provides detailed instructions for the installation, operation, and maintenance of your Oskkude 10-inch Android 13 Car Stereo. Designed specifically for Honda CRV models from 2012 to 2016, this unit offers advanced features including Wireless CarPlay, Android Auto, GPS navigation, WiFi connectivity, Bluetooth, mirror link, and a backup camera. Please read this manual thoroughly before installation and use to ensure optimal performance and safety.
2. Product Overview
The Oskkude 10-inch Android 13 Car Stereo is a double DIN car audio receiver featuring an IPS touch screen. It integrates seamlessly into your Honda CRV's dashboard, enhancing your driving experience with modern infotainment capabilities.

Image: The Oskkude 10-inch Android 13 Car Stereo seamlessly integrated into a Honda CRV dashboard.
Key Features:
- Android 13.0 System: Equipped with 2GB RAM and 32GB ROM for smooth operation and fast response.
- 10-Inch IPS Touch Screen: Provides a large, clear visual experience.
- Wireless CarPlay & Android Auto: Supports voice control for navigation, calls, messages, and music.
- GPS Navigation & WiFi: Built-in WiFi module for online/offline maps, including a pre-installed North America offline map. Allows installation of Android apps.
- Steering Wheel Control: Retains original steering wheel control functions for convenience and safety.
- Backup Camera Support: Includes a waterproof 170° wide-angle backup camera with night vision.
- Bluetooth & Mirror Link: For hands-free calling, music streaming, and screen mirroring from your smartphone.
- FM/RDS Radio: Enjoy your favorite radio stations.
- Split Screen Functionality: Operate two applications simultaneously.
3. What's in the Box
Verify that all components are present before beginning installation:

Image: All components included in the Oskkude car stereo package.
- 1x Oskkude 10-Inch Car Stereo Unit
- 1x Rear View Camera
- 1x Set of Plastic Trim Removal Tools
- 1x Power Cable
- 1x RCA Input/Output Cable
- 2x USB Cables
- 1x Camera Input Cable
- 1x GPS Antenna
- 1x Instruction Manual (this document)
- 1x Canbus Box
- 1x USB Adapter
4. Setup and Installation
Proper installation is crucial for the optimal performance of your new car stereo. If you are unsure about any steps, it is recommended to seek professional assistance.
4.1 Compatibility Check
This car stereo is designed for Honda CRV models from 2012 to 2016. Please verify your vehicle's year, dimensions, and the shape of the center console before installation.

Image: Visual comparison of the Honda CRV dashboard before and after the Oskkude car stereo installation.

Image: Another view comparing the original car stereo interface with the new Android 13 interface, displaying navigation and various applications.
4.2 Wiring Connections
Follow the wiring diagram carefully to connect the stereo to your vehicle's electrical system. Ensure all connections are secure to prevent malfunctions.

Image: A detailed diagram illustrating the various wiring connections for the car stereo, including power, RCA, USB, GPS, and the reversing camera.
- Power Cable: Connect the main power cable to the 16-pin port on the stereo.
- RCA Cables: Connect the 20-pin RCA cable for audio input/output. If your car has a factory amplifier, connect the male AUX cables accordingly.
- USB Cables: Connect the 4-pin and 6-pin USB cables to their respective ports.
- GPS Antenna: Connect the GPS antenna to the dedicated GPS port.
- 4G Antenna: Connect the 4G antenna to its designated port.
- Rear Camera Signal Cable: Connect the 10-pin reversing video input port to the rear camera signal cable.
- External Microphone: Connect the external microphone to the 3.5mm port on the RCA cables for enhanced call quality.
4.3 Installation Videos
General Wiring Guide
Video: A general guide demonstrating the wiring process for the Honda CRV radio (2012-2016).
Harness Selection for CRV
Video: Instructions on how to choose the correct wiring harness for your Honda CRV model.
No Cutting Installation for Honda CR-V
Video: Demonstrates the installation process for the Honda CR-V without requiring dashboard modifications.
5. Operating Instructions
Once installed, your Oskkude car stereo offers a range of functionalities. Familiarize yourself with the interface and features for a seamless experience.
5.1 Initial Power On and System Setup
Upon first power-on, the system will boot to the Android 13 interface. Follow any on-screen prompts for initial setup, including language selection and time zone.
Car Navigation Startup Guide
Video: A guide on how to start and navigate the car stereo's main interface.
5.2 Wireless CarPlay & Android Auto
Connect your smartphone wirelessly to access CarPlay or Android Auto. This allows for voice control of navigation, making calls, sending messages, and playing music while keeping your focus on the road.

Image: The car stereo displaying both Apple CarPlay and Android Auto interfaces, highlighting their integration.
5.3 GPS Navigation & WiFi
Utilize the built-in GPS for navigation. The system supports both online and offline maps. Connect to WiFi via your smartphone's hotspot to access online maps and download additional applications from the Application Store.

Image: The car stereo screen showing GPS navigation in action and options for WiFi connection.
5.4 Bluetooth Connectivity
Pair your phone via Bluetooth for hands-free calling and audio streaming. The system supports phonebook synchronization.
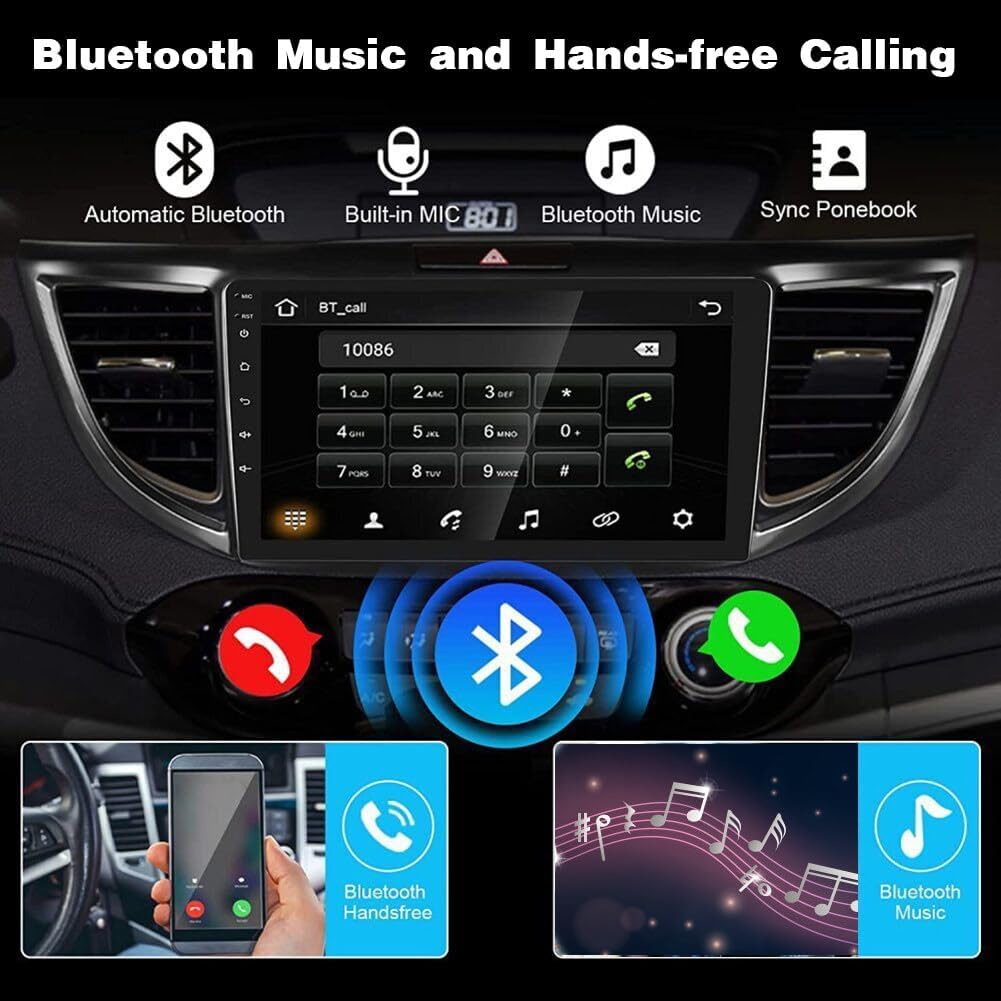
Image: The car stereo displaying the Bluetooth interface for hands-free calling and music playback.
5.5 Steering Wheel Controls
The unit retains your vehicle's original steering wheel control functions, allowing you to adjust volume, change tracks, and manage calls without taking your hands off the wheel.

Image: An illustration of how the original steering wheel controls can be used to operate the car stereo.
5.6 Reversing Camera Display
When the vehicle is in reverse gear, the display automatically switches to the backup camera view, providing a 170° wide-angle, waterproof, and night vision-enabled image for safer parking and maneuvering.
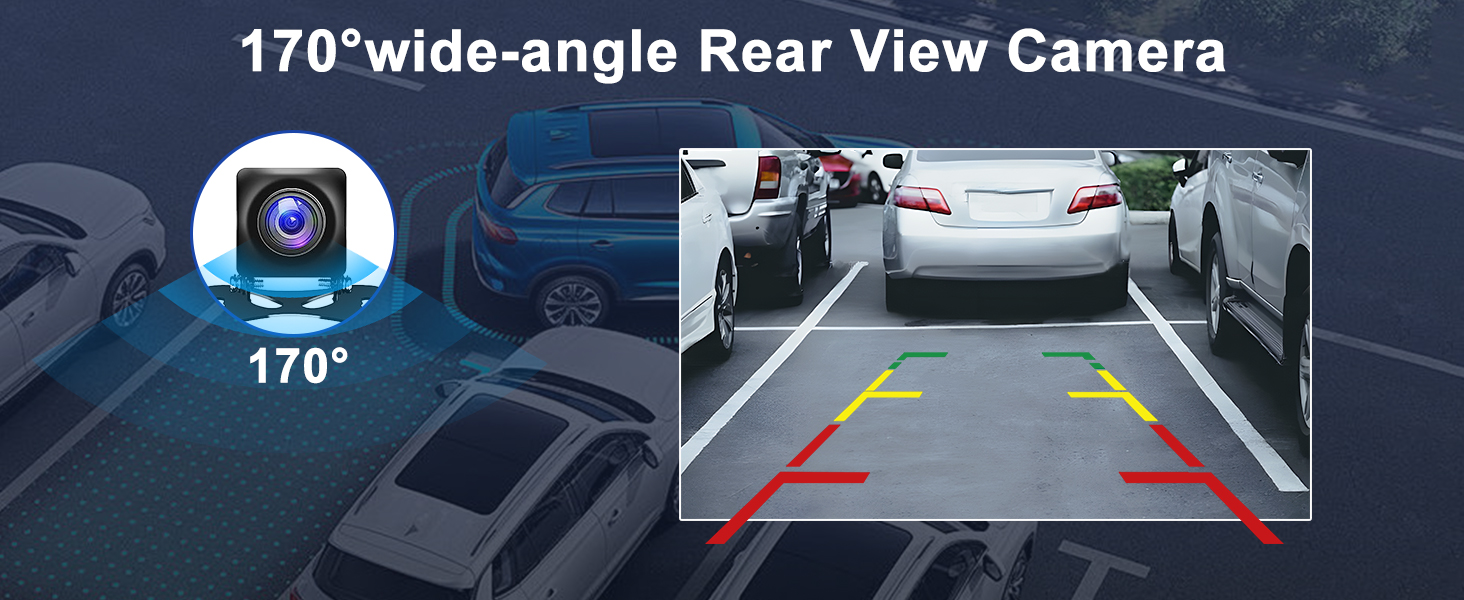
Image: The car stereo screen showing the view from the rear camera with parking guidelines.
5.7 Split Screen Function
The split-screen feature allows you to run two applications simultaneously, such as navigation on one side and music playback on the other.
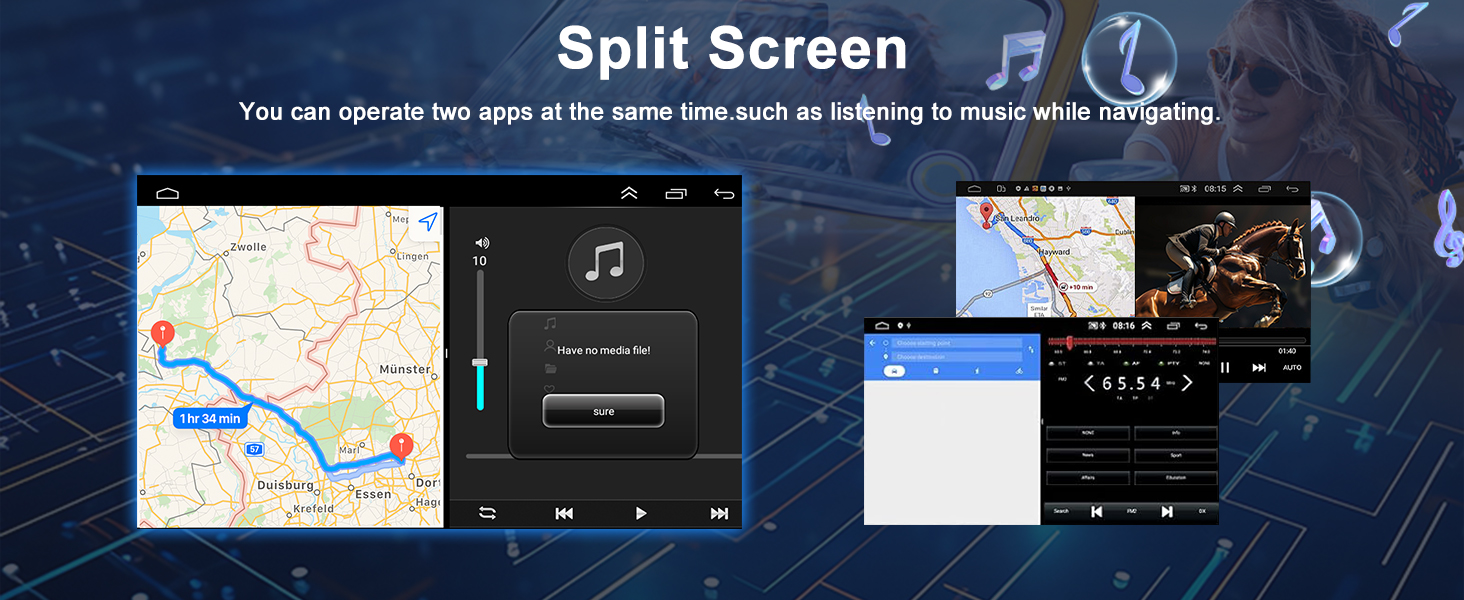
Image: The car stereo screen demonstrating the split-screen feature, running two applications side-by-side.
6. Maintenance
To ensure the longevity and optimal performance of your Oskkude car stereo, follow these maintenance guidelines:
- Screen Cleaning: Use a soft, lint-free cloth to gently wipe the touch screen. Avoid abrasive cleaners or harsh chemicals that could damage the display.
- Software Updates: Periodically check for system software updates to ensure you have the latest features and bug fixes. Updates can typically be performed via WiFi.
- Cable Connections: Ensure all cables remain securely connected. Loose connections can lead to intermittent issues.
- Environmental Conditions: Avoid exposing the unit to extreme temperatures, direct sunlight for prolonged periods, or excessive moisture.
7. Troubleshooting
If you encounter any issues with your Oskkude car stereo, refer to the following common troubleshooting steps:
| Problem | Possible Cause | Solution |
|---|---|---|
| Unit does not power on. | Loose power connection, blown fuse. | Check power cable connections. Inspect vehicle's fuse box for blown fuses and replace if necessary. |
| No sound from speakers. | Incorrect wiring, volume too low, mute activated. | Verify speaker wiring. Increase volume. Check if the unit is muted. Ensure factory amplifier (if present) is correctly connected. |
| GPS signal is weak or inaccurate. | GPS antenna improperly placed or connected. | Ensure the GPS antenna is placed in an open area with a clear view of the sky and is securely connected. |
| Bluetooth connection issues. | Incorrect pairing, Bluetooth disabled on phone or stereo. | Ensure Bluetooth is enabled on both devices. Delete previous pairings and re-pair. Restart both devices. |
| Backup camera not displaying. | Camera cable loose, incorrect wiring, camera malfunction. | Check the rear camera signal cable connection. Ensure the vehicle is in reverse gear. |
| Touch screen unresponsive. | System freeze, software issue. | Perform a soft reset (refer to the device's reset button, usually a small pinhole). If the issue persists, a factory reset might be needed (data will be lost). |
8. Specifications
Detailed technical specifications for the Oskkude 10-inch Android 13 Car Stereo:
- Model Number: TISU-04-DYY-25QA1314X
- Operating System: Android 13.0
- Memory: 2GB RAM + 32GB ROM
- Screen Size: 10 Inch
- Display Type: IPS Touch Screen (1024x600 resolution)
- Connectivity: Bluetooth, USB, Wi-Fi
- Supported Internet Services: Wireless CarPlay, Android Auto
- Control Method: Touch, Voice, Steering Wheel Control
- Audio Output Mode: Stereo
- Surround Sound Channel Configuration: 2.1
- Output Power: 45 Watts x 4 Channels
- Total Output Wattage: 180 Watts
- Video Encoding Formats: MKV, AVI, MP4, RMVB
- Audio Formats: WAV, WMA
- Image Formats: .gif, .jpg
- Special Features: Split Screen, AHD Backup Camera support, FM/AUX, AV IN, RCA, RLV
- Color: Black
9. Warranty and Support
For warranty information, technical support, or any questions regarding your Oskkude car stereo, please refer to the contact information provided with your purchase or visit the official Oskkude website. Keep your purchase receipt as proof of purchase for warranty claims.