
1. Introduction
This manual provides essential instructions for the safe and efficient installation, operation, and maintenance of your SOECOPO 7000W Solar Power System Kit. This kit is designed to provide reliable power for various applications, including home backup, RVs, and camping, utilizing a 300W solar panel, a 100A USB controller, and a 12V/24V to 110V/220V inverter.
Please read this manual thoroughly before using the product and retain it for future reference.
2. Safety Instructions
- Always disconnect power before making or breaking electrical connections.
- Ensure all wiring is correctly polarized and securely connected to prevent damage to components or personal injury.
- Do not expose the solar panel, controller, or inverter to water or excessive moisture unless specifically rated for such conditions.
- Install the solar panel in a location with adequate sunlight and away from flammable materials.
- Ensure proper ventilation around the inverter and controller to prevent overheating.
- Only use batteries compatible with the solar charge controller's specifications (12V/24V).
- Consult a qualified electrician if you are unsure about any installation steps.
3. Package Contents
Verify that all components are present and undamaged upon unpacking:
- 1 x 300W Solar Panel
- 1 x 100A USB Solar Charge Controller
- 1 x 700W Power Inverter (12V/24V to 110V/220V)
- Necessary connection cables (may vary by kit version)
- User Manual (this document)
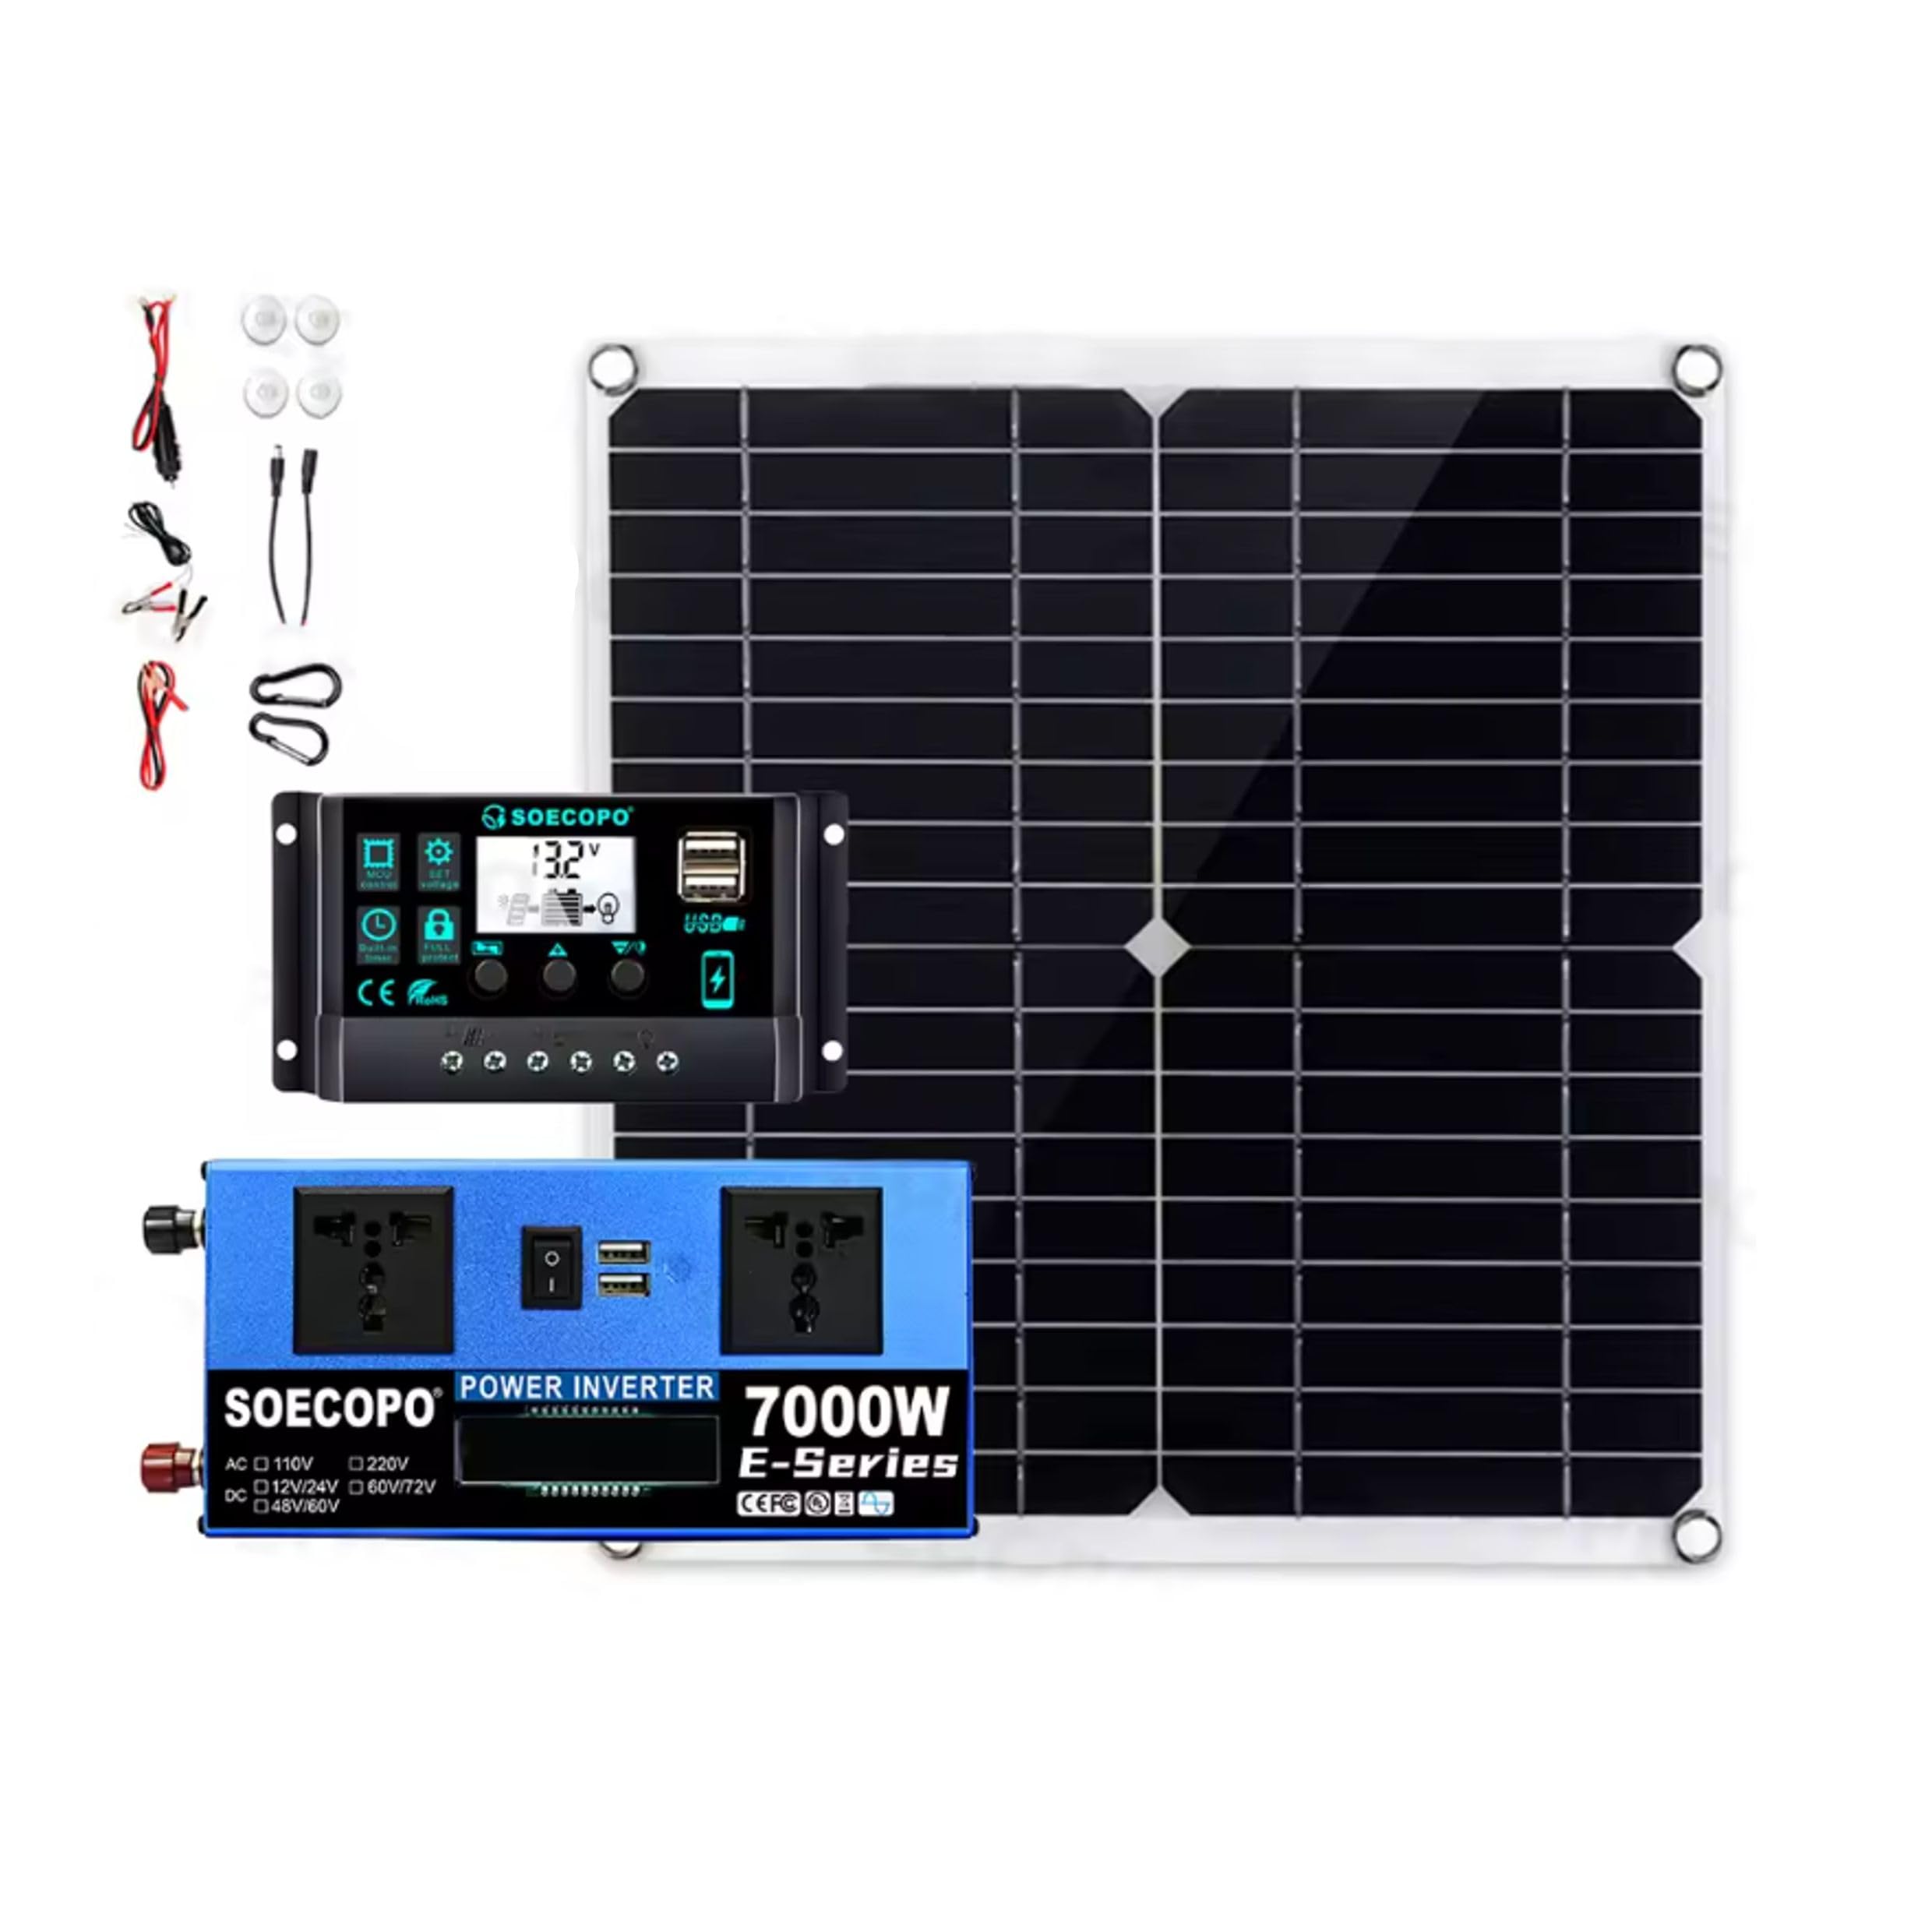
Image 1: Overview of the SOECOPO 7000W Solar Power System Kit components, including the solar panel, charge controller, and inverter.
4. Setup and Installation
4.1 Solar Panel Installation
Mount the 300W solar panel in a location that receives maximum direct sunlight throughout the day, free from shading. Ensure the mounting structure is secure and can withstand local weather conditions. The panel uses MC4 connectors for easy and secure wiring.
- Choose an optimal, unshaded location for the solar panel.
- Securely mount the panel using appropriate hardware (not included).
- Connect the MC4 cables from the solar panel to the solar charge controller. Ensure correct polarity (+ to + and - to -).
4.2 Solar Charge Controller Connection
The 100A USB solar charge controller manages the power flow from the solar panel to the battery and loads. It automatically detects 12V or 24V battery systems.
- Connect the battery to the controller FIRST. Ensure correct polarity. The controller will power on.
- Connect the solar panel cables (from step 4.1) to the controller's solar input terminals.
- (Optional) Connect DC loads to the controller's load terminals, if applicable.
Image 2: An illustrative diagram showing the connection points for the battery, solar panel, and optional DC loads to the solar charge controller would be placed here.
4.3 Power Inverter Connection
The 700W power inverter converts DC power from your battery to AC power (110V/220V) for household appliances.
- Connect the inverter's DC input cables to your battery terminals. Ensure correct polarity (+ to + and - to -). Use thick gauge cables suitable for the inverter's power rating.
- Ensure the inverter's power switch is in the OFF position before connecting.
- Once connected, you can switch the inverter ON.
Image 3: An illustrative diagram showing the connection of the power inverter to the battery, emphasizing correct polarity and cable gauge, would be placed here.
5. Operating Instructions
5.1 System Start-up
- Ensure all connections are secure as per Section 4.
- The solar charge controller will automatically detect the battery voltage and begin charging when sunlight is available.
- To use AC appliances, switch on the power inverter.
5.2 Monitoring System Performance
The solar charge controller features a display that shows real-time voltage and current. This allows you to monitor the charging status and battery health.
- Voltage Display: Indicates the current battery voltage.
- Current Display: Shows the charging current from the solar panel or discharge current to loads.
- USB Ports: Use the 5V USB ports on the controller to charge small electronic devices.
5.3 Using AC Output
Once the inverter is switched on, you can plug your 110V or 220V AC appliances into the inverter's outlets. Ensure the total wattage of connected appliances does not exceed the inverter's rated power of 700W.
6. Maintenance
Regular maintenance ensures the longevity and optimal performance of your solar power system.
- Solar Panel Cleaning: Periodically clean the surface of the solar panel with a soft, damp cloth to remove dust, dirt, and debris that can reduce efficiency. Do not use abrasive cleaners.
- Connection Checks: Annually inspect all electrical connections for tightness and corrosion. Loose or corroded connections can lead to power loss or overheating.
- Battery Inspection: If using lead-acid batteries, check electrolyte levels and terminal cleanliness regularly. Follow battery manufacturer's maintenance guidelines.
- Ventilation: Ensure the inverter and controller ventilation openings are clear of obstructions to prevent overheating.
7. Troubleshooting
| Problem | Possible Cause | Solution |
|---|---|---|
| No power output from inverter/controller |
|
|
| Low solar charging current |
|
|
| Inverter alarm/error code |
|
|
8. Specifications
| Component | Specification |
|---|---|
| Solar Panel |
|
| Solar Charge Controller |
|
| Power Inverter |
|
| General |
|
9. Warranty and Support
This SOECOPO Solar Power System Kit is covered by a manufacturer's warranty. For specific warranty terms, duration, and conditions, please refer to the documentation included with your purchase or contact the manufacturer directly.
For technical support, troubleshooting assistance, or to inquire about replacement parts, please contact SOECOPO customer service through the retailer where the product was purchased or visit the official SOECOPO website (if available).


