
SMALLRIG B0F3JKFHVL
SmallRig Product Instruction Manual
Model: B0F3JKFHVL
1. Introduction
This manual provides detailed instructions for the safe and efficient use of your SmallRig LP-E6NH 4-Slot Charger, SmallRig 145W USB-C Charger, and SmallRig 240W USB C to C Cable. Please read this manual thoroughly before operation and retain it for future reference.

Figure 1: Overview of the SmallRig LP-E6NH 4-Slot Charger, 145W USB-C Charger, and 240W USB C to C Cable.
2. Safety Information
To ensure safe operation and prevent damage, please observe the following precautions:
- Do not expose the devices to water, moisture, or extreme temperatures.
- Use only compatible batteries and cables as specified.
- Avoid dropping or subjecting the devices to strong impacts.
- Do not attempt to disassemble or modify the devices. Refer all servicing to qualified personnel.
- Ensure proper ventilation during charging to prevent overheating.
- Keep out of reach of children.
3. Product Overview
3.1 SmallRig LP-E6NH 4-Slot Charger
This charger is designed to simultaneously charge up to four LP-E6NH batteries. It features a 60W USB-C input for efficient power delivery and includes built-in safety protections.
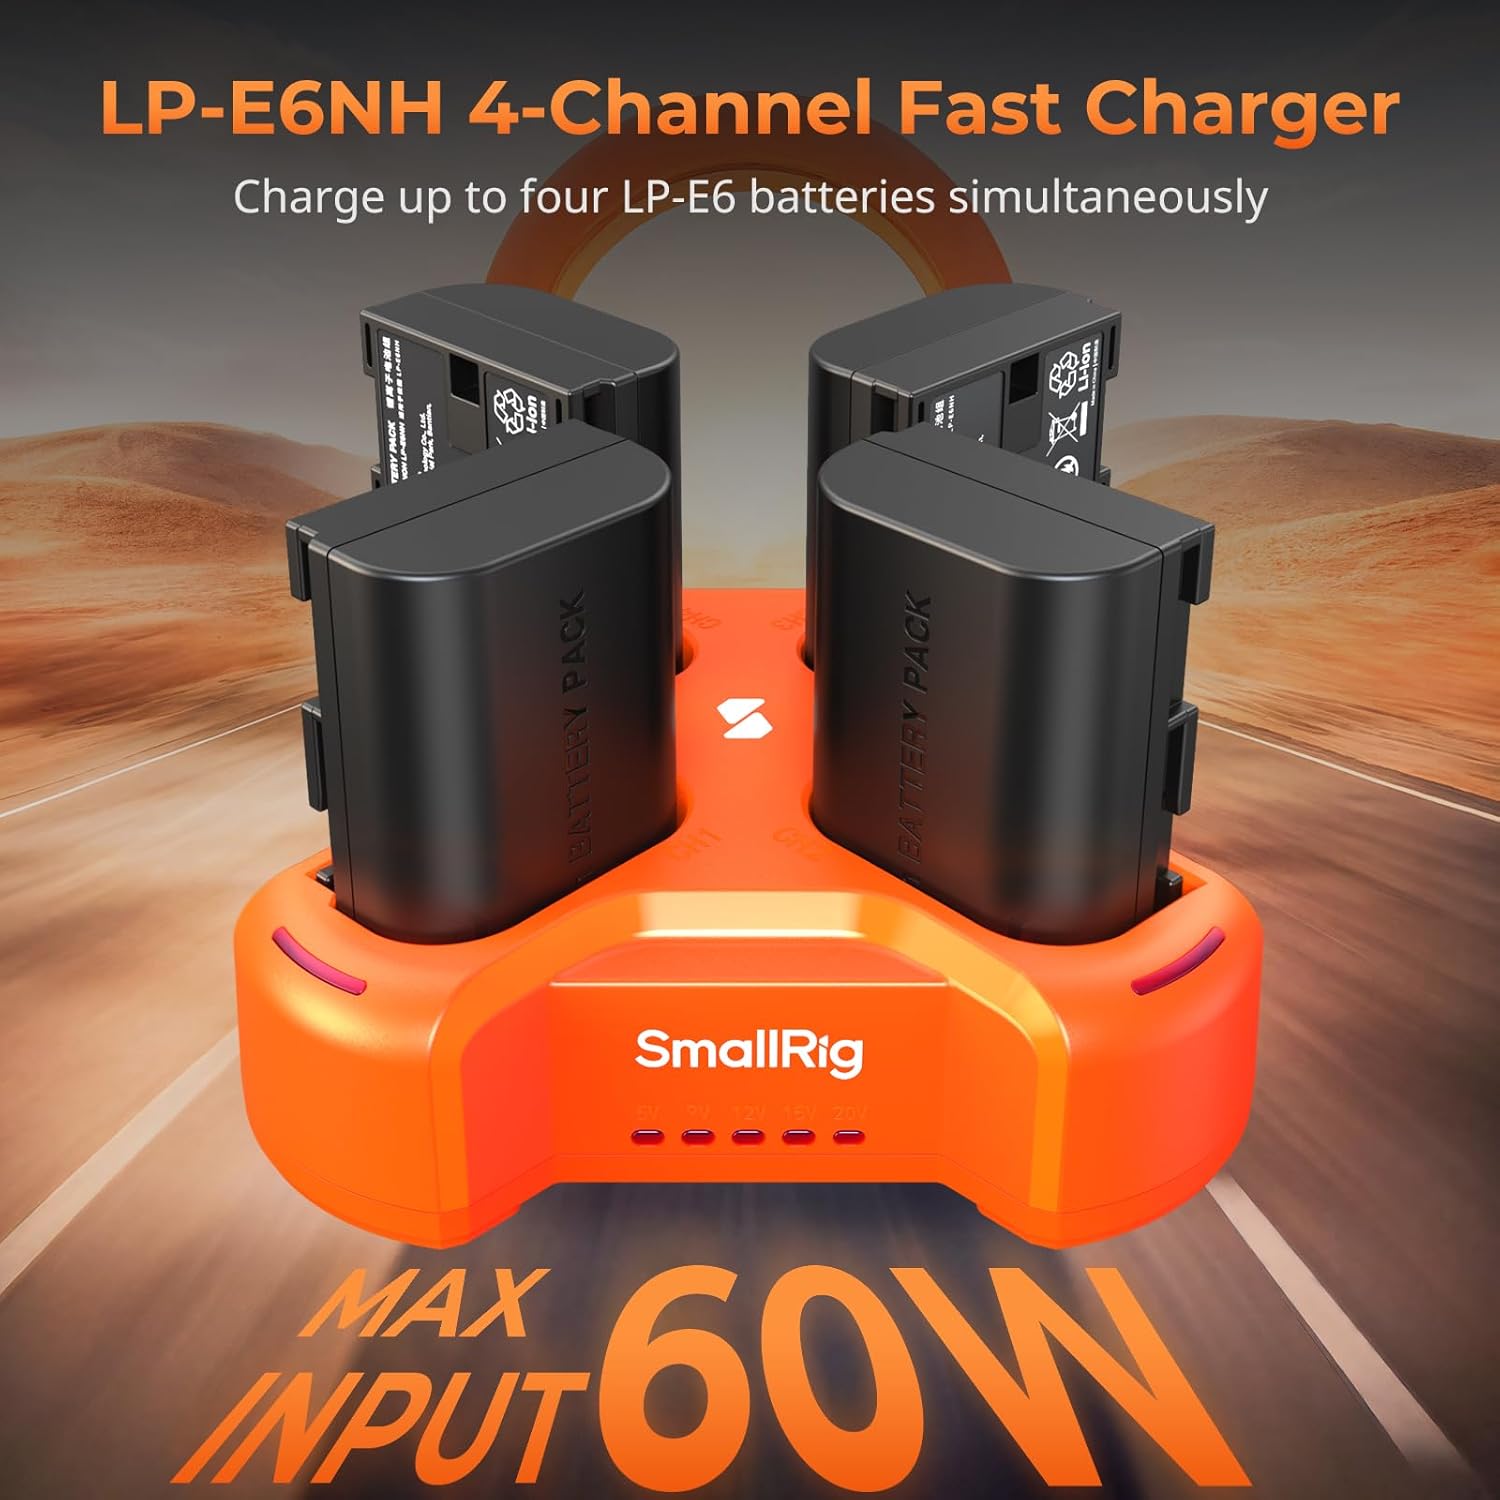
Figure 2: SmallRig LP-E6NH 4-Channel Fast Charger with batteries.
Key Features:
- 4-Channel Charging: Charges four LP-E6NH batteries concurrently.
- Fast Charging: Achieves full charge for 2040mAh batteries in approximately 4.5 hours with a 60W USB-C input.
- Safety Protection: Equipped with short-circuit and overcurrent protection for each port.
- Compact Design: Lightweight and portable for travel and daily use.

Figure 3: The compact and lightweight design of the 4-slot charger.
LED Indicators: The charger features smart LED indicators to display charging status and voltage information.

Figure 4: Smart LED Indicators on the 4-slot charger.
3.2 SmallRig 145W USB-C Charger
This powerful GaN charger provides a total output of 145W across four USB-C ports, supporting PD3.1 fast charging for a wide range of devices.

Figure 5: Multi-device charging capability of the 145W charger.
Port Configuration:
- USB-C1 / C2: Up to 140W maximum output each.
- USB-C3 / C4: Up to 45W maximum output each.
- Total Output: 145W.

Figure 6: Port specifications of the 145W USB-C Charger.
This charger is suitable for high-power devices such as V mount batteries, rechargeable camera batteries, NP-F batteries, smartphones, and laptops, significantly reducing charging downtime.
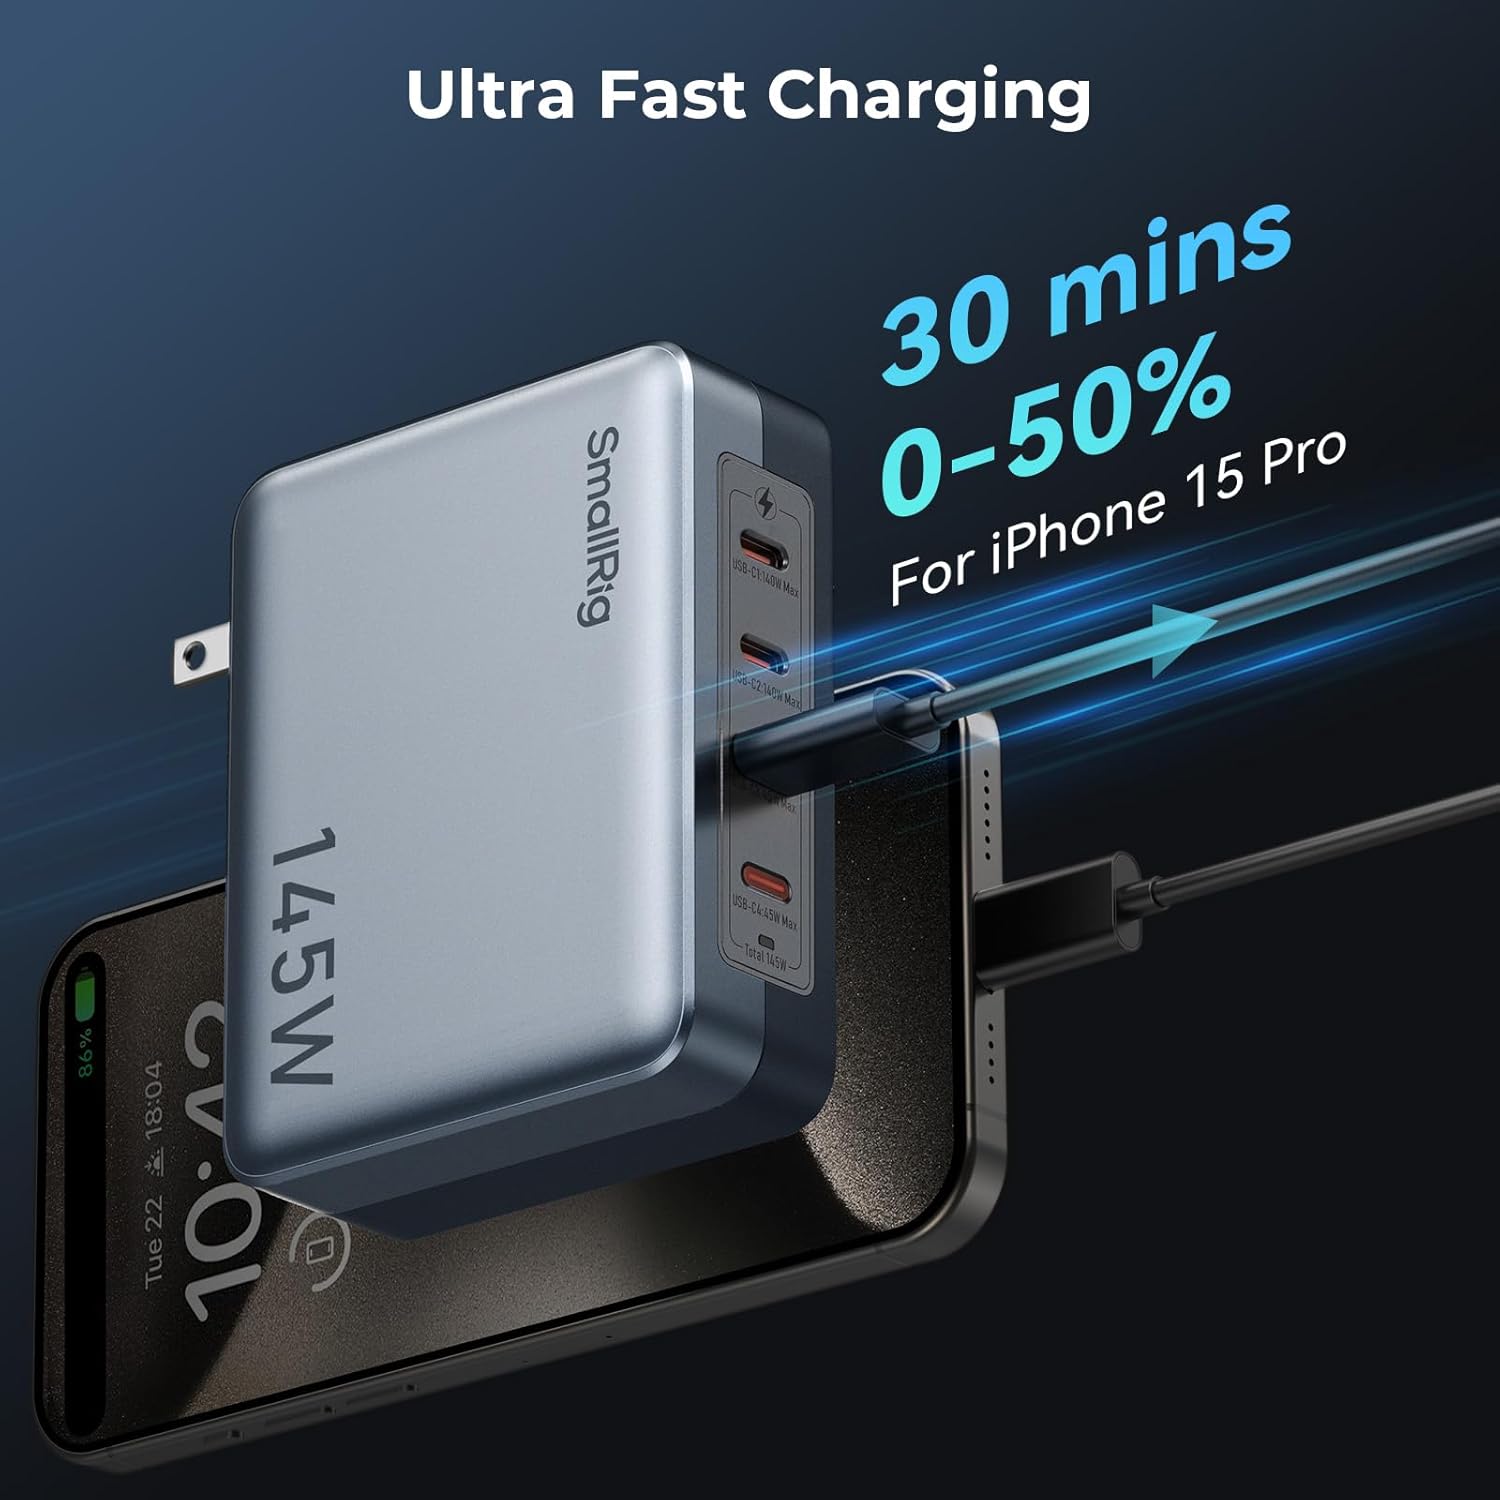
Figure 7: Example of rapid charging with the 145W USB-C Charger.
3.3 SmallRig 240W USB C to C Cable
This high-performance USB-C to USB-C cable supports the PD 3.1 protocol, enabling ultra-fast charging for compatible devices.

Figure 8: SmallRig 240W USB C to C Cable.
Features:
- 240W Power Delivery: Supports high-power charging for devices like laptops and smartphones.
- Durability: Constructed with metal connectors and braided wire for enhanced longevity.
- Note: This cable does not support screen mirroring.
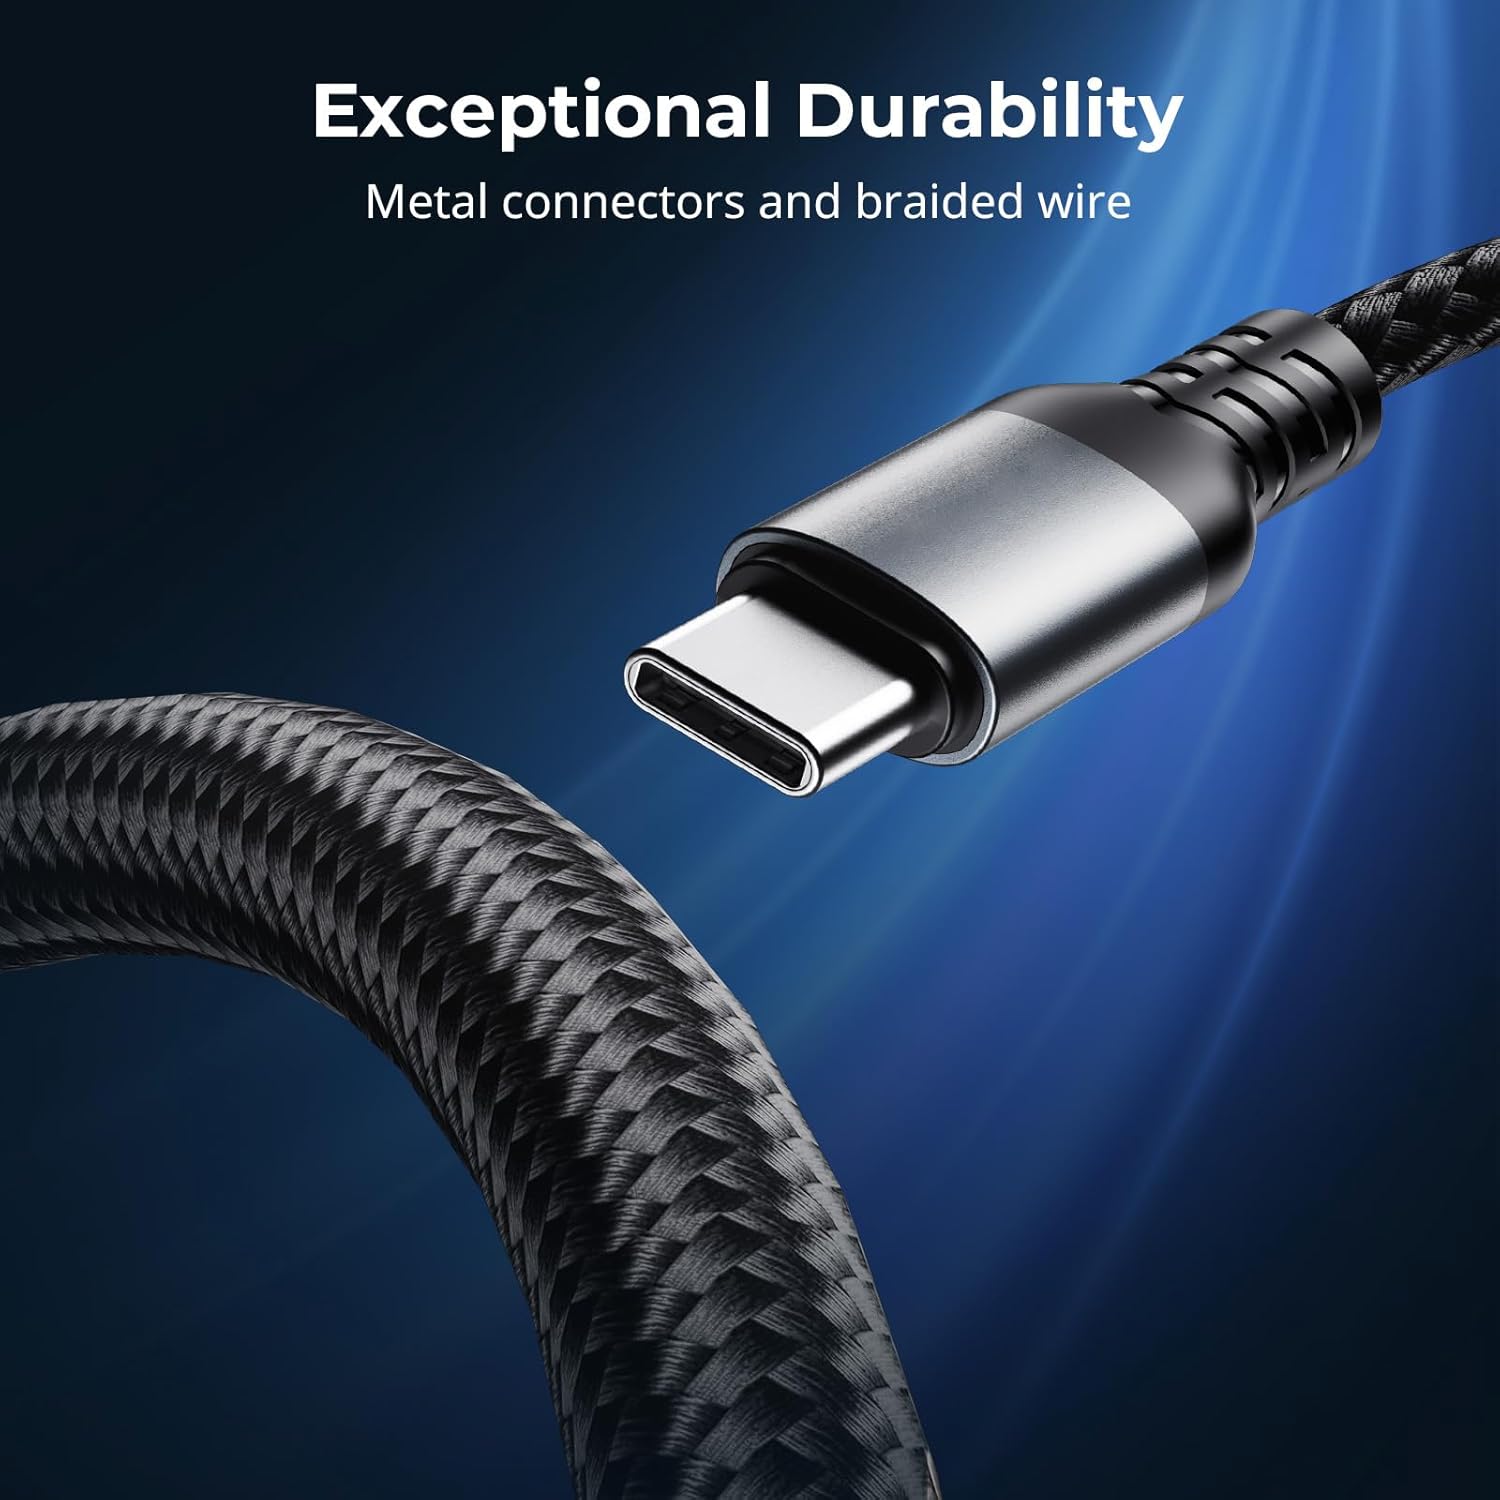
Figure 9: Exceptional durability of the 240W USB C to C Cable.
4. Setup
4.1 Setting up the LP-E6NH 4-Slot Charger
- Connect the SmallRig LP-E6NH 4-Slot Charger to a power source using a USB-C cable. For optimal performance, use a USB-C adapter with a power output of 60W or above.
- If using a USB-A adapter, ensure it supports the QC 12V protocol; otherwise, the charger may not function correctly.
- Insert up to four compatible LP-E6NH batteries into the designated slots. Ensure the batteries are correctly oriented.
- The LED indicators will illuminate to show the charging status of each battery.
4.2 Setting up the 145W USB-C Charger
- Plug the SmallRig 145W USB-C Charger into a standard wall outlet.
- Connect your devices (e.g., laptops, smartphones, camera batteries) to any of the four USB-C ports using appropriate USB-C cables.
- For devices requiring high power, utilize USB-C1 or USB-C2 ports for up to 140W output.
- For other devices, USB-C3 or USB-C4 ports provide up to 45W output.
4.3 Using the 240W USB C to C Cable
- Connect one end of the 240W USB C to C Cable to a compatible power source (e.g., the SmallRig 145W USB-C Charger or another PD 3.1 compliant charger).
- Connect the other end of the cable to your device (e.g., laptop, smartphone) that supports USB-C power delivery.
- Ensure both the power source and the device support the required power delivery for optimal charging speed.
5. Operating Instructions
5.1 Charging with the LP-E6NH 4-Slot Charger
Once batteries are inserted and the charger is connected to power, the charging process begins automatically. The LED indicators provide real-time feedback:
- Solid Red: Charging in progress.
- Solid Green: Charging complete.
- Flashing Red: Error (e.g., incompatible battery, short circuit). Remove the battery and reinsert. If the issue persists, discontinue use.
The voltage indicators (5V / 9V / 12V / 20V) will light up to show the input voltage being supplied to the charger.
5.2 Charging with the 145W USB-C Charger
The 145W USB-C Charger automatically detects the connected device's power requirements and delivers the optimal charging current. No manual configuration is required.
- Connect your device to any available USB-C port.
- For maximum efficiency, distribute high-power devices across USB-C1/C2 and lower-power devices across USB-C3/C4.
- The charger's internal management system will balance power delivery across all active ports.
6. Maintenance
- Cleaning: Use a soft, dry cloth to clean the surfaces of the charger and cable. Do not use liquid cleaners or solvents.
- Storage: Store the devices in a cool, dry place away from direct sunlight and extreme temperatures when not in use.
- Cable Care: Avoid sharp bends or kinks in the 240W USB C to C Cable to prevent internal damage. Do not pull the cable by the cord; always grasp the connector.
- Inspection: Periodically inspect the chargers and cable for any signs of damage, such as frayed wires, cracked casings, or bent connectors. Discontinue use if damage is found.
7. Troubleshooting
| Problem | Possible Cause | Solution |
|---|---|---|
| LP-E6NH Charger not charging batteries. |
|
|
| 145W Charger not providing power. |
|
|
| Slow charging speed. |
|
|
| 240W Cable not supporting screen mirroring. |
|
|
8. Specifications
8.1 SmallRig LP-E6NH 4-Slot Charger
- Input: USB-C, 60W (recommended)
- Compatible Batteries: LP-E6NH
- Charging Time: Approx. 4.5 hours for 4x 2040mAh batteries (with 60W input)
- Protection: Short-circuit, Overcurrent
8.2 SmallRig 145W USB-C Charger
- Total Power Output: 145W
- Ports: 4 x USB-C
- USB-C1 / C2 Output: Max 140W each (PD3.1)
- USB-C3 / C4 Output: Max 45W each (PD3.1)
- Technology: GaN
8.3 SmallRig 240W USB C to C Cable
- Power Delivery: Up to 240W (PD 3.1 protocol)
- Connectors: USB-C to USB-C
- Material: Metal connectors, braided wire
- Video Output: Not supported
9. Warranty Information
SmallRig products typically come with a limited warranty. Please refer to the warranty card included with your product or visit the official SmallRig website for detailed warranty terms and conditions. Retain your proof of purchase for warranty claims.
10. Customer Support
For technical support, troubleshooting assistance, or product inquiries, please contact SmallRig customer service through their official website or the contact information provided on the product packaging.
SmallRig Official Website: www.smallrig.com
Related documentsB0F3JKFHVL


Ask a question about this manual
Ask about setup, troubleshooting, compatibility, parts, safety, or missing instructions. Manuals+ will review the question and use this page’s manual context to help answer it.