
1. Important Safety Information
Please read all instructions carefully before using your DEXSO Portable Air Conditioner. Keep this manual for future reference.
- Electrical Safety: Always plug the unit into a grounded 3-prong outlet. Do not use extension cords or adapter plugs. Ensure the power cord is not damaged or pinched.
- Placement: Place the unit on a flat, stable surface. Maintain at least 20 inches (50 cm) of clear space around the unit for proper airflow. Do not block air inlets or outlets.
- Operation: Do not operate the unit with wet hands. Do not insert objects into the air vents. Unplug the unit before cleaning or servicing.
- Children and Pets: Keep children and pets away from the unit during operation. This appliance is not intended for use by persons with reduced physical, sensory, or mental capabilities unless supervised.
- Maintenance: Only perform maintenance as described in this manual. For other repairs, contact qualified service personnel.
2. Package Contents
Carefully unpack your portable air conditioner and check that all items are included:
- DEXSO PAC-M01 Portable Air Conditioner Unit
- Remote Control
- Exhaust Hose
- Window Sealing Plate Kit (Adjustable)
- Hose Connectors (for unit and window kit)
- Drainage Tube
- User Manual
3. Product Overview
3.1 Unit Components
Familiarize yourself with the main parts of your air conditioner:
- Control Panel: Top-mounted LED display and buttons for operation.
- Air Outlet: Top front, where cooled air is discharged.
- Air Inlet (with Filter): Rear/side, where room air is drawn in.
- Exhaust Air Outlet: Rear, for connecting the exhaust hose.
- Drain Port: Rear, for continuous drainage or manual draining.
- Casters: Bottom, for easy mobility.
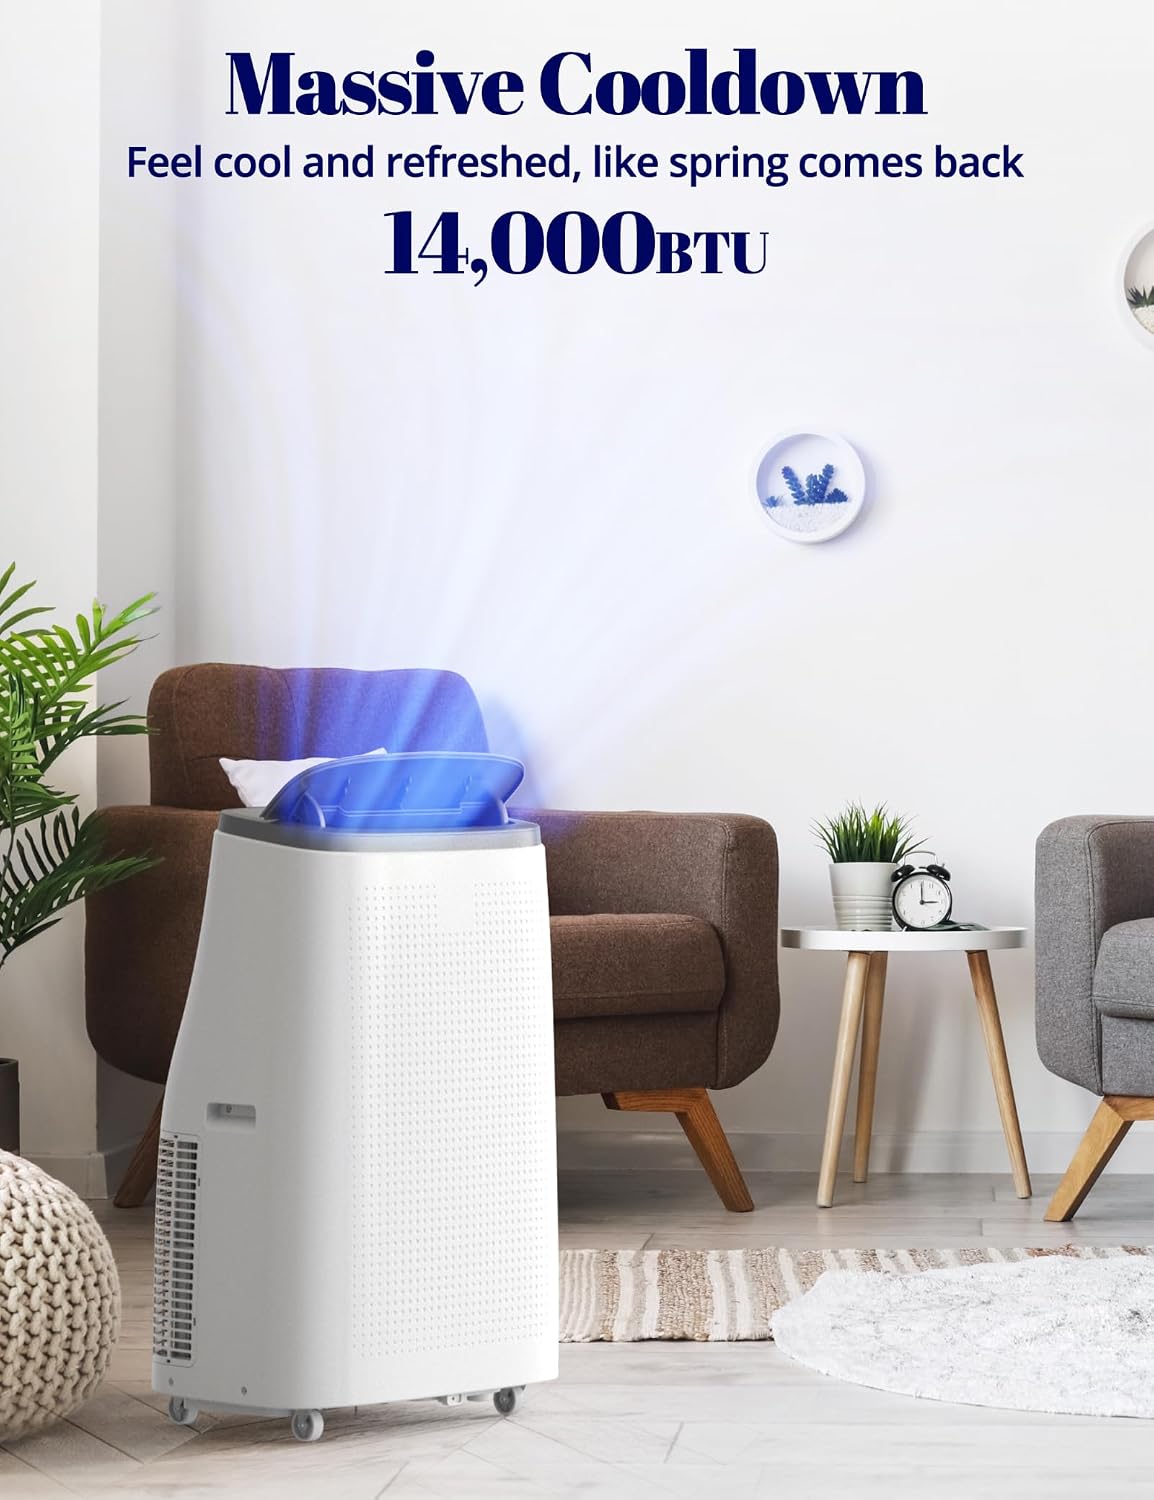
Figure 3.1: Front view of the DEXSO PAC-M01 Portable Air Conditioner, showing its sleek design and top air outlet.
3.2 Control Panel and Remote Control
The unit can be operated via the control panel on top or the included remote control. Both offer similar functions.

Figure 3.2: Illustration of the control panel display, showing icons for Cool Mode, Dry Mode, Fan Mode, 24 Hour Timer, Sleep Mode, and 2 Wind Speed settings.
- Power Button: Turns the unit on or off.
- Mode Button: Cycles through Cool, Dry (Dehumidify), and Fan modes.
- Temperature Up/Down Buttons: Adjusts the desired temperature in Cool mode.
- Fan Speed Button: Selects fan speed (Low, High).
- Timer Button: Sets the auto-on or auto-off timer.
- Sleep Button: Activates Sleep mode for quiet operation and energy saving.
4. Installation Guide
Proper installation is crucial for efficient operation. Ensure the unit is placed near a window and a grounded electrical outlet.
4.1 Window Kit Installation
- Prepare Window: Open the window where you intend to install the exhaust kit.
- Assemble Window Sealing Plate: Adjust the length of the window sealing plate to fit your window opening. Secure the sections together if necessary. The kit is suitable for both vertical and horizontal sliding windows.
- Install Plate: Place the assembled window sealing plate into the window opening and close the window securely against it.

Figure 4.1: A hand demonstrating how to adjust and place the window sealing plate into a window frame.
4.2 Exhaust Hose Connection
- Attach Hose to Connector: Twist one end of the exhaust hose onto the hose connector.
- Attach Connector to Unit: Twist the other end of the hose connector onto the exhaust air outlet at the back of the portable AC unit.
- Attach Hose to Window Plate: Insert the other hose connector (with the hose attached) into the opening of the window sealing plate. Ensure it is securely locked in place to prevent air leakage.

Figure 4.2: A close-up of hands connecting the exhaust hose to the rear port of the portable air conditioner unit.
Important: Keep the exhaust hose as short and straight as possible to maximize cooling efficiency. Avoid sharp bends or kinks in the hose.
5. Operation
After installation, plug the unit into a grounded outlet. The unit will beep once, and the display will light up briefly.
5.1 Power On/Off
Press the Power button on the control panel or remote control to turn the unit on or off.
5.2 Operating Modes
- Cool Mode: Press the Mode button until the snowflake icon appears. Use the Up/Down arrows to set your desired temperature (61°F - 88°F / 16°C - 31°C).
- Dry (Dehumidify) Mode: Press the Mode button until the water droplet icon appears. In this mode, the unit will remove moisture from the air. The fan speed is fixed to low, and temperature cannot be adjusted.

Figure 5.1: Visual representation of the unit's powerful dehumidifying ability, showing condensation on a window pane.
- Fan Mode: Press the Mode button until the fan icon appears. The unit will circulate air without cooling. Use the Fan Speed button to select desired fan speed.
- Sleep Mode: Press the Sleep button. In Cool mode, the set temperature will increase by 1°F (0.5°C) after 30 minutes, and again after another 30 minutes, then maintain this temperature. The fan will operate at low speed for quiet operation.

Figure 5.2: The portable AC unit operating in a bedroom at night, directing cool air towards a sleeping person, illustrating its quiet sleep mode.
5.3 Timer Function
Press the Timer button to set an auto-on or auto-off time (1-24 hours). Use the Up/Down arrows to adjust the desired time. The timer indicator will light up.
5.4 Self-Evaporating System
The DEXSO PAC-M01 features an advanced self-evaporating system that recycles condensed water to cool the condenser coils, improving efficiency and reducing the need for manual drainage in most conditions. In very humid environments, the unit may still require occasional drainage.
6. Maintenance
Regular maintenance ensures optimal performance and extends the lifespan of your air conditioner.
6.1 Air Filter Cleaning
The air filter should be cleaned every two weeks or more frequently depending on usage and air quality.
- Power Off: Turn off the unit and unplug it from the power outlet.
- Remove Filter: Locate the air filter panel (usually at the rear or side) and carefully pull it out.
- Clean Filter: Use a vacuum cleaner to remove dust and debris. For heavy dirt, wash the filter gently with lukewarm water and a mild detergent. Rinse thoroughly.
- Dry Filter: Allow the filter to air dry completely before reinstalling. Do not expose to direct sunlight.
- Reinstall Filter: Slide the dry filter back into its slot.

Figure 6.1: A close-up view of the removable and washable air filter being taken out of the portable air conditioner unit for cleaning.
6.2 Water Drainage
While the unit has a self-evaporating system, manual drainage may be required if the internal water tank becomes full (indicated by a