
1. Safety Information
Always read and understand all safety warnings and instructions before operating this tool. Failure to follow these instructions may result in injury or property damage.
General Safety Precautions:
- Eye Protection: Always wear ANSI-approved safety goggles or safety glasses with side shields when operating the rivet gun.
- Hand Protection: Wear appropriate work gloves to protect your hands from sharp edges and pinch points.
- Work Area: Keep your work area clean, well-lit, and free of clutter. Ensure adequate ventilation.
- Tool Condition: Inspect the rivet gun before each use for any damage or loose parts. Do not use if damaged.
- Rivet Selection: Use only rivets that are compatible with the material thickness and type of the workpiece, and that match the installed nozzle size.
- Secure Workpiece: Ensure the material being riveted is securely clamped or held to prevent movement during operation.
- Proper Grip: Maintain a firm grip on the tool handles during operation.
- Children and Bystanders: Keep children and bystanders away from the work area.
2. Product Overview
The LIBRATON Heavy-Duty Rivet Gun is a manual riveting tool designed for various applications including metal work, automotive repair, HVAC repair, and canvas projects. It features a durable construction and user-friendly design.
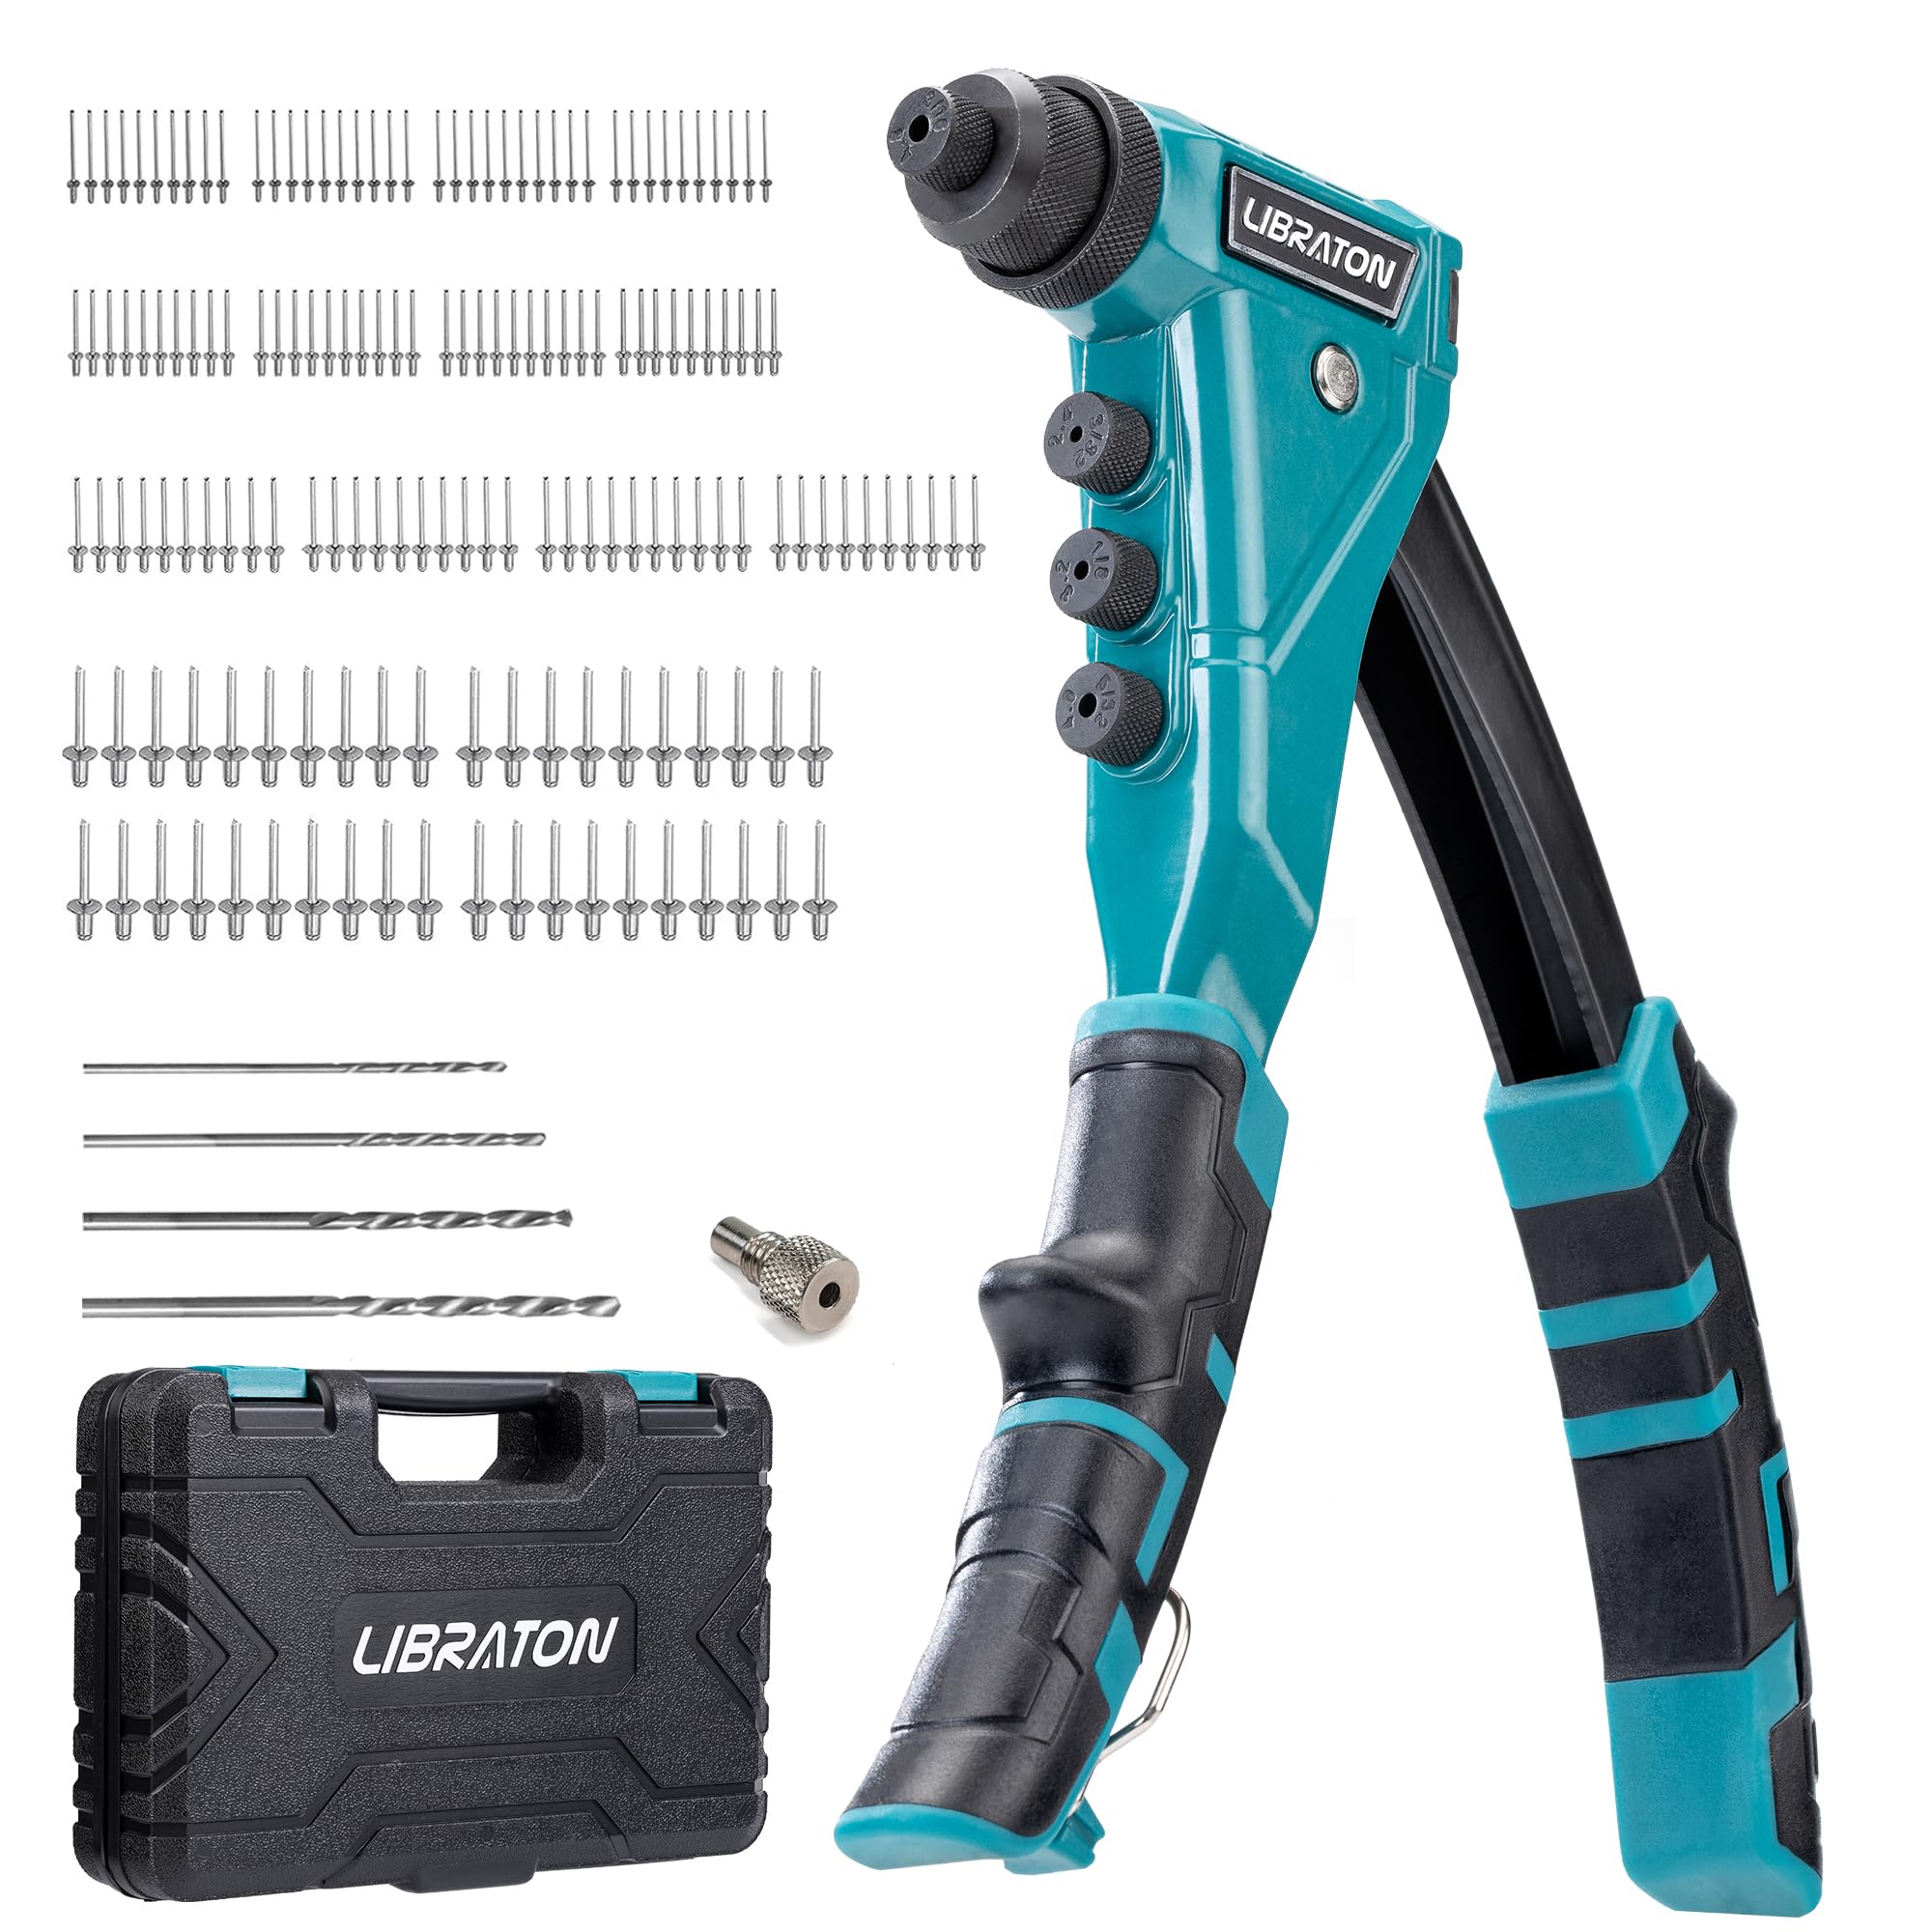
Figure 2.1: LIBRATON Heavy-Duty Rivet Gun, showcasing its robust design.
Key Features:
- Durable Construction: Made from high-quality aluminum alloy die-casting for enhanced strength and durability. Features Cr-Mo steel components for reliability.
- Ergonomic Design: Thickened TPR cover on the handle provides a comfortable and secure grip, reducing hand fatigue.
- High Leverage: Designed for labor-saving operation, requiring less force to set rivets.
- Safety Lock: Integrated safety lock for secure storage and transport.
- Modular, Detachable Design: Ensures a long tool lifetime and minimizes the risk of jamming.
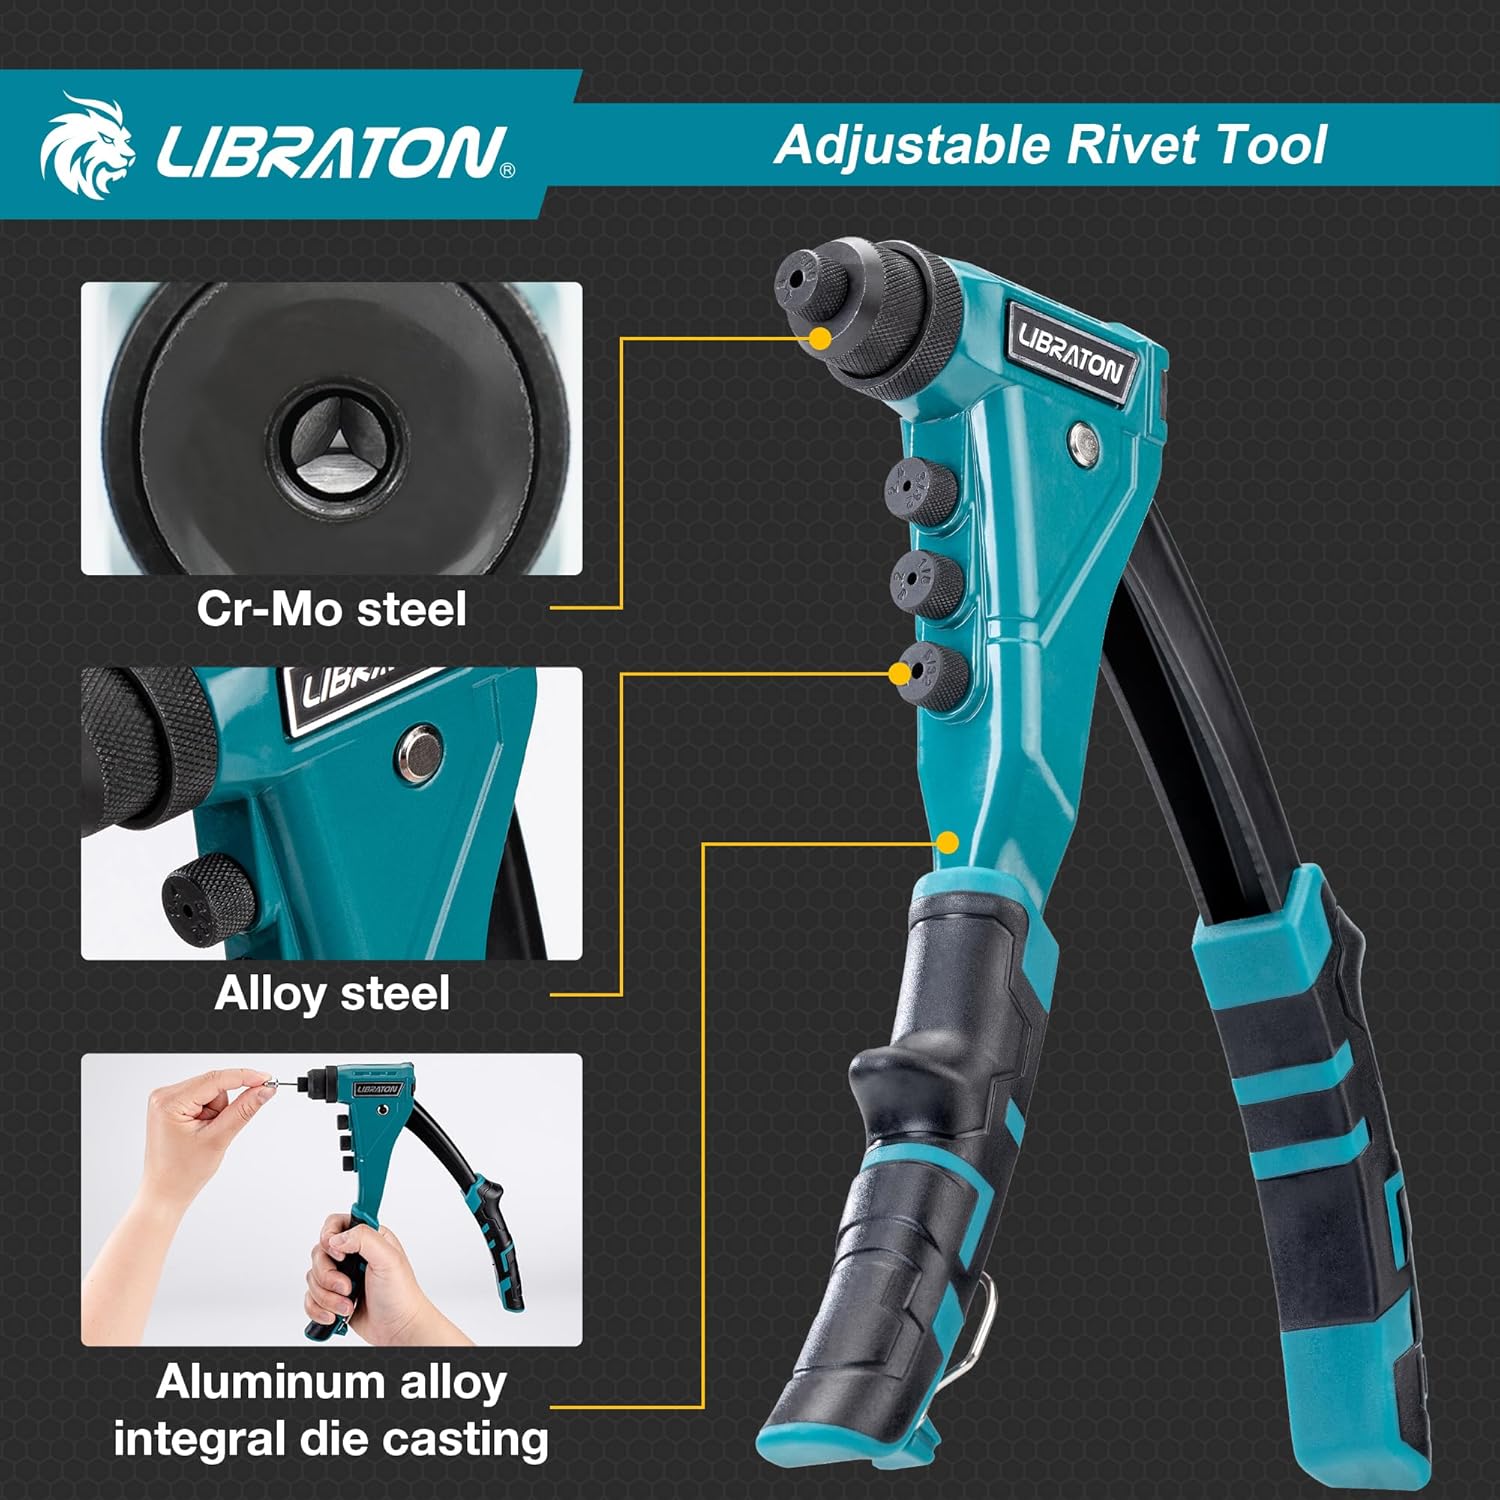
Figure 2.2: Detailed view of the rivet gun's construction, highlighting Cr-Mo steel and aluminum alloy components.
Included Components:
The LIBRATON Heavy-Duty Rivet Gun kit includes the following items:
- 1 x Heavy-Duty Rivet Gun
- 4 x Tool-Free Interchangeable Nozzles (3/32" (2.4mm), 1/8" (3.2mm), 5/32" (4mm), 3/16" (4.8mm))
- 160 x Aluminum Rivets (40 pieces for each size)
- 4 x Drill Bits
- 1 x Removal Nozzle
- 1 x Sturdy Storage Case

Figure 2.3: All components included in the LIBRATON Heavy-Duty Rivet Gun kit.
3. Setup
Before using the rivet gun, ensure the correct nozzle is installed and the adjustment mechanism is set appropriately for your rivet length.
3.1 Changing Nozzles
- Close the rivet gun handles completely to retract the mandrel.
- Unscrew the currently installed nozzle by hand.
- Select the appropriate nozzle size that matches your rivet diameter.
- Screw the new nozzle firmly into place by hand. No additional tools are required.
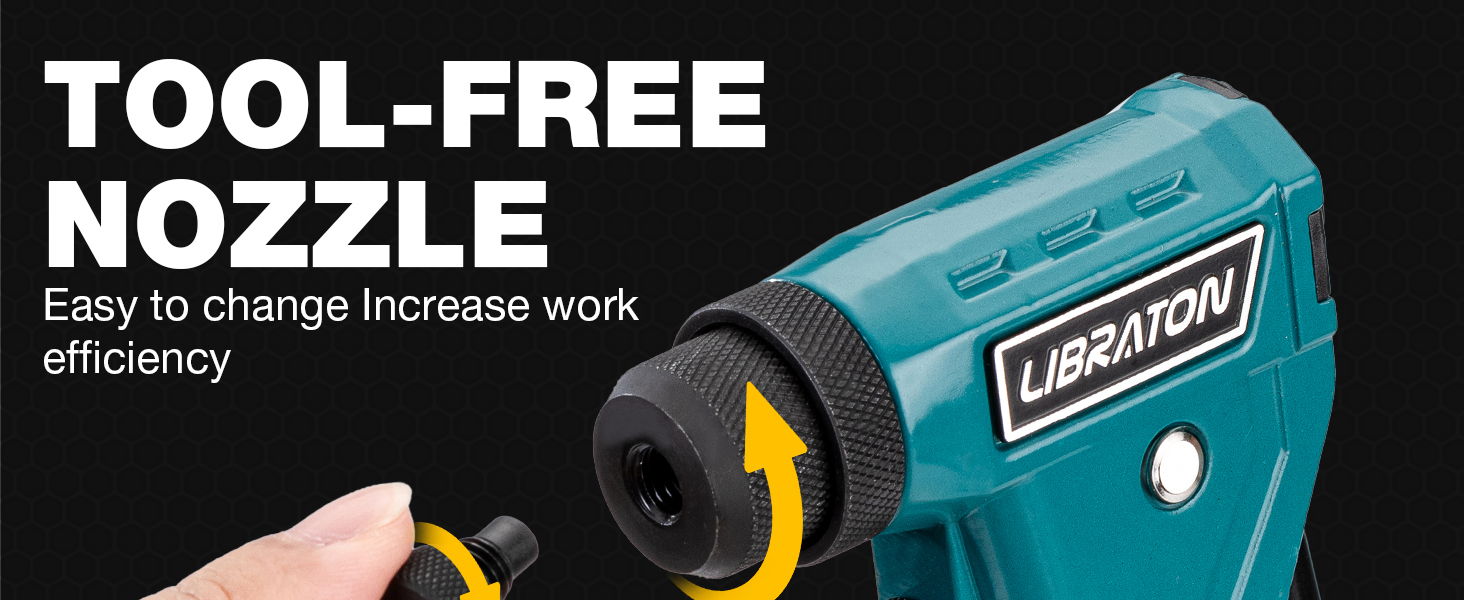
Figure 3.1: Illustration of the tool-free nozzle changing process.
3.2 Adjusting the Grip Distance (for Rivet Length)
The rivet gun features an adjustment mechanism to accommodate rivets of different lengths, which helps extend service life and minimize rod jamming.
- Locate the adjustment sleeve near the nozzle.
- Rotate the adjustment sleeve to modify the grip distance. This sets how far the rivet mandrel is pulled before breaking.
- Adjust until the desired grip distance is achieved for your specific rivet length.

Figure 3.2: The adjustment mechanism allows for setting the grip distance for various rivet lengths.
4. Operating Instructions
Follow these steps to properly set a rivet using your LIBRATON Heavy-Duty Rivet Gun.
- Drill Hole: Using an appropriate drill bit (included in the kit), drill a hole through the materials to be joined. The hole diameter should match the rivet diameter.
- Install Rivet: Insert the rivet mandrel into the selected nozzle of the rivet gun.
- Position Rivet: Place the rivet body into the pre-drilled hole in your workpiece. Ensure the rivet head is flush against the material surface.
- Press Handles: Firmly press the rivet gun handles together. You may need to squeeze multiple times until the rivet mandrel snaps off, indicating the rivet is properly set.
- Release Mandrel: Open the handles to release the broken mandrel. If the mandrel does not release, gently tap the tool or use the removal nozzle if necessary.

Figure 4.1: Visual guide for the riveting process, from drilling to setting the rivet.

Figure 4.2: Demonstrating the use of the rivet gun in a practical application, such as automotive repair.
Official Product Video:
Video 4.1: This video demonstrates the adjustable features and the general operation of the LIBRATON Pop Rivet Gun Set.
5. Maintenance
Proper maintenance ensures the longevity and optimal performance of your LIBRATON Heavy-Duty Rivet Gun.
- Cleaning: After each use, wipe down the tool with a clean, dry cloth to remove any dust, debris, or metal shavings.
- Lubrication: Periodically apply a small amount of light machine oil to the pivot points and moving parts to ensure smooth operation.
- Nozzle Care: Keep the nozzles clean and free of obstructions. Replace worn or damaged nozzles to maintain riveting efficiency.
- Storage: Store the rivet gun and all its components in the provided sturdy carrying case. Engage the safety lock on the handles before storage to prevent accidental opening and for compact storage. Store in a dry, secure location away from children.

Figure 5.1: The included sturdy blow molding case provides convenient storage and transportation for the rivet gun and its accessories.
6. Troubleshooting
This section addresses common issues you might encounter while using the rivet gun.
Common Issues and Solutions:
- Rivet Mandrel Does Not Break:
- Ensure the correct nozzle size is used for the rivet diameter.
- Verify the rivet material is compatible with the tool's capacity (e.g., aluminum and stainless steel up to 5/32" or 4mm).
- Apply more force to the handles.
- Check if the adjustment mechanism is set correctly for the rivet length.
- Rivet Mandrel Jams in Nozzle:
- The modular, detachable design of this rivet gun is intended to reduce jamming.
- If a jam occurs, use the included removal nozzle or a small pick to carefully dislodge the broken mandrel piece.
- Ensure the nozzle is clean and free of debris before inserting a new rivet.
- Rivet Not Setting Flush:
- Ensure the drilled hole is the correct size for the rivet.
- Confirm the rivet gun is held perpendicular to the workpiece.
- Apply consistent and firm pressure until the mandrel breaks.
7. Specifications
Detailed specifications for the LIBRATON Heavy-Duty Rivet Gun (Model 919020).
| Specification | Detail |
|---|---|
| Brand | LIBRATON |
| Model Number | 919020 |
| Item Weight | 2.86 pounds |
| Package Dimensions | 10.75 x 7.2 x 2.44 inches |
| Nozzle Sizes Included | 3/32" (2.4mm), 1/8" (3.2mm), 5/32" (4mm), 3/16" (4.8mm) |
| Rivet Material Compatibility | Aluminum, Stainless Steel (up to 5/32" or 4mm) |
| Manufacturer | LIBRATON |
8. Warranty and Support
LIBRATON is committed to providing quality tools and excellent customer service.
If you have any questions or encounter issues with your LIBRATON Heavy-Duty Rivet Gun kit, please do not hesitate to contact our customer support team. Our professional team is dedicated to providing assistance and will respond to your inquiries promptly.
For support, please refer to the contact information provided with your purchase or visit the official LIBRATON website.