1. Introduction
Thank you for purchasing the CLAONER Solar Lights. This manual provides detailed instructions for the installation, operation, and maintenance of your new solar lights. These lights are designed to provide efficient and automatic outdoor illumination, utilizing solar energy for charging during the day and lighting up at night. Please read this manual thoroughly before use to ensure proper function and longevity of the product.
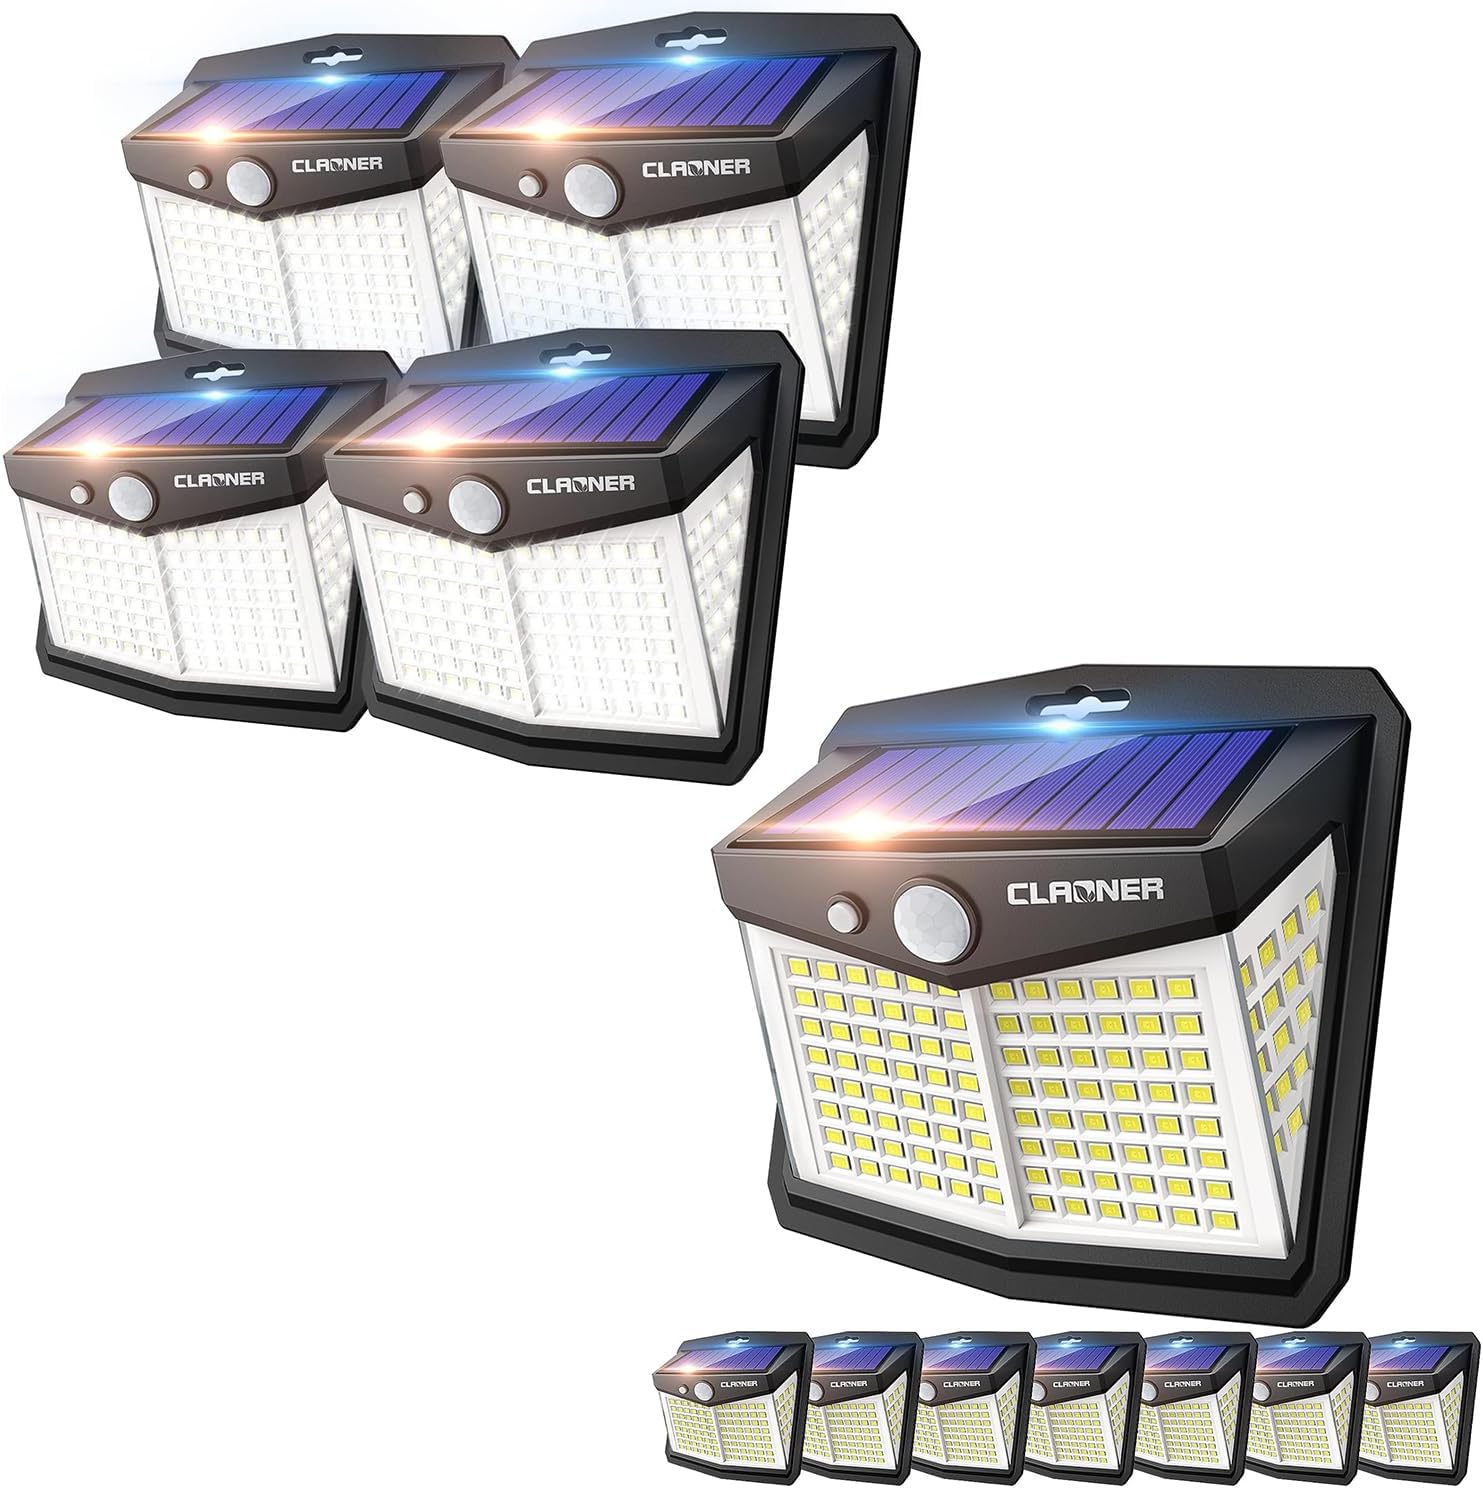
Image 1.1: Overview of the CLAONER Solar Light packs, showing both the 4-pack and 8-pack configurations. These compact, wall-mountable lights feature a solar panel on top and an array of LEDs on the front, designed for outdoor use.
2. Safety Information
- Ensure the solar panel is exposed to direct sunlight for optimal charging.
- Do not disassemble, modify, or attempt to repair the product yourself. This may void the warranty and cause damage.
- Keep the product away from fire and extreme heat sources.
- Do not immerse the product in water. While it is IP65 rated for weather resistance, prolonged submersion can cause damage.
- Dispose of the product and its components according to local regulations at the end of its lifespan.
3. Package Contents
Verify that all components are present in your package:
- CLAONER Solar Lights (4-pack or 8-pack, depending on purchase)
- Mounting Screws and Wall Plugs (for each light)
- Adhesive Tape (for each light, alternative installation)
- User Manual (this document)
4. Setup and Installation
Before installation, ensure the solar light is fully charged. Place the light in direct sunlight for at least 6-8 hours before first use.
4.1 Choosing an Installation Location
Select a location that receives ample direct sunlight throughout the day to ensure optimal charging of the solar panel. Avoid areas under eaves, trees, or other obstructions that might block sunlight. The light is suitable for doors, garages, yards, and other outdoor areas.

Image 4.1: This image illustrates the compact dimensions of the CLAONER solar light (approximately 11.2cm/4.4in width, 10.7cm/4.2in height, 5.9cm/2.3in depth, and 8.1cm/3.2in light panel height). It also highlights its IP65 waterproof rating, heat-resistant, and frost-resistant properties, making it suitable for all weather conditions.
4.2 Installation Methods
There are two primary methods for installing your CLAONER Solar Light:
- Method 1: Screw Installation (Recommended for permanent fixture)
- Mark the desired installation spot on the wall.
- Drill one hole at the marked spot.
- Insert the wall plug into the drilled hole.
- Align the light with the hole and secure it with the provided screw.
- Method 2: Adhesive Tape Installation (For smooth surfaces)
- Clean the surface where the light will be mounted, ensuring it is dry and free of dust or grease.
- Peel off the protective film from the adhesive tape.
- Firmly press the light onto the desired surface for at least 30 seconds.

Image 4.2: This image demonstrates the two installation methods: drilling a single hole and securing with a screw, or using the included adhesive tape for mounting on smooth surfaces. It also shows the compact size of the light and how to switch modes by pressing the button.
5. Operating Instructions
The CLAONER Solar Light features an intelligent light sensor and motion sensor for automatic operation. It charges during the day and automatically lights up at night.

Image 5.1: This graphic illustrates the core functionality: the solar light charges its internal battery during the day when exposed to sunlight and automatically illuminates in the dark, providing efficient and hands-free operation.
5.1 Switching Modes
The light has a single button to cycle through its three operating modes. Press the button once, twice, or three times to switch between modes.
- Mode 1: Constant On Mode (Press button once)
The light will stay on at a medium brightness throughout the night, regardless of motion detection. It will automatically turn off at dawn.
- Mode 2: Dim Light Sensor Mode (Press button twice)
The light will stay on at a dim brightness at night. When motion is detected within its range (up to 20ft), it will switch to high brightness for approximately 15-20 seconds, then return to dim light when no motion is detected.
- Mode 3: High Light Sensor Mode (Press button three times)
The light will remain off at night. When motion is detected within its range (up to 20ft), it will turn on at high brightness for approximately 15-20 seconds, then turn off completely when no motion is detected.

Image 5.2: This diagram visually explains the three operating modes: Mode 1 (Constant On) provides continuous medium light; Mode 2 (Dim Light Sensor) maintains dim light and brightens upon motion; Mode 3 (High Light Sensor) remains off and activates high brightness only when motion is detected. The detection angle is 120 degrees.
6. Maintenance
Regular maintenance ensures optimal performance and extends the lifespan of your solar lights.
- Cleaning the Solar Panel: Periodically wipe the solar panel with a soft, damp cloth to remove dust, dirt, or debris. A clean panel ensures maximum sunlight absorption and charging efficiency.
- Clear Obstructions: Ensure no new obstructions (e.g., growing branches, new structures) are blocking direct sunlight from reaching the solar panel.
- Battery Care: The integrated battery is designed for long-term use. Avoid prolonged storage in a completely discharged state. If storing for an extended period, fully charge the light before storage and recharge every few months.
7. Troubleshooting
If your CLAONER Solar Light is not functioning as expected, please refer to the following common issues and solutions:
| Problem | Possible Cause | Solution |
|---|---|---|
| Light does not turn on at night. |
|
|
| Light stays dim or only lights for a short period. |
|
|
| Motion sensor not working or too sensitive. |
|
|
8. Specifications
Key technical details of the CLAONER Solar Light:
| Feature | Detail |
|---|---|
| LED Quantity | 128 LEDs (New Version) |
| Lighting Angle | 270° |
| Motion Detection Distance | Up to 20 ft (6 meters) |
| Sensor Modes | 3 Modes (Constant On, Dim Light Sensor, High Light Sensor) |
| Waterproof Rating | IP65 |
| Material | Durable ABS plastic, Heat-resistant, Frost-resistant |
| Solar Conversion Efficiency | Up to 22% |
| Lighting Duration (fully charged) | Up to 12 hours |
| Dimensions (approx.) | 11.2cm (4.4in) W x 10.7cm (4.2in) H x 5.9cm (2.3in) D |

Image 8.1: This comparison chart highlights the improvements in the new version of the CLAONER solar light, featuring 128 LED beads, a 270-degree lighting angle, a 20ft detection distance, and 3 sensor modes, significantly upgraded from previous models.

Image 8.2: This image emphasizes the higher solar conversion efficiency of up to 22% for faster charging during the day, and a longer lighting time of up to 12 hours at night, ensuring reliable illumination.
9. Warranty and Support
CLAONER products are manufactured with high-quality materials and undergo strict quality control. We offer a standard warranty for our solar lights against defects in materials and workmanship under normal use.
- Warranty Period: Please refer to the product packaging or the official CLAONER website for the specific warranty period applicable to your purchase.
- Warranty Claims: In case of a defect, please contact CLAONER customer support with your purchase details and a description of the issue. Do not attempt to repair the product yourself.
- Customer Support: For any questions, technical assistance, or warranty inquiries, please visit the official CLAONER store on Amazon or their website.
Visit the CLAONER Store for more information and support.


