
1. Introduction
This manual provides detailed instructions for the installation, operation, and maintenance of your Vernijtrdy A500 GPS HUD Head-Up Display OBD Speedometer. Please read this manual thoroughly before using the device to ensure proper function and safety.
2. Product Features
- Dual System Operation: Supports both OBD2 and GPS modes for broad vehicle compatibility. GPS functions can operate simultaneously in OBD mode.
- Customizable Display: Offers 9 optional interface styles, allowing users to freely arrange and display functions.
- Comprehensive Data Reading: Capable of reading ECU data from the vehicle.
- Flexible Installation: Features a rotatable bracket for versatile mounting options, including center console and windshield suction.
- High-Resolution Display: Equipped with a 3.5-inch TFT screen for clear visibility.
- Advanced Alarm Functions: Includes overspeed alarm, engine failure alarm, water temperature alarm, voltage alarm, and fatigue driving reminder to enhance driving safety.
- Diagnostic Capability: Provides fault code clearing functionality.
- GPS Information: Displays satellite functions such as digital clock, altitude, and driving direction.
- High Refresh Rate: Up to 10 Hz refresh rate ensures real-time data display without delay.
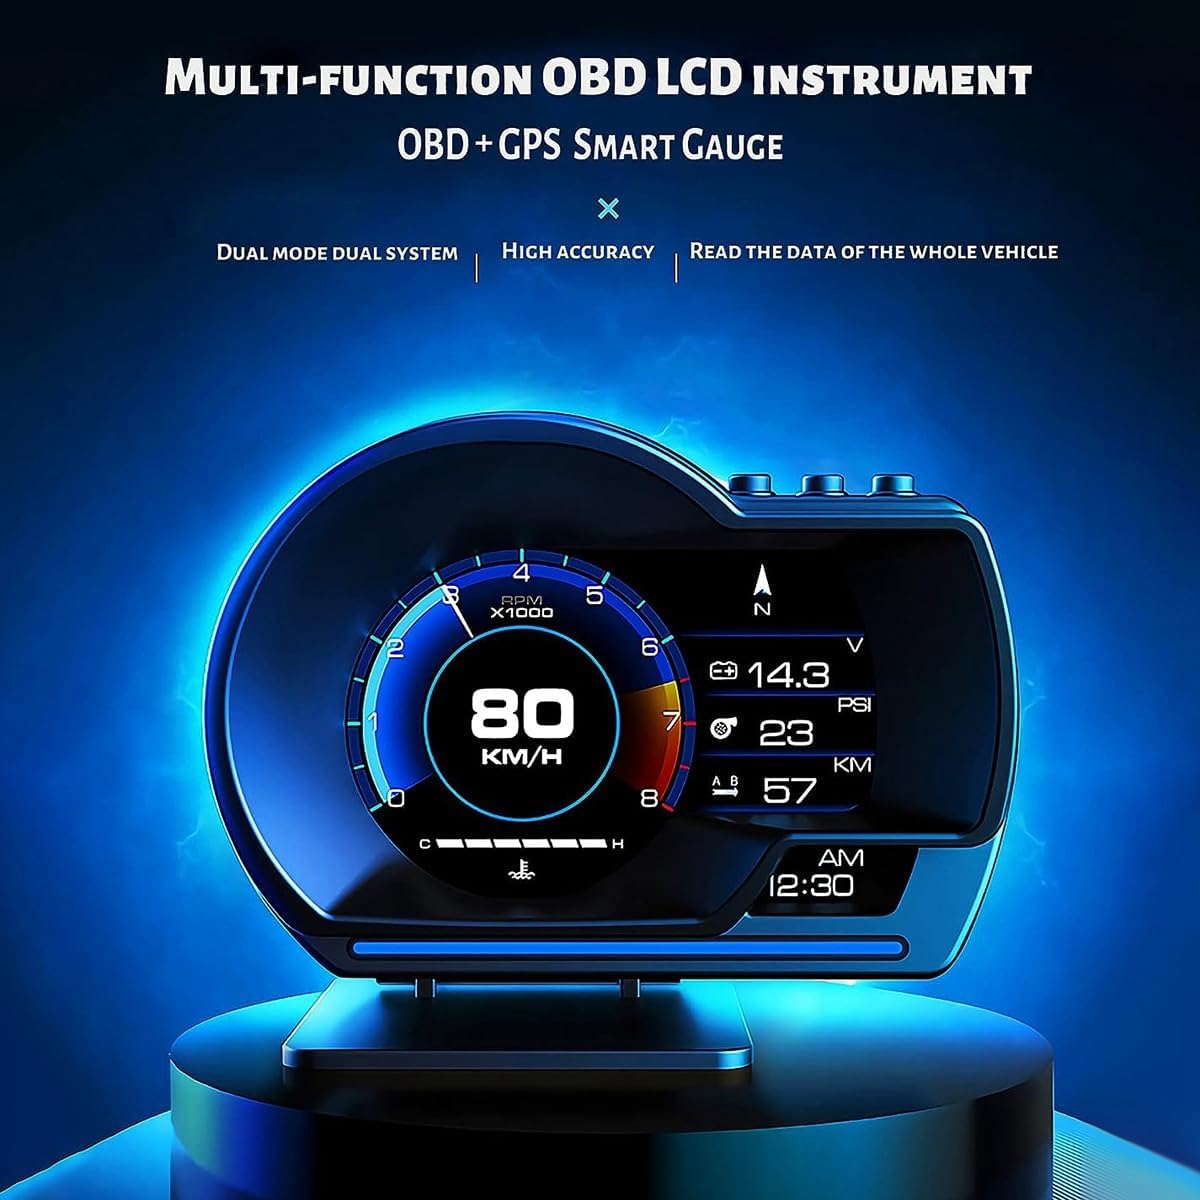
Figure 2.1: Close-up view of the Vernijtrdy A500 HUD device, showcasing its 3.5-inch TFT screen and compact design.
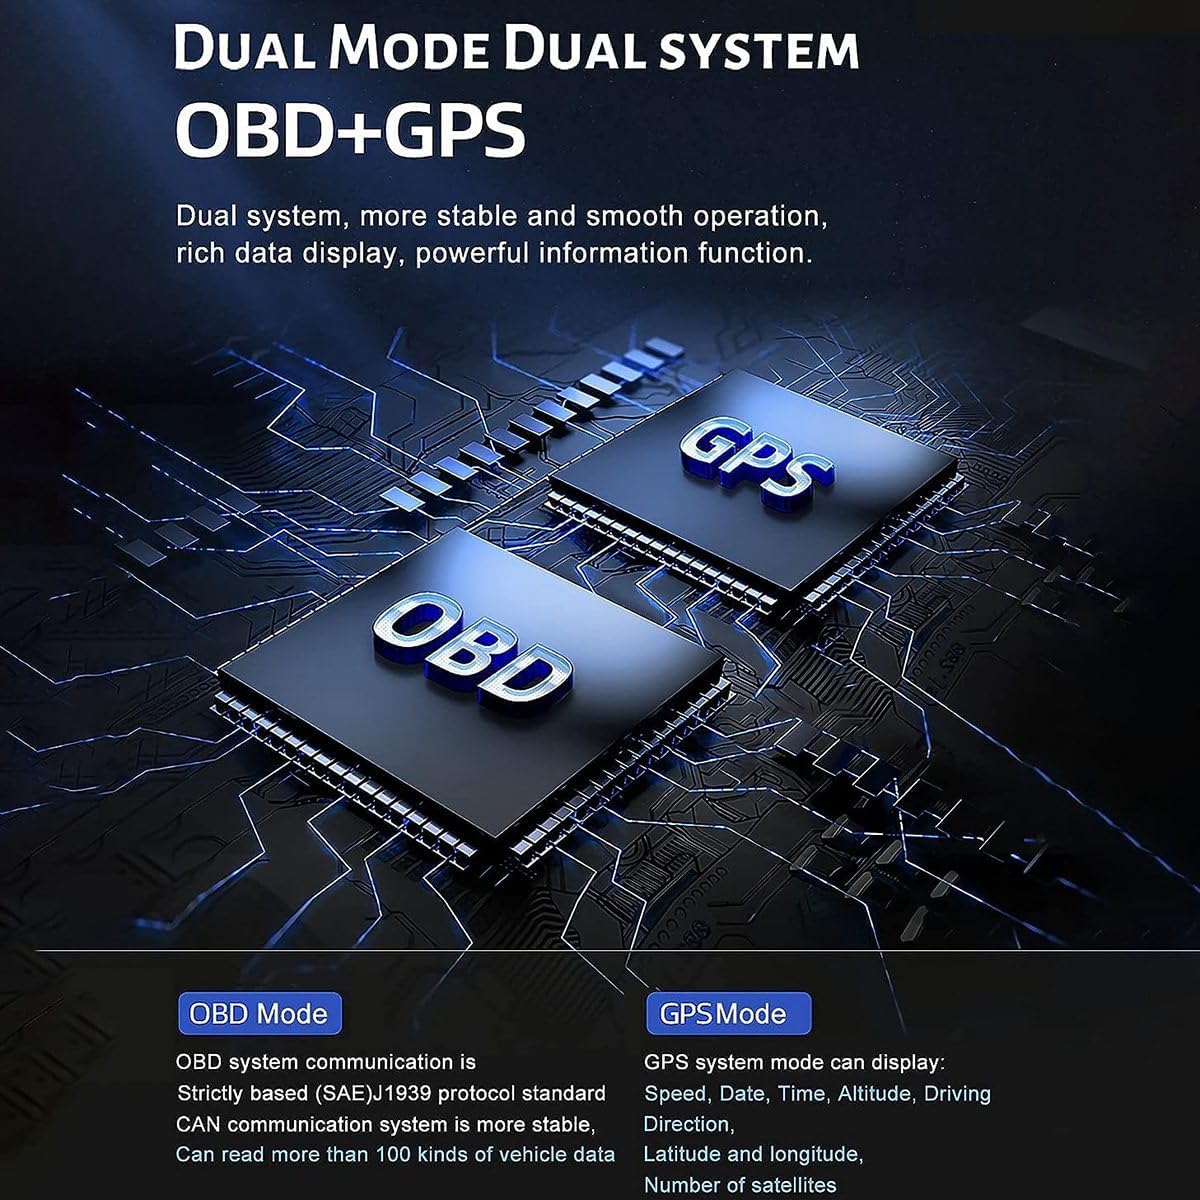
Figure 2.2: Diagram illustrating the dual mode (OBD+GPS) system architecture, highlighting the stability and rich data display capabilities.
3. Setup and Installation
3.1 Choosing an Installation Location
The A500 offers flexible installation options. Select a location on your dashboard or windshield that does not obstruct your view of the road or interfere with vehicle controls.
- Center Console Installation: Place the device on the dashboard using the provided adhesive pad.
- Windshield Suction: Attach the device to the windshield using the suction cup mount.
The rotatable bracket allows for adjustment of the viewing angle after placement.

Figure 3.1: Examples of various installation positions for the HUD device, including dashboard and windshield mounting, demonstrating the flexible placement options.
3.2 Connecting the Device
- Ensure your vehicle's engine is off.
- Locate your vehicle's OBD2 port, typically found under the dashboard on the driver's side.
- Connect the provided OBD cable to the OBD2 port.
- Connect the other end of the OBD cable to the A500 device.
- Start your vehicle. The device should power on automatically.
4. Operating Instructions
4.1 Power On and Mode Selection
Upon vehicle startup, the A500 will power on. It will automatically attempt to connect via OBD2. If OBD2 data is not detected or if you prefer, the device will switch to GPS mode. Both modes can display GPS functions simultaneously.
4.2 Display Interfaces and Data
The device offers 9 different display interfaces. Use the control button (refer to device diagram for location) to cycle through these interfaces and select your preferred view. Each interface can display a combination of the following data points:
- OBD2 Mode Data: Speed, Engine RPM, Water Temperature, Voltage, Fuel Consumption, Clock, Single Travel Distance, Single Travel Time, Oil Temperature, Turbine Pressure, Acceleration Test, Brake Test.
- GPS Mode Data: Speed, Altitude, Number of Satellites, Clock, Single Driving Distance, Single Driving Time, Compass.

Figure 4.1: Examples of multiple theme styles and data layouts available on the HUD screen, demonstrating customization options.

Figure 4.2: Icons representing the comprehensive range of data points available for display in both OBD and GPS modes, including speed, RPM, voltage, and alarms.
4.3 Alarm Functions
The A500 provides multiple alarm functions to alert the driver to potential issues or unsafe conditions. When an alarm is triggered, the status light on the device will flash red.
- Overspeed Alarm: Alerts when the vehicle exceeds a preset speed limit.
- Engine Failure Alarm: Indicates a detected engine fault.
- Water Temperature Alarm: Warns if engine coolant temperature is too high.
- Voltage Alarm: Alerts to abnormal vehicle battery voltage.
- Fatigue Driving Reminder: Prompts the driver to take a break after extended driving periods.

Figure 4.3: The HUD display illustrating various alarm indicators such as speeding, voltage, water temperature, and RPM, with the status light indicating an active alarm.
4.4 Brightness Adjustment
The device supports both automatic and manual brightness adjustment. The display brightness will adapt to ambient light conditions automatically. You can also manually adjust or turn off the brightness via the device settings. Note that even if brightness is manually turned off, the status light will still flash red during an alarm.
5. Maintenance
To ensure the longevity and optimal performance of your A500 HUD, follow these maintenance guidelines:
- Cleaning: Use a soft, dry cloth to clean the display screen and device body. Avoid using abrasive cleaners or solvents.
- Storage: When not in use for extended periods, store the device in a cool, dry place away from direct sunlight and extreme temperatures.
- Cable Care: Ensure the OBD cable is not pinched or damaged. Avoid excessive bending or pulling.
6. Troubleshooting
If you encounter issues with your A500 HUD, refer to the following common problems and solutions:
6.1 Device Does Not Power On
- Check if the OBD cable is securely connected to both the vehicle's OBD2 port and the A500 device.
- Ensure the vehicle's engine is running. The device typically powers on with the ignition.
- Verify that your vehicle's OBD2 port is functional. You may test it with another OBD2 device if available.
6.2 No Data Displayed in OBD Mode
- Confirm your vehicle is OBD2 compliant (most vehicles manufactured after 1996 in North America, 2001 in Europe for petrol, 2004 for diesel).
- Ensure the OBD cable connection is firm.
- The device may automatically switch to GPS mode if OBD data is not detected. Check if GPS data is displayed.
6.3 Incorrect Speed Reading
- In GPS mode, ensure the device has a clear view of the sky to acquire satellite signals.
- Check the device settings for speed unit (KM/H or MPH) and adjust if necessary.
- If using OBD mode, a slight calibration might be needed. Refer to the device's internal settings menu for speed calibration options if available.
6.4 Fault Code Clearing
If an engine fault alarm is triggered, the A500 can display and clear fault codes. Navigate to the fault code clearing function in the device menu and follow the on-screen prompts. Clearing a fault code does not fix the underlying issue; it only resets the warning light. It is recommended to have your vehicle inspected by a qualified mechanic if fault codes persist.
7. Specifications
| Specification | Value |
|---|---|
| Product Dimensions | 11 x 10 x 8 cm |
| Item Weight | 284.5 Grams |
| Model Number | 500411863 |
| Brand | Vernijtrdy |
| Display Type | 3.5-inch TFT |
| System Modes | OBD2 + GPS Dual System |
8. Warranty and Support
For warranty information and technical support, please refer to the documentation provided with your purchase or contact the manufacturer directly. Keep your proof of purchase for warranty claims.